Equipment
Using ND Filters to Balance Ambient Light With Artificial Light
A week or so ago, I posted an article about some of the features on the Profoto B1 that separate it from the competition. Among those features, was High-Speed Sync, allowing you to use off camera lighting at shutter speeds faster than 1/200th of a second. Today, I would like to tell you about how to achieve that same goal, but with the use of one of my favorite tools – The Neutral Density Filter.
What is a Neutral Density Filter?
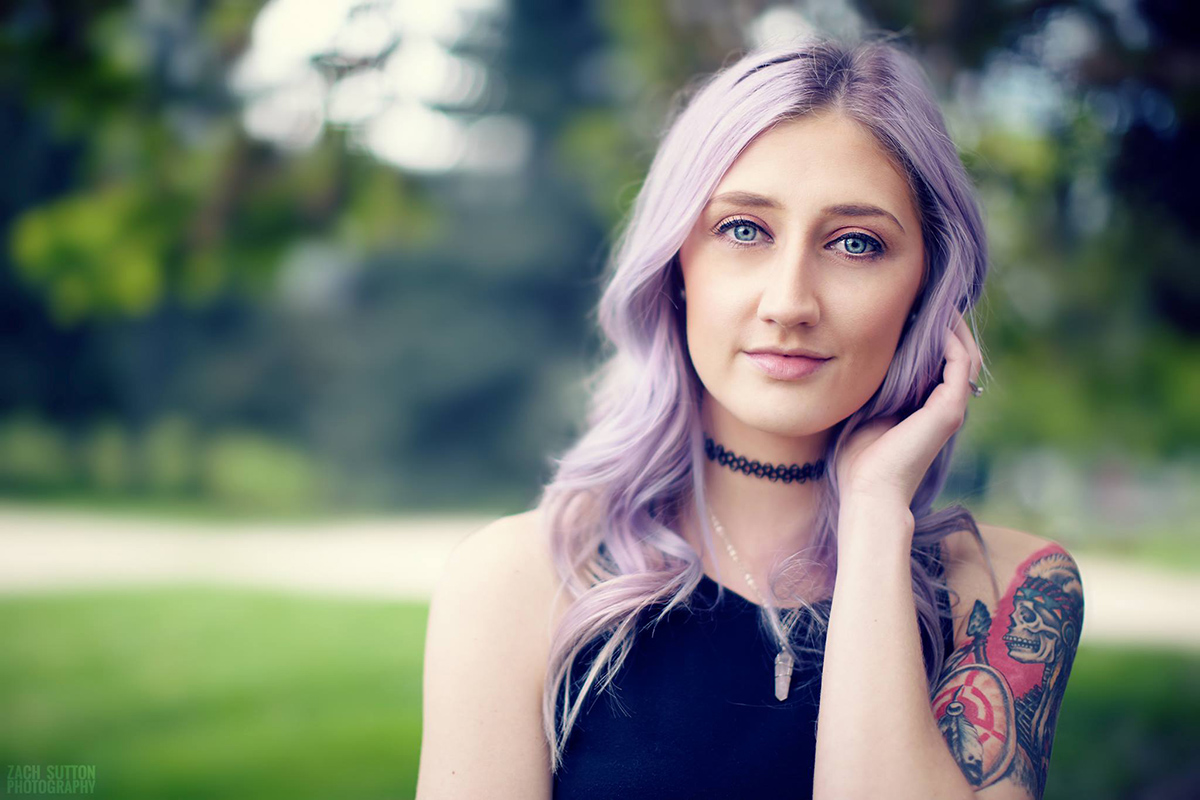
Typically, I’ve found the best way to describe a Neutral Density filter to photographers, is calling it a pair of sunglasses for your camera. It doesn’t add any color gradients to your images (or a good one won’t at least), but simply, just stops the amount of light coming into your camera lens. This can be effective for a lot of reasons. Landscape photographers often use them to create interesting effects using a long exposure. An ND filter allows you to stop down your shutter speed, and get super smooth water and clouds in images when extending the time the shutter is open. But the opposite is also true, and ND filter can allow you to open your aperture more, allowing for a shallow depth of field in your portrait work when lighting on location. This is how I often use ND filters for my work, and then compliment the subject with flattering light coming from off-camera flash.
Mastering the ND Filter Technique
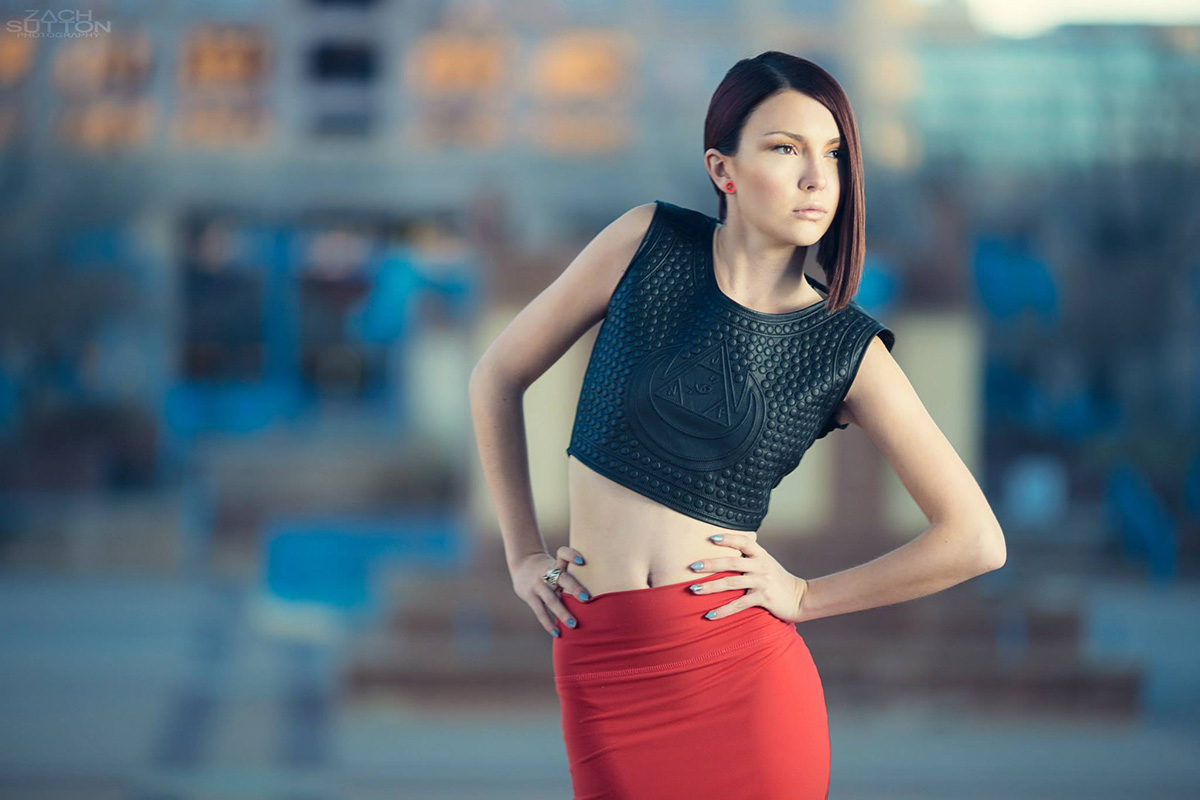
Many people often ask me why I use ND filters in my work, and the answer I always give them is balance. When I began shooting outdoor portraits, I was frustrated that my skies were always white in color, instead of showing the great depth of blue that I often see. In order to fix that, I needed to find a way to balance the ambient light with flash, and began using an Alien Bee B800 with my work, however, this brought a whole new realm of problems for me. For one, in order to get the colors out of the sky, I often had to shoot at f/11+, cause my shutter speed was limited to 1/200th of a second (The max sync speed for most traditional strobes & flashes). The result was an image with everything in focus, and with no draw to the subject in the photo. So I went back to the drawing board.
I began using ND filters with my work. A 5 stop ND filter, would allow me to open up my aperture 5 whole stops (f/11 to f/2), giving me a nice shallow depth of field, that brought focus to the subject in my image, while maintaining all the colors from the scene. 5 stops would turn an image at f/11, 1/200th of a second and at ISO 100 into an image shot at f/2, 1/200th of a second and ISO 100. The end result is a more flattering image, with focus brought to your subject.
Types of ND Filters
Generally speaking, there are two types of ND filters I’ve used in the field – the standard ND filter, and the Variable ND filter. The standard ND filter is a single piece of glass that has a specific number of stops of light. These are nothing more than a darkened piece of glass, that allows less light into the camera, so you can open up your aperture or shutter speed as needed. The next type is much more interesting – the Variable ND filter. The Variable ND filter allows you turn the dial on the filter, giving you a broad range of stops, depending on how much you turn the dial. These Variable ND filters typical range from 2-stops to 9-stops of light, allowing you full adjustments in between that range.
Which is Best For You?
Traditionally, I recommend the Variable ND filter over the Standard ND filters. While variables cost much more (up to $500 in price), they allow for far more versatility in your work, and without the need to change filters while on location. In addition to that, stacking filters will often give you a loss in image quality exponentially, so I prefer to keep as few piece of glass in front of my lens as possible (and the highest quality of glass).
At LensRentals, we have a huge array of ND filters for people to rent. So if you’d like to give this technique a try on your own, be sure to look through our inventory of ND filters for your next shoot. When done correctly, you can add more interest to your images using depth of field, bringing the attention exactly where you’d like it.
Author: Zach Sutton
I’m Zach and I’m the editor and a frequent writer here at Lensrentals.com. I’m also a commercial beauty photographer in Los Angeles, CA, and offer educational workshops on photography and lighting all over North America.
-
Tuco
-
Frank Kolwicz
-
Richard
-
chris foster
-
finnan haddie
-
Lynn Allan
-
starship
-
Cody
-
ed okie


