Equipment
A Comprehensive Guide to Getting Started in Automotive Photography
Automotive photography has reached a broader audience over the past several years with car enthusiasts on social media showing off tastefully modified cars. It seems car photographers are a dime a dozen nowadays, but the good ones have a certain style about their images that can be spotted a mile away. Many feel cars are difficult subjects to photograph, with their huge reflective panels of metal and plastic. However, cars really aren’t too difficult to photograph once you have the proper gear and mindset in place, which is what I’m hoping to help you with today.
I started photographing cars about 10 years ago when I first joined a Mitsubishi Evolution car group and decided to take photos of everyone’s cars. At the time, the car forums were the only place to show off these images, so naturally I took to them to show everyone my photography. As more and more people appreciated the photos I decided to take things more seriously. The rest is history.
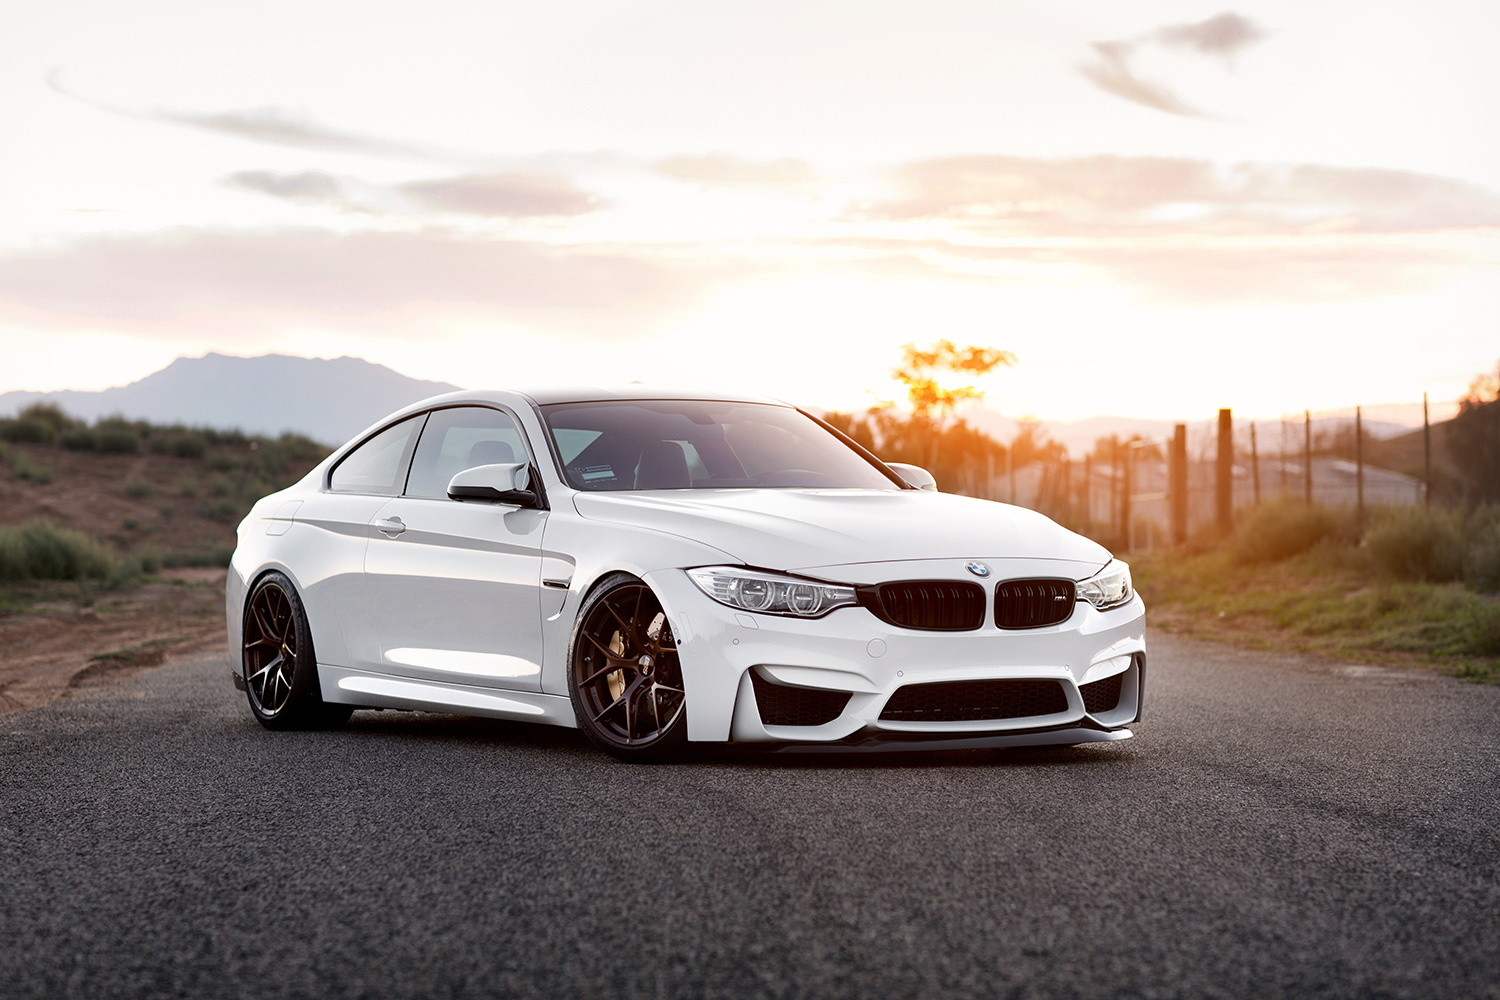
There are a couple things you want to keep in mind when photographing cars. The location is a big one, deciding whether you’ll be using strobes or natural light is another, and lastly, what gear you’ll be using is also incredibly important. Being prepared and understanding your clients needs is a top priority and will definitely make your life easier and your clients happy.
Planning
Location Location Location. Clients usually have a certain aesthetic they’re trying to keep. Some don’t like nature backgrounds, others don’t want flashy buildings in the background. Finding a good location is key. Scout locations, and more importantly, scout them around the time you’ll be shooting, or keep in mind where the sun will be at the time of your shoot. Most places are private property or government owned, so having a permit in every scenario would be amazing, but sometimes the budget doesn’t allow it. Shooting on empty roads is ideal, parking lots are great, but be ready for security to boot you within 15 minutes. I’ve probably been kicked out of around 100 spots over the last 10 years. While I don’t advise to use private property without permission, sometimes it is better to ask for forgiveness than it is to ask for permission. Remember, being polite and courteous can get you a long way.
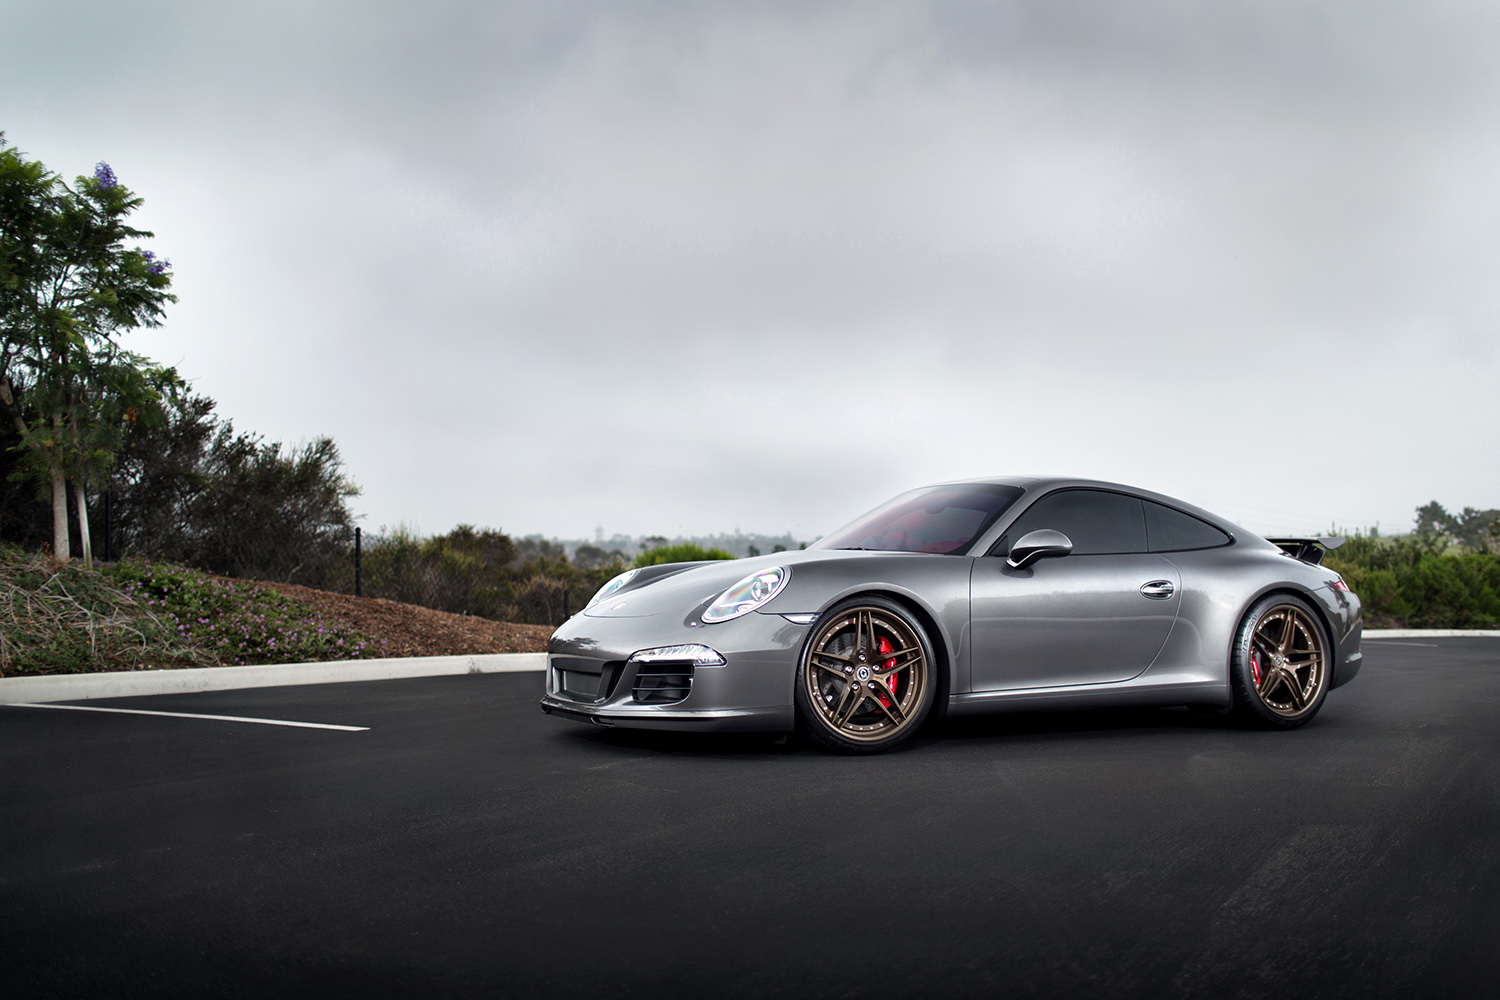
The majority of the time you can make a simple location look much better than it might seem, but remember that the images are about the car. The client’s number one concern is that the vehicle is getting the attention is deserves. Knowing which angles to capture body lines will bring out the car and make it pop.
Gear
I’ve been a Canon shooter since the beginning. I remember shooting with my first Canon Digital Rebel XT since then I’ve always stuck with Canon. With that being said, my current workhorse is a Canon 5D Mark III, however, a Nikon D800/D810 or Sony a7RII would be more than capable of producing the same images. Automotive photography gives you the freedom of shooting many different angles at varying focal lengths. For the past couple years, I’ve really enjoyed the Canon 85mm f/1.2L II. The sharpness it gives you is amazing, and when you can play with it’s shallow depth of field it gives you some really pretty images. If you want to open up that aperture and still use some strobes, you’ll need a Neutral Density Filter, Circular Polarizer, or both. I’ve found myself stacking filters to open up to 1.2 or 1.4.
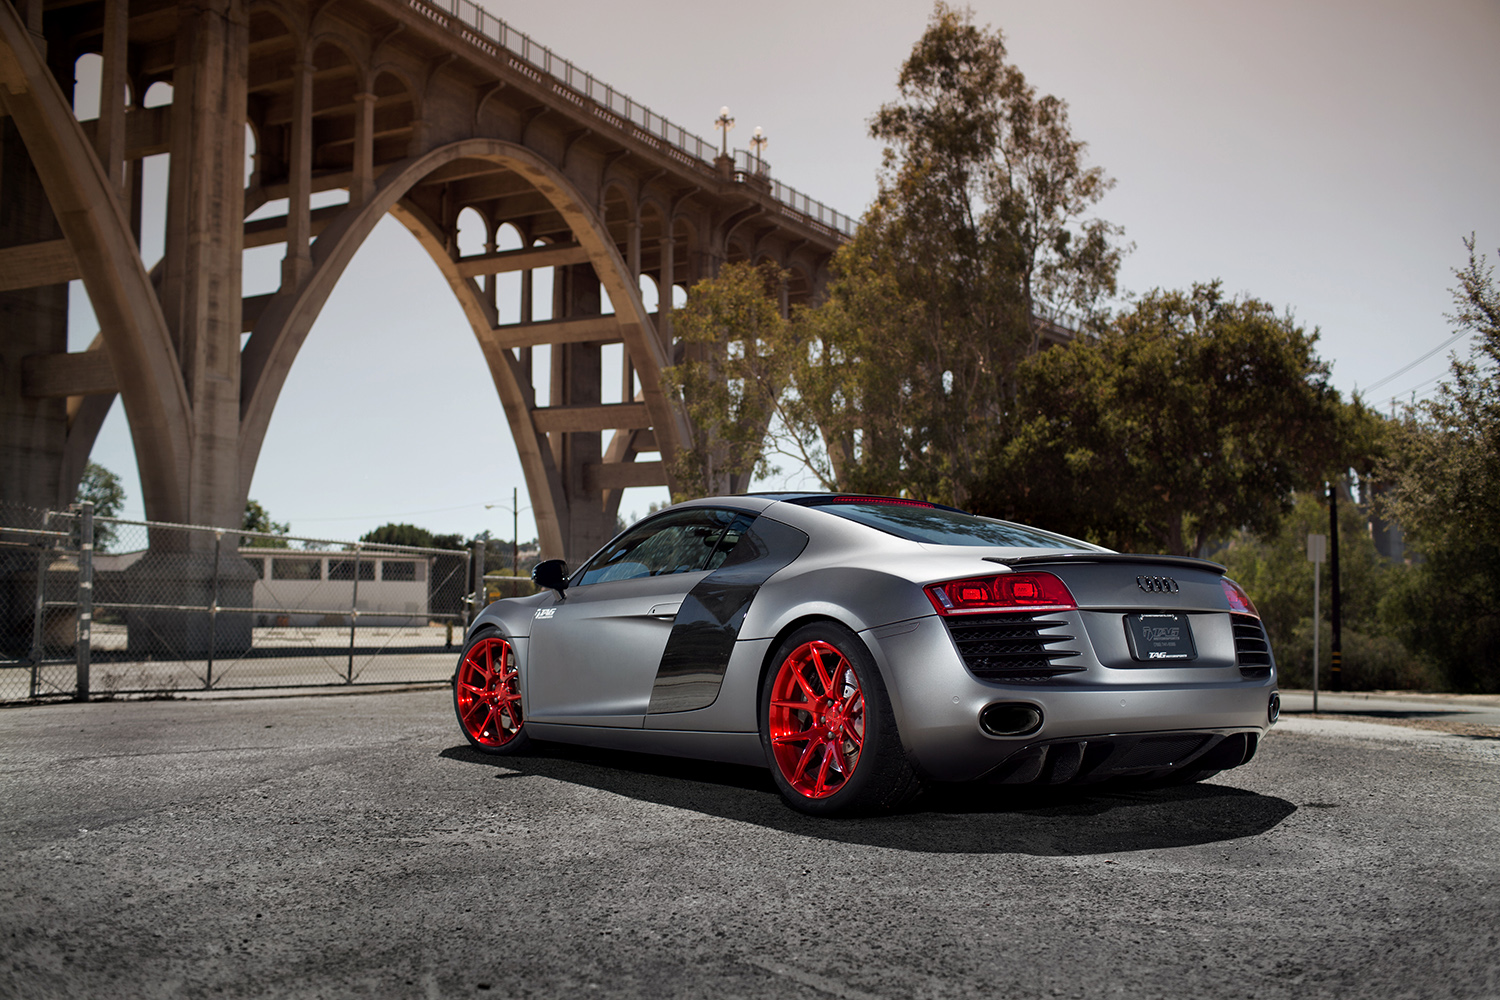
One of the most technical aspects of shooting automotive comes when you add strobes into the mix. I’ve shot with AlienBees for the past 7 years and have found them easy to shoot with and reliable. My kit usually consists of my AlienBee B1600 and 2 AlienBee B800’s. I’ve heard of many different ways to light up a car, however, the majority of car photographers I know use the bare bulb as opposed to soft boxes or whatnot. The bare bulb gives you a nice contrasty light with a small white highlight in the reflection that makes it easy to take out in post production. I can’t even count the number of times I’ve been asked how many lights I use on my car shoots. I’ve seen car shoots done with 1 strobe, walking it around the car with several exposures and compositing them all in post production.
Personally I always shoot full body car shots with 3 strobes, covering every car panel with light. Placing one in the front, side and back usually has you covered. You can play around with the positioning of the lights, however as long as you have light all over the car you should be fine. I’ve shot for several different wheel manufacturers and getting light on the wheels is very important, keep in mind what you’re trying to have the viewers eyes attracted to.
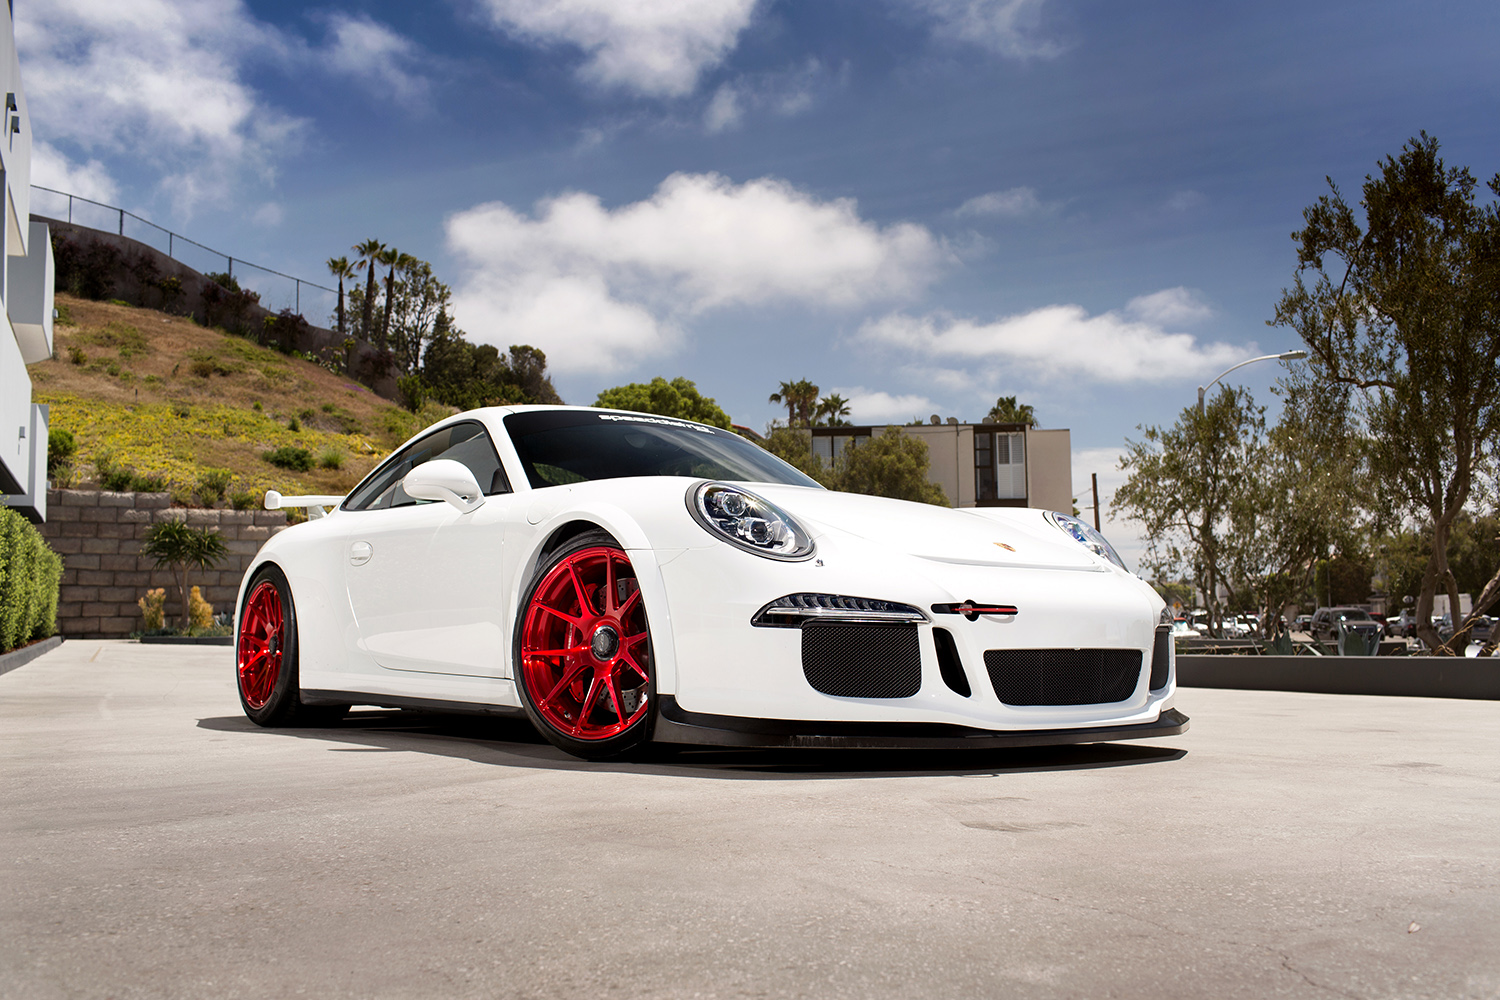
Going wide in your focal length can really bring the car front and center. When going with wider shots I usually stick with my trusty Canon 35mm f/1.4L, you really can’t go wrong with this lens as it produces beautiful vibrant images and a desirable focal length. I shoot primes as frequently as my projects allow me to.
Shooting
By now, you’ve already decided if you’ll be doing a naturally lit shoot or a strobe shoot. If you’re shooting with strobes, make sure to give yourself extra time to change lighting between each shot. The luxury of shooting strobes should only come when you know you have a good amount of time to yourself. I love shooting sunrises, but shooting with strobes would put you in a considerable time crunch. Snapping off frames at different focal lengths and angles is key. You’ll notice light getting better and better until POW! you have the perfect lighting.
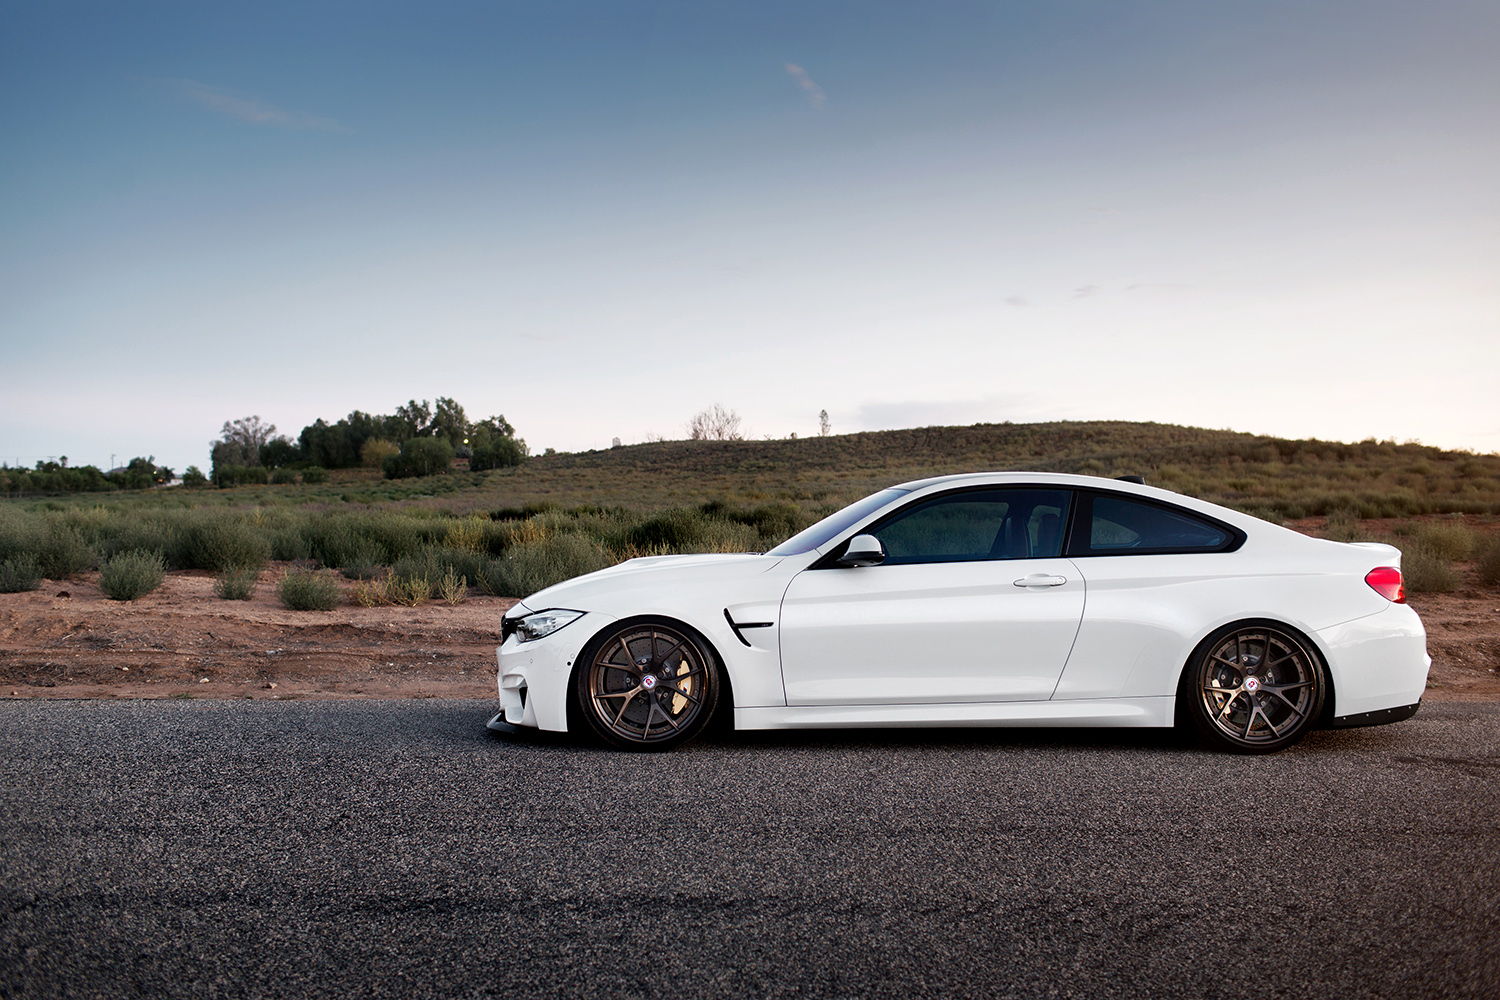
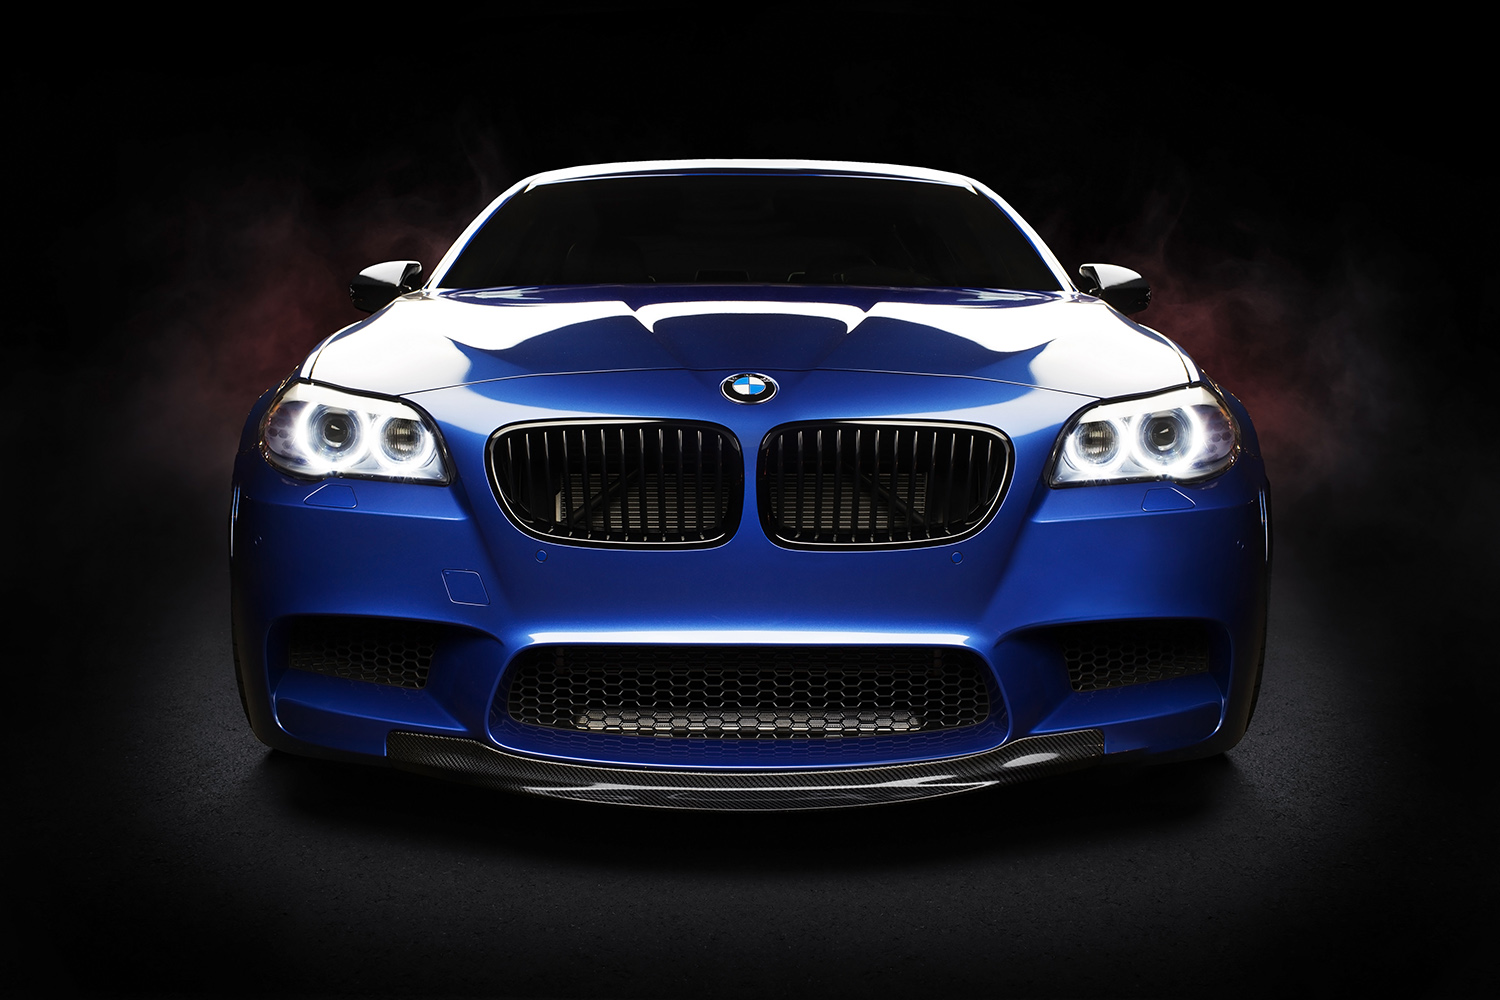
However, you can shoot a car at any time of day. Shooting mid-day with strobes and having the background slightly underexposed will give you a great sense of depth and really bring out your subject. Don’t think that just because you’re shooting at high noon that all your pictures will be crap. Obviously the color of the car makes a difference, but any color is capturable at any time of day. Personally I think darker color cars are more difficult to photograph, and I know other photographers would agree. Black cars are going to be your most difficult, as black has a tendency to eat up light, and is really reflective on an automobile, giving you hard to control light mixed with hotspots. Bringing out the body lines on a black car is key as the darkness of the car swallows up any available light, even artificial light (strobes).
Focusing on different angles of the car is also important, no one want’s to see the same thing over and over. Make sure you’re capturing what your client is selling. If it’s wheels, then focus on the wheels, if it’s a front lip and grille, then make sure you’re shooting the hell out of the front of the car. Keeping the client happy should be your number one concern.

Creative shots will always keep people’s attention, in today’s day and age it’s important to grab a person’s eye off that Instagram or other social media feed. It’s important to capture a car from angles that are interesting, so always snap some shots from an angle that an average person doesn’t usually get. You want to get down by the ground or up on something high. There are other ways to spice up a photo as well, interesting backgrounds, and creative lighting can help show off the vehicle creatively.
Light Painting
One of the more creative ways to get a great night shot is to light paint. It gives your photos a surreal look and depending on your light source, you’ll have some really even lighting. Most of my light paintings consist of a base image for the background and about 3-5 photos for the different panels of the car, which were lit independently. The light source is important, and I’ve tried the following: 4 foot fluorescent light tube, modeling light on AlienBees strobe, and a dimmable 198 LED video light (the type that go on top of a DSLR). I’d say the LED video light was the easiest and gave me the best light, it being dimmable was nice as well. I’ve heard amazing things about the Westcott Ice Light, but have never used one personally.

The most important part about light painting is your location being dark enough to drag that shutter long enough to walk around a panel of the car. If your location is bright or has a lot of light spill hitting the car, your camera will catch it and it’ll be more time in post production removing them. I’ve found 5-8 seconds being my sweet spot. You’ll obviously need to get an exposure for the background as well. Keep in mind the long hours in post production you’ll be taking per photo to composite your best shots together.
LensRentals.com Guest Contributor
Author: Alex Stone
-
Samuel
-
Samuel
-
Richard L Perez
-
Car Images Editing
-
Car Images Editing
-
Jay Ess
-
JM
-
Chris Needham
-
Joe Kashi
