Equipment
Four Ways to Light On Location And Still Stay Mobile

I love using lighting while on location, but I’ve certainly experienced the downfalls. While bringing lighting gear outdoors is great for light control, bringing off camera lighting with you while shooting outdoors makes the process cumbersome, and really limits your mobility. However, I’ve found a few different tools that can help with lighting your scene while outside, and giving you full mobility to get up and move with ease.
One of the biggest problems you’ll run into when shooting on location is providing power for your lights. While speed lights are a solution to this, they often fall short in terms of wattage when shooting on bright and sunny days. So for that reason, all of my recommendations will be with the Profoto B1 and B2 systems. I understand that there are more affordable options available (such as an AlienBee B800 and a Vagabond Mini), but I’ve found the Profoto systems to be the easiest solution, and without any cables or extra gear needed to lug around. Furthermore, because of reliability issues, we do not rent the Vagabond Mini system from PCB, so we’re just going to make it easy and use the gear we have in our inventory.
The Bounce + Assistant Technique
Among the most obvious and common ways to control light on location is to get an assistant to help you, and bring along a bounce system to help control and shape the light when working with a subject. Often, I’m able to find a friend or an aspiring photographer who is happy to help me when shooting on location in exchange for lunch, giving me the versatility of light control, while still keeping it affordable.
For me personally, I prefer the California Sunbounce as my preferred bounce system. Sure it’s expensive, but with its rigid design, it’s able to stay lightweight, and give you really nice control of the light. The mini Sunbounce (which is hardly mini) allows for plenty of control of light, and the handles make it easy for an assistant to control the light and make fine tune adjustments, even in windy environments.
Rent the California Sunbounce Mini
The Monopod Lighting Solution
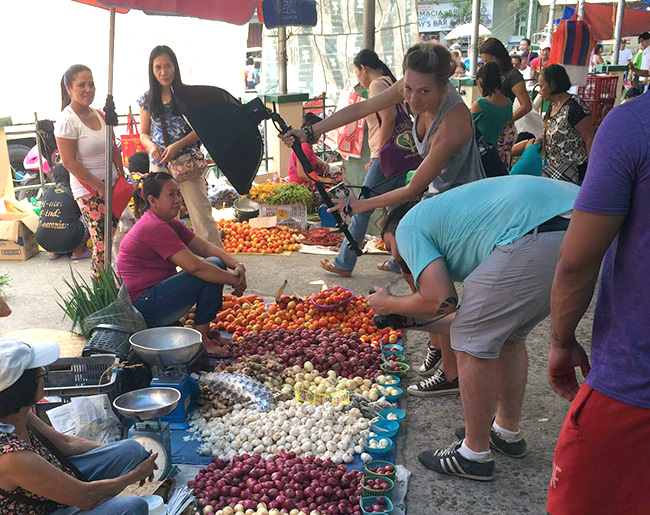
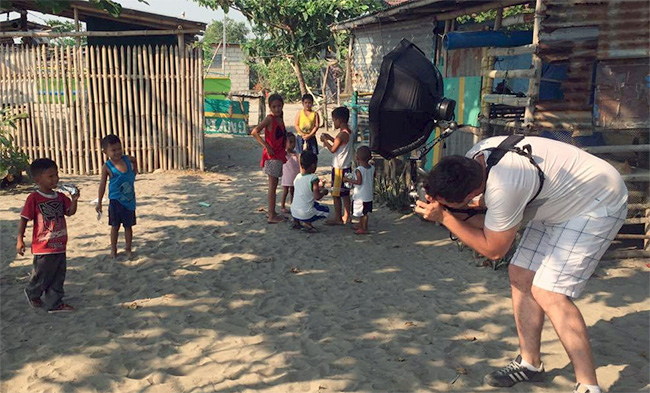
One of the most common ways I light on location while staying mobile is using a monopod instead of a light stand. With the help of an assistant, a monopod keeps the light mobile and lightweight, while giving you, even more, control than a standard light stand, provided that your assistant is able to adjust the light as needed.

Setting up a system like this is easy. First, you’ll need a monopod. I prefer to use one without a tripod head attached, as the head can make the system more cumbersome than it needs to be. I then screw a spigot (or also commonly called a brass monkey) to the top of the monopod, giving me a mounting plate for the light. While we don’t rent spigots, they can be found for a couple dollars at most camera stores and online dealers. When attaching the spigot to the monopod, you now have an effective mounting pin for standard lights.

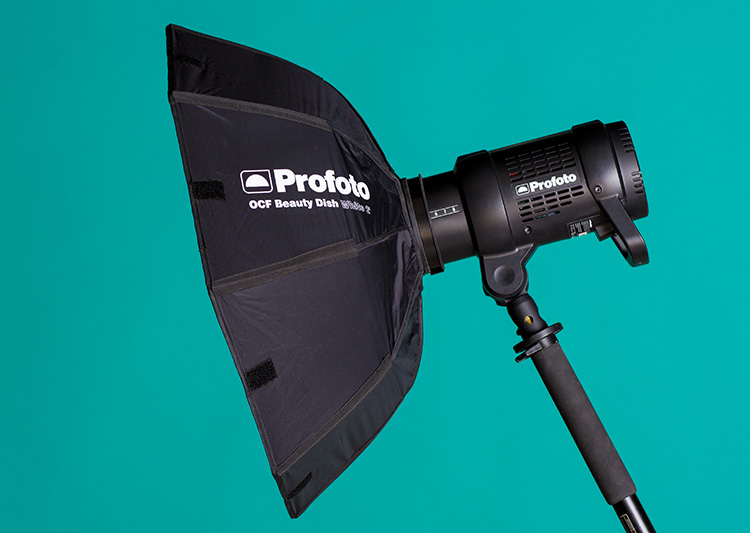
Personally, I choose to use the Profoto B1 system for this lighting technique. With the battery attached and High-Speed Sync, the Profoto B1 makes shooting on location easy, while still keeping it light enough for an assistant to easily carry around and manipulate. Using this on location with the Profoto foldable beauty dish, or even a medium softbox, you’re able to get nice, soft and controllable light, in an incredibly mobile package.
Rent the Profoto Monopod Rig for Canon | Rent the Profoto Monopod Rig for Nikon
Westcott Icelight
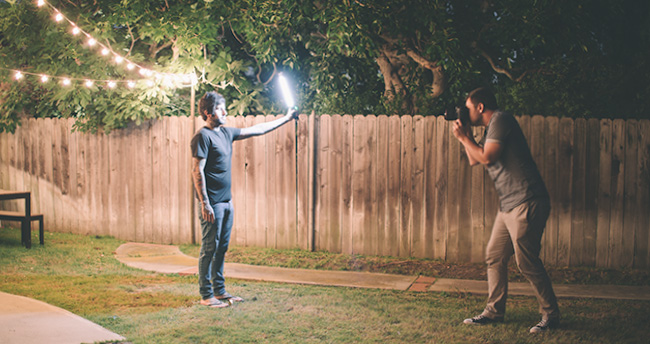
A couple years ago, a new product came onto the photography scene, and completely changed the way we were able to light subjects in lower light environments. This product, call the IceLight by Westcott, is a lightsaber-esque tool loaded with LEDs, and allows for nice and soft light, in an all in one package. While this isn’t a great lighting solution for a bright environment, it does work incredibly well when shooting at dusk or even at night. If I’m doing a darker, moodier shot, I’ll bring an assistant along, and have them hold and control the Westcott Icelight as my main light. The system is surprisingly controllable and provides a really soft light on your subjects.

Boomerang Flash Bracket
Up until now, all of these recommendations come with the need for an assistant in some capacity. While friends and family are often able and happy to help out, you’re not always given the luxury of having someone standing around to help hold and control your gear, so I wanted to leave you with one option that doesn’t require an assistant at all. A product I recently discovered and quickly fell in love with is the Boomerang Bracket by ProMediaGear. I love it so much, that a few weeks ago, I even reviewed the product over at Resource Magazine. What the Boomerang Bracket is, is a bracket system that allows you to mount a Profoto B2 flash unit to the top of your camera, and still give you enough control to move the light around as needed, and enough clearance to actually use a modifier with the unit. While the design is cumbersome for some, it actually works a whole lot better than most options and is light enough to carry around for extended periods of time.

While the system works great for the majority of users, it does comes with some downfalls. For one, it certainly is heavier than other options. While the bracket is lighter than one would suspect, it does have some weight to it. Secondly, it also limits where you can place your light. Often, I’ll just shoot it overhead, giving me the option to flash my subject and create nice and even light on them where they’d otherwise be in the shade. You do have a limited range of motion with the joint on the bracket, you’re still not going to be able to expertly feather the light on your subject with this tool.
Rent the Profoto Boomerang Rig for Canon | Rent the Profoto Boomerang Rig for Nikon
Hopefully throughout this article, you’ve found that there are practical ways to light while on location, and still keeping your mobility about you. Using some of the gear listed above, you’re able to travel from location to location, much like a natural light photographer, and not have to deal with the constraints that natural light often will give you. If you’ve used any of these techniques, feel free to share your results and BTS photos in the comments below.
Author: Zach Sutton
I’m Zach and I’m the editor and a frequent writer here at Lensrentals.com. I’m also a commercial beauty photographer in Los Angeles, CA, and offer educational workshops on photography and lighting all over North America.
-
Zach Sutton Photography
-
JeepWrangler_JK
-
Brendan
-
Lee
-
Adam K.
-
l_d_allan
-
Zach Sutton Photography
-
Zach Sutton Photography
-
J.L. Williams
-
SpecialMan
-
Zach Sutton Photography
-
peety3
