If you’re at all like me, you’re the designated photographer for your family and friends. If there’s a family photo, you take it. At some point on New Year’s Eve, you’ll have 4 or 5 random iPhone in your hands at once, taking the group shot for everyone to post on social media. Have you ever been invited to an event, or even a wedding, and it’s casually suggested that you bring a camera along? If they ever refer to you as the one with the “nice” camera, it can be a little annoying. Most of the time, though, people are asking because you know stuff and they trust you to do a good job. You are the photographer. This means that eventually you will get asked to build a photo booth.
One of the popular questions we get asked from customers that call and email us, is that they need to build a photo booth for an event they’re either working or hosting, and want our expertise on how to create an effective booth using some of the gear we have available. It’s a tough question because there is no right answer, but we wanted to give you a headstart on how to go about it, for any upcoming holiday parties you may have planned.
I’ll pretense, and tell you that I’ve never made the same exact photo booth twice. There are a hundred ways of doing it and I’m constantly changing my mind based on the location, type of event, gear at hand, or maybe a fleeting creative inspiration. At the core, however, all photo booths have the same basic requirements. It’s a camera, locked off on tripod or stand, taking photos of people standing in front of a backdrop. So I’d like to start by describing the different areas of setup you should think about.
Lighting
If you’re not careful, it’s easy to go overboard in this area. I’ve devised many elaborate setups in my mind but the truth is simplicity is key here. This is not the time to show off your studio lighting prowess. I’ve found the best overall results come from a one light setup. Recently, my favorite is the humble ring flash, known as the ABR800 from Alien Bees. It gives a unique look that’s easy to setup, easy to use, and has the added benefit of taking up very little space. An elaborate lighting setup with big softboxes or umbrellas can be a hassle because no matter what you do, people are going to bump into your stuff. The more gear you use, the more stuff for people to trip over and make no mistake, their feet will find your light stands.
If a ring flash isn’t your style, I would also recommend a medium (2’x3′) softbox, placed about 45 degrees off axis with the camera. It will provide a nice simple light, still keep the footprint of the booth small, and give you nice images that have a professional touch. Additionally, it would be large enough to light groups of 3-4 people with ease.
One of the other small problems you can run into when putting together a photo booth is cable management, and keeping the space safe. For this reason, we recommend strobes like the Profoto B1. Not only is it a great strobe with plenty of power and features, but it’s also battery powered, so there is no need for cables to be run through your set, giving you a tripping hazard. However, other options are also available, like the Alien Bee B800, though if you choose one of those routes, be sure to gaff tape down all the cables.
Backgrounds
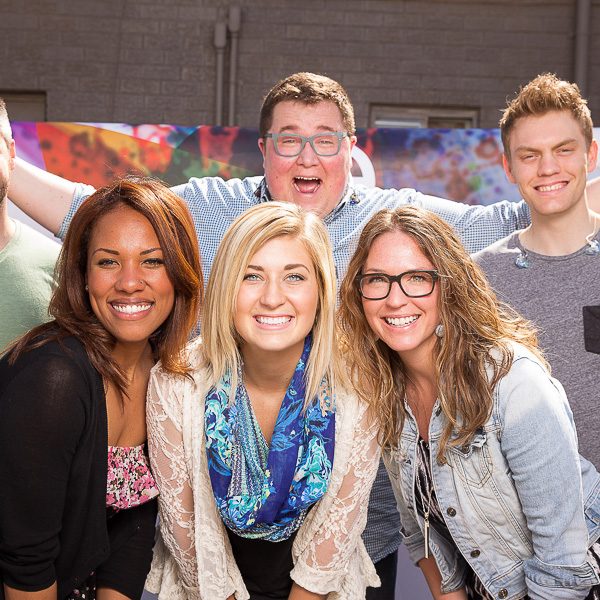
The background is what is going to make it a photo booth more than anything else. Often times the people or organization that want you to provide a photo booth will already have a background in mind and offer to provide it or set it up. If this is the case, just make sure to mention to them ahead of time that the backdrop should be wide, not tall. Not only is this the way that most photos are taken but groups of people spread out horizontally, not vertically. This may sound obvious to you but trust me, it’s worth mentioning.
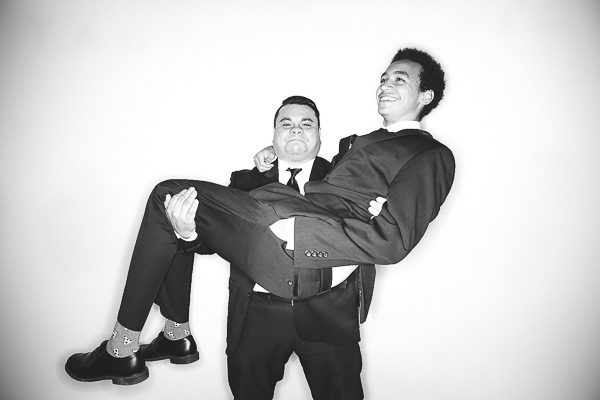
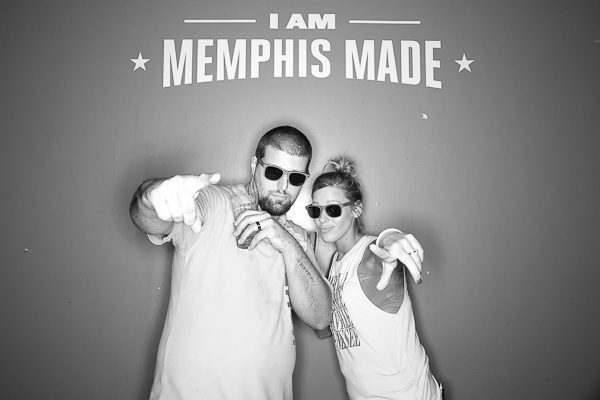
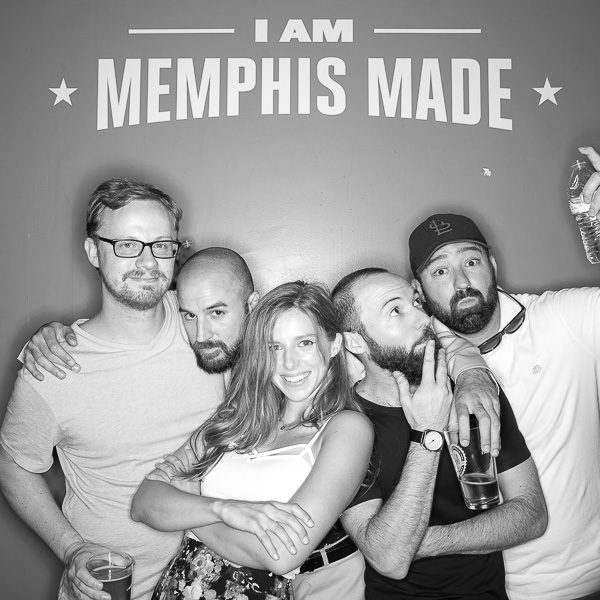
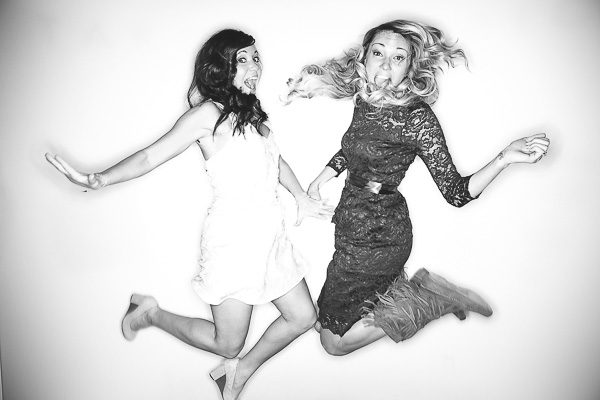
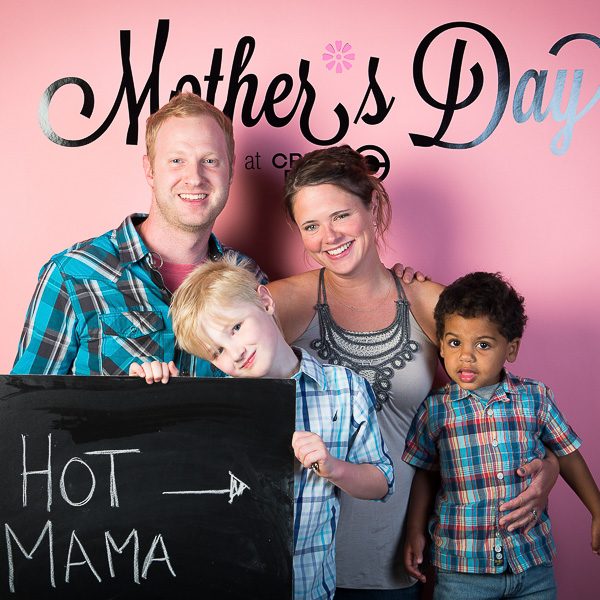
If you’ve been charged with providing the background, my advice is to again, keep it simple. Gold, silver, or black sequin fabric can be purchased very inexpensively by the yard at stores such as JoAnn’s Fabrics or Michael’s. You can simply tape any fabric to a wall or get a designated background stand kit. My favorite setup, however, is still the plain white wall. You can’t go wrong with a ring flash on a white wall. Add some props, rock star sunglasses and shoot in black and white. Everybody looks good in black and white.
Camera, Lens, and Setup
My go to camera for photo booths is the Canon 5dMkIII but in reality, almost any camera will do. For the best, most consistent results, you want a camera that is high quality, can shoot in a manual mode and can fire an off camera flash. Having a decent battery life is also a huge plus because ideally, your camera would last the entire event without you having to monitor it or stop the photo booth to swap batteries.
As far as lenses, your choice will often be decided for you. More often than not, you’ll be limited as to how far away from the background you can set up your camera before you’re in the way of something else like a dance floor or aisle. If you don’t know ahead of time how much space you’ll have, just assume it’s not much and bring a wide angle zoom. My favorite focal length for photo booths is 24mm. While it’s not usually recommended for portraits, I find that when shooting a bunch of people acting goofy, throwing their poses, and flailing their limbs, the slight distortion from a wide angle lens can add character to the photos.
When setting up your camera, you want to make sure that you use as many manual settings as you can, including a manual or custom white balance, and manual focus. This will help you get consistent results that are easier to batch edit after the event. Unless you know for a fact that there will never be more than 3 people in your booth, make sure to stop your aperture down to get enough depth of field to have everyone in the photo in focus. F/5.6-f/6.3 is a good place to start.
Remote Control
Assuming that you don’t want to stand at the camera and take pictures all night, you want a way of triggering the camera remotely. In portrait photography, it takes time to develop a relationship and flow when working with new subjects. You won’t have the luxury of that time with a photo booth so it’s best to take you out of the mix as much as possible. A remote control is a great way of doing this. With something like the Giga T Pro Wireless Remote, you can hand the remote off to the guests and let them take their own photos. While this may seem to free you up to enjoy the event, remember to stay close and keep an eye on your gear. A small remote is easy for someone to walk off with by accident.
If you’d like to get slightly more advanced, I’ve had good luck using smartphone apps to trigger the photo booth. The main app I use is called TriggerTrap. The app has lots of functions but the main mode I use is the Simple Cable Release. It puts a big red button on the screen that I can even add a short delay too. I use it on my iPad, mounted below the camera and the instructions on how to use the photo booth become obvious without having to say much. Tip: make sure to turn off any sleep timer or screen saver on your smart device so that you don’t have to worry about it cutting off.
Display
This part is completely optional but I think it can take your photo booth to a whole new level. The best way to get people excited is to display the photos as soon as they are taken. Most modern DSLRs have an HDMI output available so the simple thing to do is connect your camera to a computer monitor or TV and then set your image review time to infinity. This way when someone takes a photo, the image will remain displayed until the next picture is taken. You may have to find the options in your camera to turn off the technical information and overlays from appearing on the external screen.
Another option is to tether your camera to a computer with a program such as Adobe Lightroom using a long USB cable. You can run lightroom in full-screen mode to display the photos as they’re taken. You also have the option to apply a preset as each photo is imported so you can tweak the colors, add a vignette, or apply sharpening. Whatever your tastes are.
If you want to go another step further, I’d recommend looking at import/export plugins for lightroom. I use a plugin called Folder Watch from a man named Jeffrey Friedl. The plugin is free but I’d consider tipping him because it’s absolutely worth it. With this plugin, I can use the ethernet port out of the Canon 1DX MK II to delivery photos over long distances into my Lightroom catalog, have them edited and resized, and then exported to a website or social media even with a custom logo or hashtag watermark. All automatically done in a matter of seconds. It’s always a crowd pleaser when people can download, share, or tag fun photos on facebook literally less than 3 seconds after they leave the photo booth.
As always, please let us know if you have any questions or want more advice on how to setup your own show-stopping photo booth.
5 Comments
Ed Bambrick ·
I’ll help get things started….
Meow girl in the middle.
https://www.lensrentals.com/blog/media/2016/12/Photobooth-DIY-Ideas-3.jpg
Arthur Meursault ·
I'll help get things started....
Meow girl in the middle.
https://www.lensrentals.com...
Michael Clark ·
Whatever happened to the actual “booth” in the phrase “photo booth? At my 30 year class reunion a couple of years back we had a company that brought an actual booth: A little portable cubicle with a bench, walls, curtains, etc. along with all of the hats, scarves, crazy glasses, and other props.
Hilarity ensued!
Over half the fun was having to squeeze 2-3-4 of our classmates into the thing at once! It showed in the resulting images, too!
chris needham ·
I set a photo booth up a few years ago using a single light, reflector and a wireless remote. I also had a laptop tethered to the camera so that people could see the images as they came up- it was a couple of feet away from the camera on a table. When I looked at the pictures later I realized that only about half of the people realized that they needed to look at the camera! Everyone else was looking at the monitor.
LA Photo Party ·
Thanks for sharing informational content with us. I am so glad to read your blog.