We’re used to seeing a lot of lenses disassembled on this blog, where MTF charts are more frequent than example photos. So I walked into this article with a bit of skepticism – certainly, we’ve never tried an elaborate photo breakdown before. But with photoshoots this past year far less frequent than the years prior, it has allowed me to further plan my shoots, and I figured it was time to break down a recent favorite shoot of mine, piece by piece.
This shoot idea was derived by my dear friend and model for the shoot – Angel Lin. Months prior, she stumbled across a piece of 3D art by the incredibly talented Marcelo Cantu, and wanted to see if it could be recreated in reality, using just lighting, some special effects makeup, and a touch of Photoshop.
View this post on Instagram
Gear Used
- Canon 5d Mark IV
- Canon 100mm f/2.8L IS
- Profoto D4/Acute Ringflash
- Profoto OCF 2′ Octobox
- Profoto B10+ Strobe
- Profoto B2 2-light kit
- Profoto OCF II Gel Kit
- LensBaby OMNI Filter System
Pre Planning
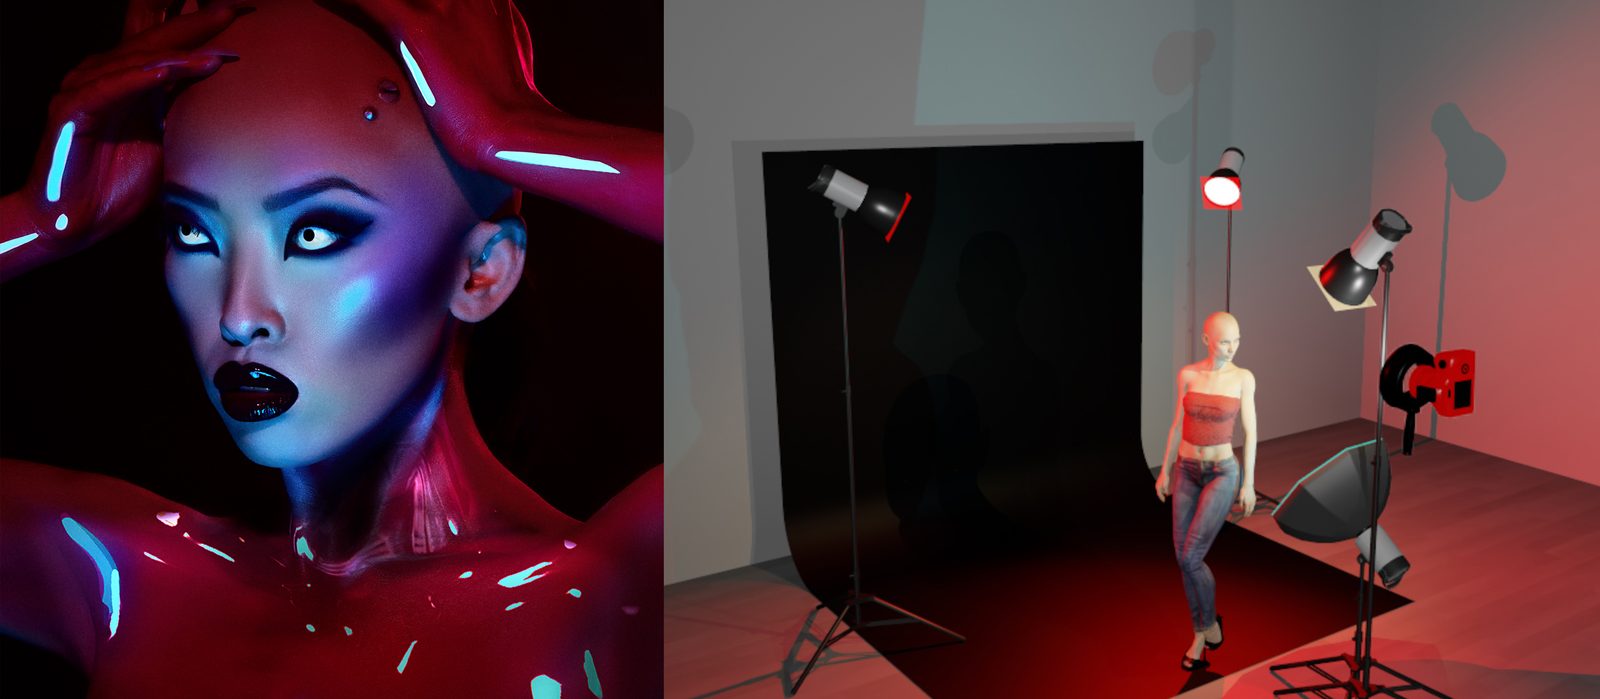
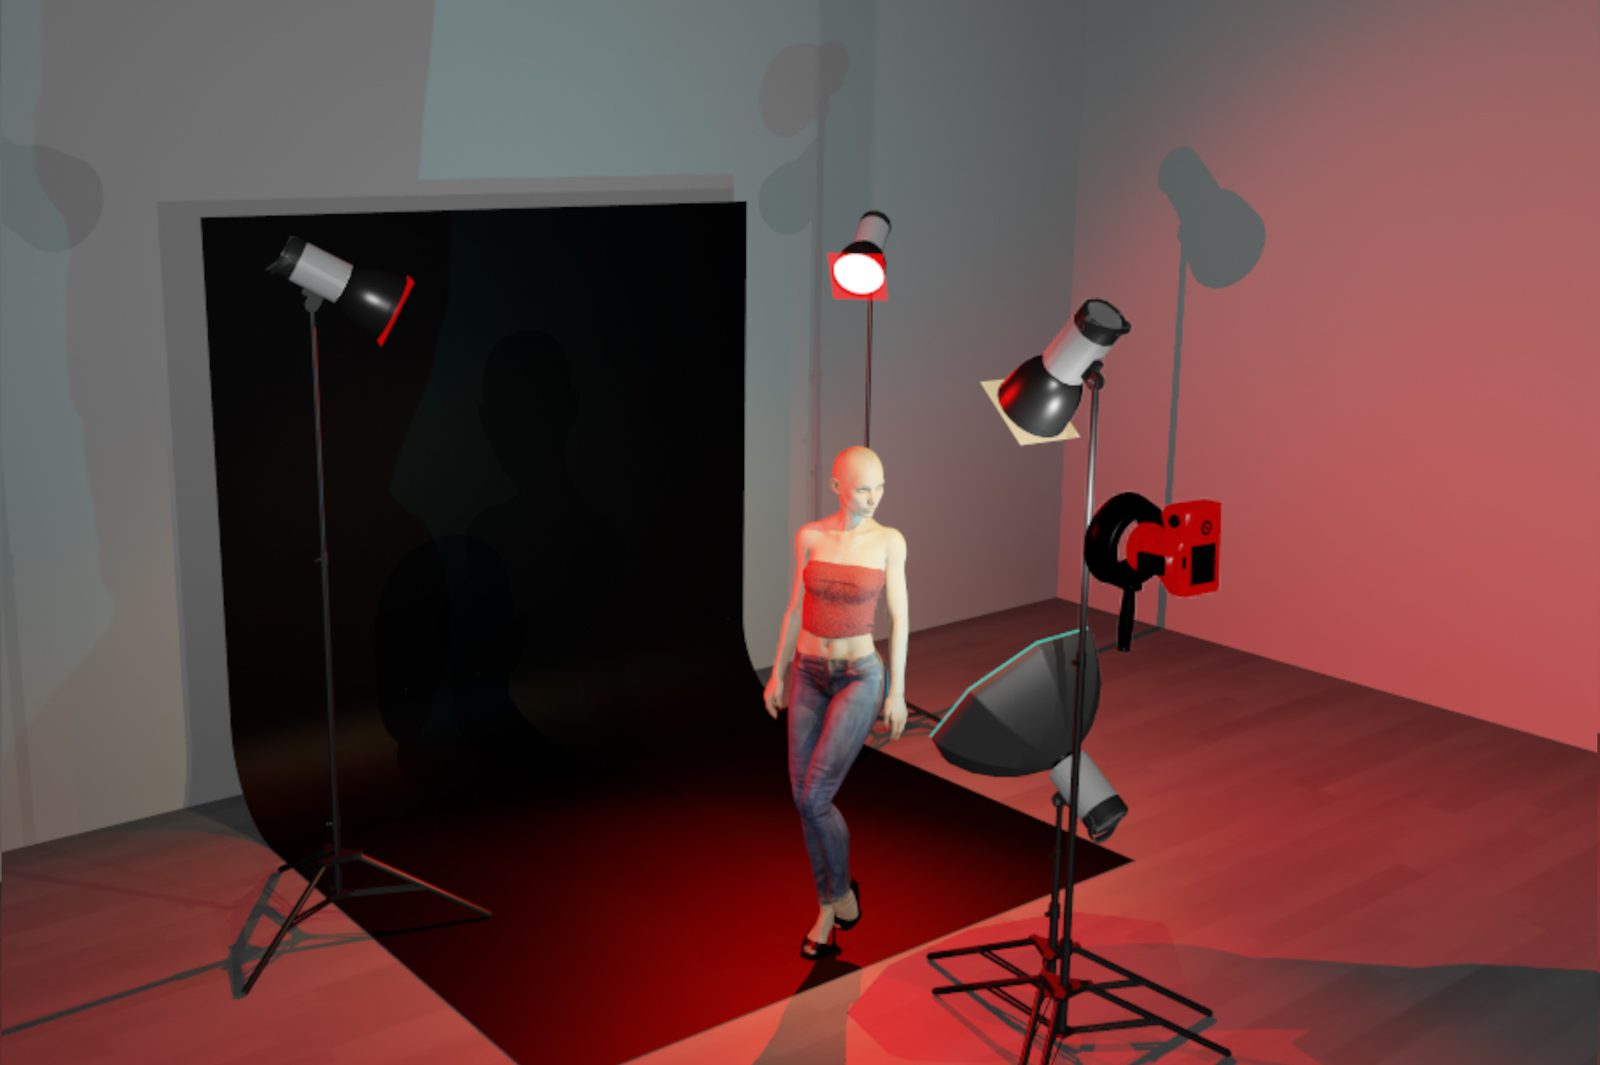
Going into this shoot, I was really quite nervous about how to light it. Being that the inspiration and concept were derived from 3D art, lighting doesn’t work the same as it would in the real world. So I figured it was best to get a good grasp ahead of time on how to properly light it, and when it comes to planning ahead, I appreciate the software I use for lighting diagrams, but it is also great for lighting practice – Set.A.Light 3D.
Set.A.Light 3D allows me to set the lighting stage ahead of time and get real-time feedback on light placement and settings. While I almost exclusively use it to build lighting diagrams after shoots, it works really great as a tool to plan your shoots ahead of time.
Once I got a handle on how I wanted to replicate the lighting, it was time to put together the equally important aspects – makeup.
View this post on Instagram
For this shoot, we had the opportunity to work with Kelton Ching – an incredible special effects makeup artist here in Los Angeles. He’s worked on several projects in the past and has built up quite the resume when it comes to creating the unworldly while only using makeup and prosthetics.
The Production
Looking at the digital art, we quickly decided it was best to work with a combination of both body paint, and gels lights to achieve the desired effect.
Gelled lighting is not something I’m fundamentally comfortable with – I’m generally in the studio shooting beauty work, where color accuracy is important. But I’m always up for a challenge, and this photo series looked to be a perfect opportunity to really challenge myself in new ways.
Recently, I got the new OCF2 Gel kit from Profoto. This seemed like a perfect opportunity to try out the new system, and create the variety of different colored light happening in our inspiration.
And from my brief history in film photography, I have learned a few tricks to help color grade images in-camera, using gels in a couple of different ways. The camera sensor is essentially a light-capturing device, and with that framing in mind, you’re able to color grade your images a few different ways. The first is the obvious traditional way – attach a color gel to the light source, so that the color that comes from the light is changed. The other way is far less obvious – which is putting a gel in front of your lens to capture a different color tone for a portion or all of the image.
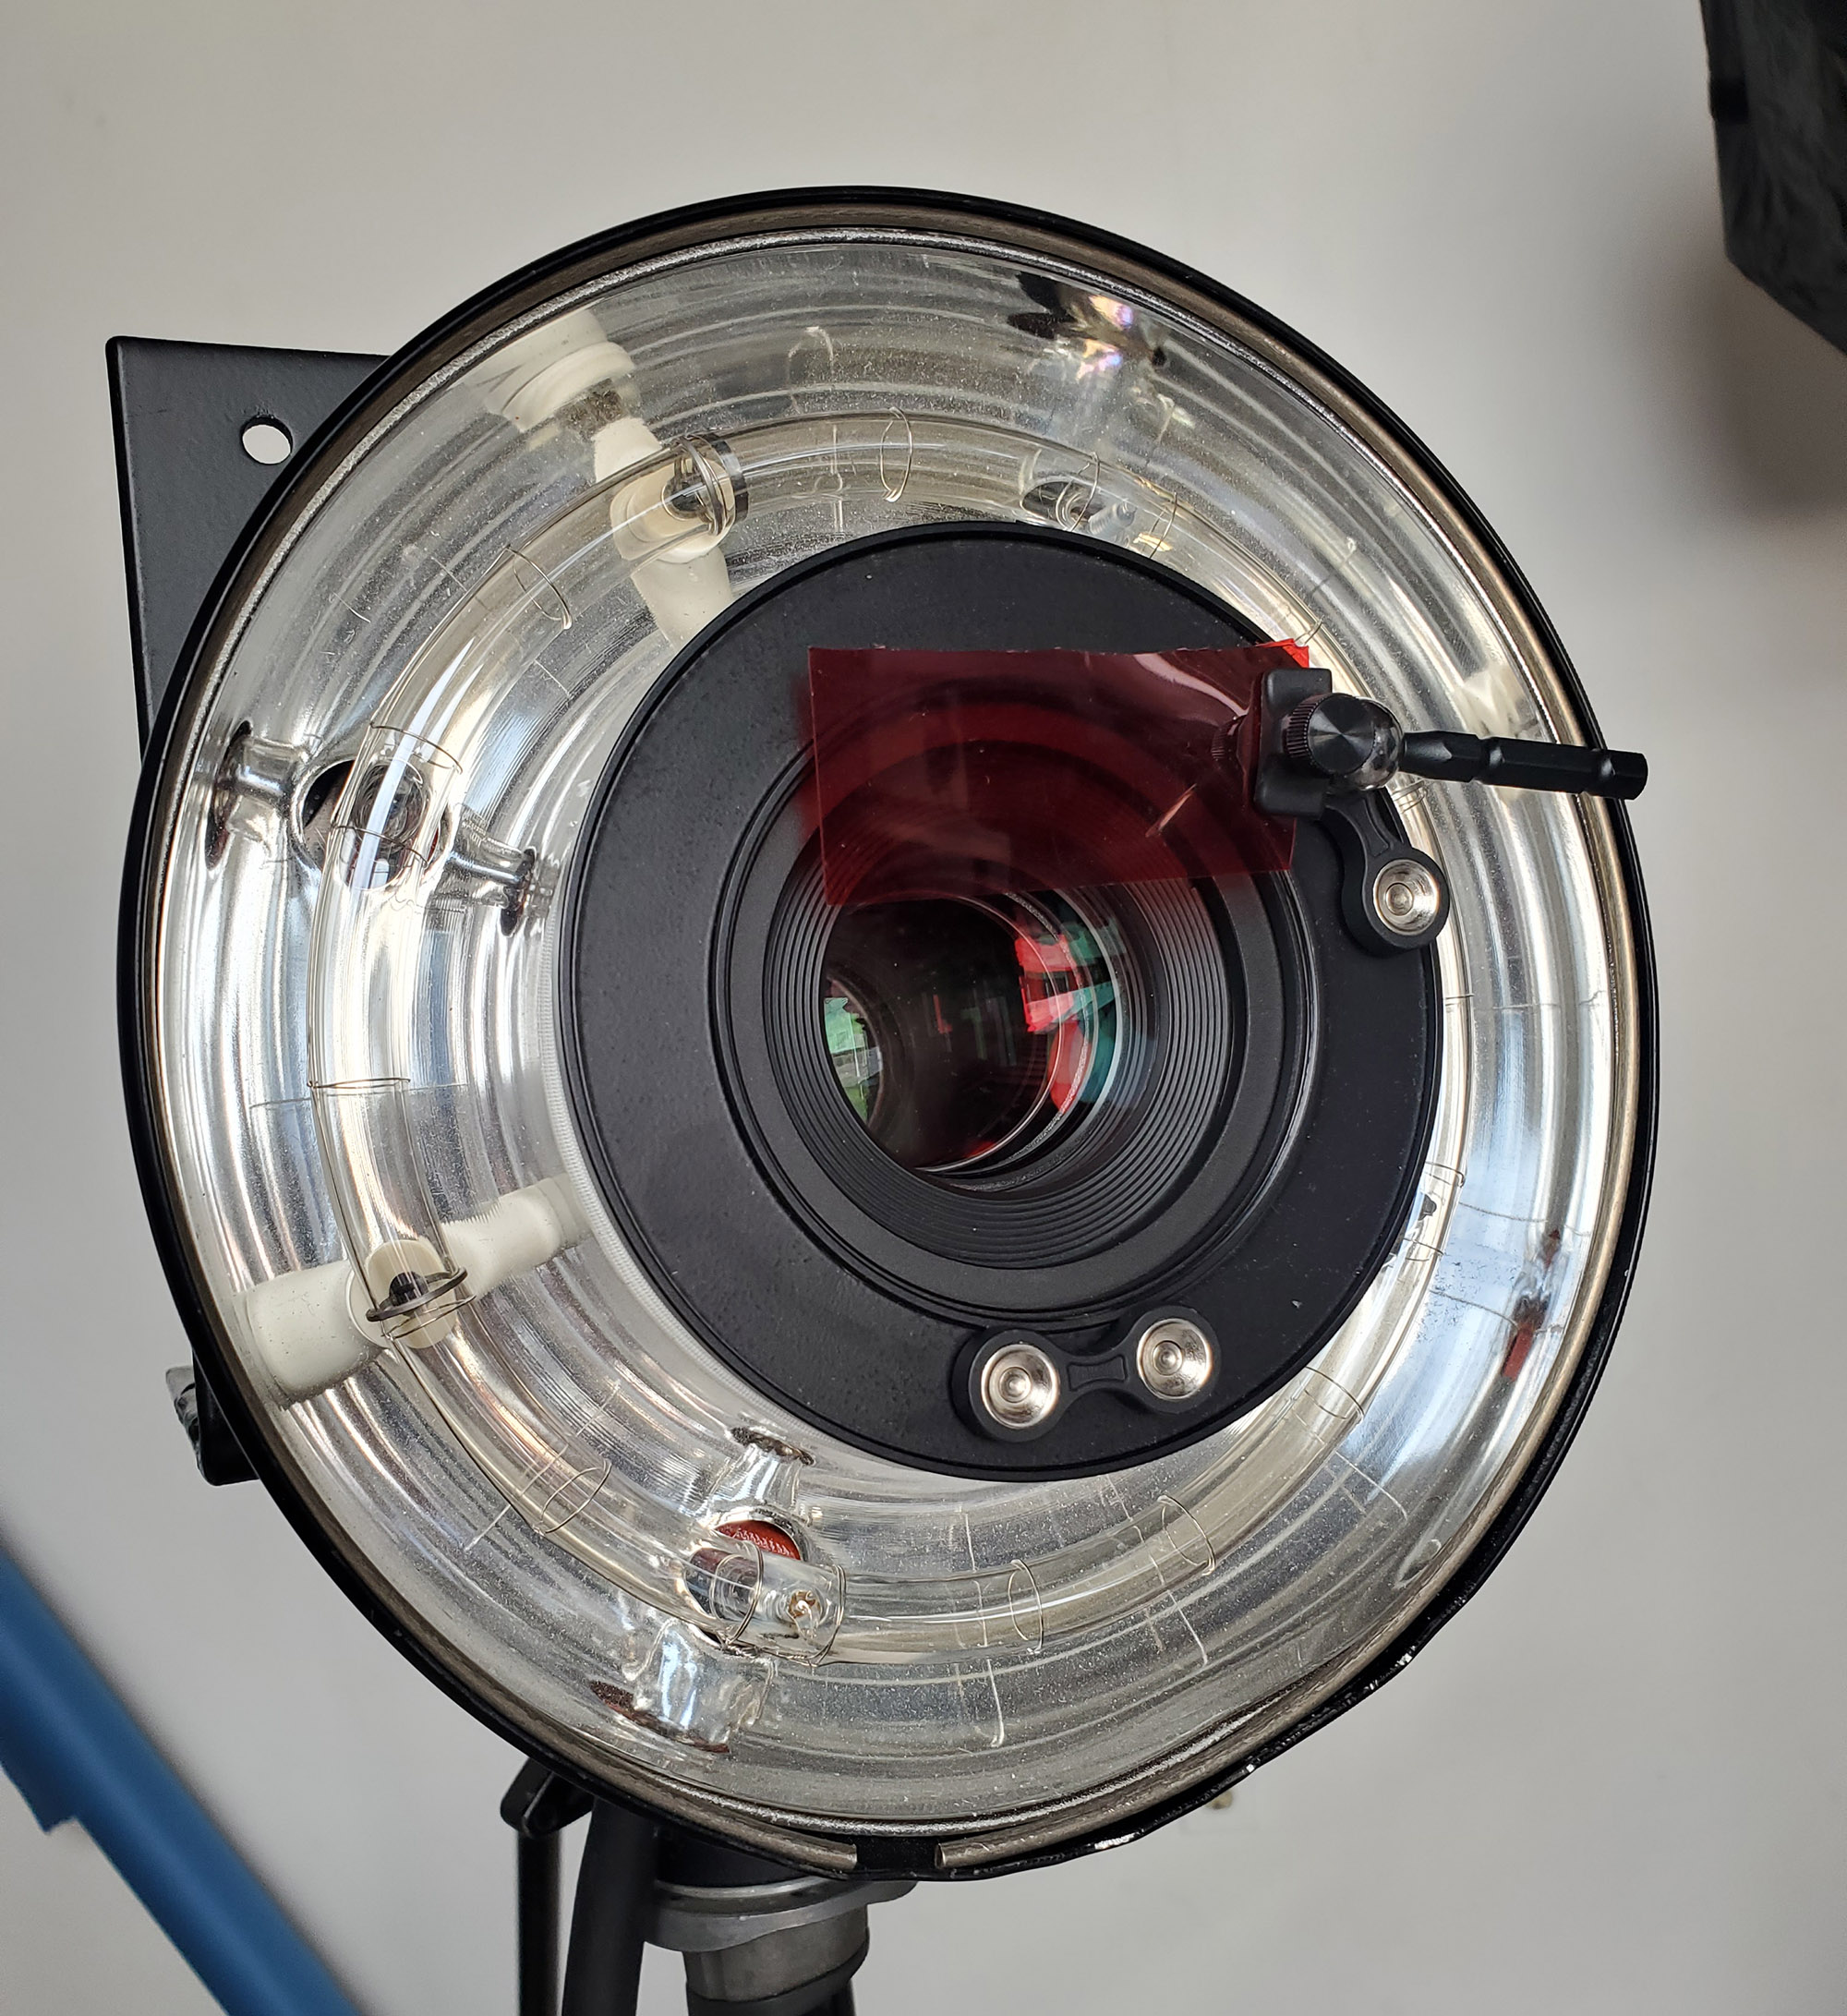
And that is where one of my favorite little tools comes in – the LensBaby Omni system. The LensBaby Omni system always you to easily attach obstructions (usually prisms and cut pieces of glass) in front of your lens to get unique effects. This is most often done using a prism, giving you a surreal flair or mirrored image effect to a portion of your frame. How I used it though, is with a red gel to color the top portion of the frame.
Using the Omni system, I attached a small piece of a Roscoe Red gel to the front of my camera, giving the red skintone effect to Angel’s head. Doing it this way allowed me to properly color grade her head, without the color shift affecting the blue undertones from the other gelled lights. Essentially, this allowed me to cheat the gelling process a bit, to give me a lot more control on my red key light.
The Lighting
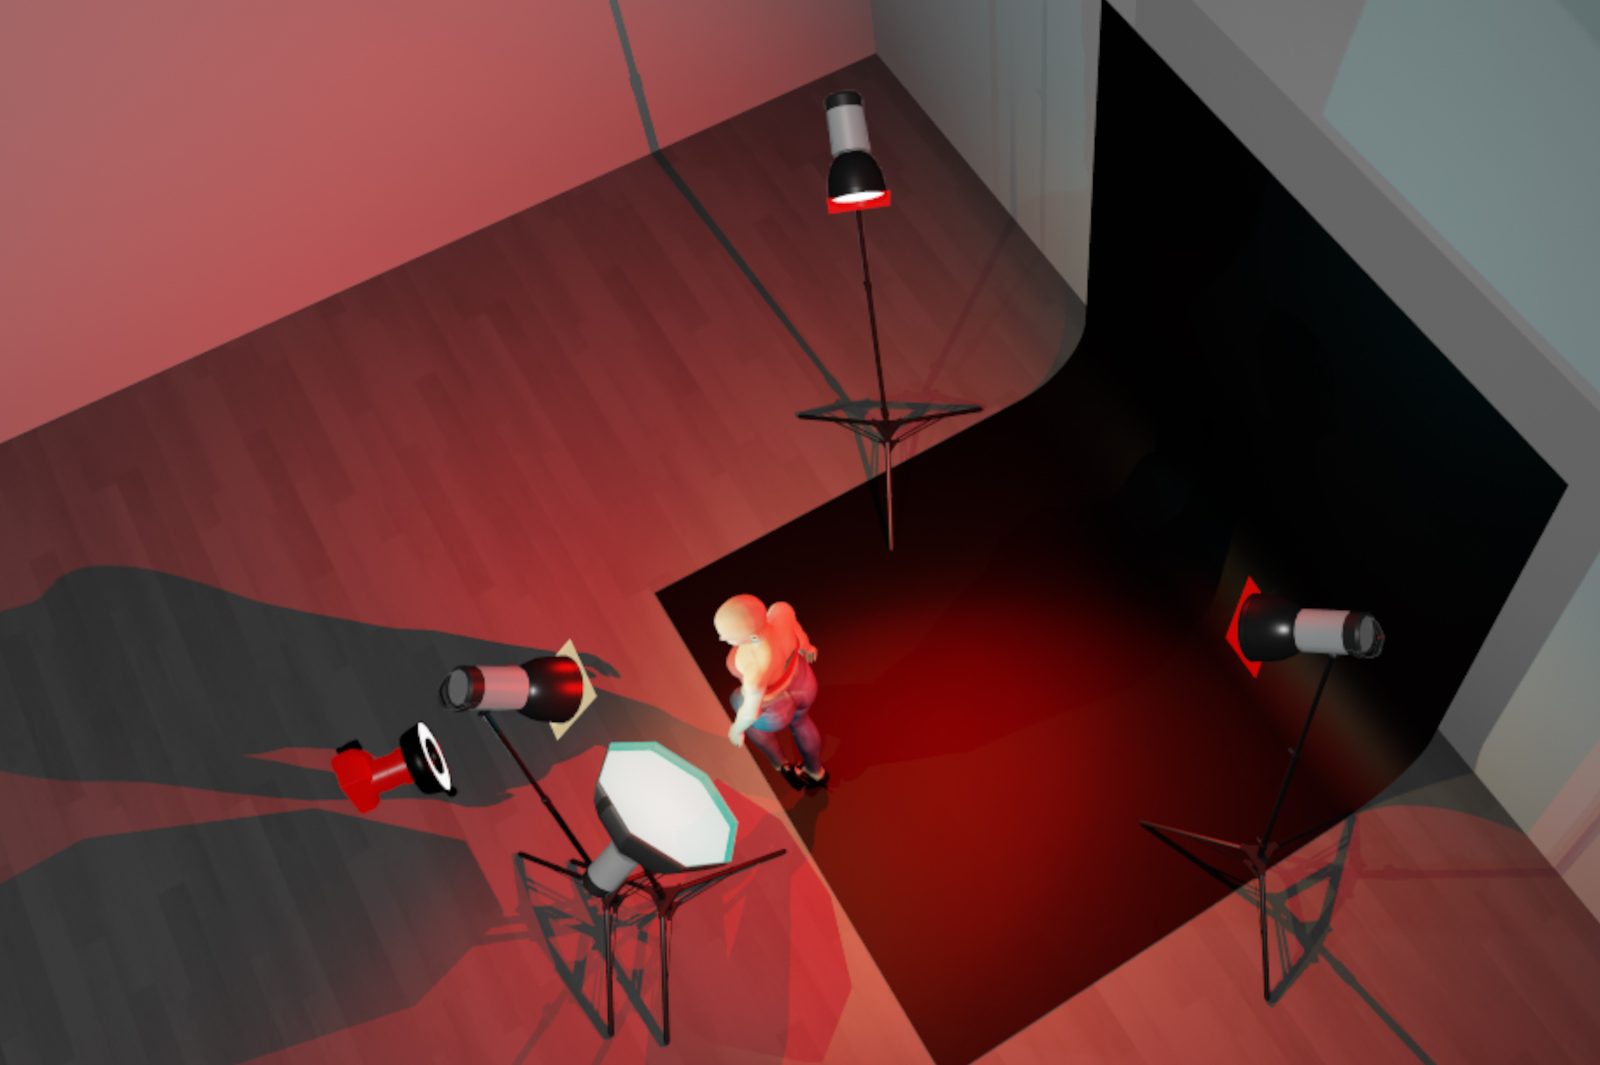
In total, 5 lights were used in the final images. The main light was a Profoto B10+ from above, with a standard OCF zoom reflector attached, as well as a 1/2 CTO gel to help mute the blue color palette from the other light. A Profoto D4 Ring flash was on camera to help just add an extra fill throughout the image. From below, was a Profoto B1 with a Cyan gel and a 2ft Octo. Two Profoto B2 lights were used as rim lights, each with a red gel attached to them.
https://www.lensrentals.com/blog/media/2021/02/DigitalArt-BTS.mp4
Through the concept image, there is a large number of reflections on the subject’s skin to give a glossy effect. These reflections are large and white, which we knew we wouldn’t be able to achieve practically given the number of gelled and harder light sources – so we looked at other options. The solution was fairly simple – we used white paint to create the reference marks in the skin, and then altered those references in Photoshop, cleaning up the edges to better give the visual effect of reflections.
The Results
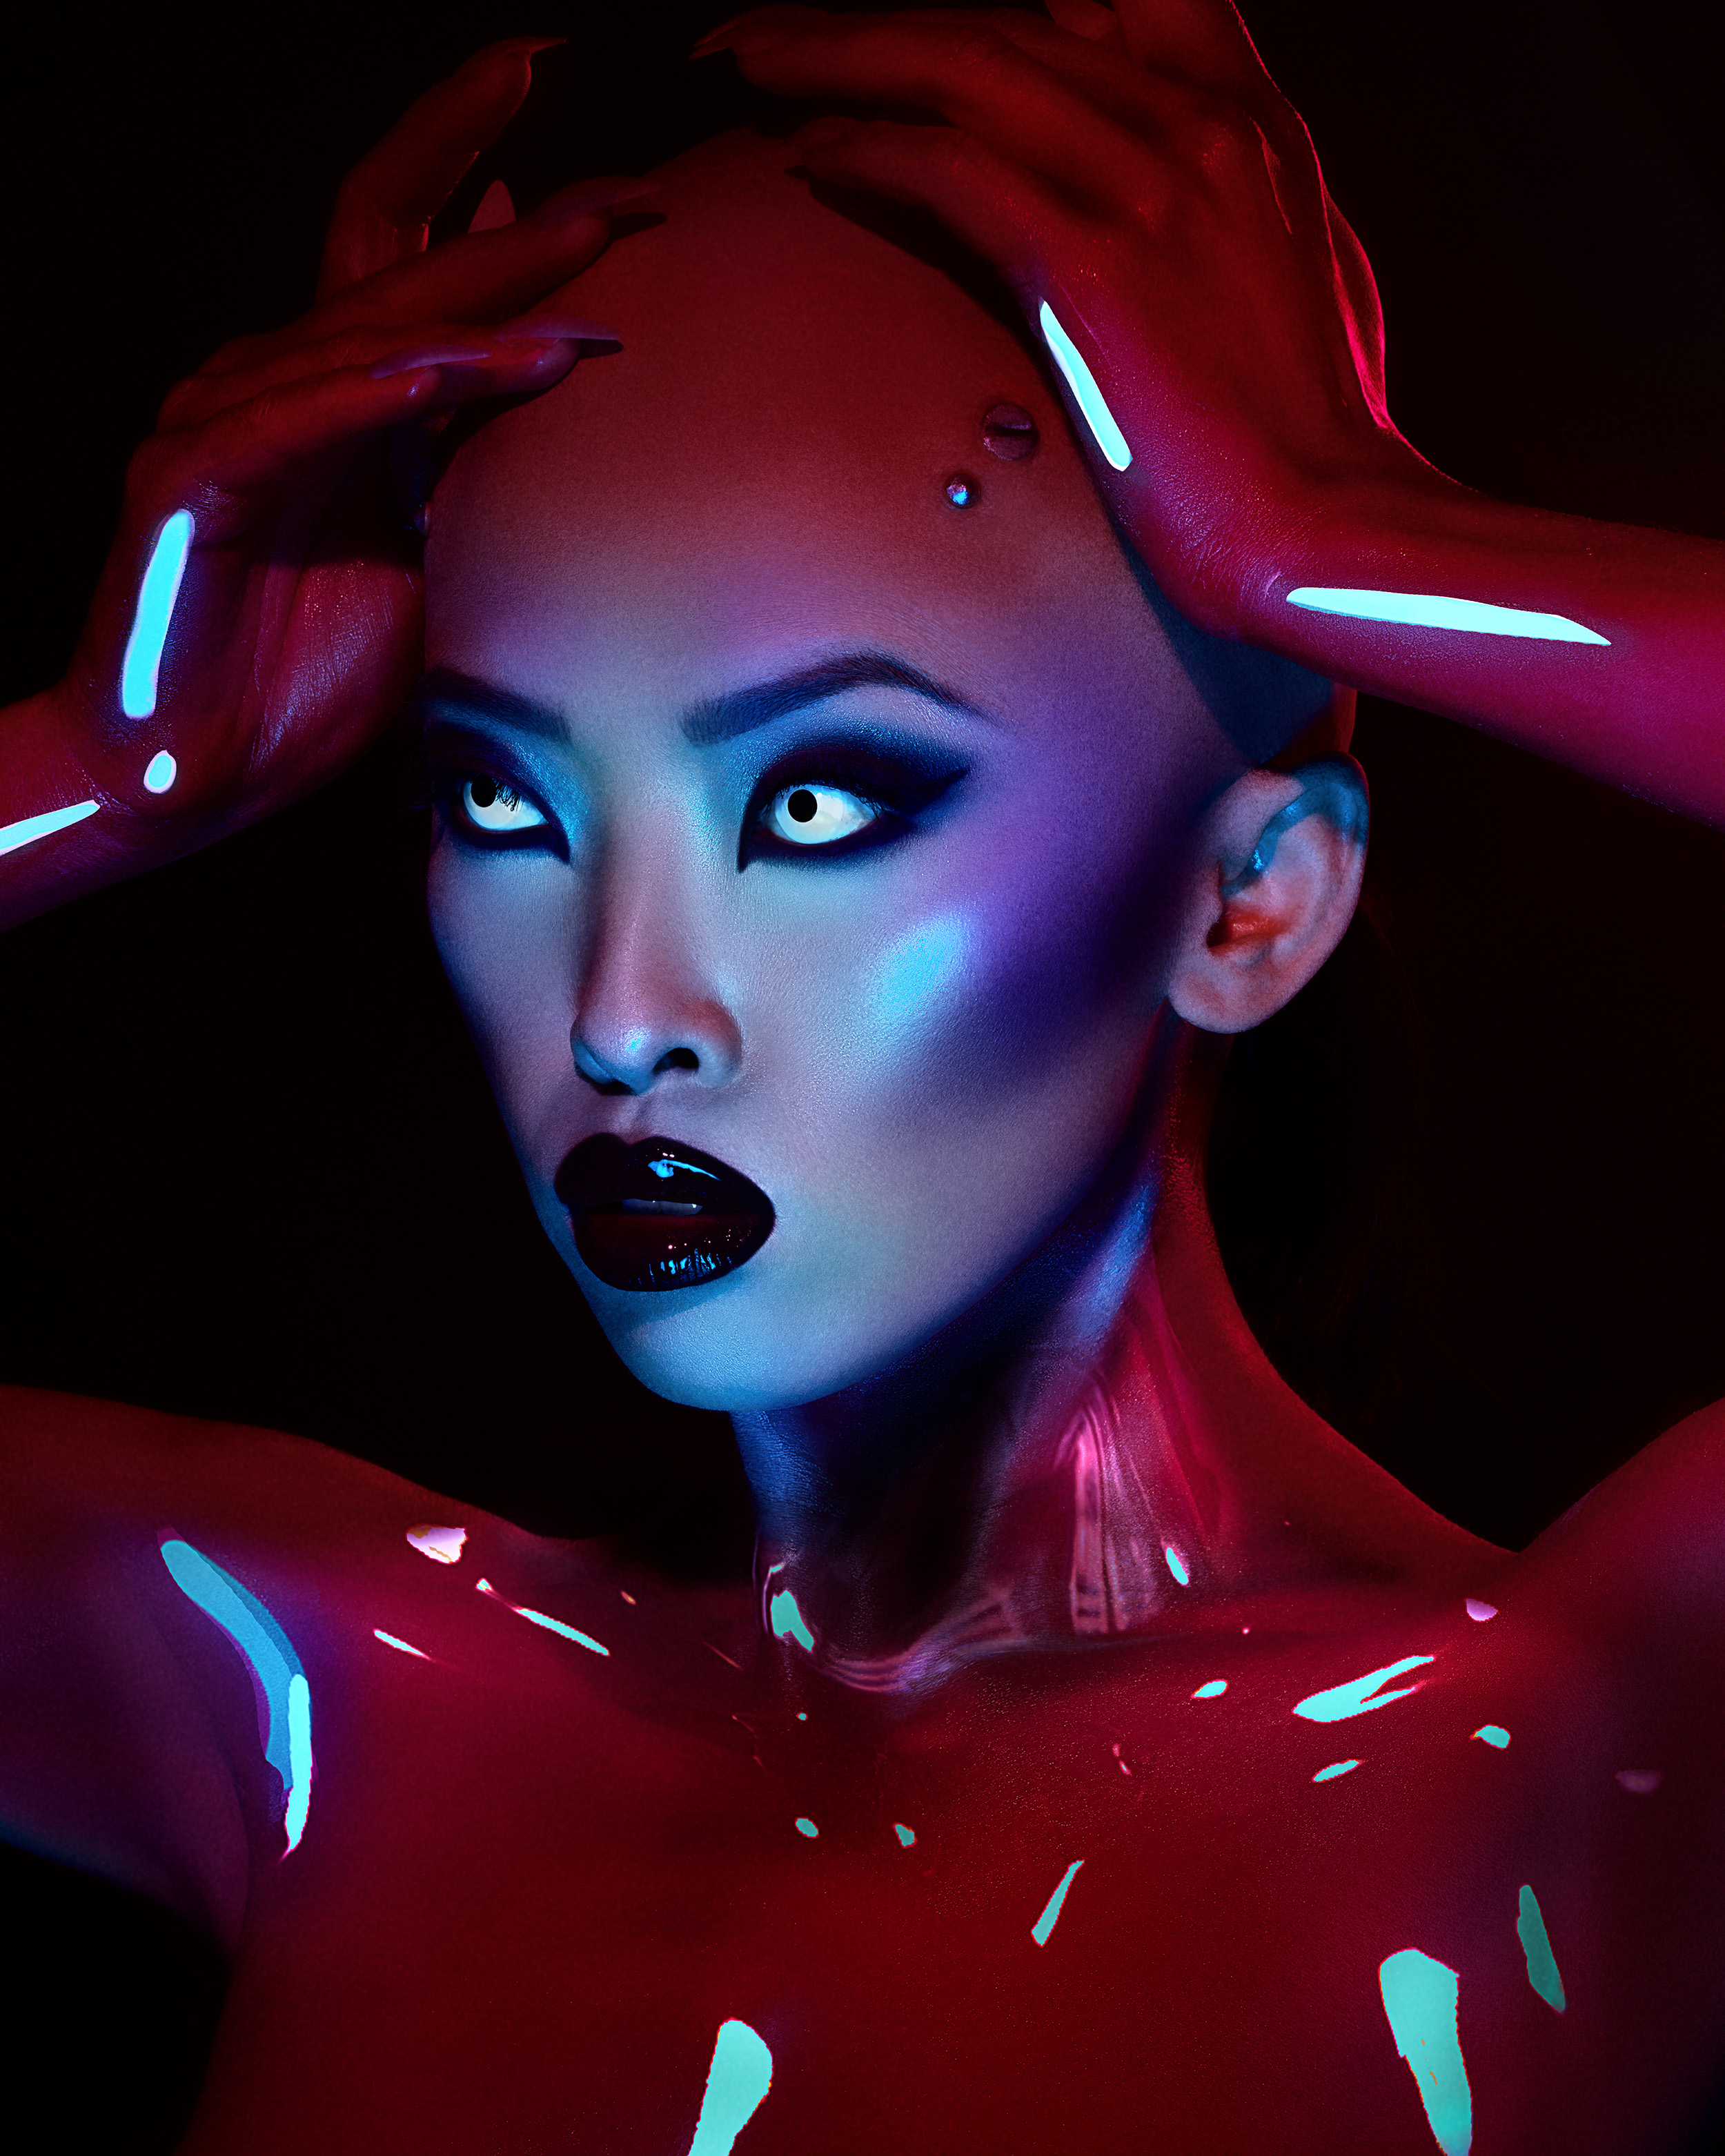
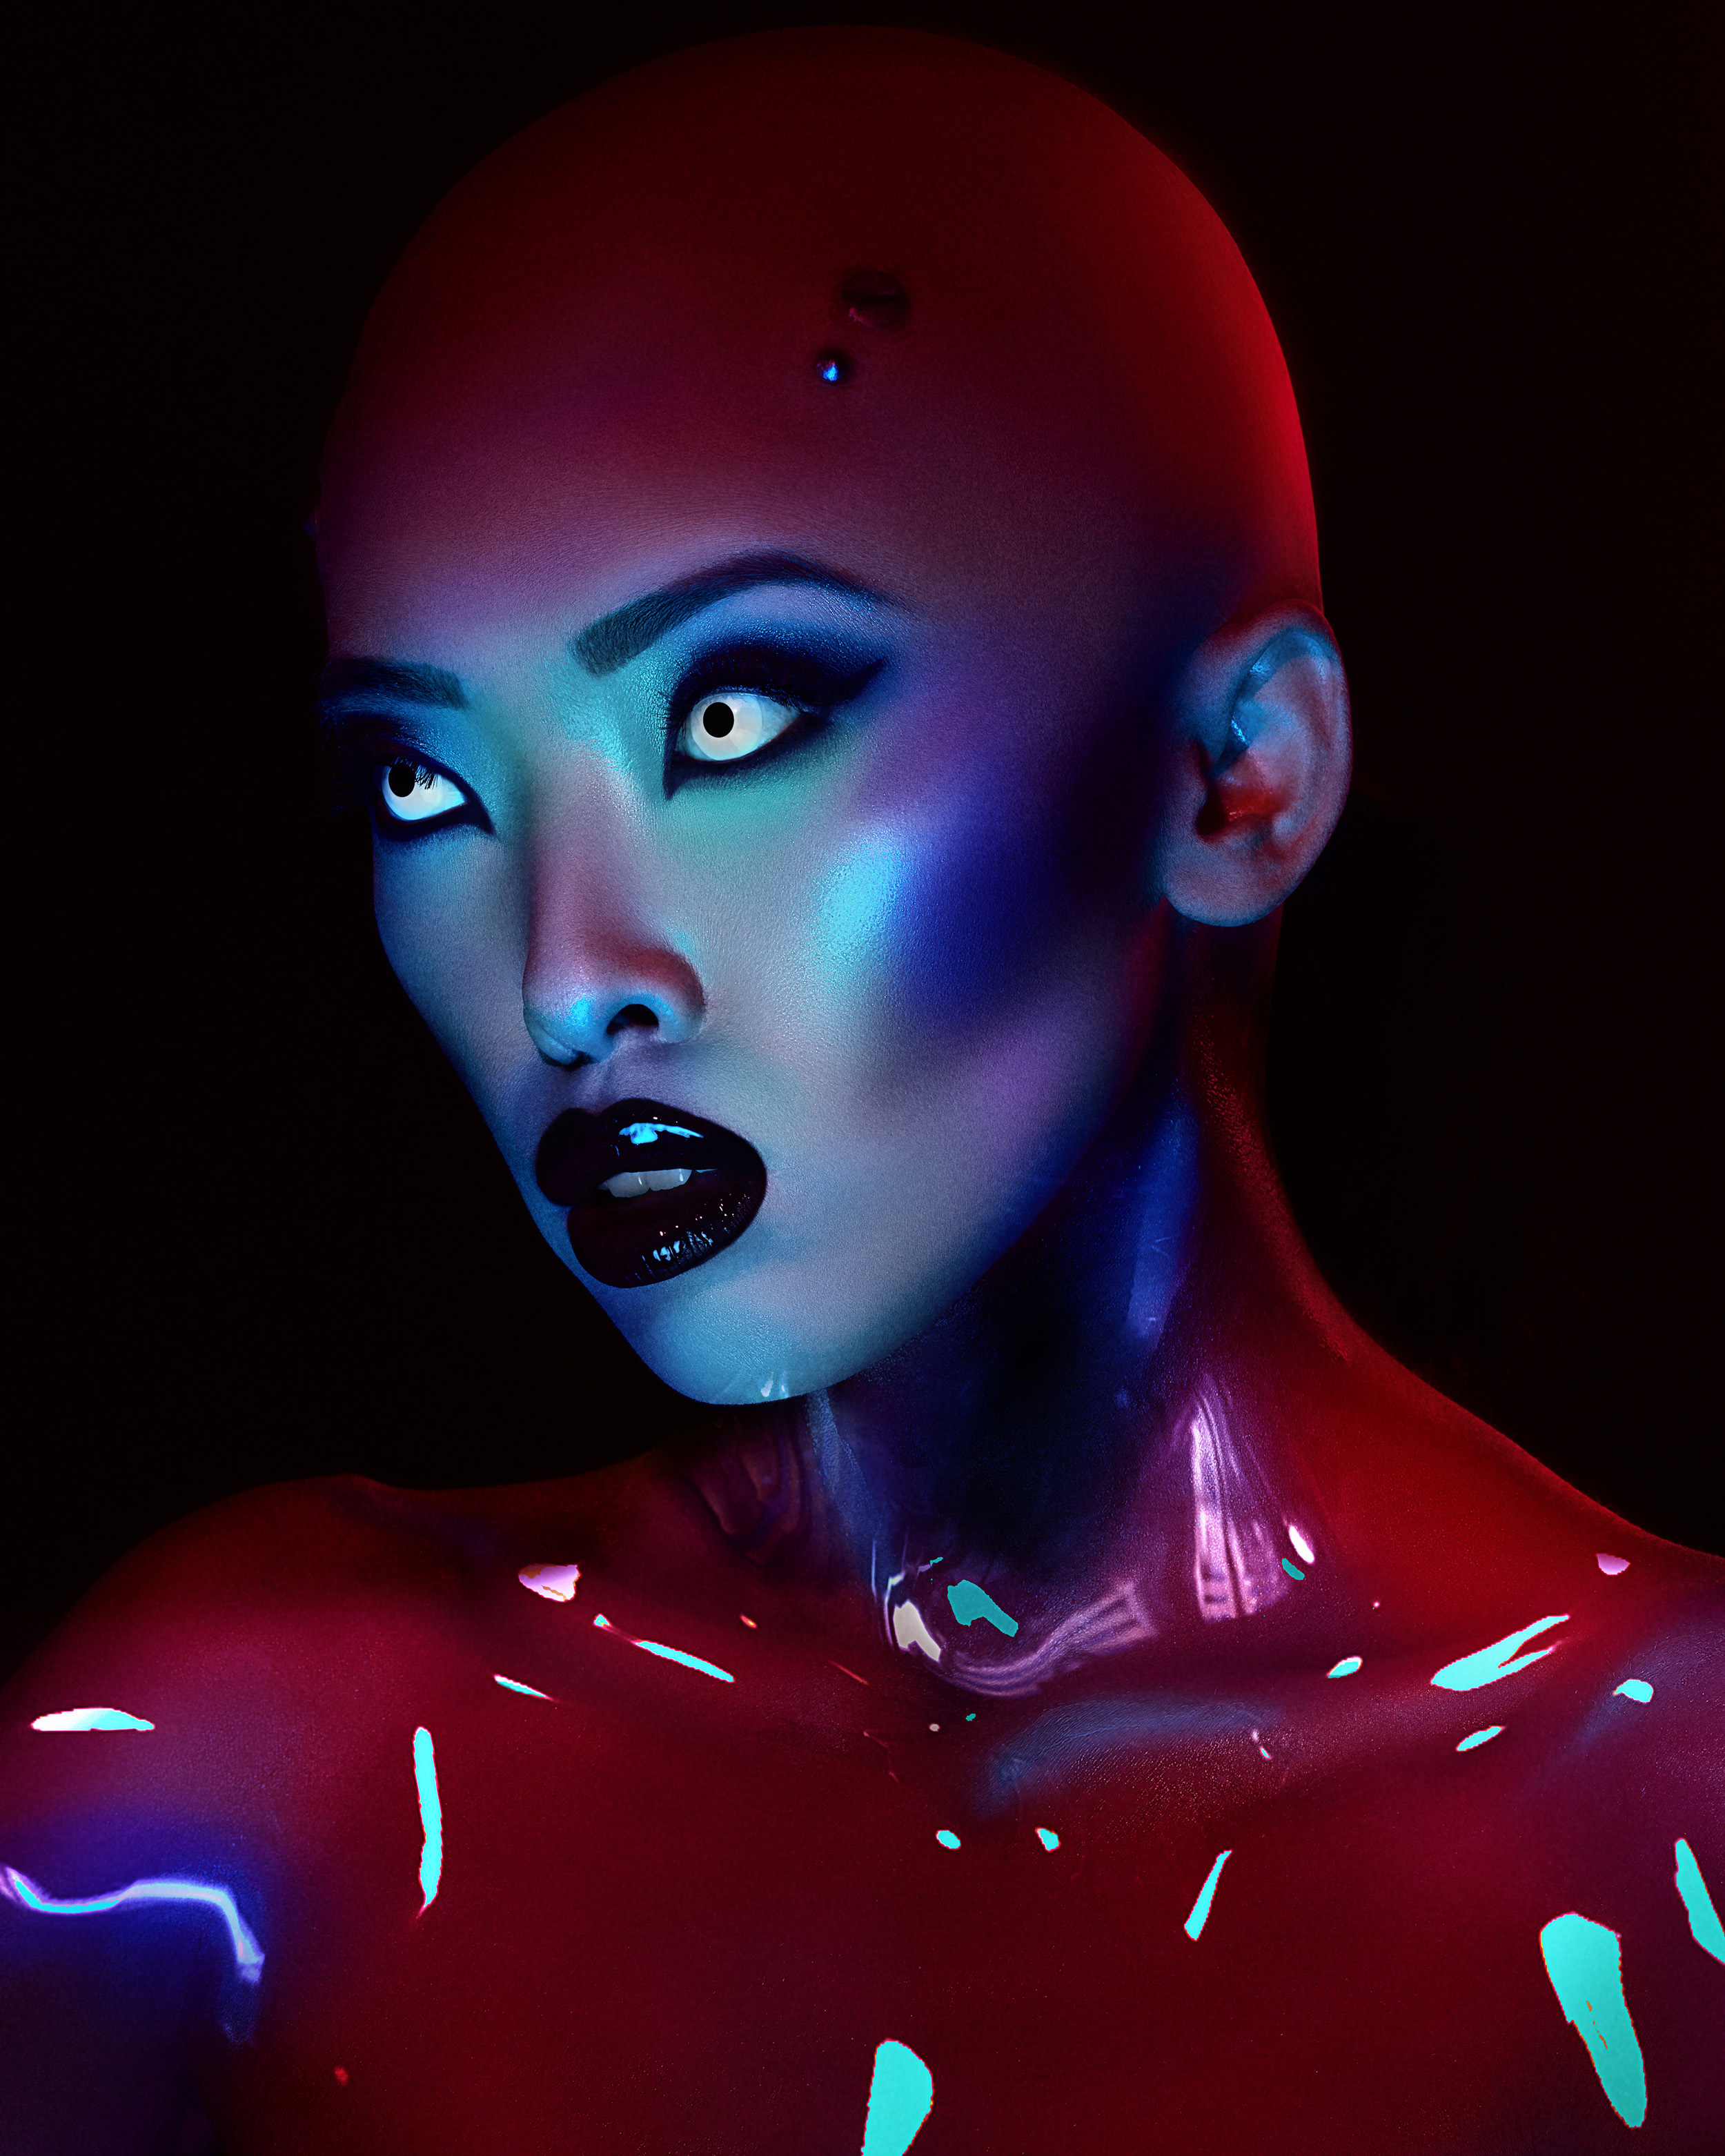
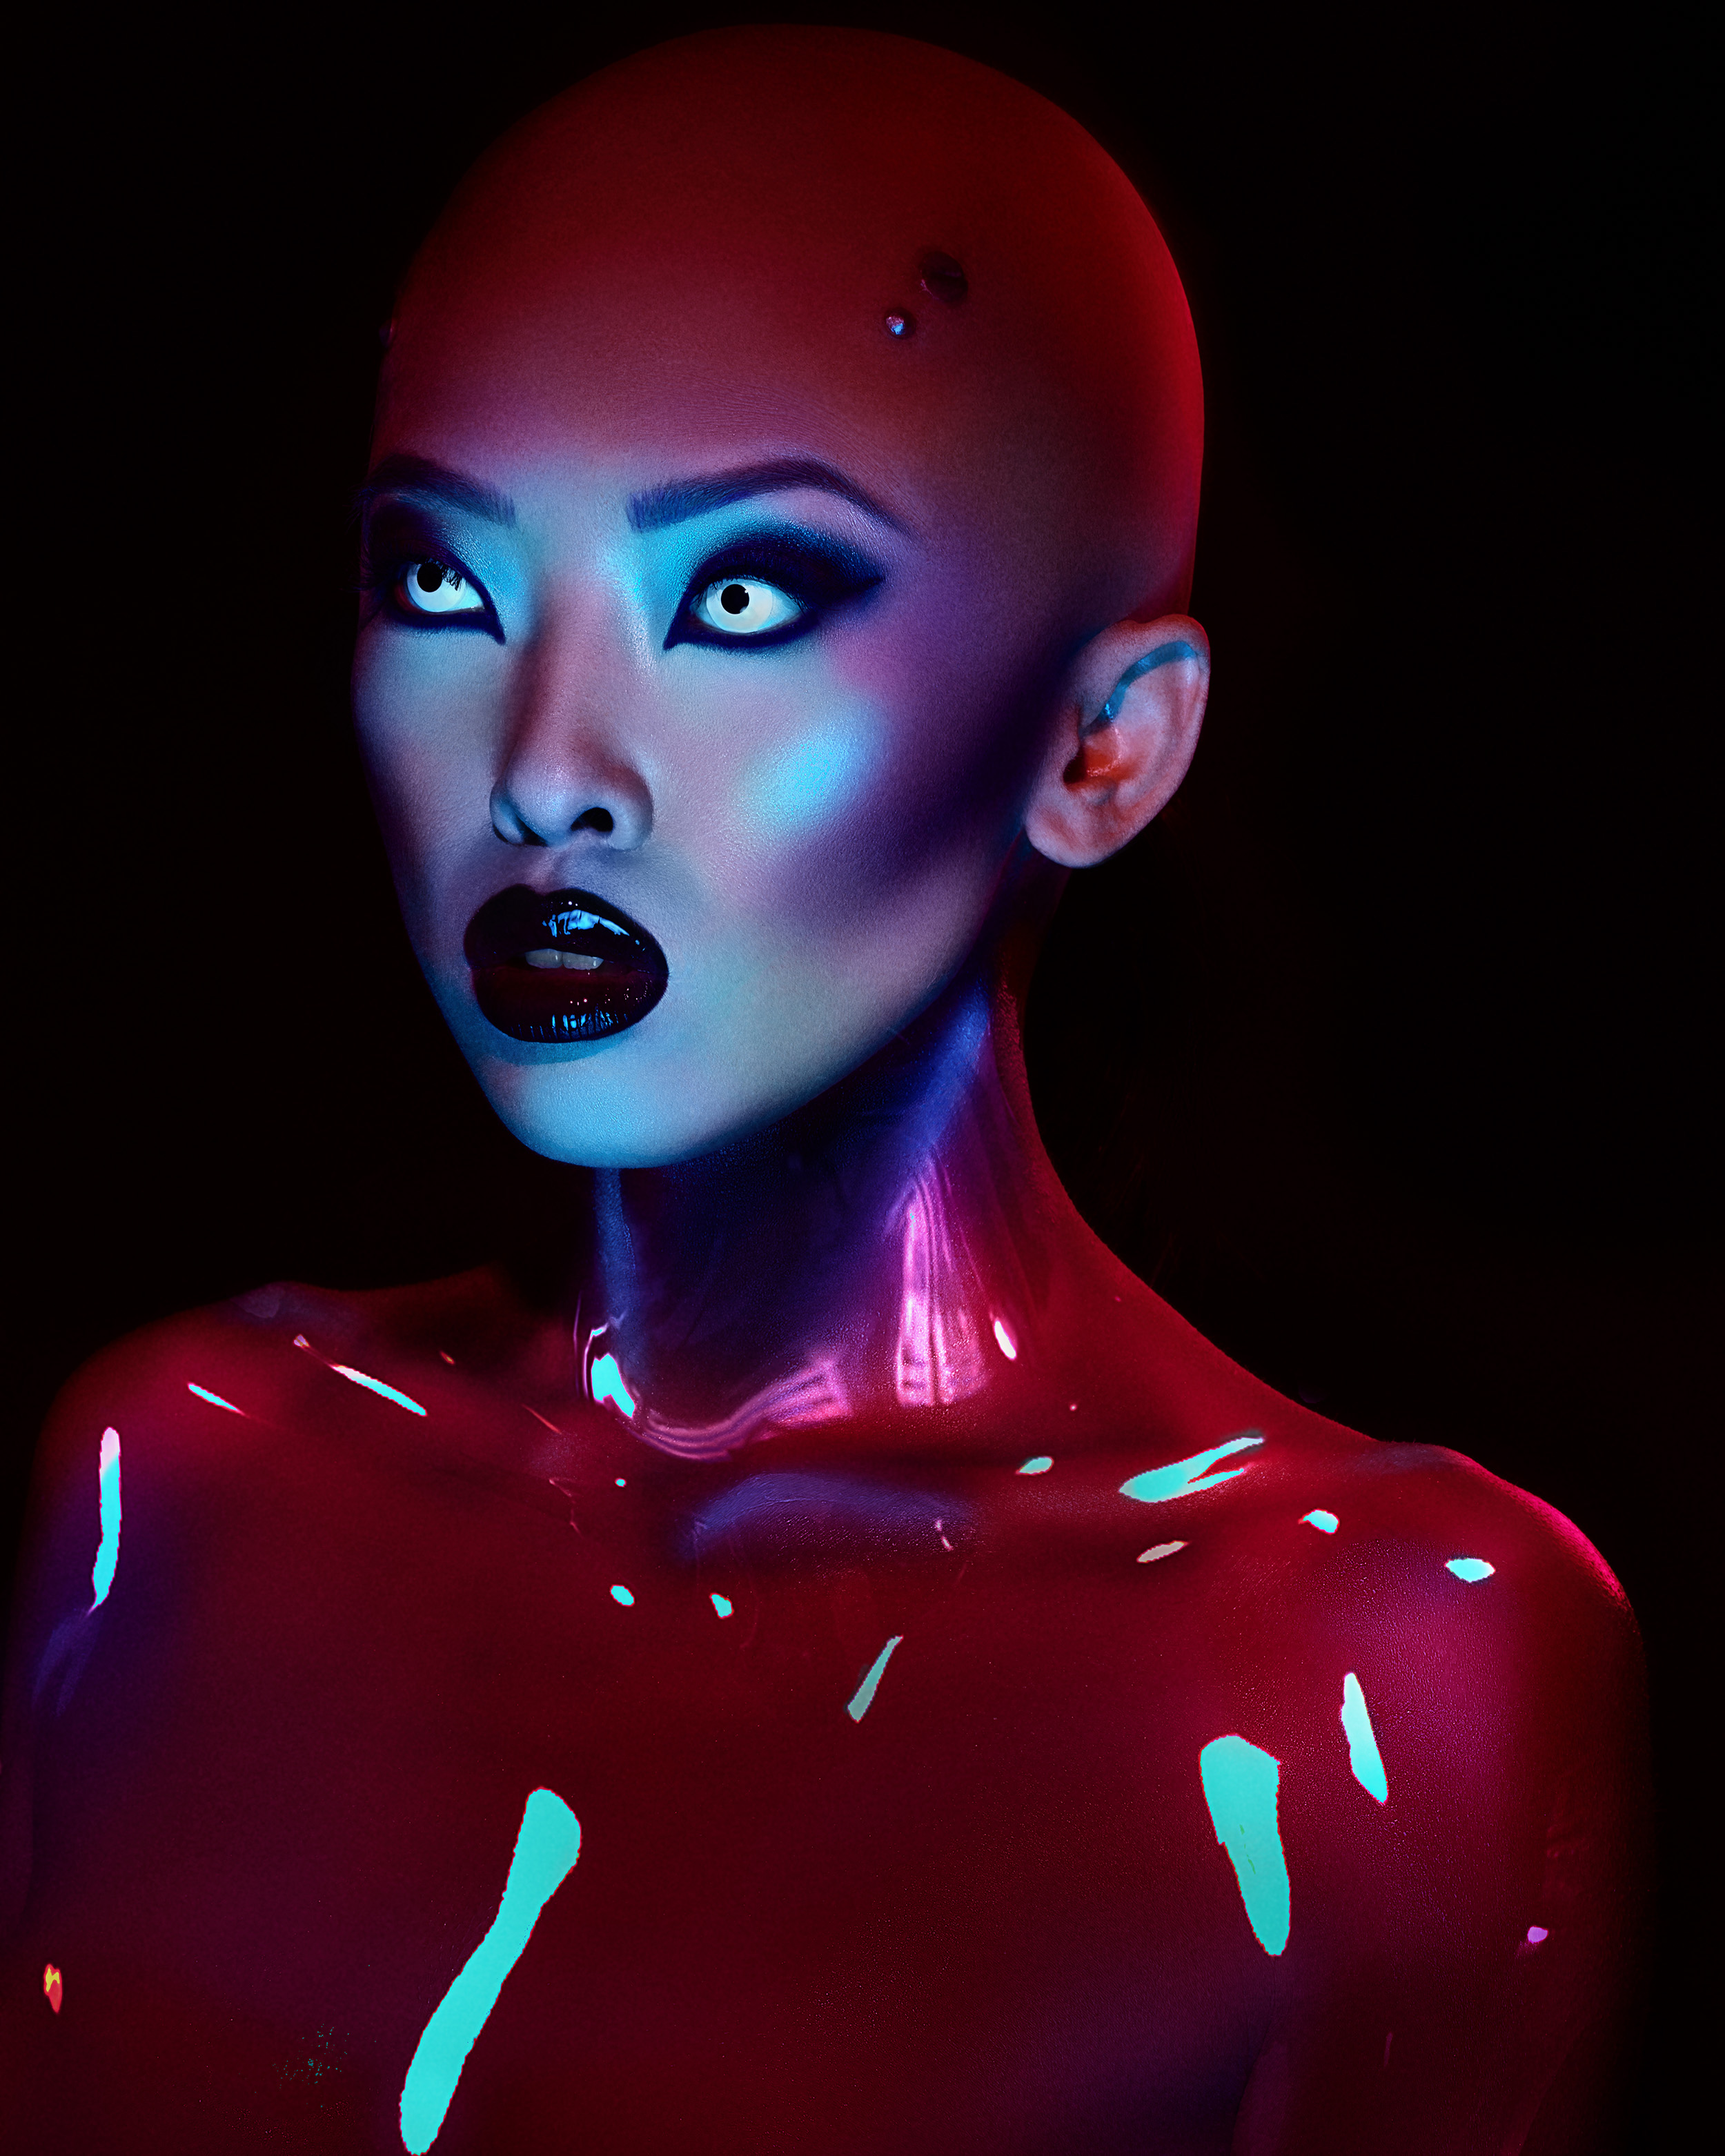
I’m generally not one to draw so heavily on inspiration, and always encourage and try to create my own when shooting. However, more than anything, I am keen on challenging myself. When I first saw the original concept art from Marcelo Cantu, it felt impossible to achieve it correctly in-camera. This shoot gave me a unique opportunity to try different lighting styles, and create some interesting art in the process. If you have any questions, feedback, or would like to see more articles like this in the future, please leave a comment below! And of course, you can see more of my work on my Instagram.
