Light painting is a great way to approach photography differently, but it can be a complicated process and requires some trial and error to get it right. When done right, you can really maximize the lighting you’re using or, better yet, add a level of surreal lighting to your images. So, let’s take a look at light painting and share with you how to prepare for it to yield the best results.
What is Light Painting?
Light painting involves using a handheld light source to “paint” or illuminate parts of a scene during a long exposure photograph. This technique can highlight subjects, create patterns, or add dynamic elements to your images. The process involves shooting in an incredibly dark environment, exposing the sensor, and using light (usually a flashlight or something similar) to paint the light into the frame. The technique is very similar to the matte painting discussed in our article about chromakeying, but offers many different results. However, you need some essential gear to appropriately light paint, so let’s get into that real quick.
Essential Gear
Before diving in, ensure you have the following:
- Camera: Obviously, a DSLR or mirrorless camera that allows manual control over shutter speed, aperture, and ISO.
- Tripod: To keep your camera steady during long exposures.
- Remote Shutter Release: Helps trigger the camera without causing vibrations.
- Light Sources: LED flashlights, glow sticks, fiber optics, or smartphone screens can be used creatively.
- Dark Clothing/Environment: Wearing black helps the photographer remain unseen in the frame.
Light painting photography involves setting your camera on a tripod in a dark environment and selecting a long shutter speed (often several seconds or more). Once the shutter opens, you or an assistant moves a light source—such as a flashlight, LED, or even sparklers—to create trails of light, illuminate specific parts of the subject, or draw patterns within the frame. The camera captures the path of the moving light, effectively “painting” it onto the image sensor, resulting in a creative interplay of light and shadow that is not visible to the naked eye. The process takes some trial and error, but it can be an effective way to expand your creativity when taking photos.
Techniques and Tips
Light Trails and Patterns
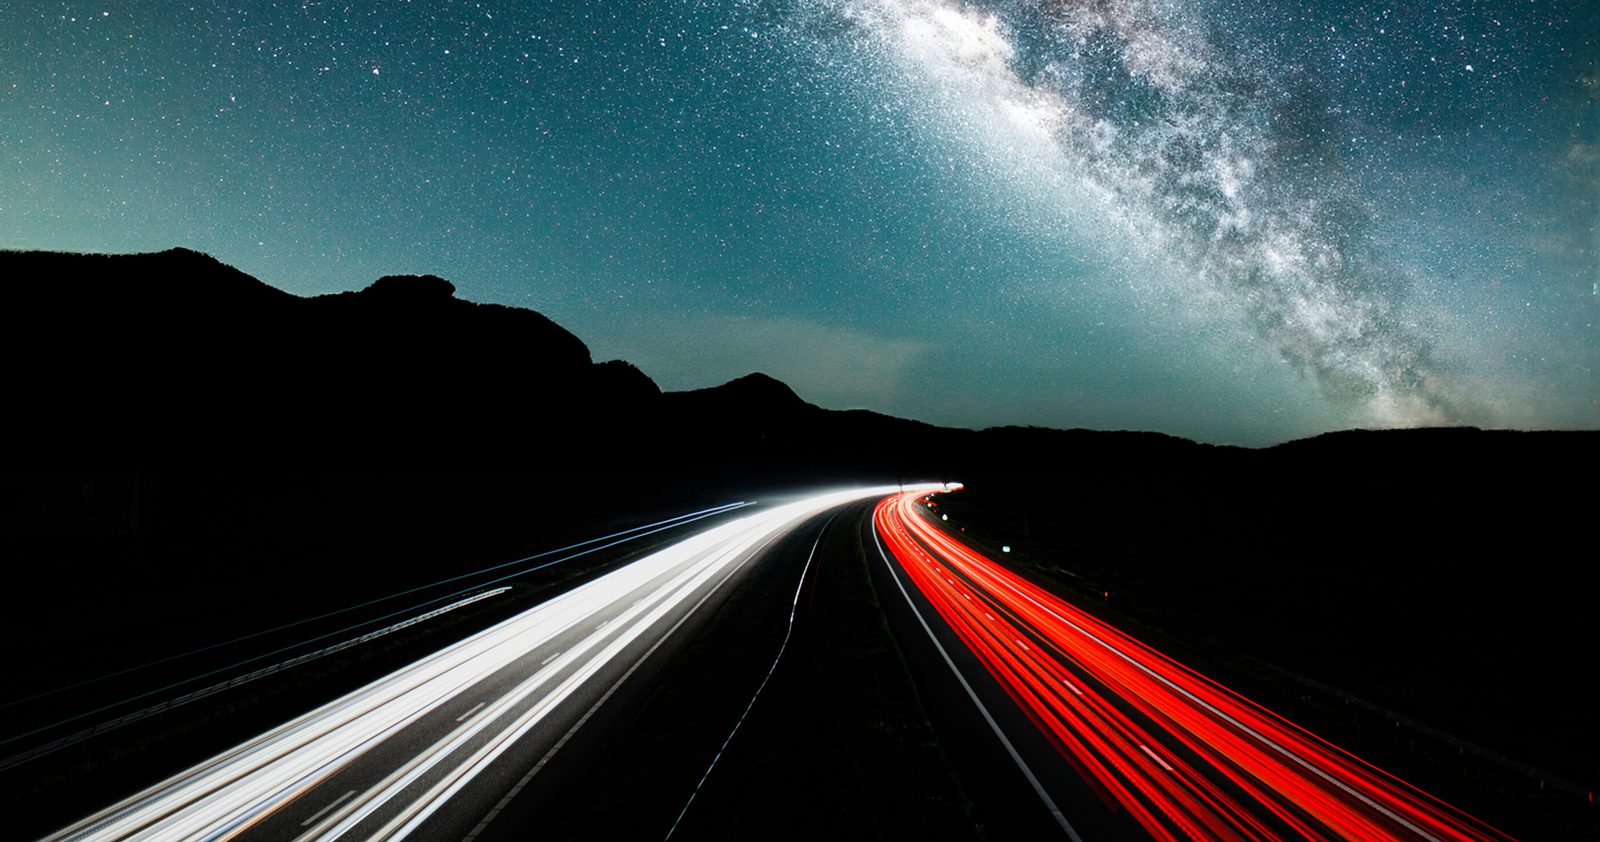
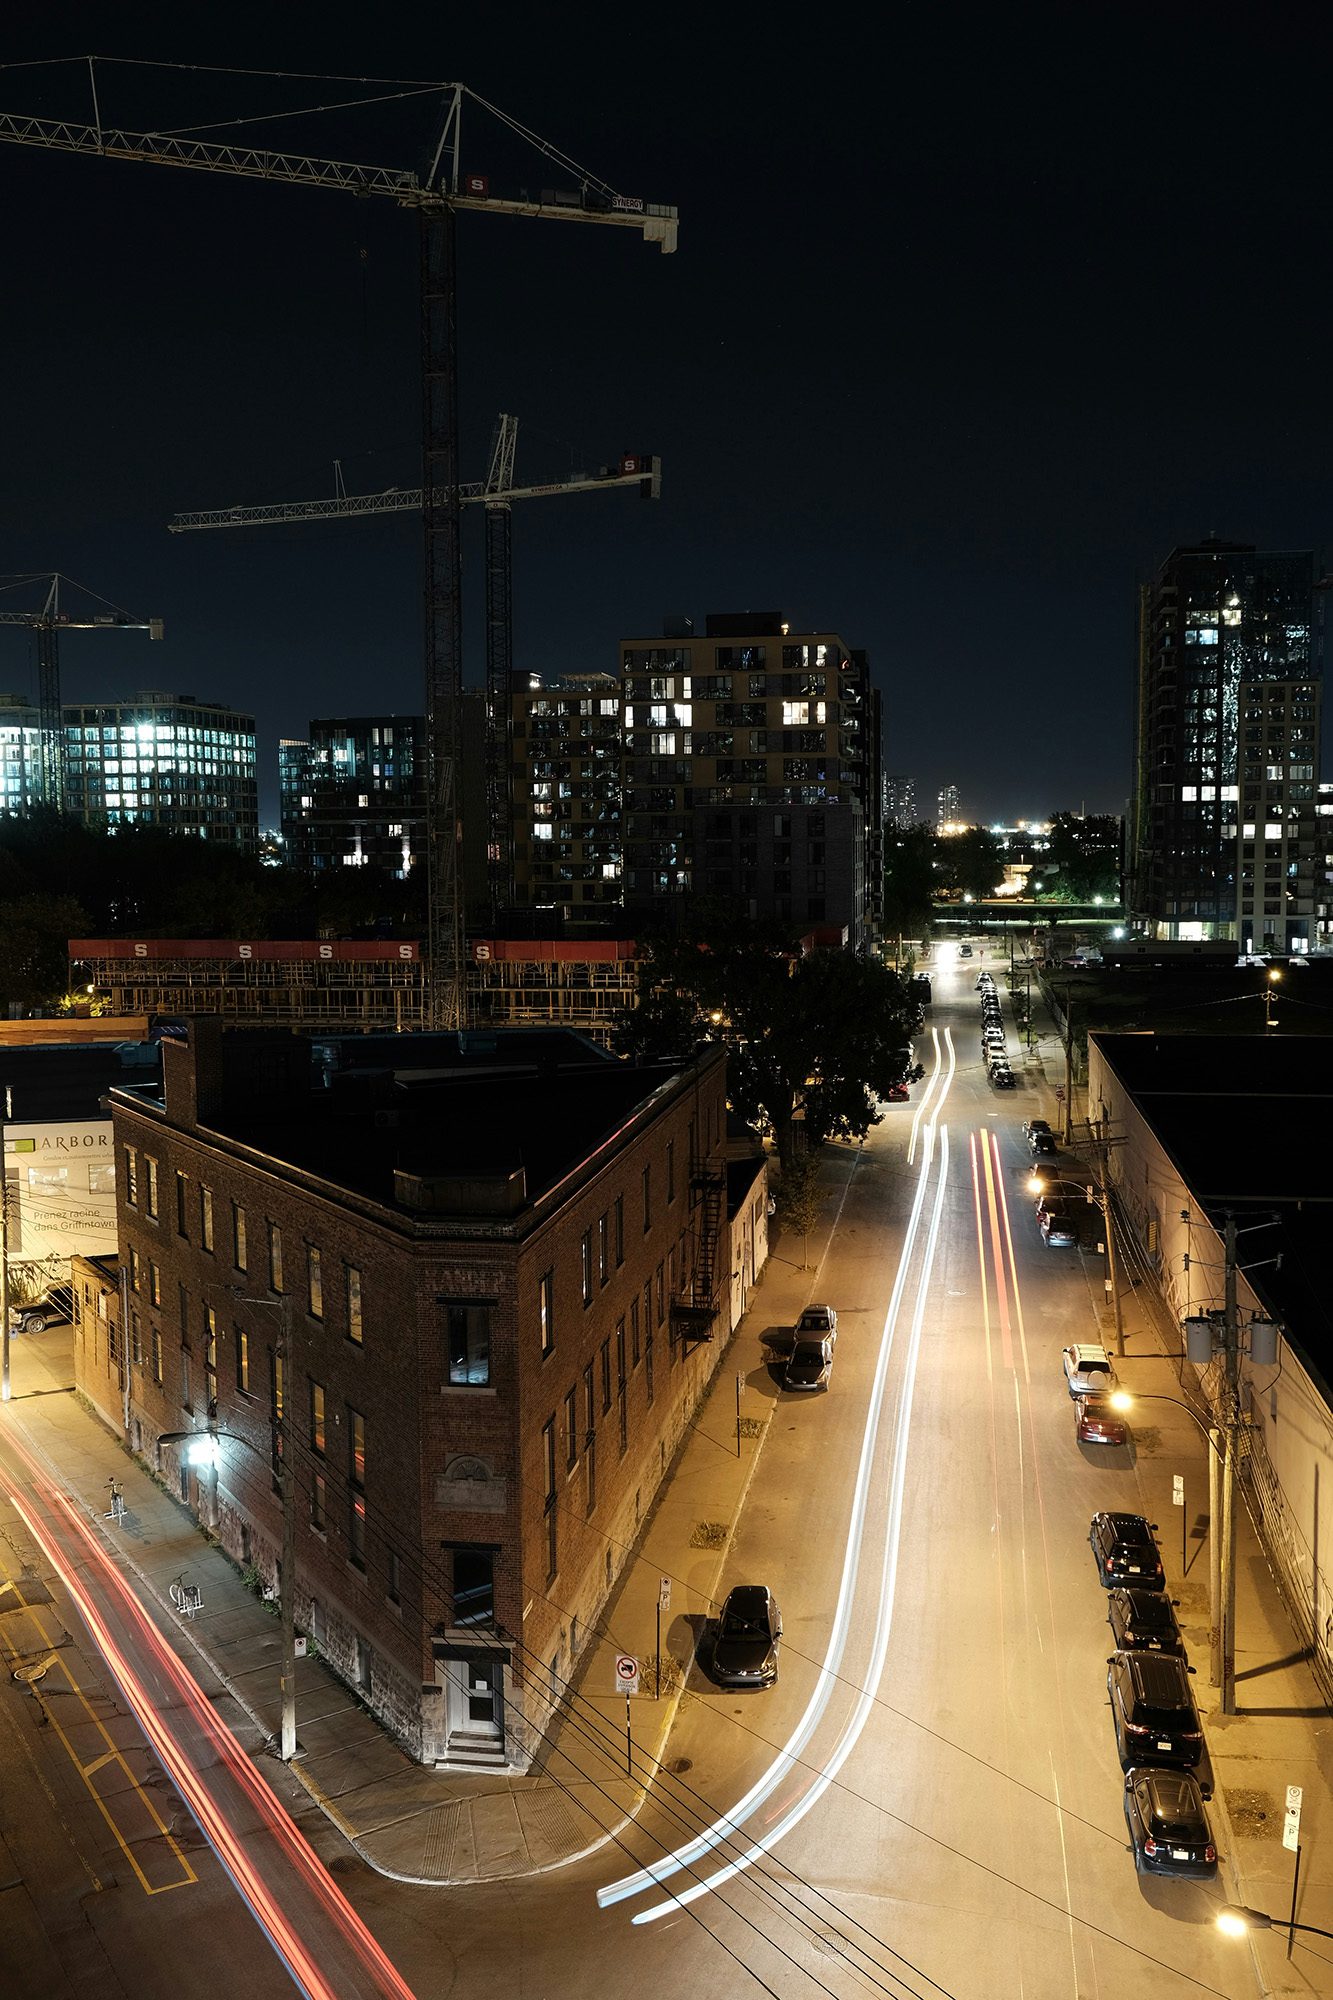
Perhaps the most common type of light painting is done somewhat by accident. If you’ve tried to shoot long exposures at night, you’ve probably experienced this before (even if it was through some accidental camera shake). When the sensor is exposed to a long exposure mode, it’ll pick up any light that shines on it. So, when shooting a street at night, you’ll get beautiful light streaks from the headlights and taillights of vehicles passing by, or anything else that might illuminate the frame and move. This adds an element of movement to your images and an interesting visual point in your frame.
Working with Subjects
It’s not common to see light painting used when photographing people, as shooting portraits generally aims to get your subject in focus. However, if you’re looking to add something a bit more surreal, this can be used to create an image that creates a feeling or helps tell a story. This can be done in one of several ways, but let’s touch on a couple of ideas here to help fuel your creativity.
Visual Focus
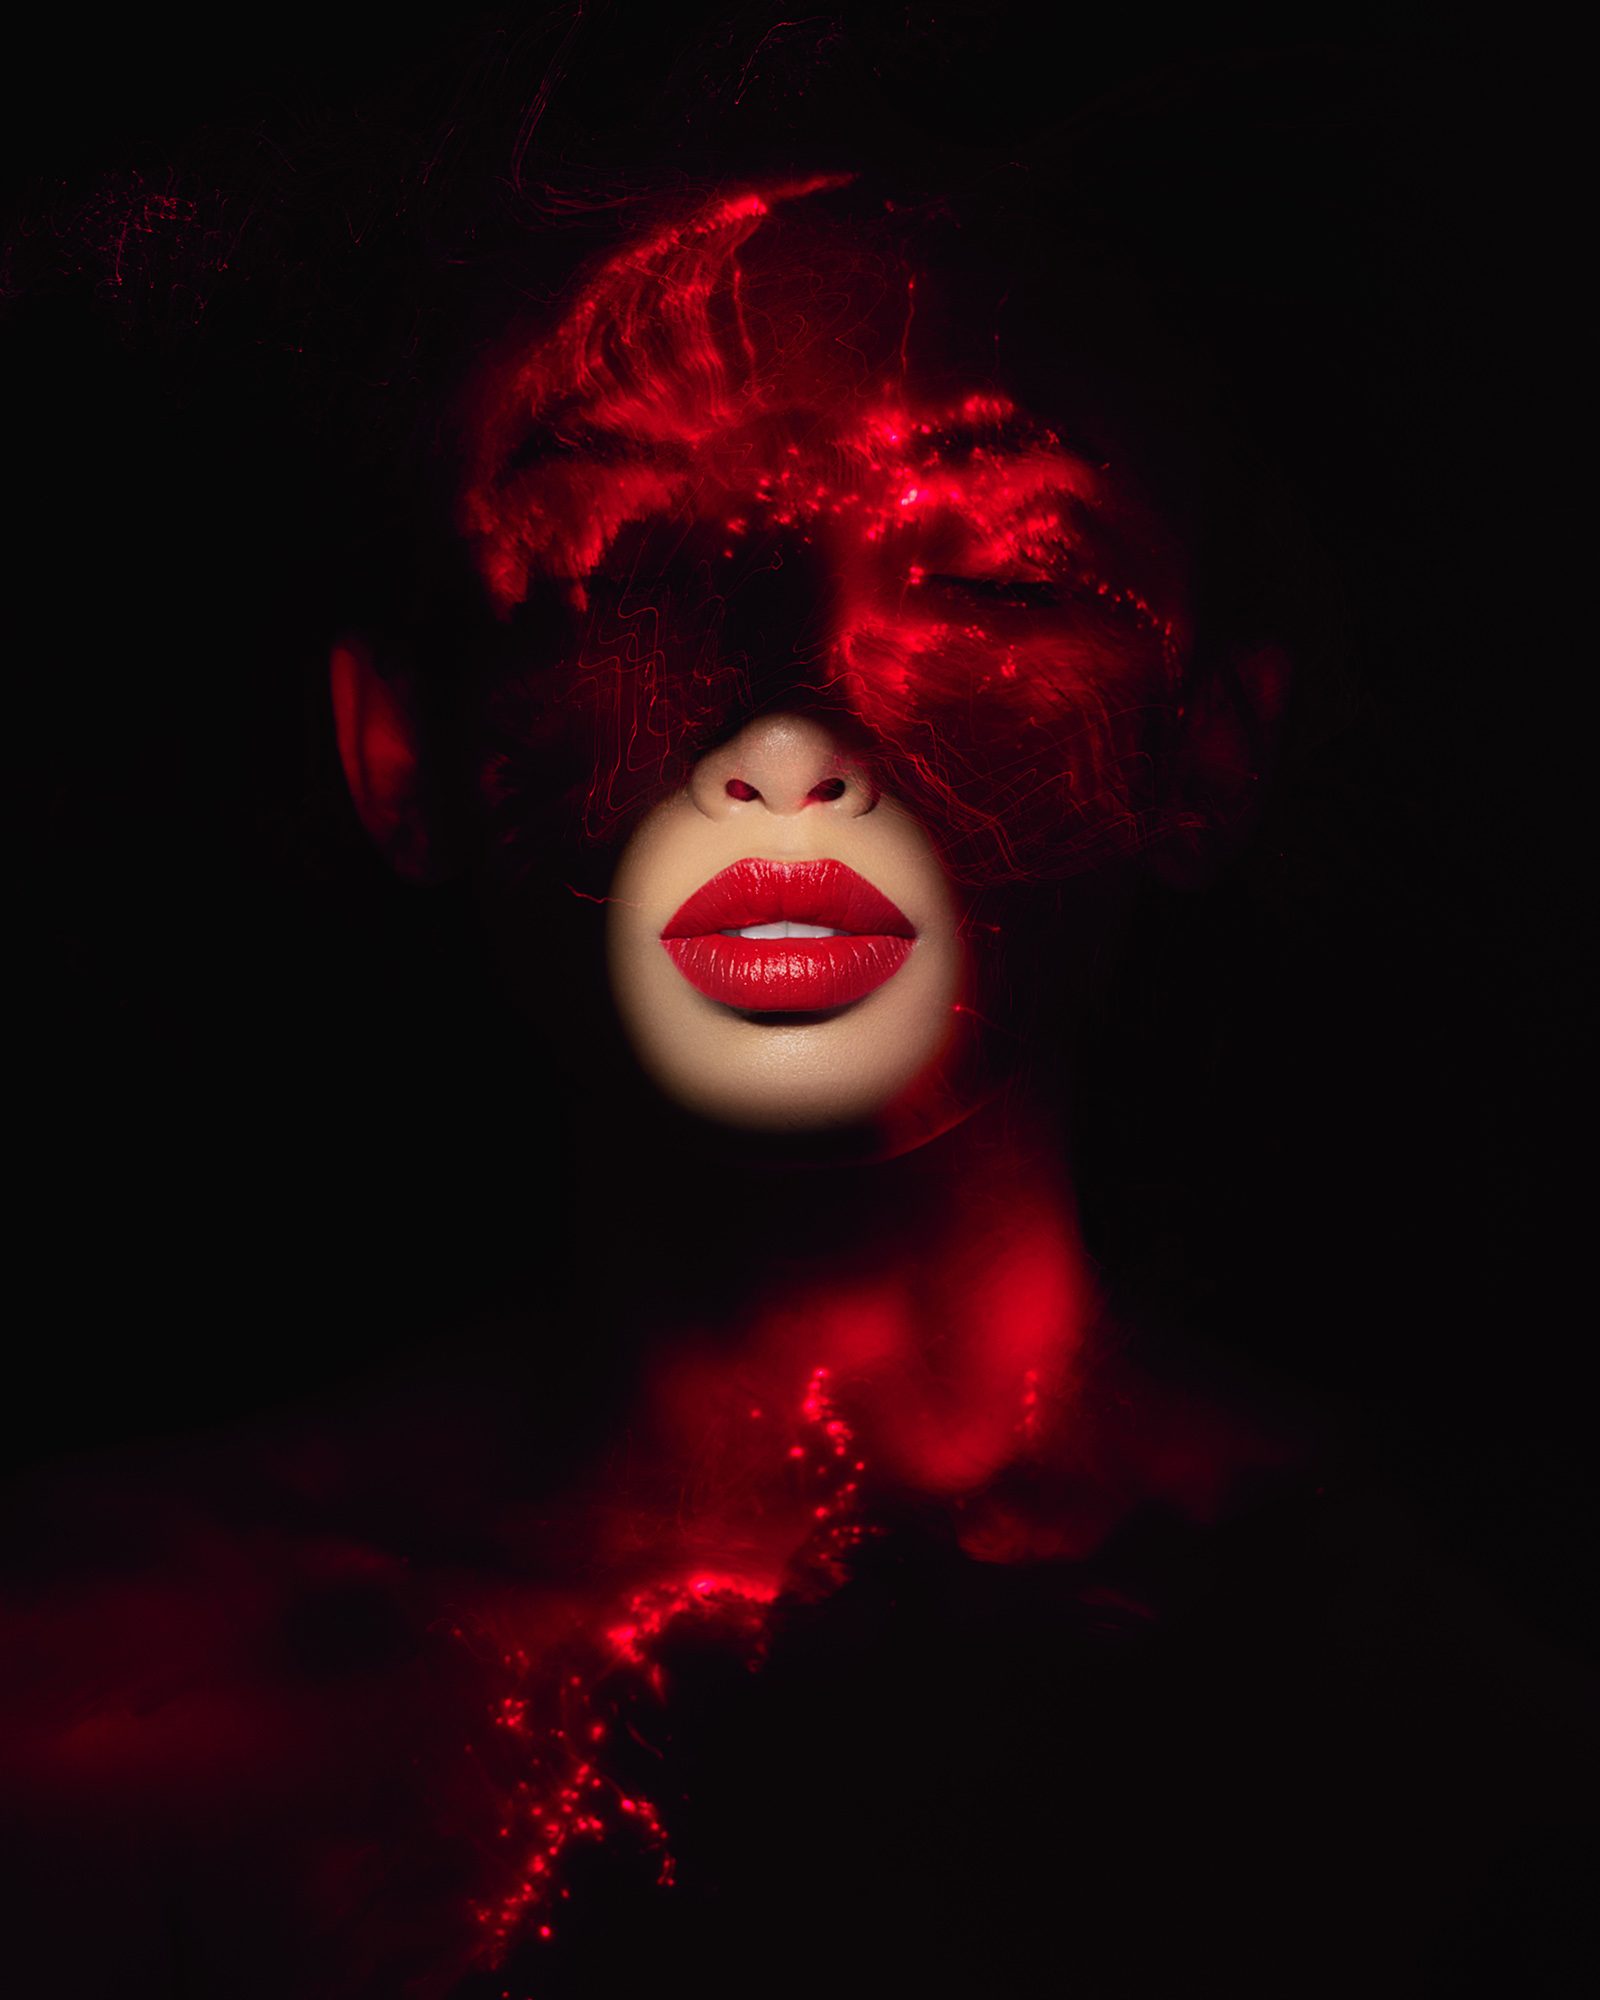
The first creative idea that I want to talk about when using light painting in a studio is some work I did a few years ago using a fiber optic brush attached to a flashlight, some gels, and a lot of patience. By using a fiber optic much like this one here, I was able to paint light on the subject’s face (while they were holding very still), and then used a Profoto flash with a Profoto Spot Small attached and set to rear curtain flash to bring the focus to the lips of the subject. This process took immense trial and error and involved working in a completely blacked-out studio to ensure no light leaks. But the results were worth the effort, and I ended up creating a series of images I’ve never really seen anyone else do before, leaving a lot of people asking a lot of questions.
Light Streaks
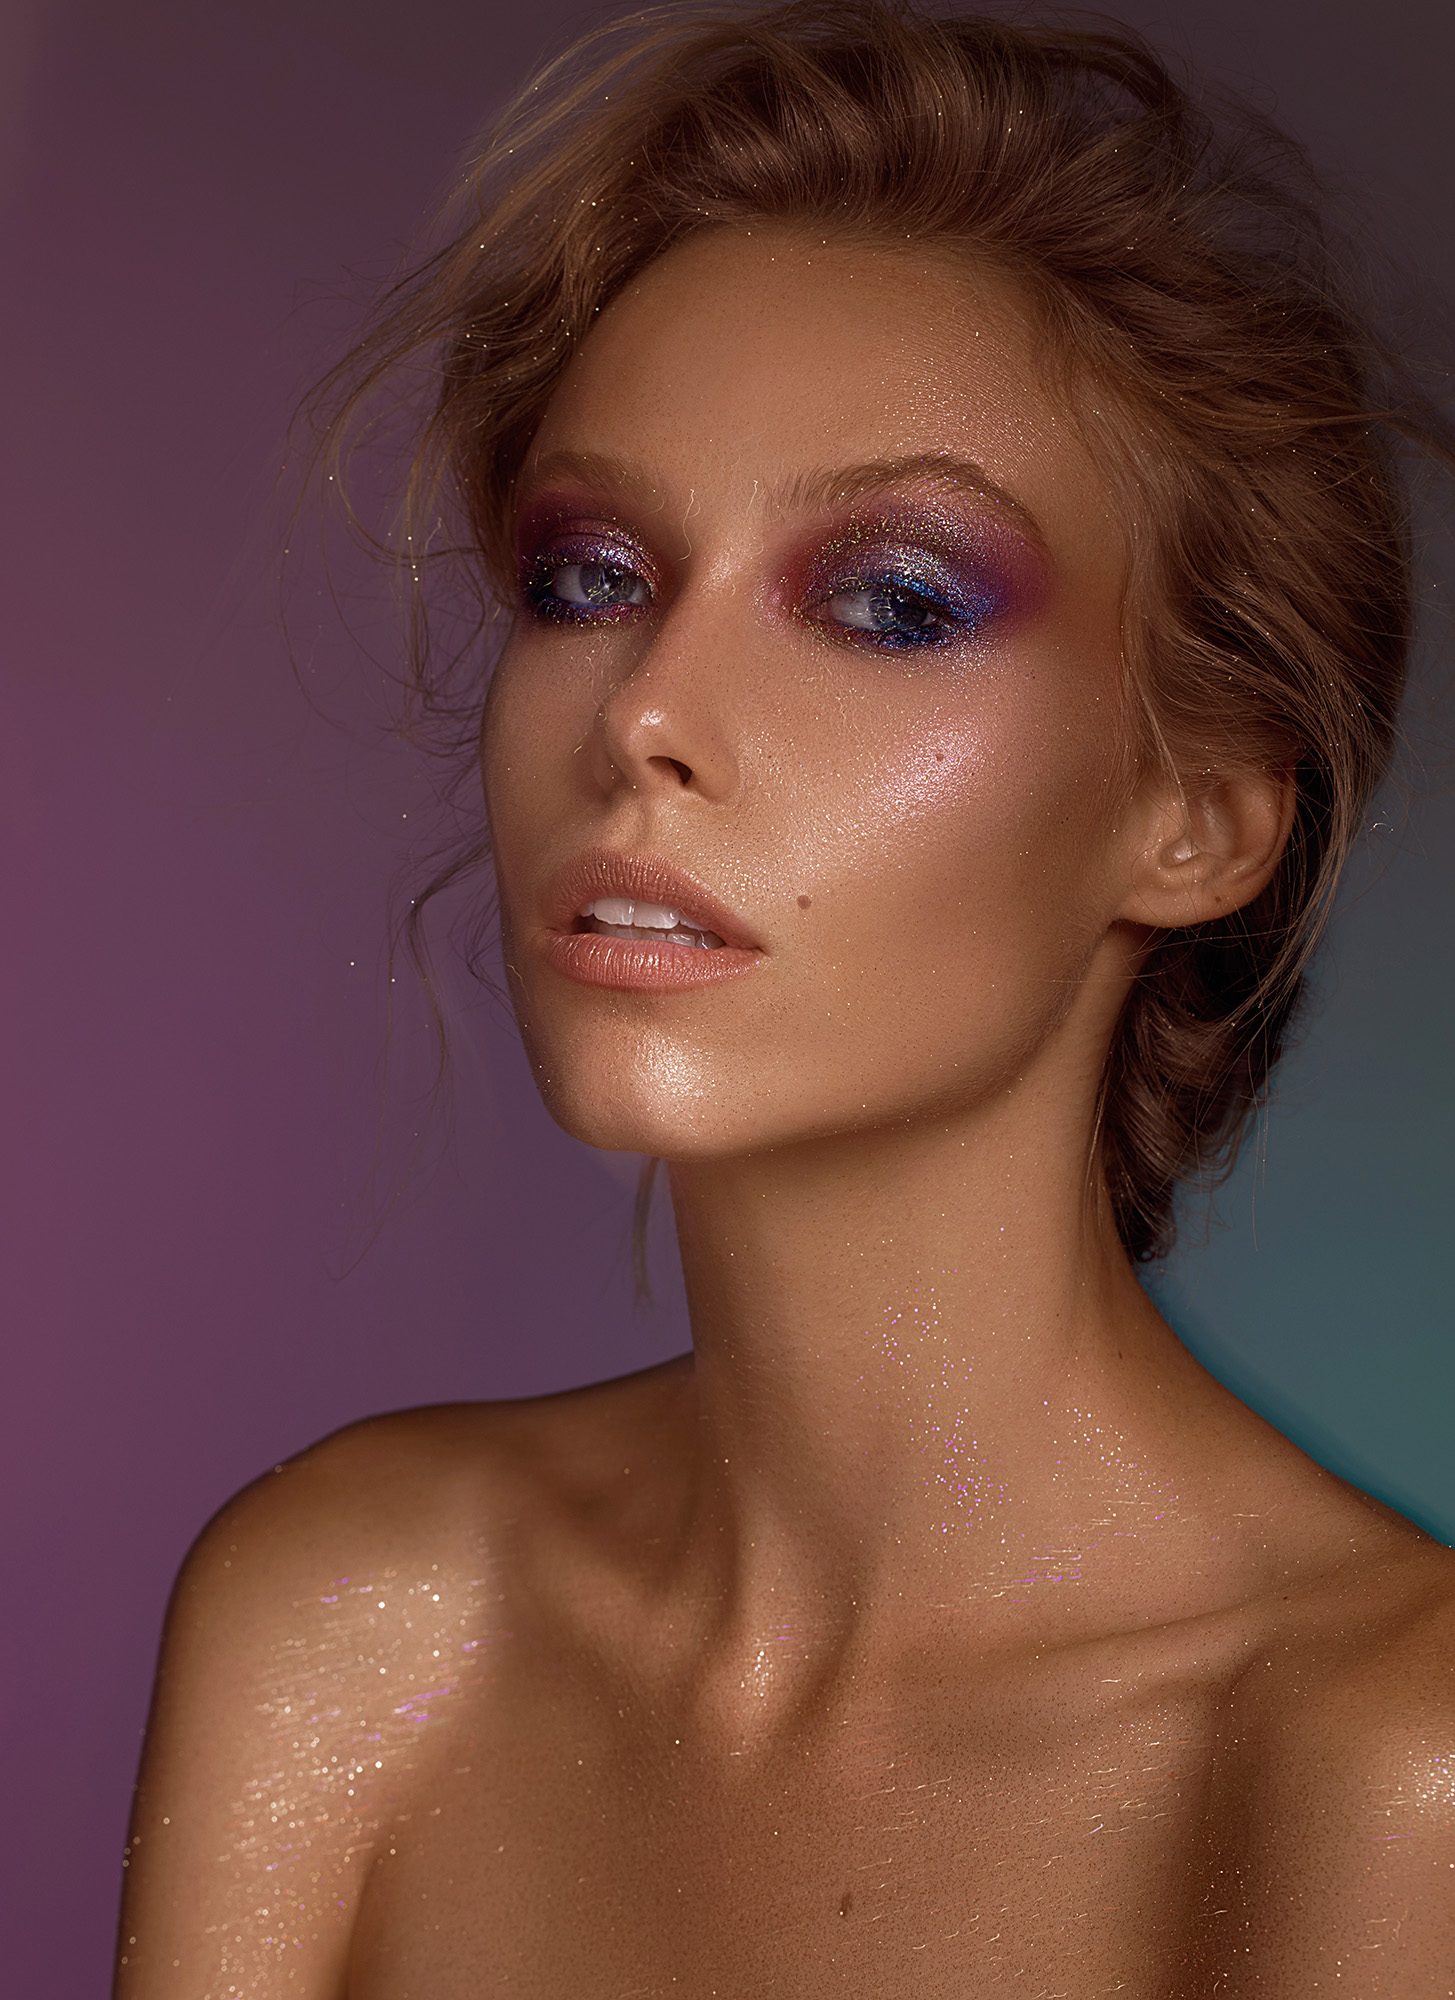
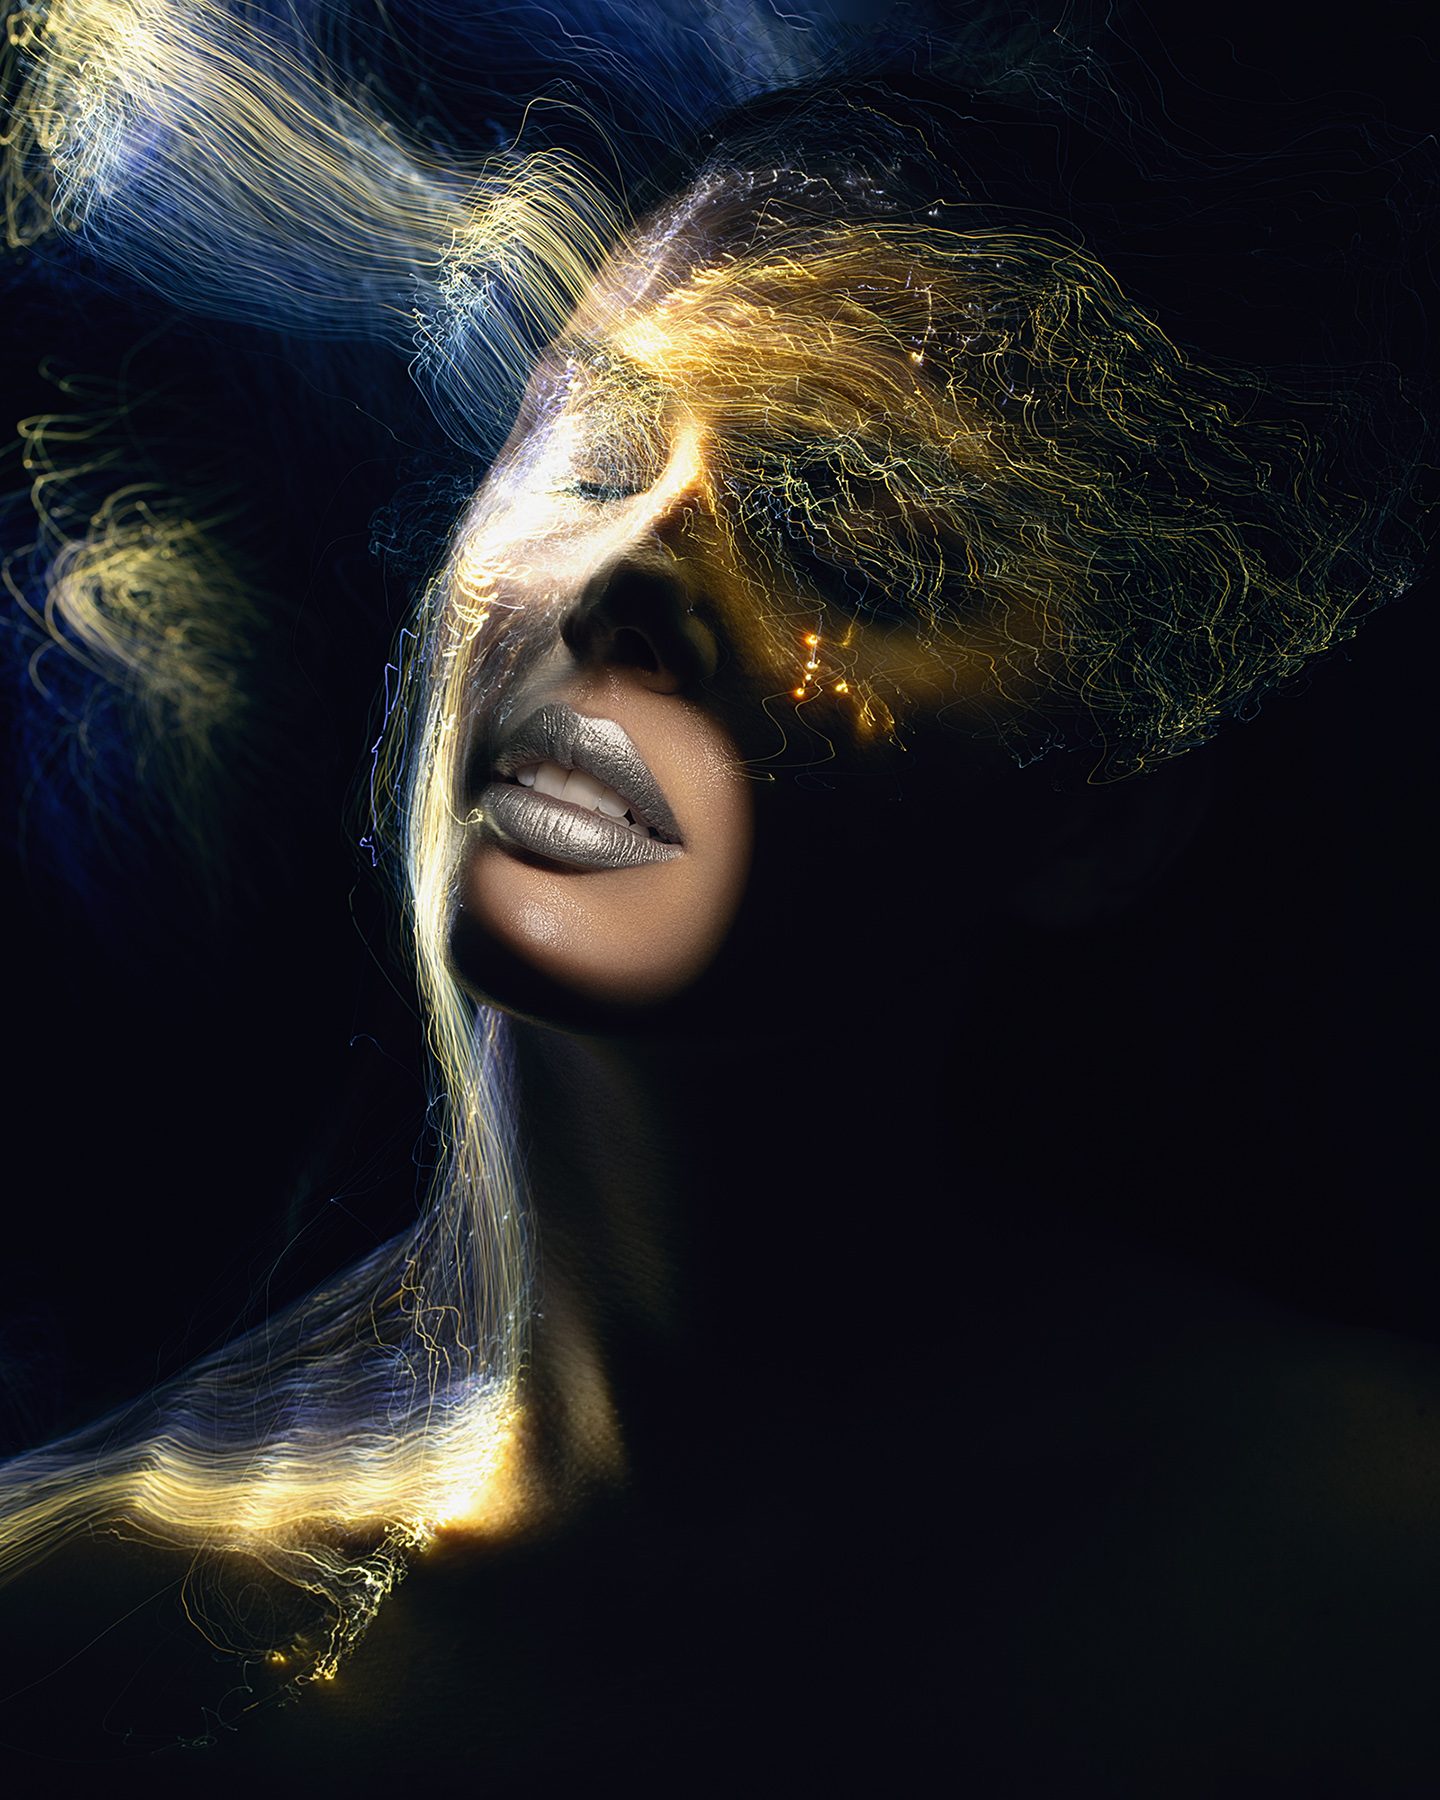
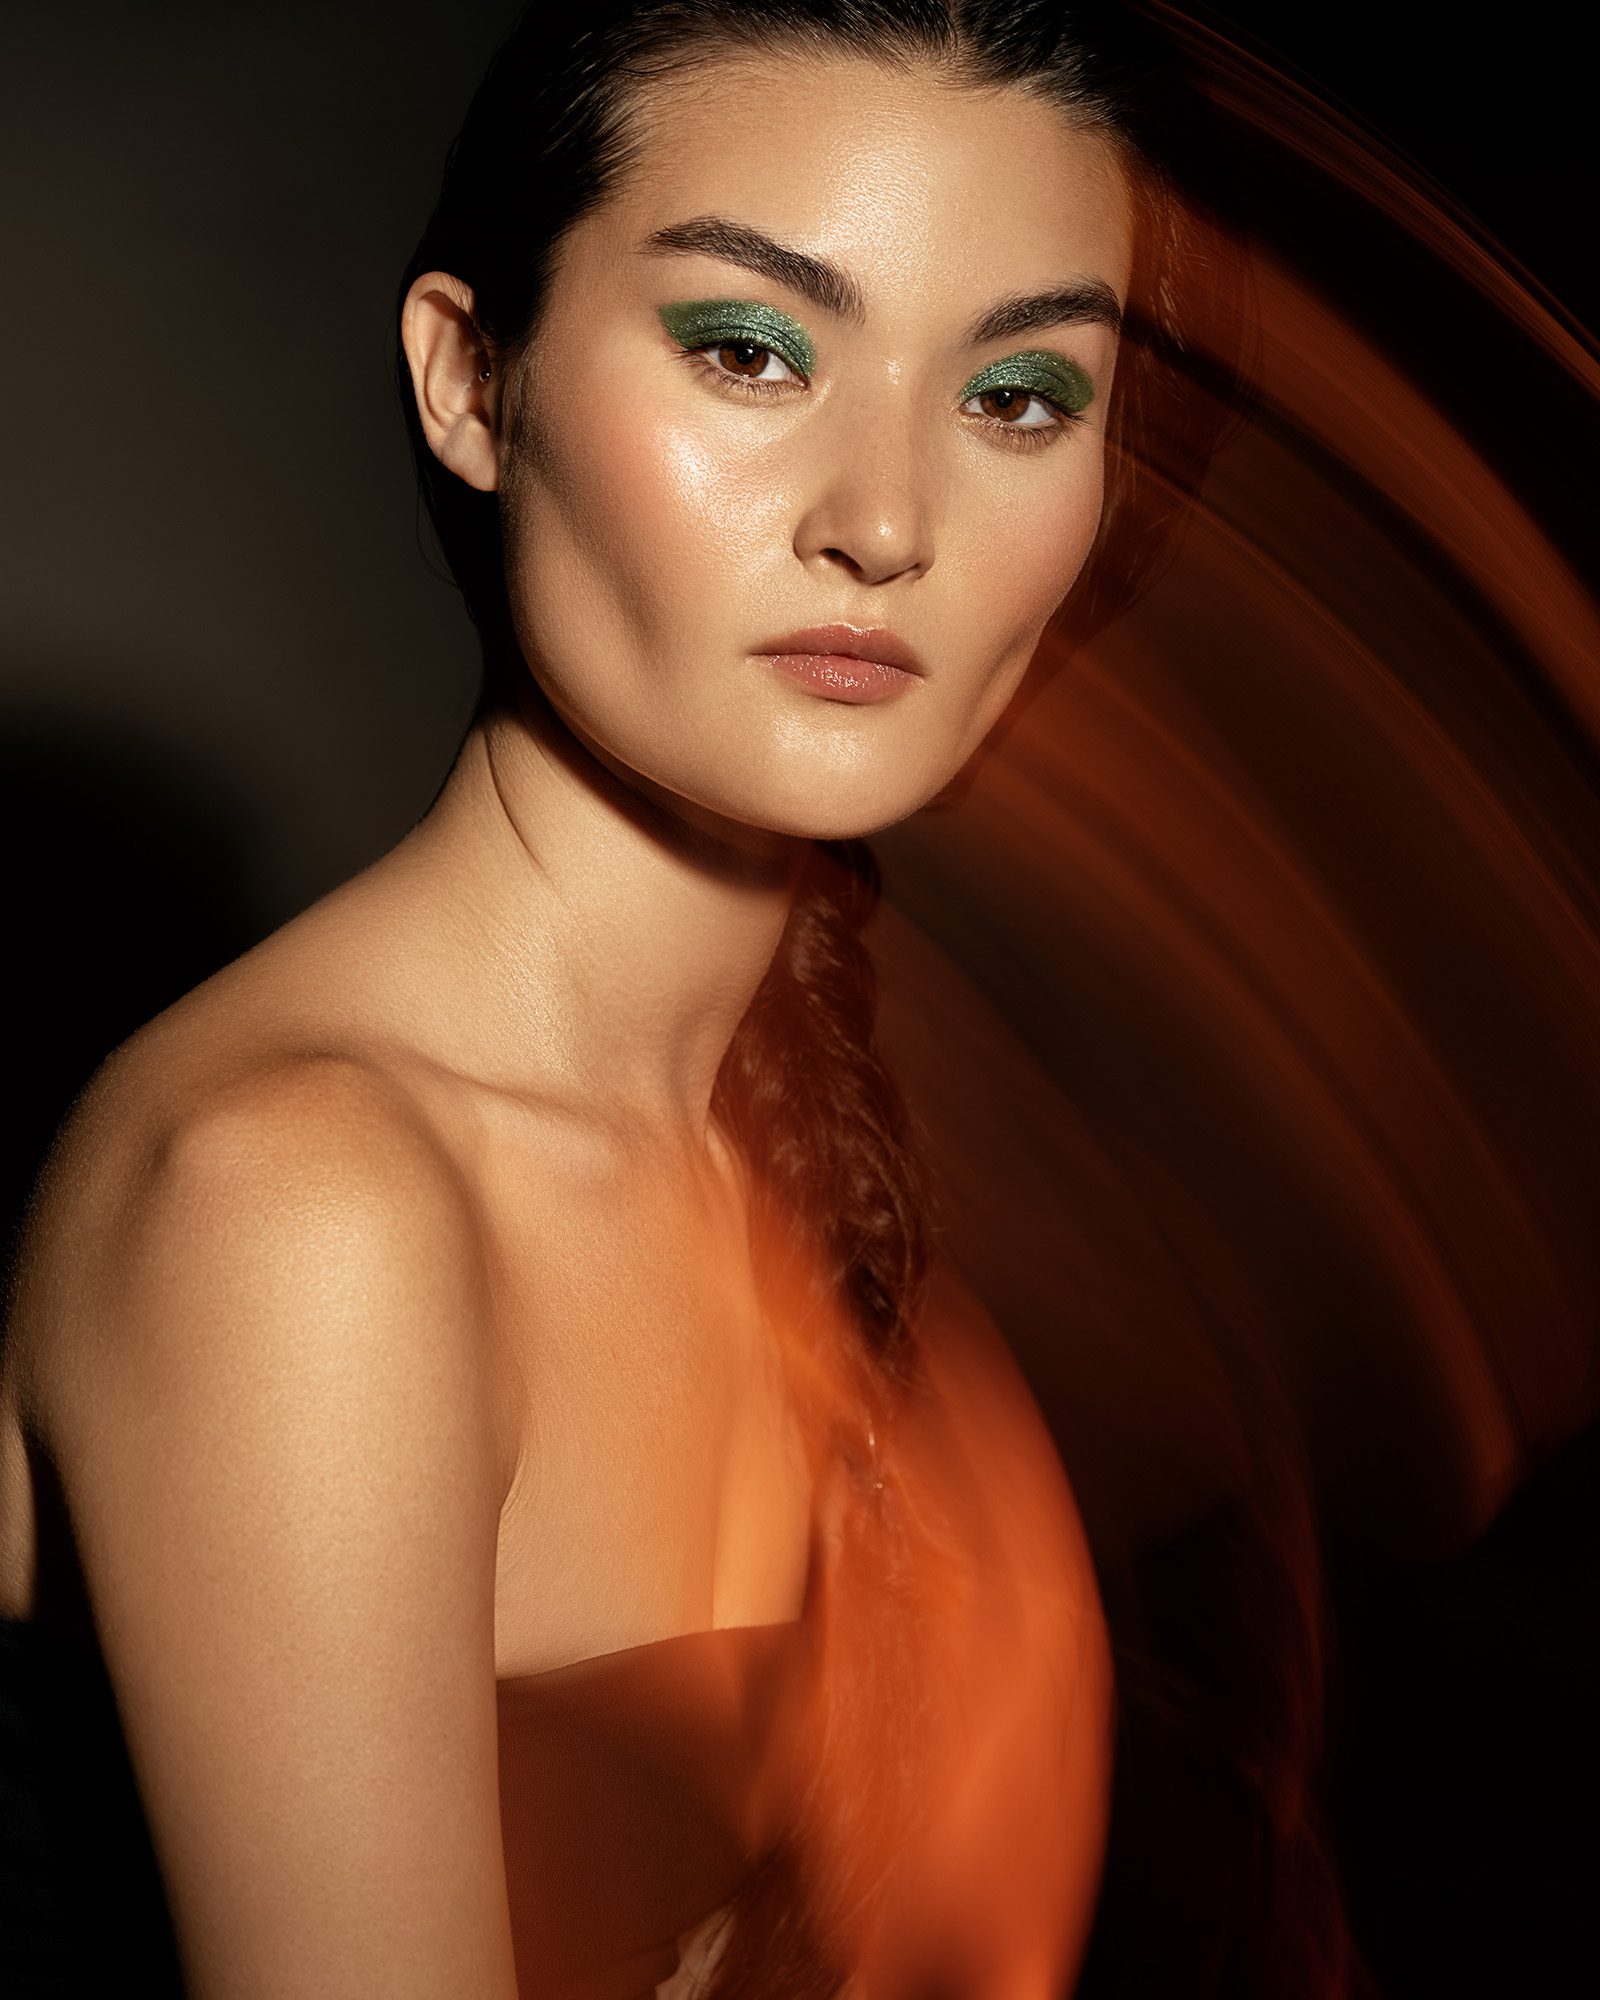
By design, light painting is a creative element and generally lacks a lot of detail or focus (cause you’re capturing moving light afterward), so it’s not commonly used in a studio setting. However, one way it can be used in a studio is to simulate movement, and pairing it with rear curtain sync of some additional light sources can be an effective way to add an interesting detail to your images, without taking away from the detail in the photos. The picture below was done in this image by using a photography studio strobe paired with an LED video light. Through some trial and error, I was able to set the video light to only partially expose the scene, with the flash doing the bulk of the effort. Then, by shooting at a shutter speed of 1 second, I’m able to capture the movement of the model shifting her head while also capturing the detail of her skin and face.
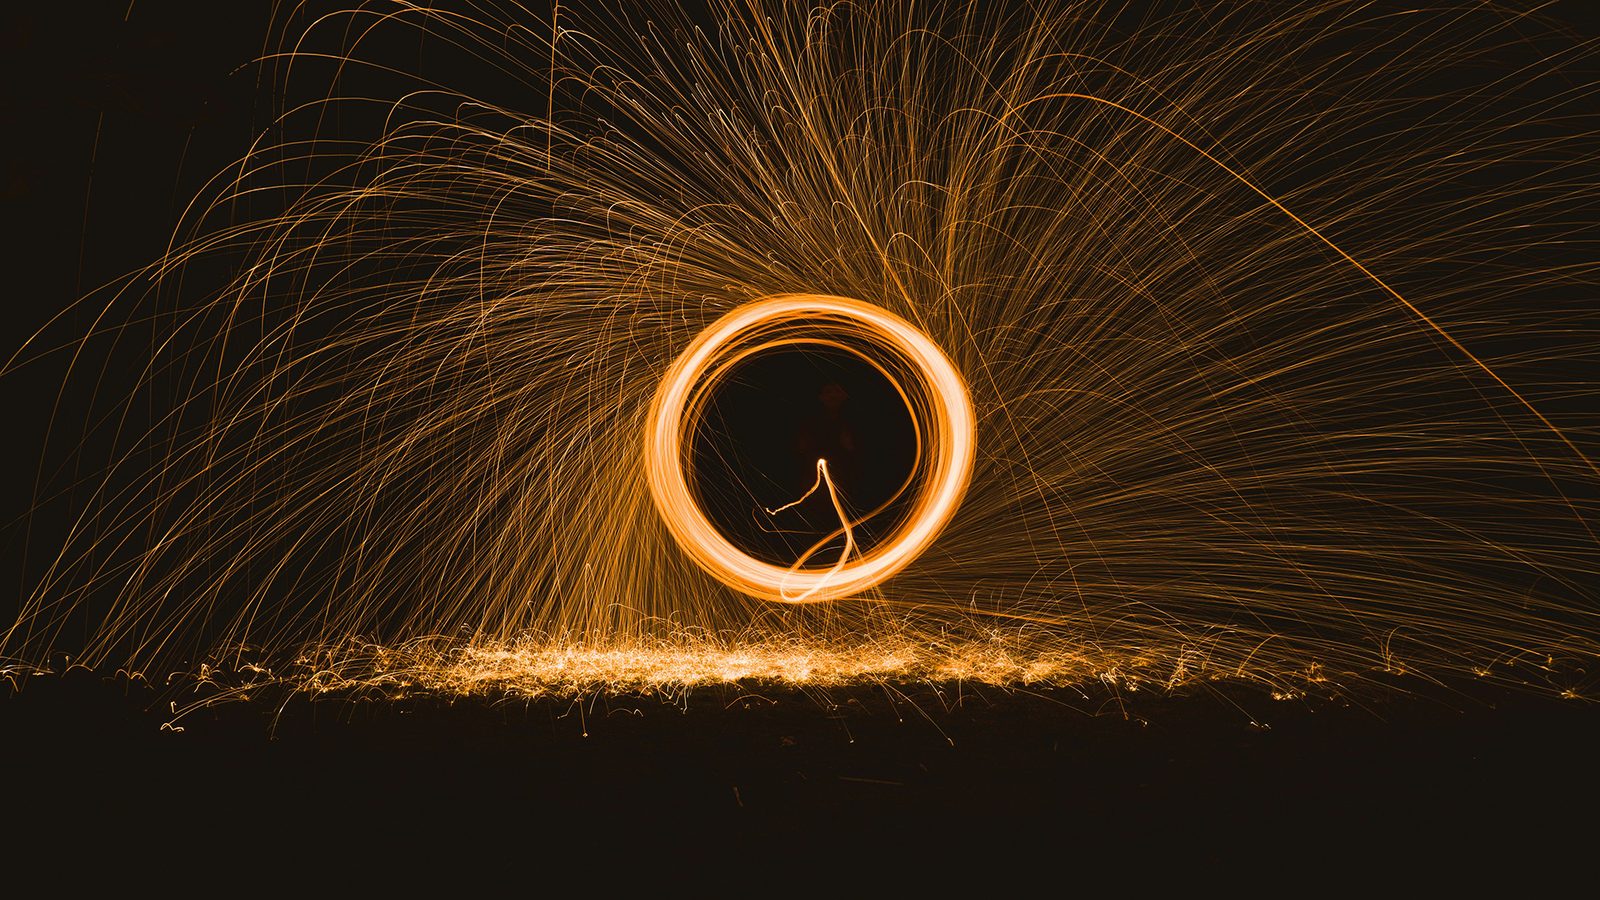
Creating Light Orbs & Streaks
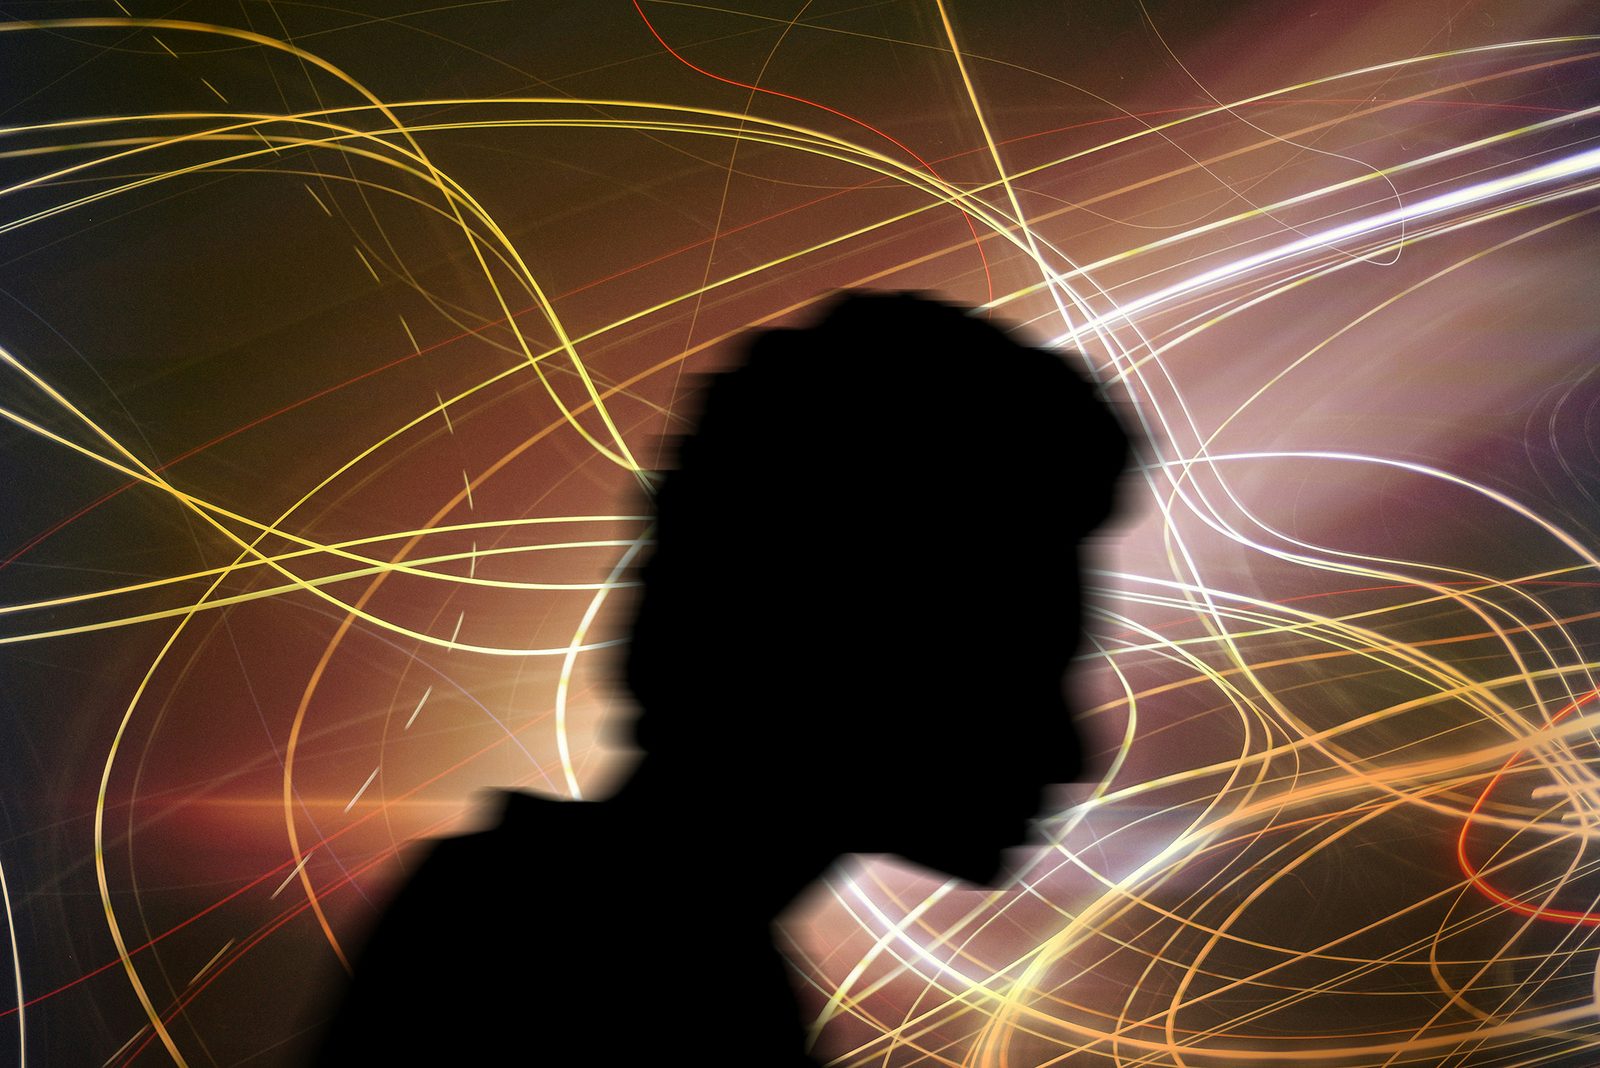
Swing a light source in a circular motion while rotating your body to form spherical light patterns. This requires practice to perfect the symmetry, and can be extremely dangerous if using the technique of lighting steel wool on fire (don’t do it like this, please). When done right, this can provide an interesting and sort of surreal set of images showing off the scene in a new way.
Final Thoughts
Light painting is a blend of technical skill and artistic expression, and as such, there are no steadfast settings you can use to get perfect results every time. Instead, light painting requires a lot of planning ahead and trial and error to get the settings just right. It encourages experimentation and offers endless creative opportunities, and it can provide a really interesting element to your images.
Have you experimented with some light painting in interesting ways? Feel free to share some of your work in the comments below.
