Gear Knowledge, Straight From the Bench
Hands-on reviews, teardowns, and field notes from the techs who inspect every rental — and the photographers who put them to work.

Comparing the Canon EOS R5 Mark II and EOS R5 While Photographing Tigers in India
Wildlife photography is an incredibly enjoyable and addicting artform. It can be immensely rewarding when planning, effort, skill, knowledge, and a little bit of luck all come together to let you capture that dream shot. And at times, it can also be quite frustrating and difficult. Even when you do…
On The Go Filming Techniques for your Next Video Shoot
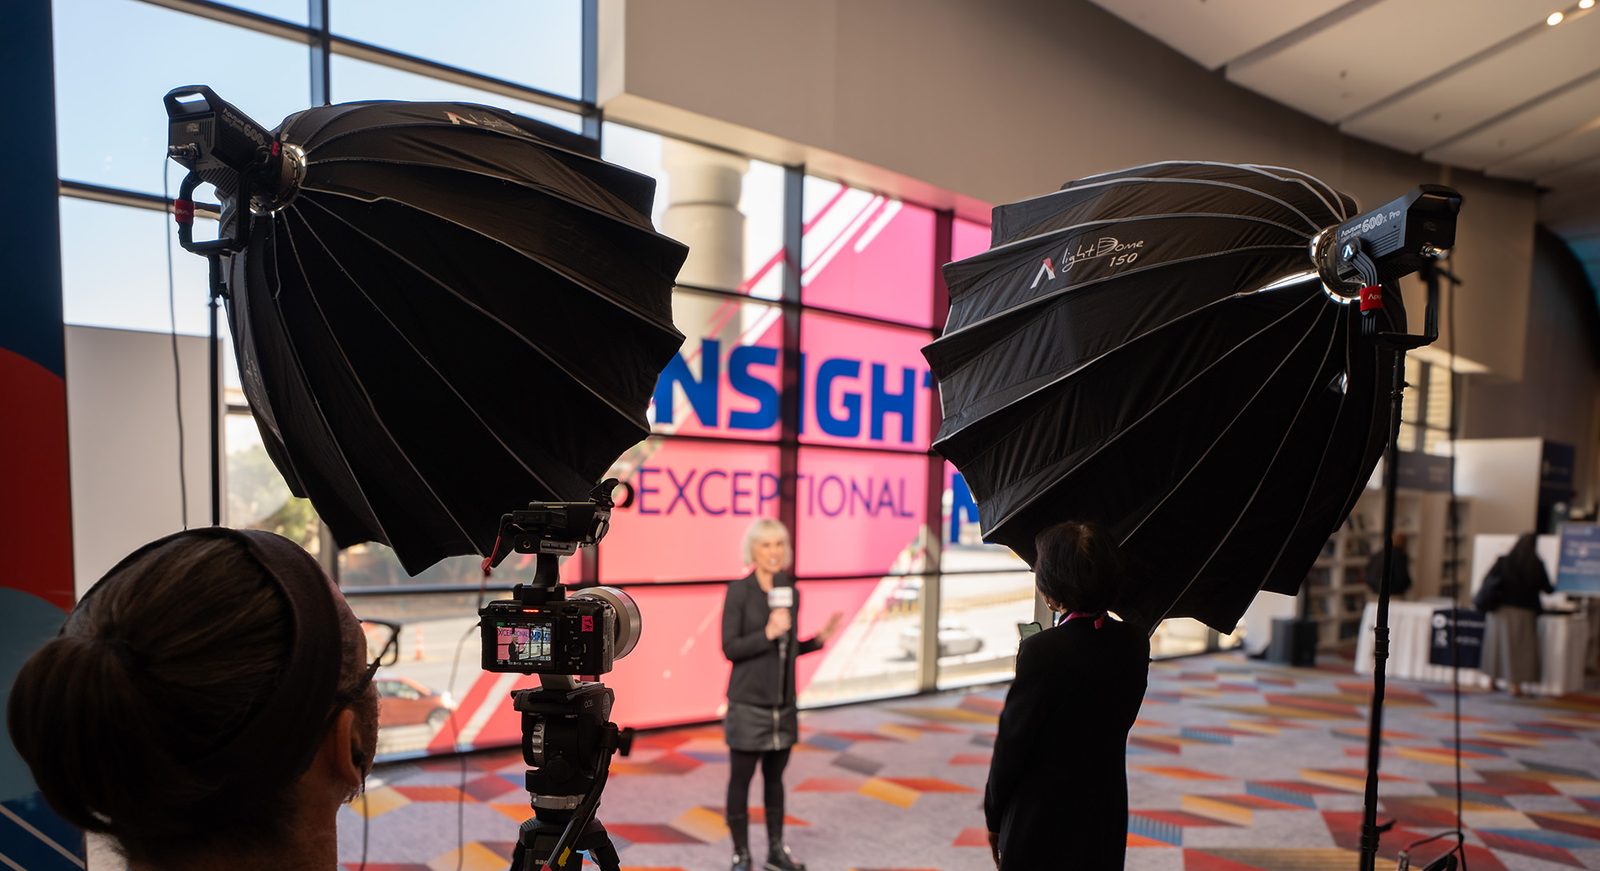
Some projects throw you a curveball right when you think you have everything figured out. Midway through a convention shoot, my client asked if we could add some “Glambot” style shots to the day, followed by quick person-on-the-street interviews with attendees. Two very different things to pull off…
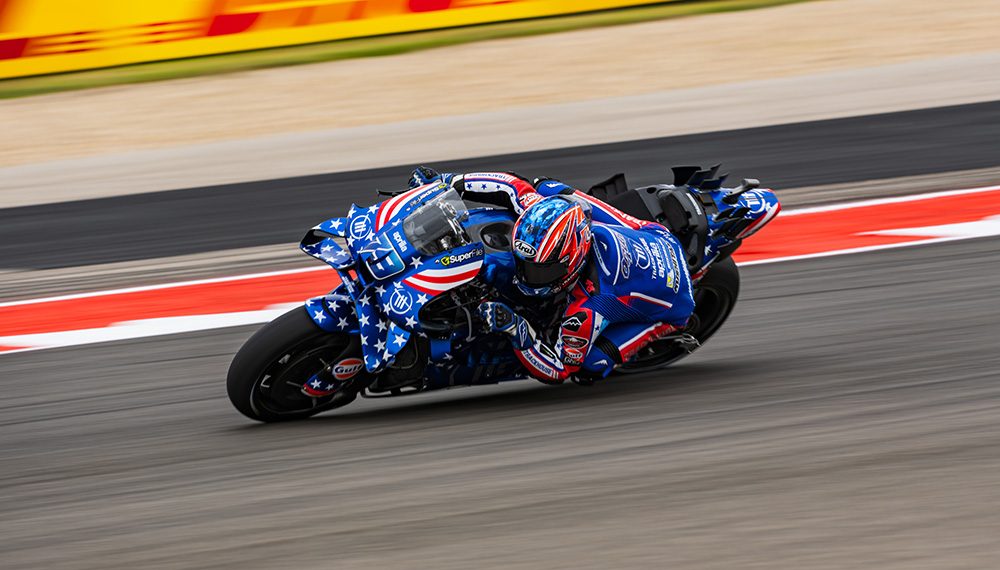
Shooting MotoGP at Circuit of the Americas with the Fujifilm GFX100S II: A Field Review
Let me be upfront about something: bringing a large-format camera to a MotoGP weekend is, on paper, a fool’s errand. The GFX system was never designed for high-speed action photography, even though Fujifilm says it can hang in that kind of environment. It is a camera built for maximum image…
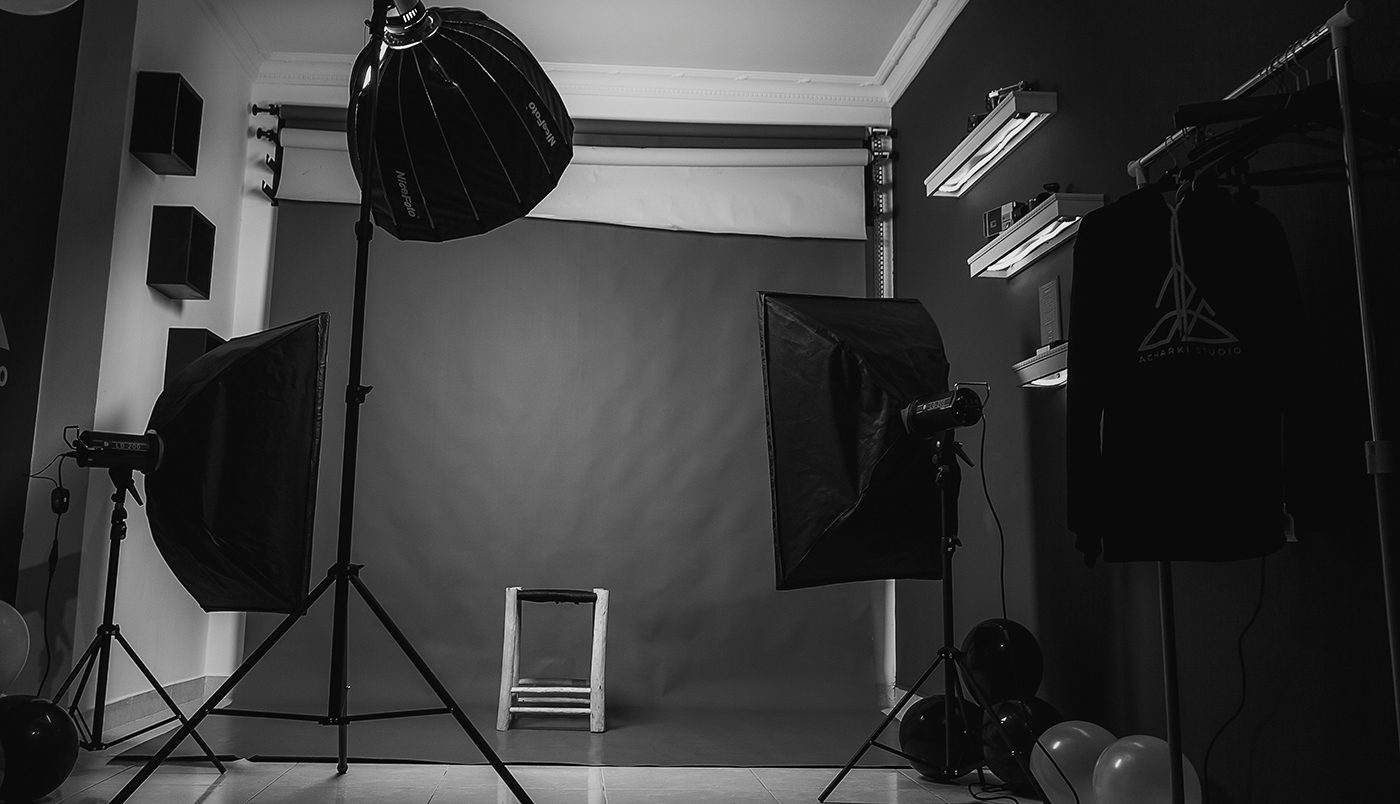
Recreating Iconic Lighting Techniques Used in Film
A few weeks ago, we looked at some of the Oscar nominations and the cameras that were used to bring these films to life. While that was an interesting look at some of the gear used to create these films, it’s still just a small fragment of what is needed to make them the best in their class. So I…
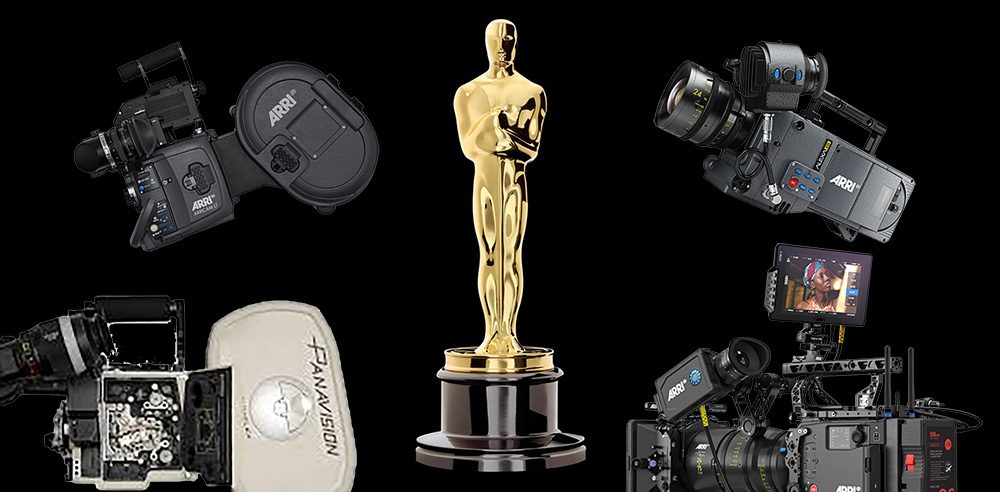
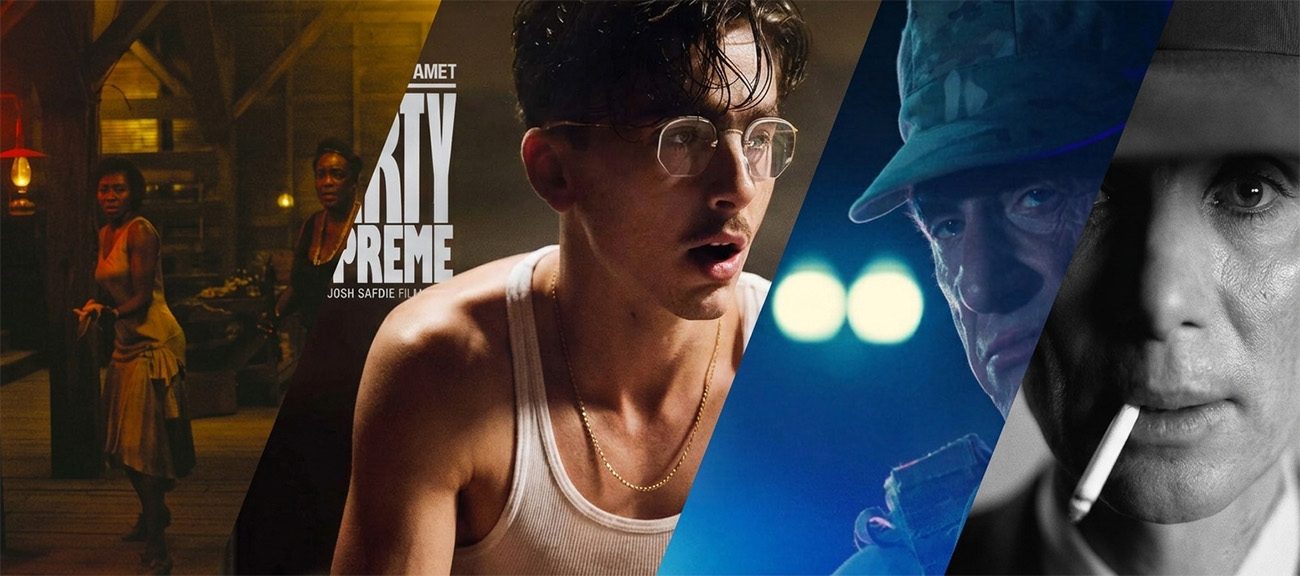
The Cameras Used in this Year’s Oscar Winners
The 98th annual Academy Awards were this past weekend. Highlighting some of this past year’s best in film, we had a lot of really great films for the year, and some of the best cinematography in years. As you may have noticed, I’ve become quite a film and TV buff over the past few years, and have…
The Three Principles of Lighting for Photo and Video
I’ve used this blog on the regular to talk about the complications of lighting, from lighting breakdowns to advanced lighting techniques used in the studio and on location. Lighting in photography and videography can be a great way to get creative, but there are a few fundamentals that help you…
The Netflix Approved Camera List for 2026
With the motion picture being over 100 years old at this point, there is a pretty massive array of gear you could use for your next film. However, without standards, it’s easy to end up with footage that doesn’t translate well on modern televisions and screens. While creative expression is…
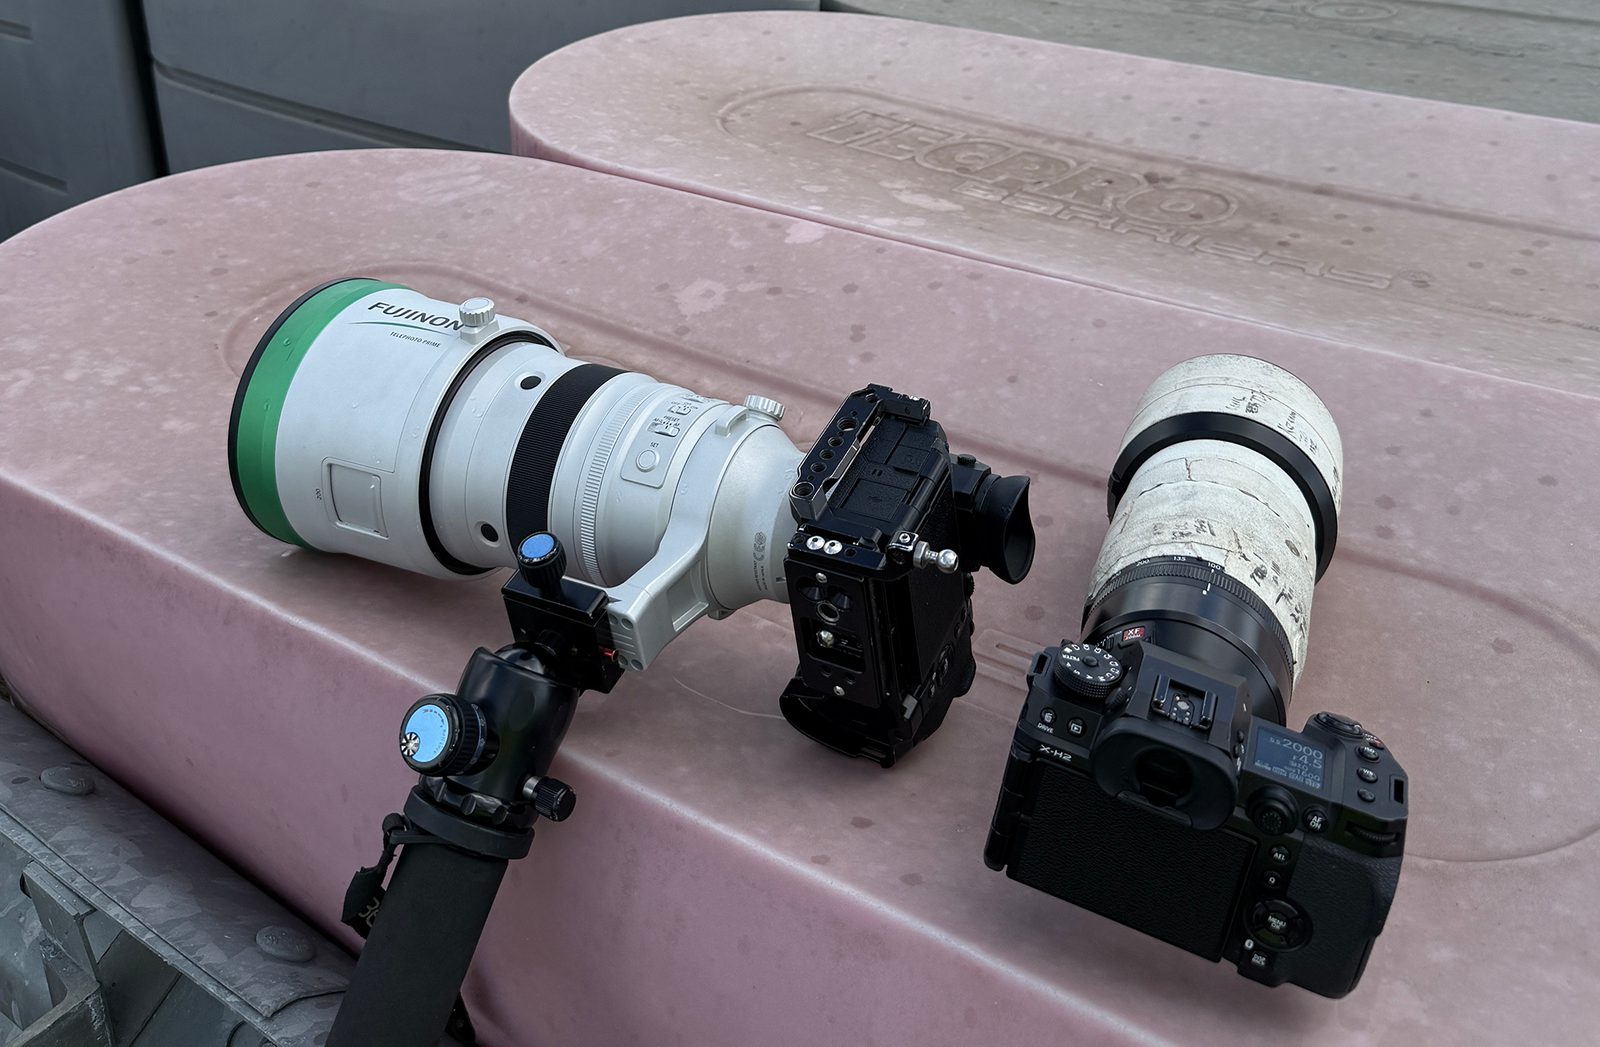
The Fujifilm XF200mm f/2: A Trackside Love Letter
Over the past four years, my work has leaned increasingly toward motorsport photography. With that shift came a growing need for specialty long lenses that could keep pace with speed, distance, and rapidly changing light. My most practical early solution was the Fujifilm XF100–400mm f/4.5–5.6, a…
Five Photo & Video Things I Hope to See More of in 2026
Last month was definitely a month of reflection. Not just in our personal lives, as we look back on the year and mark our successes and failures, but also on this blog, where we analyzed all our rental and purchase data and shared it with our viewers. January, however, will usually mark the…
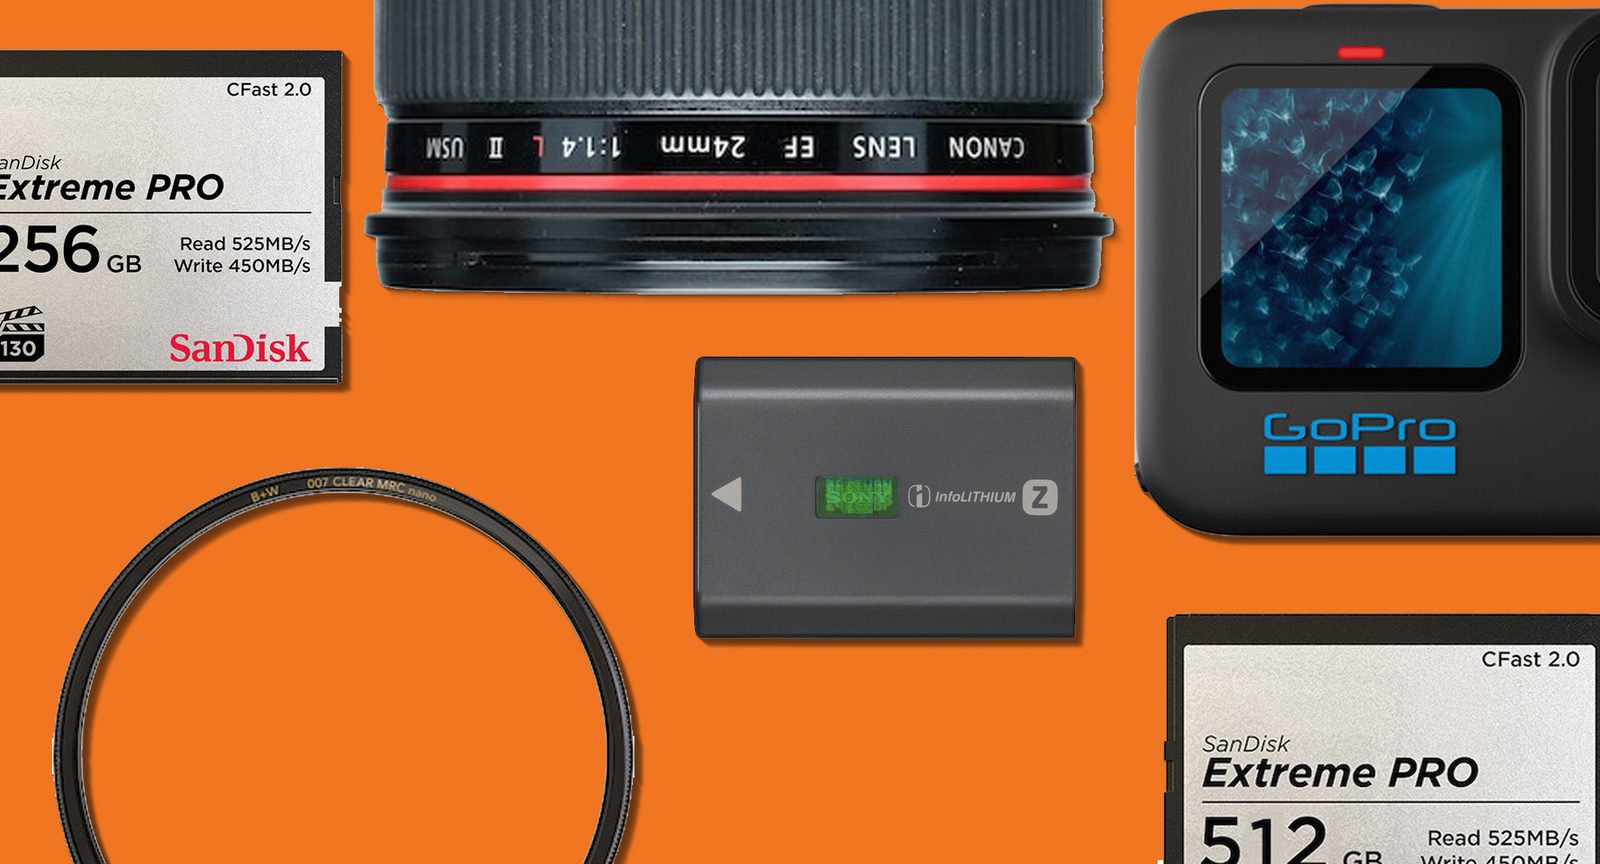
Top Photography and Videography Purchases for 2025
A week or so ago, we shared our annual data on the most popular gear rented from our inventory, which brands are growing in market share, which are shrinking, and so on. The piece is one of the most comprehensive sources of data-sharing information in this industry and a great way to see where…

Top Photography and Videography Rentals for 2025
Each year, we paw through all the rental data we’ve collected and take a moment to share with you which products are the most exciting and most successful. As the premier rental house in America, this data has significant importance for market trends and where we can expect things to go in the…
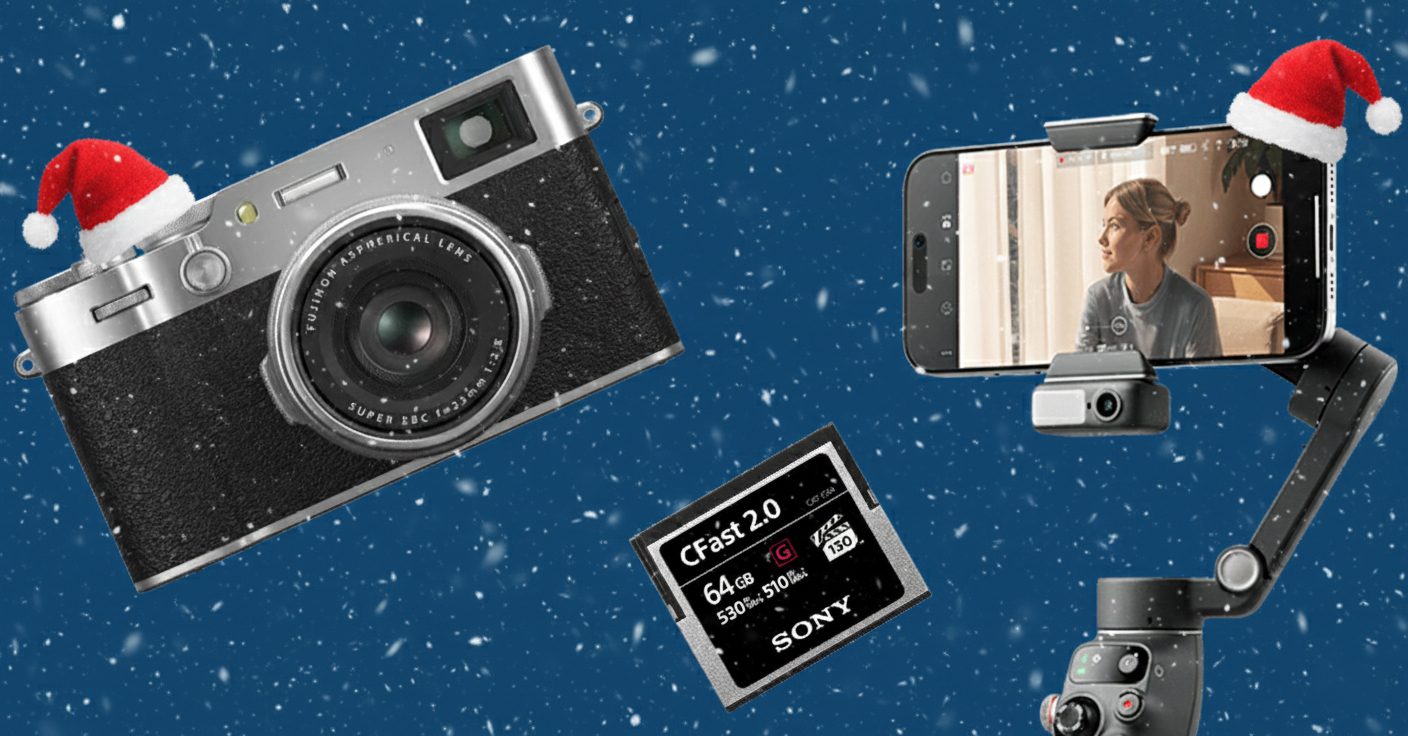
The Best Gifts for the Photographer or Videographer in Your Life
The gift-giving holidays are upon us, so it was fitting to put together a list of our favorite gift ideas for these upcoming holidays. Because if you’re a photographer or videographer, you’ve probably gotten a dozen of those lens-shaped coffee mugs at this point, so let’s make a list of products…