A couple of weeks ago, we shared some solutions that photographers just starting in their hobbies or careers might find helpful as they learn the ins and outs of their cameras. However, people experimenting with video might also run into several common problems if they’re not yet experienced in the field. We also decided to address video issues and how to resolve them. Let’s explore common problems you may encounter when shooting video and how to address them.
Common Videography Mistakes
Shaky Video Footage
One of the most common issues you’ll encounter when shooting video for the first time is shaky footage. In most people’s first time with video, they think handholding the camera is fine, but it rarely results in the high-quality footage they’re expecting. We’re living beings, so while it may feel like you have steady hands, a lot of handheld video will be shaky and can cause motion sickness for viewers. While built-in image stabilization can help resolve some of these issues, it’s still recommended to invest in a gimbal system to minimize camera shake.
A wide range of video stabilization systems is available at various price points and capabilities, and many depend on the camera used to capture video. If you’re shooting video on your phone, systems like the DJI Mobile are great tools for softening pans and camera movements without incurring significant costs. For those looking to scale up, the DJI Ronin-SC is an affordable option that is more than capable of meeting the needs of smaller mirrorless camera systems. The DJI Ronin-S is our recommendation for those camera systems weighing over 4.5 pounds.

If we were to continue scaling up, systems like the Easyrig Vario 5 are recommended for long shoot days, as they take some of the weight off your arms and redistribute it to your hips, back, and legs. At the very least, if you’re running into footage with too much camera movement for your liking, consider investing in a nice tripod and a tilt-pan head to allow for basic camera movements while keeping everything stabilized.
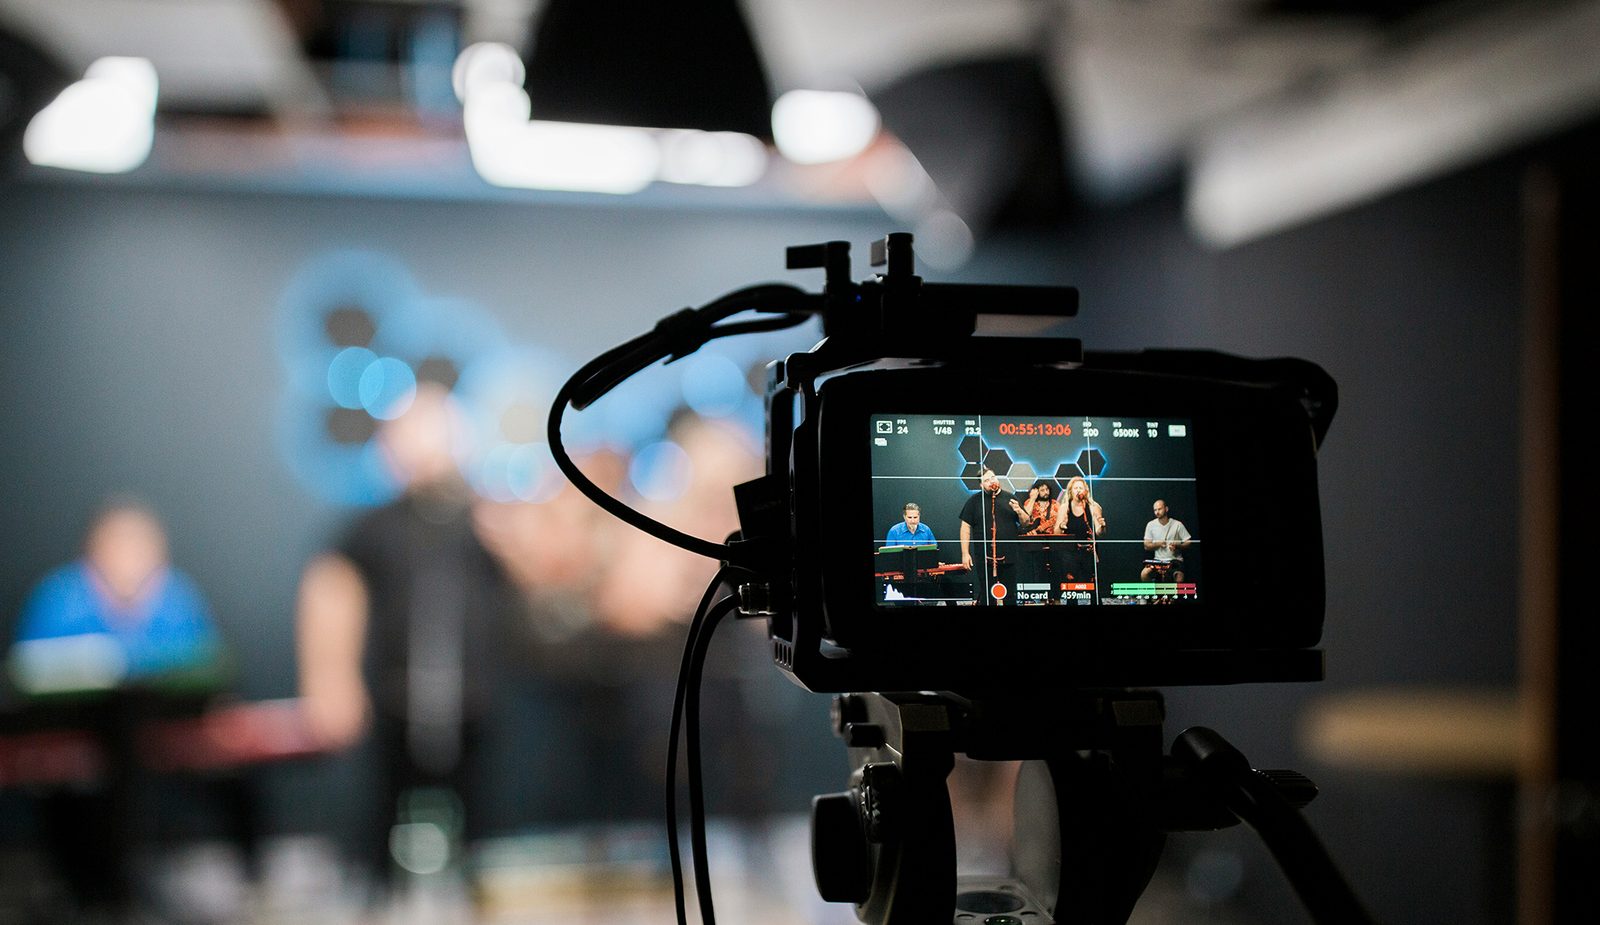
Bad Audio
Another common mistake new videographers run into is one that commonly doesn’t get discovered until after the shoot is over – bad audio. Bad audio can ruin good footage, so it’s essential to address it before you even begin. The built-in microphones on most video cameras are often inadequate, offering very little in terms of quality or features, so it’s always recommended to record audio separately. If you’re recording interview-style audio, it’s recommended to invest in a lavalier microphone system, such as the Sennheiser G4 or DJI Mic 2 system. If you’re looking to capture the audio of a scene as a whole, a shotgun mic is ideal, such as the RODE VideoMic Pro Plus. Finally, it’s worth investing in a dedicated audio recorder, such as the Zoom H6 or H4n. Having these tools in your arsenal will help ensure you get clear audio and avoid panic when reviewing the footage later. And, of course, to avoid those surprises, a nice pair of headphones will help you monitor audio as it’s being transmitted, and it’s a worthwhile investment.
Grey Scale Footage
Another common issue you may encounter when shooting video is that your footage appears grayed out, with low contrast and saturation in many shots. This is likely because you’re shooting in log format. Many camera manufacturers have their own versions of log, but the principle is the same: to capture as much luma data as possible. It does this by stripping much of the saturation data obtained by the sensor, because that can easily be added back in the color grading process. This exchange provides a higher dynamic range, offering greater flexibility when editing and color grading the footage. However, this process may be overkill for many, depending on the purpose of the video footage. The good news is that if you shot in a log format by mistake, the colors can be easily restored, even by simply converting the footage to Rec. 709.
Choppy Video Footage
Another common problem that you might encounter when starting in videography is that your footage looks choppy. This is likely because of one of two problems.
The first, and probably most obvious, is to check your frame rate. When shooting video, it’s generally recommended to shoot at a frame rate of 30 FPS or higher. While most cameras default to this setting, it’s essential always to double-check and ensure you’re shooting with a fast enough frame rate for smooth video.
The second reason your footage might be choppy is that the media you’re recording to is not fast enough to keep up with the footage recording. Memory cards and hard drives will generally list their transfer speeds on their packaging. Double-check to ensure the memory can process the amount of data you’re sending to it. These figures are generally listed in MB/sec, and there is no disadvantage to purchasing the fastest memory or hard drive available. This will only increase its use case as you scale up to faster and higher-resolution shooting settings.
And those are the most common video issues you may run into when trying videography for the first time. Is there anything else that we may have missed? Feel free to give your guidance and advice in the comments below.