Equipment
How Videographers Can Avoid Data Catastrophes

Two or three times a week here at Lensrentals.com, we get one of two common support calls. Scenario number one is that someone thought they transferred all of their footage over, but later found that they missed a couple of clips and need us to send them their rental cards back. If we haven’t inspected those cards yet, we’re happy to do that, but if our techs have already inspected them, that’s a problem we can’t solve. We perform a full and secure format at inspection to make sure previous customers’ footage isn’t recoverable on subsequent rentals. Once the footage is gone, the footage is really and truly gone. No amount of file recovery software can bring it back. That’s never a fun phone to call to have.
The second scenario is that someone did manage to transfer over all of their footage, but one of the clips was corrupted in the transfer. Typically this realization comes during the edit, after we’ve already formatted the original media. That’s an equally tough phone call. True, sometimes file corruption happens in-camera, but nine times out of ten, the file was corrupted during the transfer from the card to the computer or hard drive. These kinds of problems aren’t something you can avoid entirely. There are inherent risks in working with digital media just like there are inherent risks in working with tape or film. However, there are steps you can take to mitigate that risk and to ensure that, if a problem arises, you’re prepared to work around it.
Before Your Shoot
The first thing to do is start with reliable media in the first place by only purchasing cards from established companies like Sandisk or Lexar. They might be a little more expensive, but they’re absolutely worth the investment. The few bucks you save by settling on that Walgreens Discount House Brand 4GB 10mbps SD card is going to seem a lot less significant when it crashes on you during a job. Buy (or, hey, rent) high-quality media and you’ll be set up for success from the start.
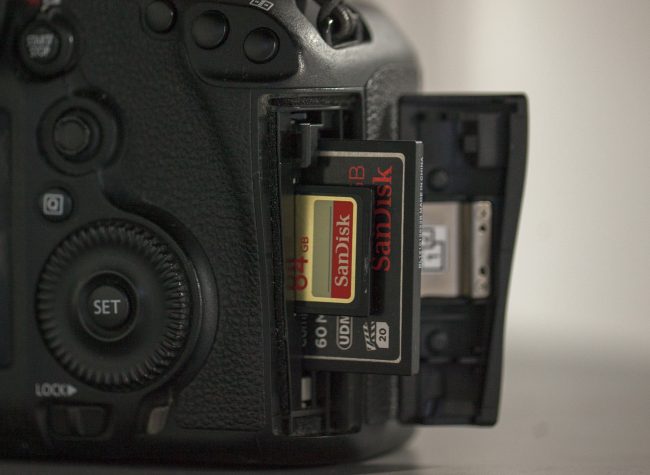
Next, you’ll want to format all of your cards in-camera, ideally well before your shoot begins. Do this every time, whether the camera prompts you to or not, whether the cards are used or not, and whether you think you already did it or not. If the camera gives you the option to do a complete or secure format, take that option. Take the time to make sure that the cards are prepped for the camera they’re going to be working in so you don’t have to take that time during your shoot. On shoot days, the less you have to think about the better. Take note, too, about whether you need to unmount or “eject” the media from the camera before physically removing it, as you do with a RED or an Odyssey 7Q. If so, make sure anyone handling the media knows to wait until it’s ejected before taking it out or turning the camera off. In our experience, most preventable card corruption happens because someone turned off the camera before the media was unmounted.
Finally, if you can, make sure you have enough media on hand to get you through at least a full shooting day without re-formatting any used cards. Sure, it’s hypothetically possible to dump footage off a card, format it, and use it again the same day, but that way lies madness. You’re asking for an accident if you’re juggling used and un-used cards in a hurry like that. Better to play it safe and spend the money to make sure you don’t have to clear any data until your shoot is over and you have time to double-check everything.
During Your Shoot
If your camera is capable of dual-recording the same data to two different card slots, I cannot more highly recommend taking advantage of that feature. Doubling your media costs can be a hard sell, I know. But all that money spent on lights, cameras, actors, and bad pizza means nothing if you lose everything you shot. You should also do everything you can to stay as organized as possible. Keep spent cards separate from empty cards, stick to a consistent file structure and naming convention on your backup drives, keep careful shot notes, etc.
You’ll also have to decide whose job it is to keep track of footage on set. Ideally, all on-set media transfer, backup, and metadata logging would be the job of one person. While I realize not every budget allows for a DIT (Digital Imaging Technician), I’d highly recommend at least considering that position on every shoot. Having someone on set whose sole responsibility is to safely back up and organize footage keeps the rest of the crew moving and helps prevent mistakes caused by distraction. When they’re not transferring footage, DITs can also log metadata, color correct dailies, and even help with exposure if needed. Even if you can’t afford a DIT specifically, it’s helpful to have the jobs a DIT would typically handle assigned to someone who can focus purely on those duties. You don’t want your camera operator in charge of backing up footage if you can avoid it.
Ingest Software
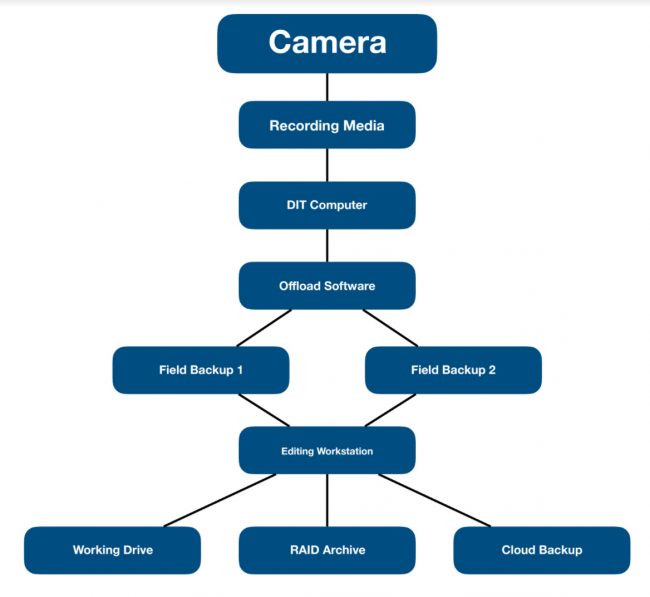
If there’s one piece of information I want video customers to take away from this article, it’s this: offloading software is totally worth the investment and should be used every time you shoot anything. For those of you unfamiliar with offload software, it’s any application designed to make it easier for you to back up footage from one location or source to another. In case of accidents or corruption, it’s always best to keep all of your media on at least two different devices. At its simplest, this means dumping every filled card to two hard drives. Ideally (budget depending), you’d also be keeping the footage on your cards at least until the end of your shooting day. Maybe you want to take extra steps to ensure your footage is backed up safely, such as backing up to RAID arrays instead of single hard drives or even duplicating your backup drives to cloud storage. Offloading software helps simplify, automate, and verify all of these processes.
There are a few different options when it comes to offloading software, all at different price points and with slightly different features. At the highest end, you’ll see full-time professional DITs using an application called Silverstack, which offers professional features such as advanced color grading, LTO tape support, and basic editing tools for creating dailies. At $600 per year, it’s the most expensive piece of software for doing this kind of work and is probably overkill for most people who aren’t professional DITs. For anyone reading this article, I’d recommend instead looking at an application called Shotput Pro. It’s $129 for a permanent license and includes all the features you’d need if you’re not worried about in-app color correction or editing. Shotput Pro will simultaneously transfer to multiple locations, generate PDF reports, and, most importantly, verify all transfers. If you’re looking for something even less expensive, or don’t like the UI of Shotput Pro, take a look at Offload or Hedge (which, full disclosure, I use personally). They’re $99 each, have simple interfaces and include all of the basic features needed in an offload application.
The most important thing all of these apps have in common, and a feature you’ll want to look for if you shop around for any other options is called “checksum verification.” The precise definition is a little too technical to get into here, but, put very simply, checksum verification is a process by which software uses one or more algorithms to determine that the file or files you’re duplicating are identical, down to the byte, to the original file or files. It’s by far the best way to ensure that entire volumes are copied without corruption, and, depending on your operating system and drive format, it may not be happening if you’re just copying using the finder or file navigator. Whatever application or method you choose, make sure checksum verification is a part of your workflow any time you’re moving or duplicating files.
Post-Production
After your shoot is over and you’ve safely transferred all of your files to external drives, it’s time to consider how you’ll store your media in the long term. Different individuals and businesses will all approach storage in different ways because of their varying needs, workflows, and resources. There’s no one correct answer for everyone. However, there are a few rules of thumb.
First, just like during shooting, you’ll want to make sure all of your media is stored on multiple volumes. That way, if one of your drives goes down, you have a backup ready to go. Second, and somewhat unique to long-term storage, you should consider having those multiple volumes in different physical locations. If there’s, say, a fire in your office, it won’t matter how many drives you’ve backed up to if they’re all in the same place. These days this usually means backing up in the cloud, but I’ve worked at multiple production companies in the past that had drive backups stored at banks in safe deposit boxes. Finally, especially if you’re working with large amounts of data, I’d recommend a “working” drive separate from your archive. This is mainly a budgetary issue. Archive drives don’t need to be nearly as fast or durable as ones that you’re working on day-to-day.
As an example, I’ll lay out my personal post workflow. Keep in mind that I’m doing almost all of my editing work as a one-man band. I’m also working in many different mediums, so nothing I’m going to go over here is video-specific. All of my still photography, audio, and graphics projects are organized the same way. I won’t go into too much detail about my file structure except to say that, in the root directory of my archive and working drives, everything goes into a folder with a job number. Sub-folders then organize all the data into categories. To keep track of which jobs are which, I maintain a Google spreadsheet that fills in job numbers with descriptions and, if applicable, client information.
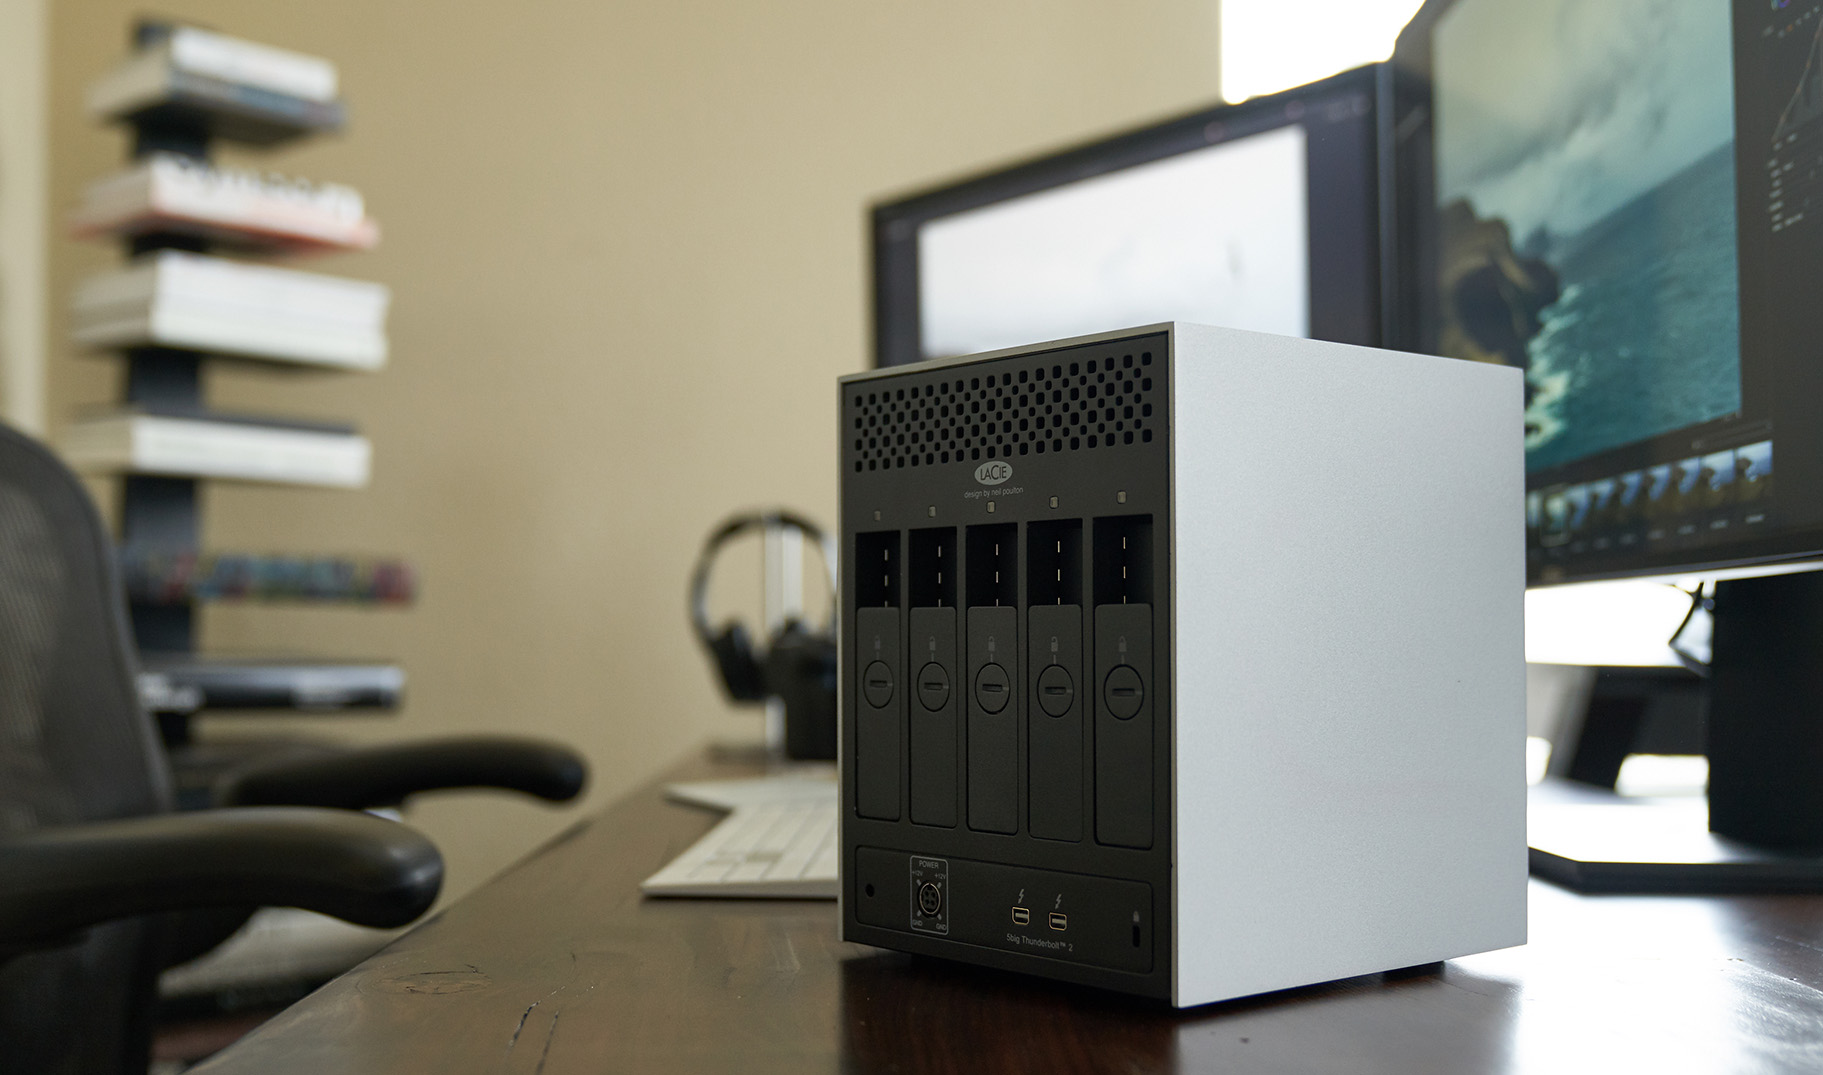
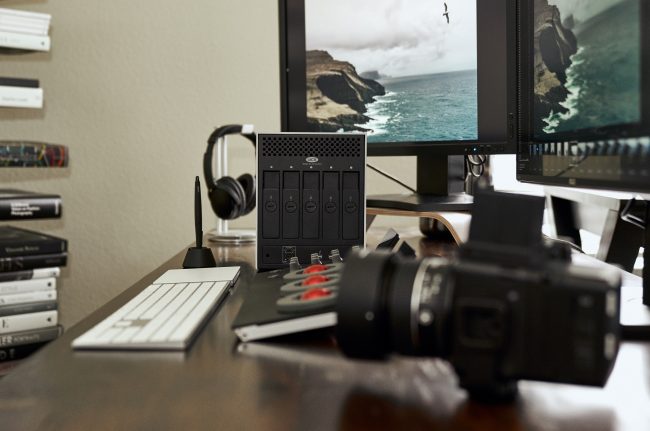
My archive system is relatively simple. I’ve got a 4-drive RAID array in my office that gets updated every time I work on a project. The array is set to RAID 1+0, which means I could lose two of the drives and still be able to recover my data. Usually, I’ll put a 1TB drive in each bay, fill them as I go, and then replace them all once I run out of room to start new projects. Once they’re full, they get labeled with the job numbers they contain and stored in plastic cases on a bookshelf. It’s not a perfect system, but it works for me, and it’s adaptable to many different project types. In case I get robbed, or my house burns down, I also keep an online backup of the entire RAID archive. Cloud storage through Amazon or Google is still relatively inexpensive, even for multiple terabytes of information, so adding that second level of safety to a system like this is a no-brainer.
Finally, I keep a two-bay Thunderbolt hard drive dock on my desk as a working drive. Solid state media and a Thunderbolt connection give me the speed and reliability I need in a drive that I’m going to be editing and rendering from. For now, there’s a single 960gb solid state drive in the first bay. If I ever exceed those storage needs on a single project, I’ll have room to expand into the second bay. I start work by transferring the job file from my archive to the working drive, do whatever needs doing, then replace the old job folder on the archive with the new one at the end of the day. If the SSD ever dies on me, I’ve lost at most one day’s work. For a video project or anything with a ton of media, I’ll often keep copies of all my source files on both the archive drive and the working drive and just replace the Premiere (or whatever) project file as I go.
Again, this isn’t a system I’d recommend for everyone. I think it’s a good place to start, but you’ll always need to adapt any workflow to fit your own needs. The important point here is that these sorts of strategies are things you should be thinking about at every step of your production. How does your camera or codec choice affect your media needs? How are you going to ensure safe data backup in the field? How are you going to work with all of this footage in post in a way that’s both secure and efficient? Answering all of these questions ahead of time will keep your media safe and your clients happy.
Special thanks to Faran Najafi for images of his cleaner desk and RAID system.
Author: Ryan Hill
My name is Ryan and I am a video tech here at Lensrentals.com. In my free time, I mostly shoot documentary stuff, about food a lot of the time, as an excuse to go eat free food. If you need my qualifications, I have a B.A. in Cinema and Photography from Southern Illinois University in beautiful downtown Carbondale, Illinois.
-
Tim Hunt
-
DrJon
-
Eloise
-
Devil’s Advocate
-
Eloise
-
Valerie Nash
-
fb8
-
Malcolm Fairman
-
Michael Rueber
-
Michael
-
Vivek Varghese
-
DrJon
-
Vivek Varghese
-
DrJon
-
amckenna
-
DrJon
-
jamesbenet


