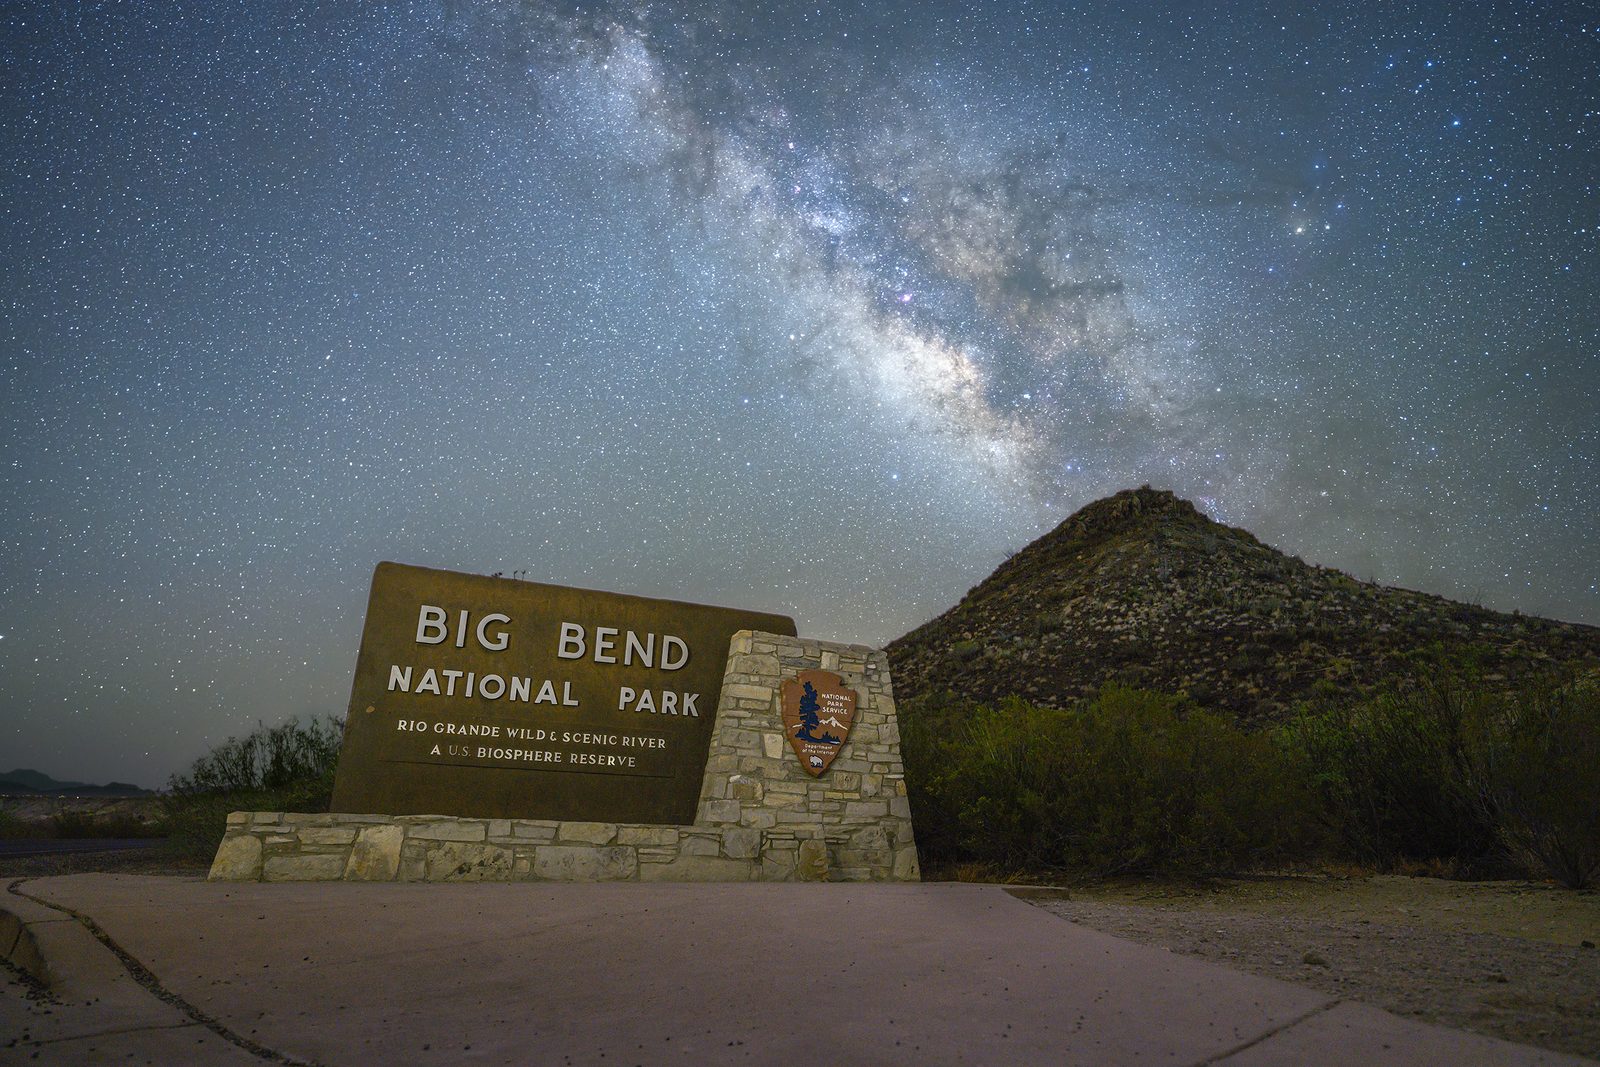
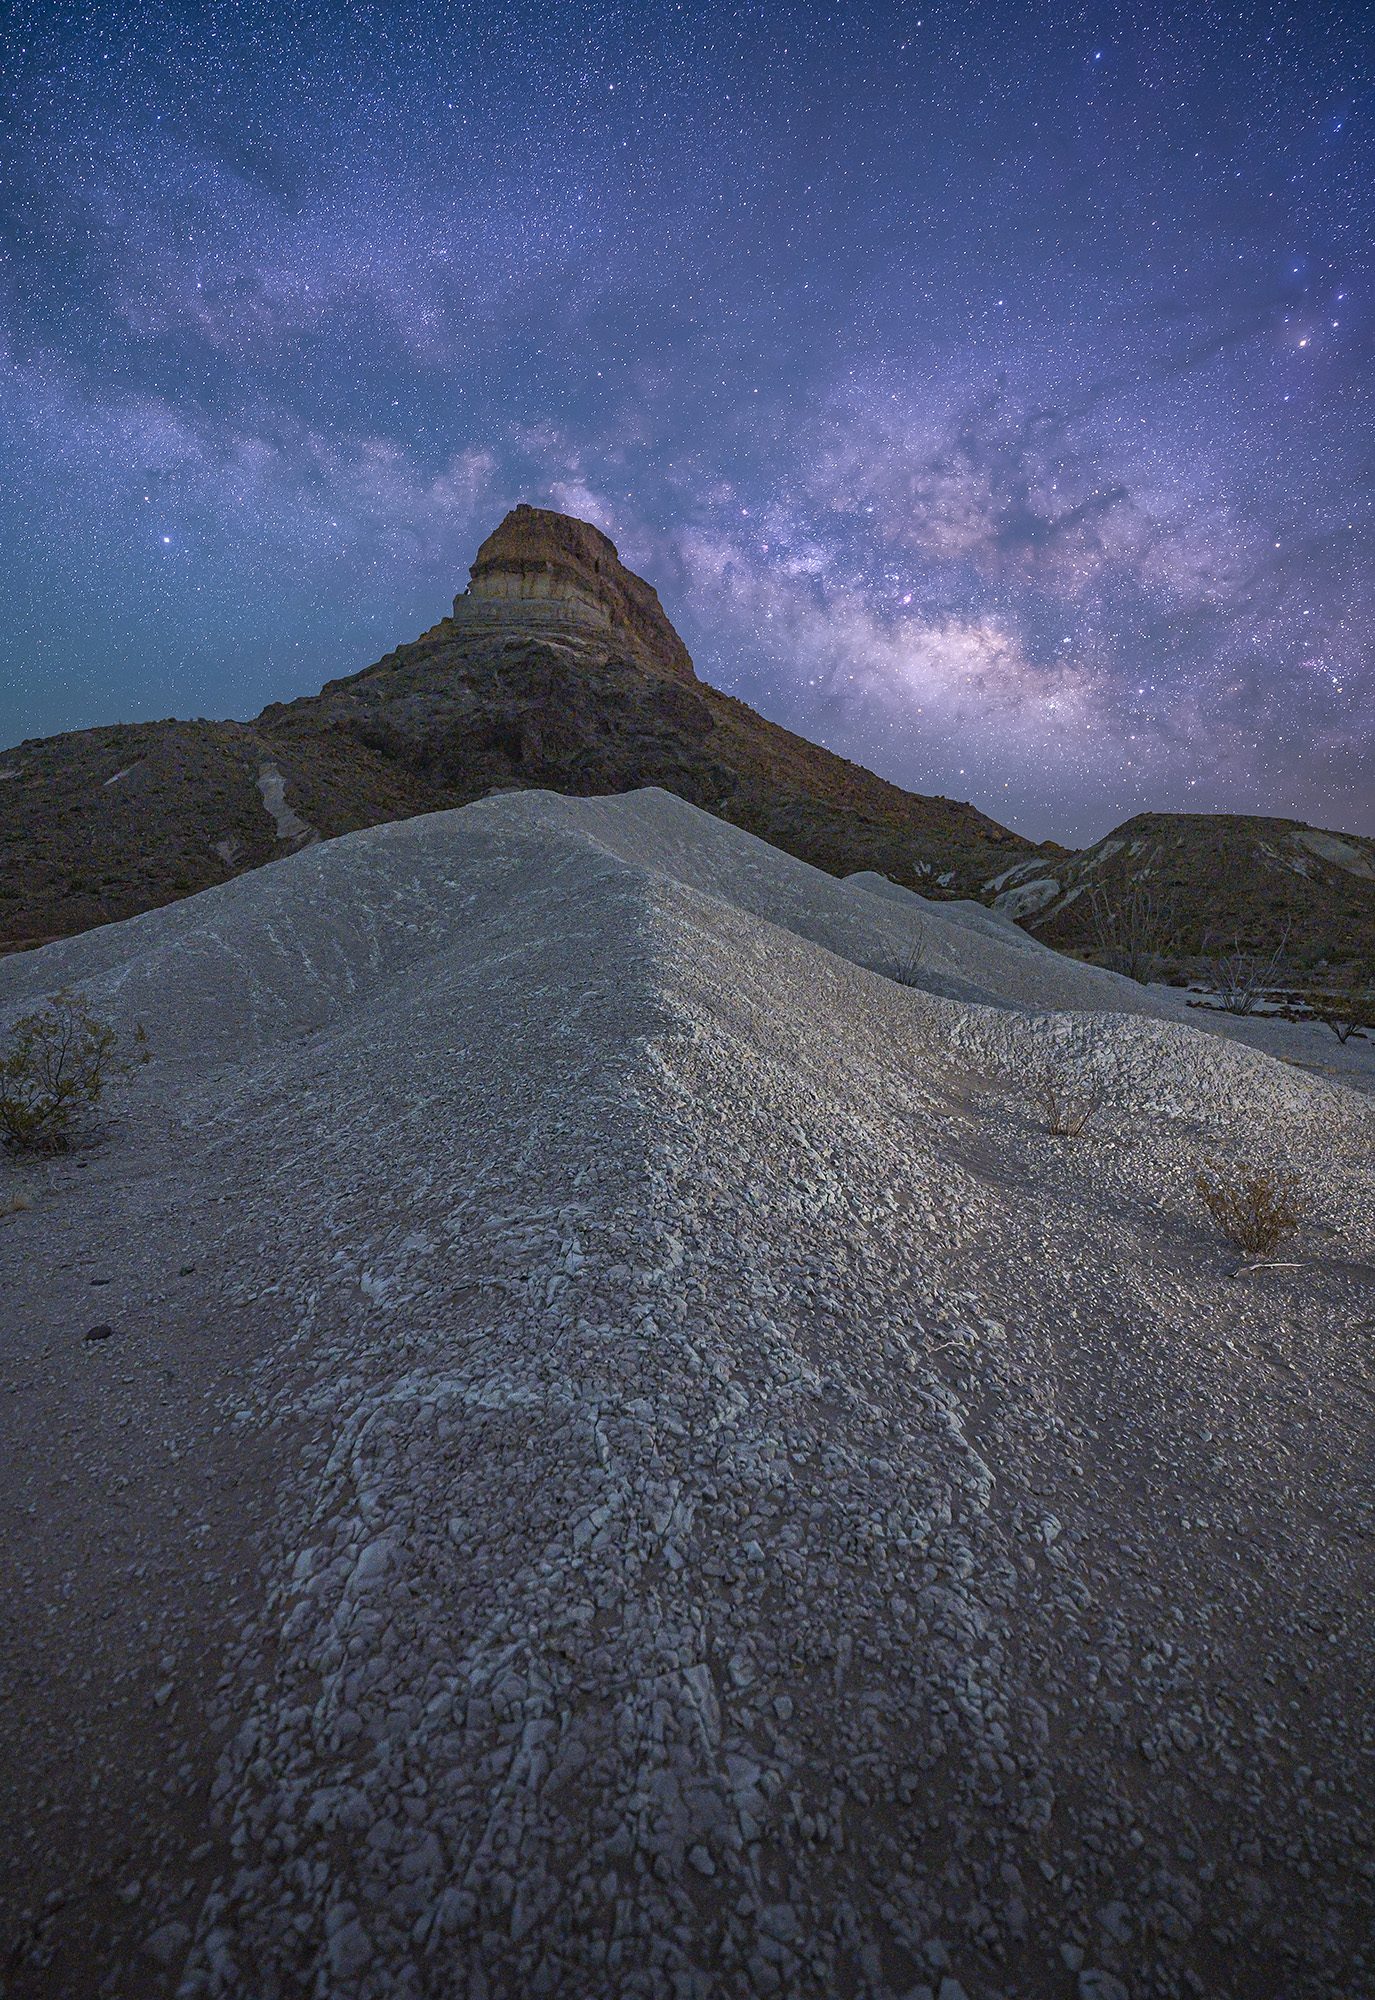
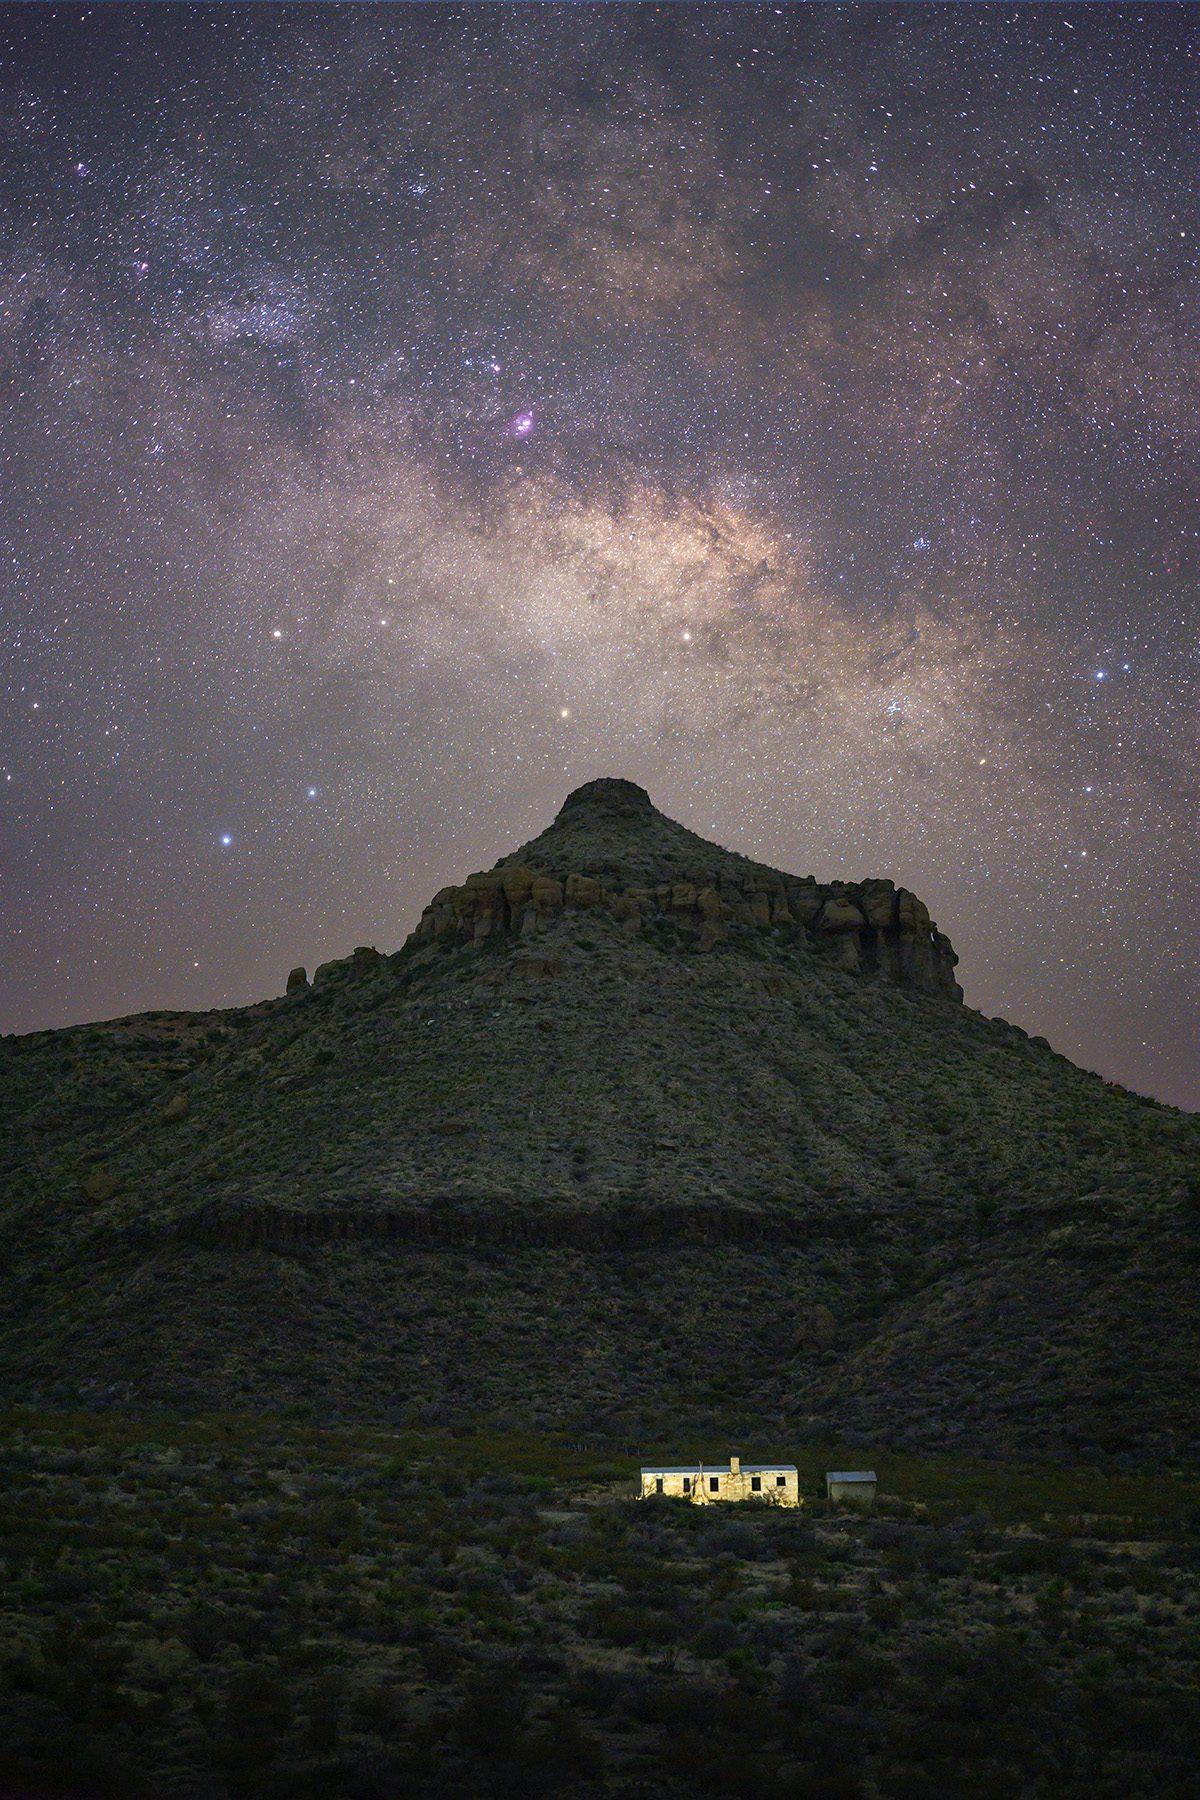
In 2019, I made one of my first attempts at a Milky Way photo while on my first trip to Big Bend National Park. Surprisingly though, it wasn’t what drove me to make the 8-hour drive to this remote location. In March of that year, Big Bend had a perfectly timed rainfall that kicked off a super bloom of the region’s Chisos Bluebonnets. Since I was in one of the darkest night sky locations in the continental US I figured I had to try taking a Milky Way photo. Little did I know I would be hooked on making the drive every spring and late summer since then to catch the beauty of the night sky in Big Bend. Those trips have also led me on a quest to find what equipment works well and what doesn’t for the nightscapes I love to take. In my most recent journey to this remote region of Texas, I had the chance to try out the Nikon Z7 II. On this trip, there were a few key things I was interested in looking at with Z7 II: the resolution, the sensitivity to light, and the additional features it has over my current Nikon Z6.
Nikon Z7 II Things to Know

Resolution:
This might sound ridiculous to some, but I haven’t always felt the need to have the 45.7MP permitted by the Nikon Z7 II. I know that the 24.5MP of my Nikon Z6 provides more than enough resolution for the printing I do or the digital display of my images online. I have also not wanted to eat up the storage on my computer at a faster pace. However, I’ll say that I was thoroughly impressed with the Z7 II images when I went pixel peeping. I’m still not sure I need it, but zooming to 100% in Lightroom was incredibly fun to see how much even a grain of sand could stand out.
Unfortunately, there are a few downsides to the larger resolution, the first one being the larger file size. More resolution means more data that has to be stored. I found the Nikon Z7 II images ranged from 50-65Mb. For comparison, my Z6 files are normally around 30Mb. Not only does that mean you’ll need more hard drive space over the lifetime of the camera use, but I also found when stacking the star images the time it took to process in Sequator was significantly longer. I also had issues with focus stacking in Photoshop. One could easily point out that a better computer would help, but the fact that I maxed out 32GB of RAM on a fairly straightforward focus stack of 10 images from the Z7 II was slightly concerning considering that a lot of people probably have anywhere from half to a quarter of that amount of RAM in their computer setup. It’s not a problem I’ve had with my smaller Z6 files.
The second downside to the larger resolution is that it also reduces the exposure time that can be used before star trailing will become apparent. Using the NPF rule from the PhotoPills app with a 14mm focal length and f/2.8, a Nikon Z6 can shoot for 18.48s while the Nikon Z7 II can only shoot for 15.47s. Three seconds may not sound like a lot, but that does add up over multiple exposures and will help in bringing out more detail in the night sky.
Sensitivity to Light:
Light sensitivity was the next specification I was interested in for the Z7 II. One of my deciding factors, when I chose the Nikon Z6 over the Nikon Z7 in 2019, was due to test images I found online that clearly showed better detail in shots from the Z6 in low light conditions. This is directly correlated to the sensor size being the same between the Z6, Z7, Z6 II, and Z7 II, but on the Z7 models, there are more pixels packed into the sensor. Because there are more pixels on the same size sensor, each pixel has to be smaller. When exposing an image, the smaller pixels mean fewer photons are picked up per pixel. Thus, decreasing the amount of detail captured in low light situations.
-
Nikon Z6 -
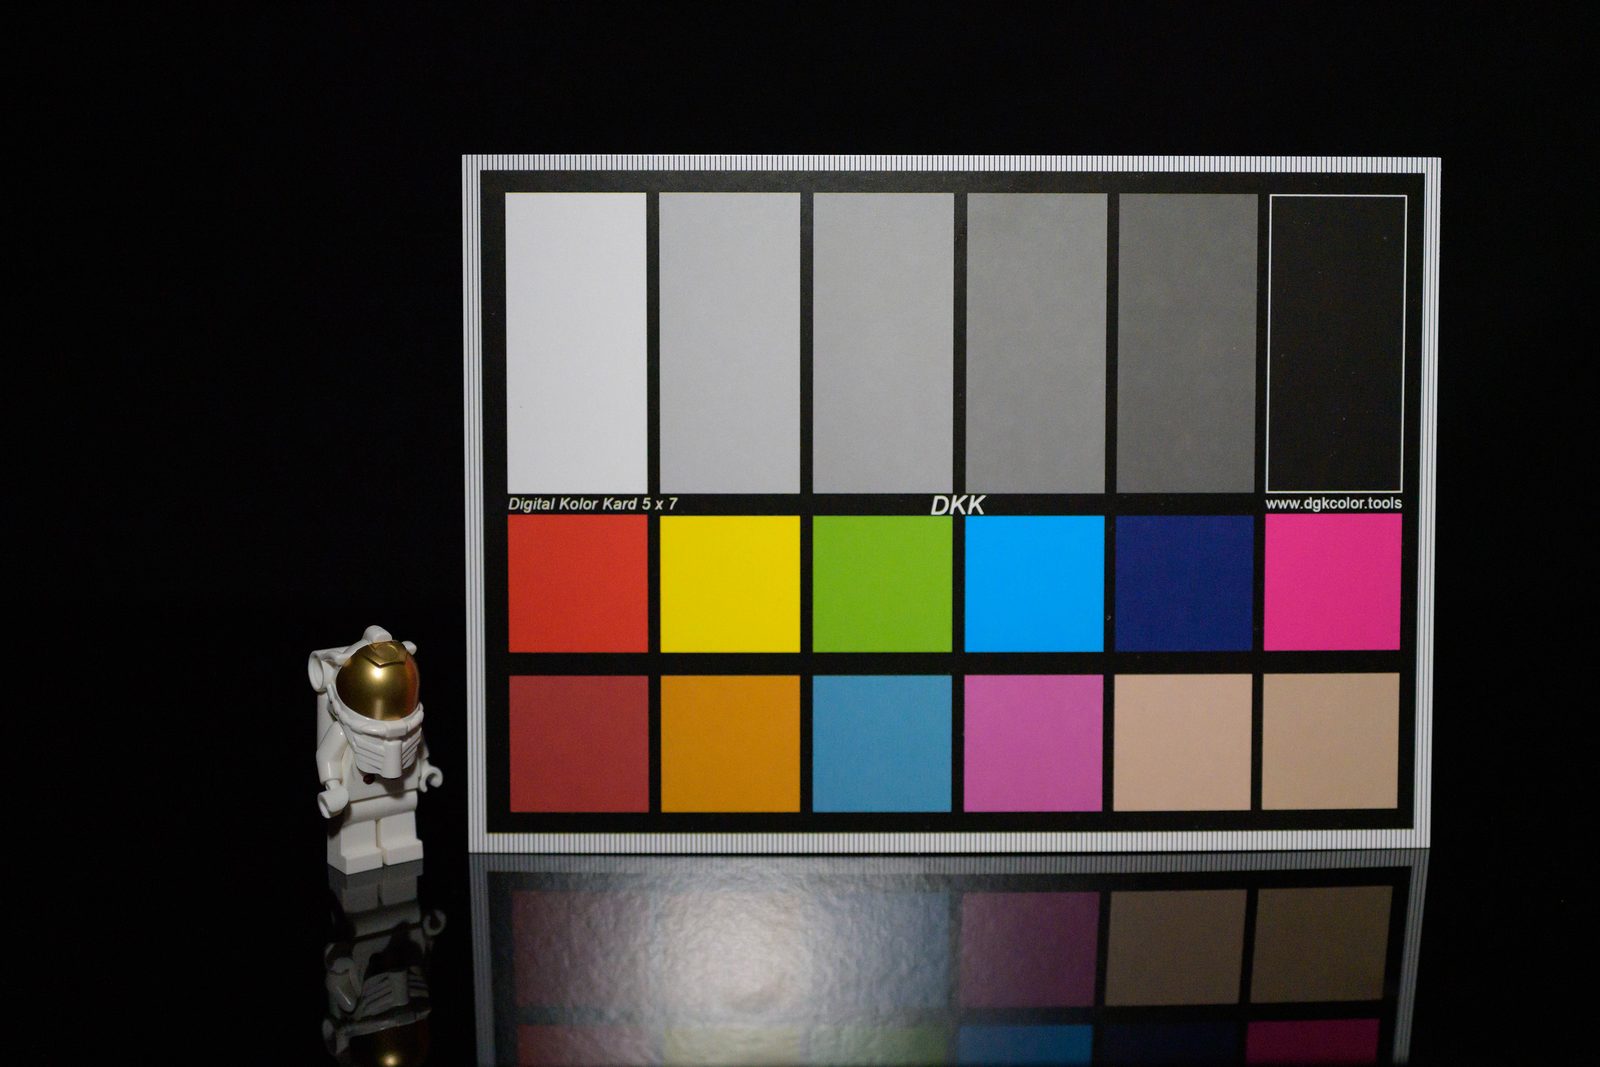
Nikon Z7 II
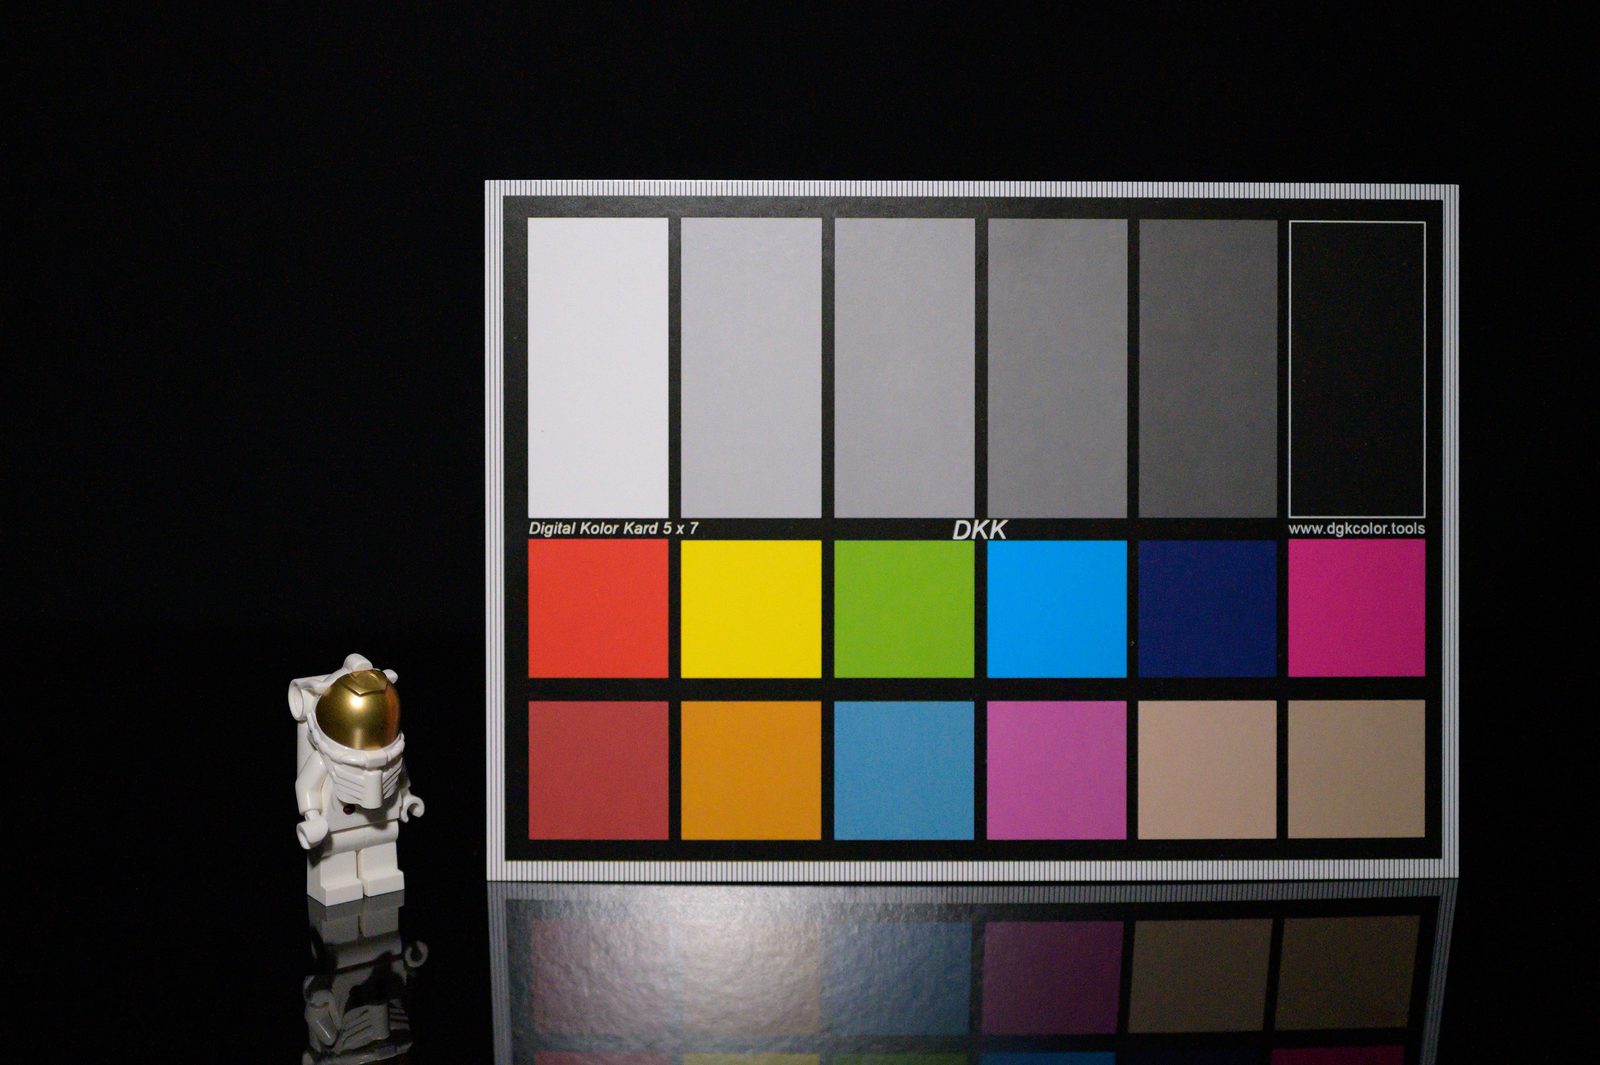
After evaluating my images from Big Bend though, I can say without a doubt that I don’t notice any difference in my nightscapes. What I found was that the increase in resolution outweighed the loss of light sensitivity in my images. I did however notice some loss in my test images that I took using a color card and a Lego figure, but in my real-life applications of the camera for nightscapes, I could not find any noticeable difference between the Nikon Z7 II and Nikon Z6 images.
Additional features:
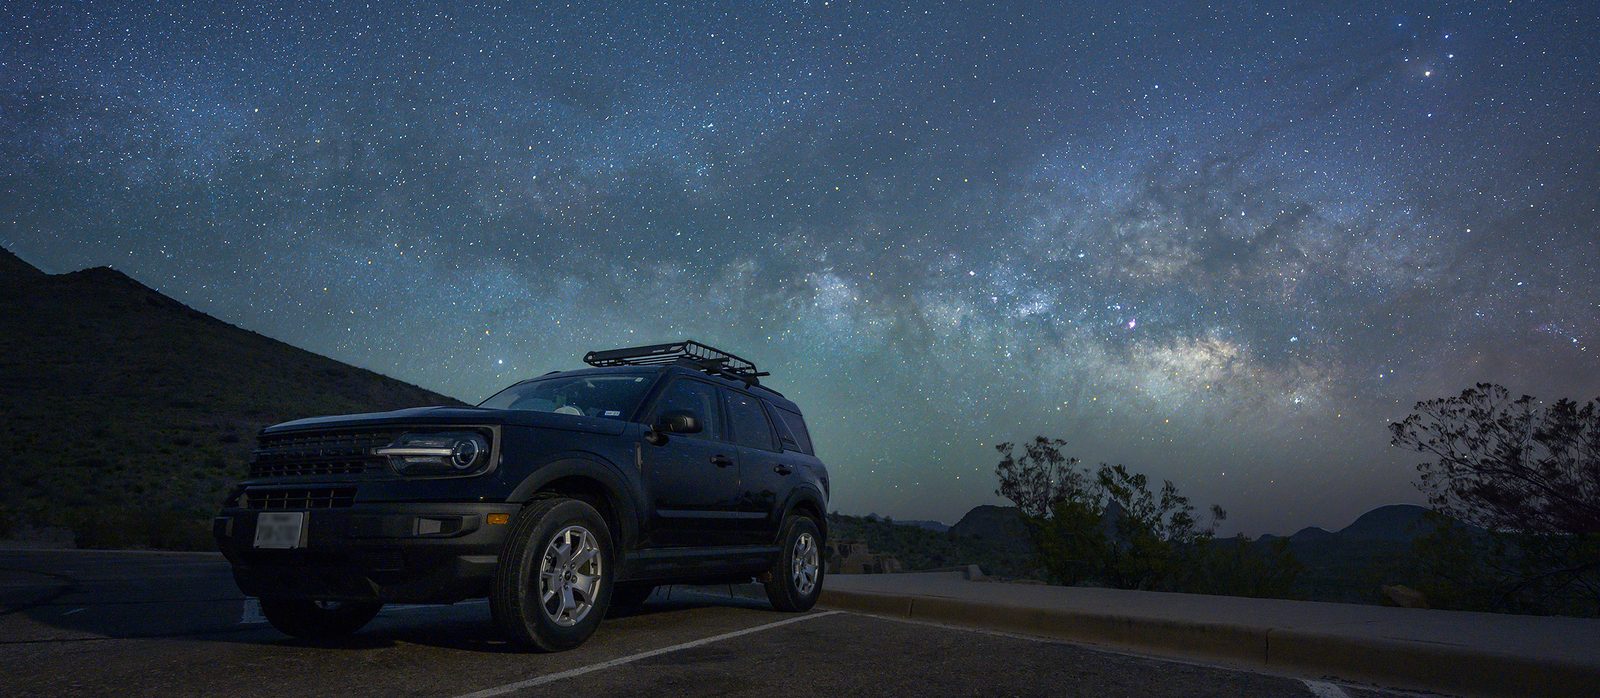
Moving on to features of the camera, the Nikon Z7 II has a few features that stand out for shooting the Milky Way. The first is, the built-in Interval Timer and the second is the extended exposure. These two settings work hand-in-hand as they mostly eliminate the need for an external intervalometer. The extended shutter allows for pushing exposures up to 900 seconds. I used this multiple times to shoot my foregrounds which were typically at 120 or 240s. Although I never needed to shoot multiple 120 or 240s exposures, I was able to use the Interval Timer Shooting function when shooting my exposures for the Milky Way which were typically around 10-15 seconds long. The third setting to note, which I’m not even sure is a setting at this point, is that by disabling the Save Autofocus setting, I’ve found the Nikon Z series cameras when paired with a Z series lens will almost always be at infinity focus when turned on. This makes it very simple to focus on stars. I’ve got a whole video on how that works in case you’re interested.
The Photos
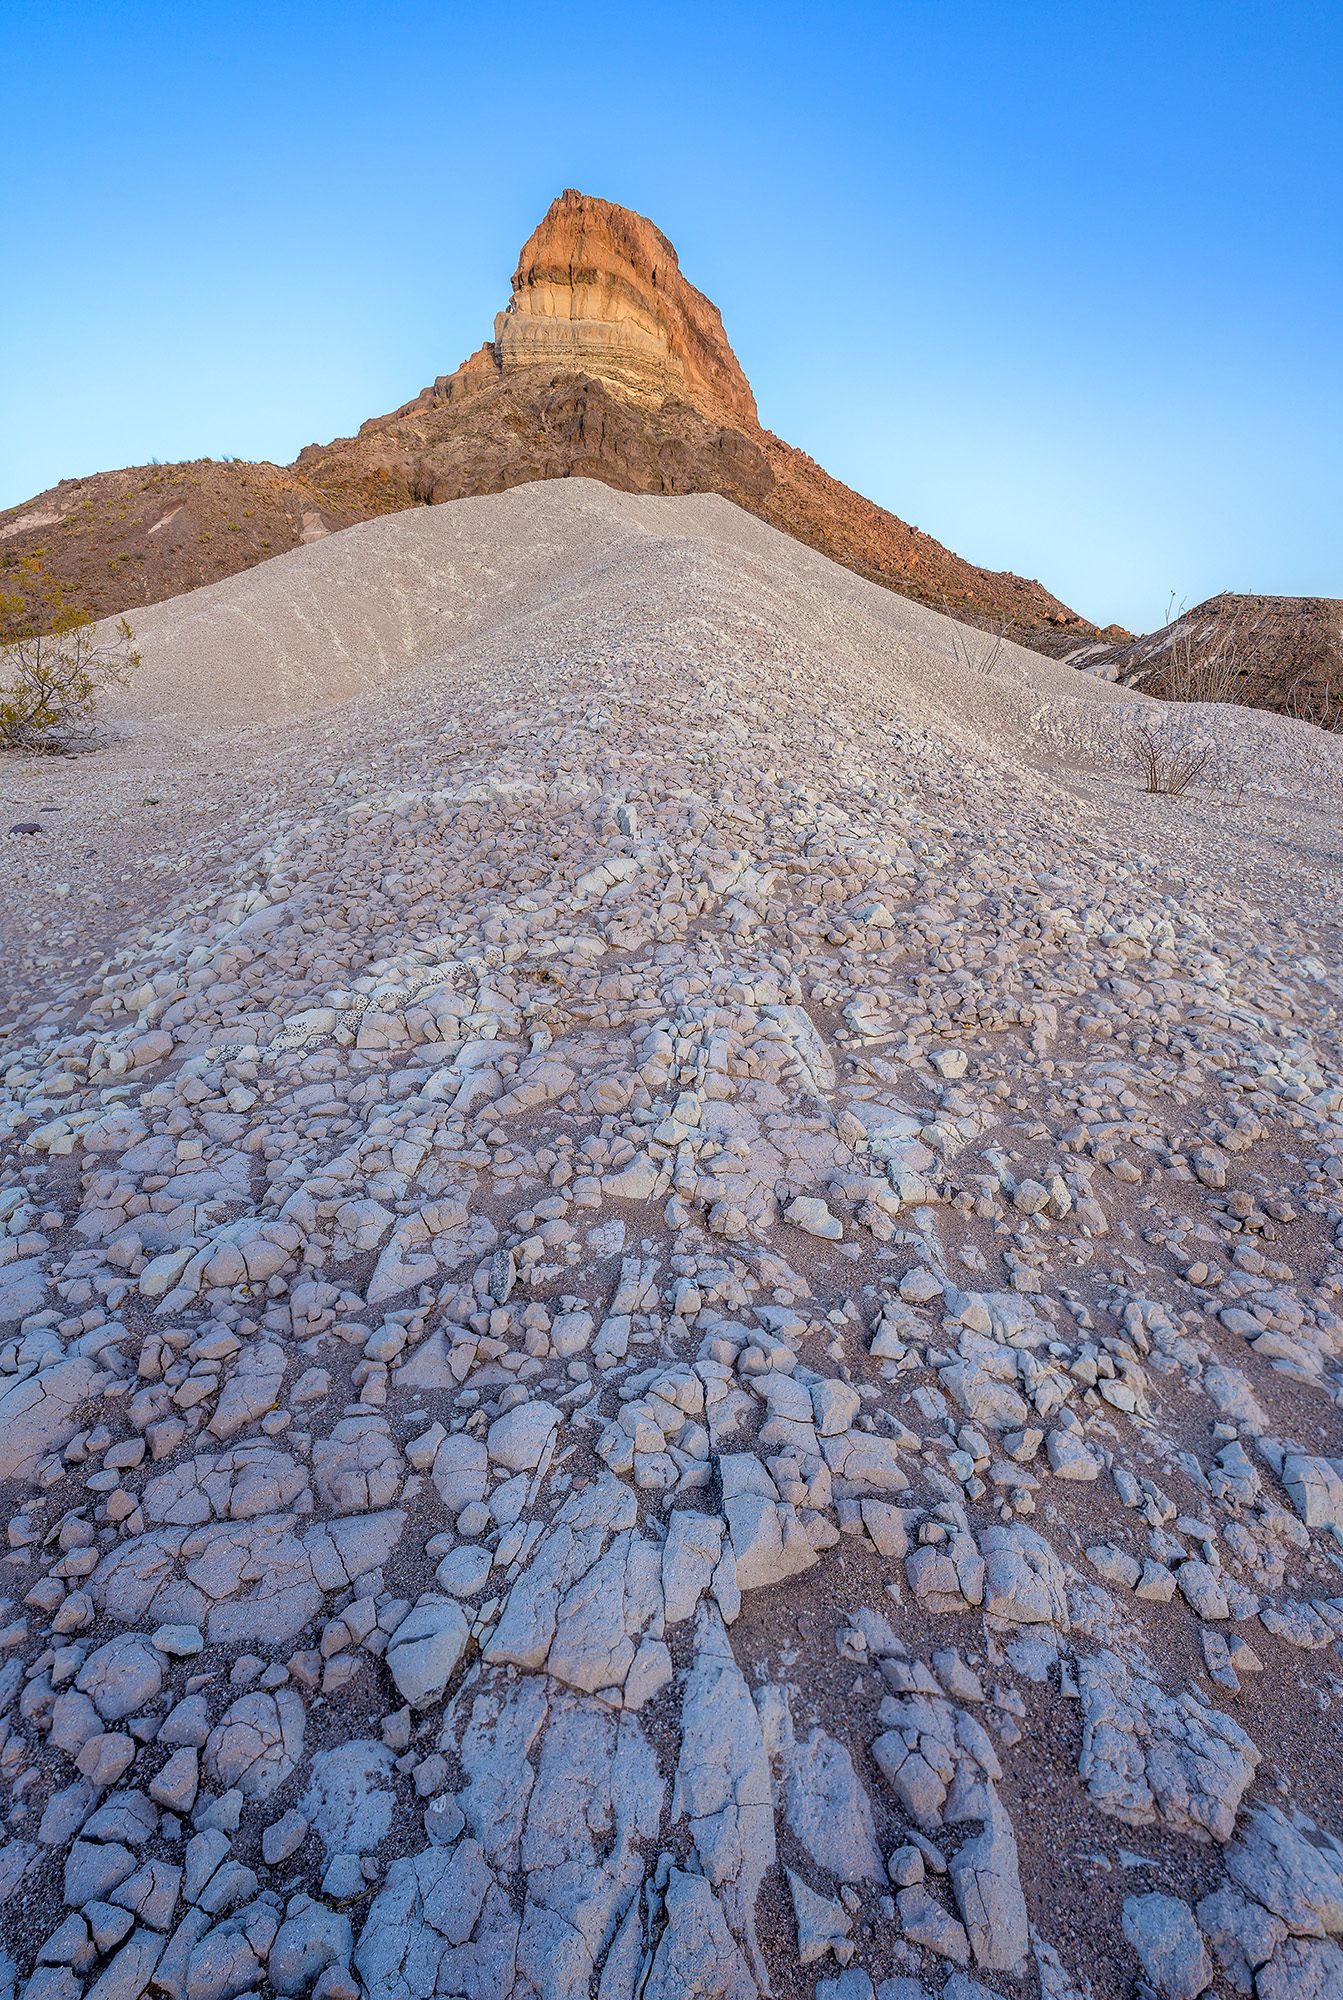
Taking a look at the photos I walked away with, I think they came out great in part to the capabilities of the Nikon Z7 II. My two nights in the park both involved going to bed early for a nap before getting up at 1 am. The early mornings allowed for the Milky Way to start to rise and the Moon to also set with ample time before astronomical twilight. Achieving all of the photos required scouting the locations in daylight, understanding how to place my light sources, planning the Milky Way rise, Moon set, and camera settings in Photopills, and finally culminating with post-processing all of the files. It’s always a lot of work to get one shot, but when getting to go to such an awesome location, it’s even more rewarding when you can work multiple compositions into each night and the preparation pays off.
Looking back, I found I liked the Nikon Z7 II when shooting nightscapes. The extra resolution is incredible to look at when pulling the photos into Lightroom and Photoshop. Additionally, I didn’t find any noticeable degradation in my photos from the slight decrease in low light sensitivity. Finally, the extra features like the extended exposure and the additional memory card were a big plus for me. Putting all of the specifications and features of the Z7 II with dark skies and I ended up with an incredible time shooting the Milky Way in Big Bend National Park. I would highly recommend giving the Nikon Z7 II a try if you’re looking for a camera to take photos of the Milky Way!