Equipment
Lensrentals.com Macro Photography Shot Breakdown
Here at Lensrentals.com, not only do we have one of the largest selections of rentable gear in the world, but we also have a pretty dedicated and hardworking staff. And with perks that include access to over 111,000 items, you may have guessed that almost everyone who works at Lensrentals.com is also a photographer in some capacity. This also gives us knowledge of gear from nearly 100 different employees, all with their own perspective and expertise.
So with our sale on macro photography gear rentals, we thought what better to promote the equipment we have available than to show off some of the incredible photos that our staff has created using the gear we have available for rentals. Below is a breakdown of a few photos taken using macro lenses and equipment, by our wonderful staff members here at Lensrentals.com.
Bryce Robbins
 |
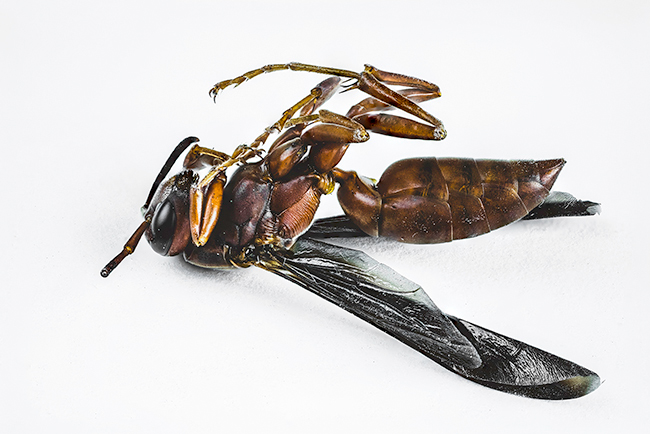 |
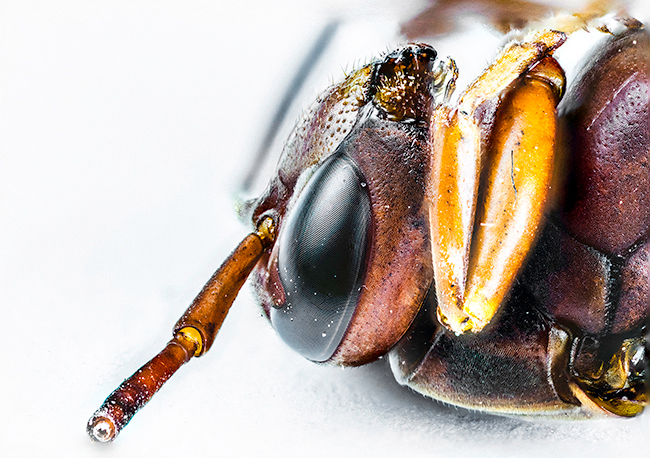
I set up 2x Astra Bicolor LED lights on either side of my bug. I found him in the yard and stuck him in a Tupperware and put in the freezer for storage. Be extra careful not to drop him on the ground like I did, or else you’ll see chunks of dirt and dust on your specimen.
For camera gear, I used a Canon MP-E 65mm 1-5x and a Canon 5DSR. Unless you have some monster processing power, I don’t recommend this method as it took my 8gb’s of RAM overnight to process these photos. I set up my camera and lens on a Sachtler Ace-M Tripod and attached the Cognisys StackShot 3X Macro Rail.
I dialed my setting into the StackShot, and you let it run. It comes with all the proper cables to allow the camera to be fired incrementally with the Cognisys StackShot system. The perimeters you set will be custom to what your shooting, but with the stack shot you set your far point, your close point, and how many times you would like it to step and fire a shot in between. I tried an even one hundred photos. Once again I don’t recommend this unless you have the processing power because trying to stack 100 shots in Photoshop takes a toll on your memory!
Lynn Green
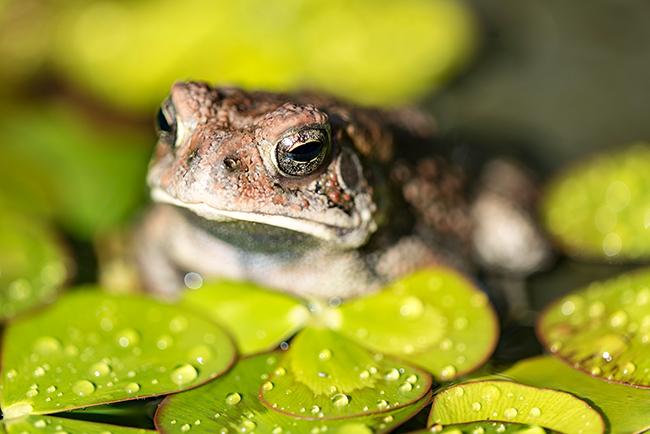
I set out to take some close ups at a flower show when I spotted this guy relaxing in a nearby fountain. I was carrying the Nikon AF Micro-NIKKOR 200mm f/4D IF-ED Lens, on Nikon’s D750 body. It was the middle of the day, bright and sunny outside, and I didn’t feel a tripod or additional lighting would be necessary. At reasonable distances, this is an excellent portrait lens and up close (0.5m to be exact), it’s one of the sharpest macro lenses around.
As I focused on the frog in the viewfinder, I switched to live view and toggled my focus while zoomed in on the Nikon d750’s tilting LCD screen, composed and took my shot. The depth of field is limited by available light. This shot was taken at f/4.8 because I was happy with the focus capturing the “face” and eyes as well as some of the water droplets in the foreground. Many Macro photographers prefer a more detailed shot achieved by stopping down the aperture to f/11, f/16, or beyond. It’s all a matter of preference, but this technique requires increasing ISO values (which is useful to the point image degradation occurs and dependent on the camera system being used) or the use of additional lighting (preferred method). Working with the available light and the Nikon d750’s excellent ISO capabilities, stopping down a bit more wouldn’t have been problematic, I was just happy with the look I was getting, and a little jealous that I wasn’t relaxing in that fountain.
The people at Laowa keep coming up with inventive glass, and the Venus Laowa 15mm f/4 Macro is no exception. This lens is fascinating in that it’s the first of its kind as it’s a wide angle lens capable of 1:1 magnification, albeit at 4.7mm (It also shifts for perspective correction). This presents a unique challenge when lighting a subject you’re practically touching.
In this shot, my daylight was gone, but I did have a flashlight app on my iPhone. I set Focus Peaking to Low and the color to Red and used the tilting LCD screen to focus in live view. Magnification in live view isn’t possible for full manual lenses, but at 1:1 it wasn’t necessary.
I chose Sony’s A7Sii just for this scenario. Known as a leader in handling low light conditions, I figured I’d just trust Auto ISO to handle exposure this time. At that close working distance, I found my focus, then stabilized my light with one hand and took the shot with the other. I had set my exposure based on my comfort with one hand shooting at 1/60; this was limited my ability to stop down further while maintaining resolution (I like to maintain resolution by reducing ISO values for Macro photography so I can crop in post-processing, but it’s just a personal preference). The Sony A7sii easily handles good resolution at ISO values greater than 6400 for this type of work. For example, this shot was taken at ISO 800. I chose this exposure because I liked the appearance of the crisp-edged bokeh in the periphery.
A side note about this lens, because of the close working distance for 1:1 macro work, it’s better suited for small scale perspective work (making little things look big). Lighting for detailed (real) macro work is complicated. A pop-up flash will cast a shadow over the lens and at 5mm, to be honest, a Speedlight will too. Without a snoot or a modified softbox for an external flash, true 1:1 work is tough. That being said, it’s very interesting and you can get as close as you want.
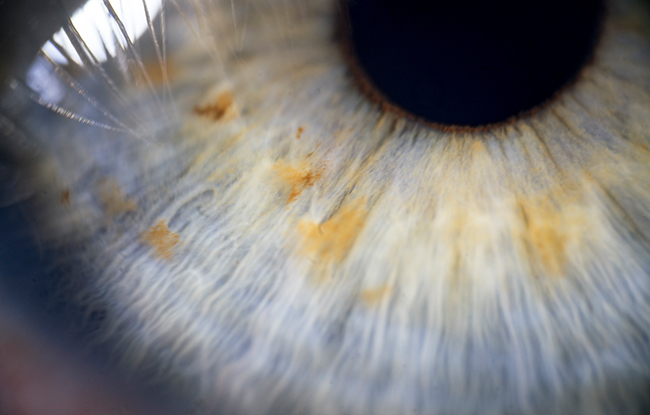
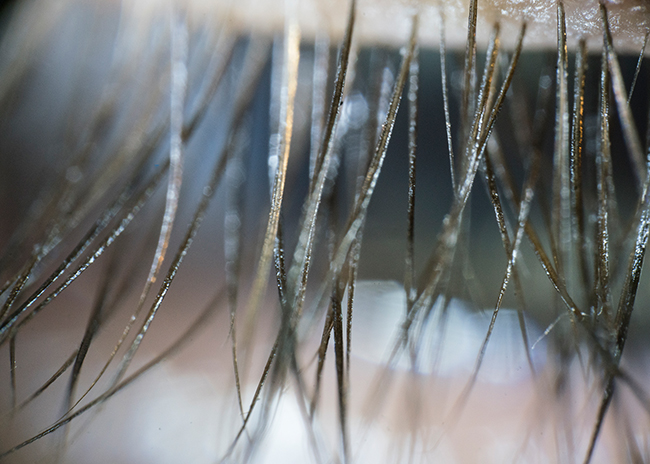
The Yasuhara Nanoha x5 Macro Lens is a fun lens to experiment with. While it is not a replacement for the Canon MP-E 65mm 2.8, this small manual lens will get you the magnification you desire, 4x-5x to be exact, and at useable apertures (f/11-f/32). This is achieved in such a small lens by the implementation of 3 small LED lights surrounding the front element. They function as a continuous “ring flash” for close up work. This lens was built for scientific photographers and is best handled on a rail system.
Nonetheless, it’s a fun lens to use to observe textures and small subjects and the closest thing to a handheld microscope that I’ve worked with. The 11mm focusing distance’s hard to achieve unless your subject can fit inside the 25mm opening of the housing for the LCD lights surrounding the front element. This proved difficult for these shots. Self “portraits,” I took these shots by placing the camera on a tripod and my left eye between the led lights as close to the front element as possible. The focus ring and magnification ring are one in the same, so I used those while viewing an LCD monitor that I attached via the camera’s micro HDMI output with my right eye.
Utilizing focus peaking, I concentrated on the reflection of one of the “catch light’s” to make sure the surface of the eye was in focus. I used the same technique to focus on the lashes in the other photo. Due to the difficulty of the shot, I used a Giga T Pro ii wireless remote trigger to operate the shutter without touching the camera once I had it in focus.
Nicolas Hall
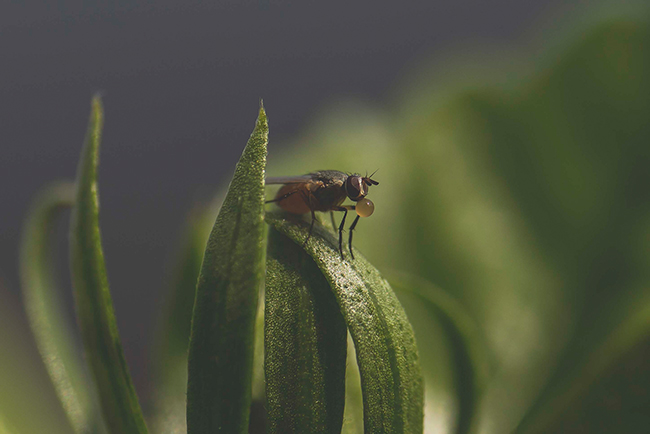
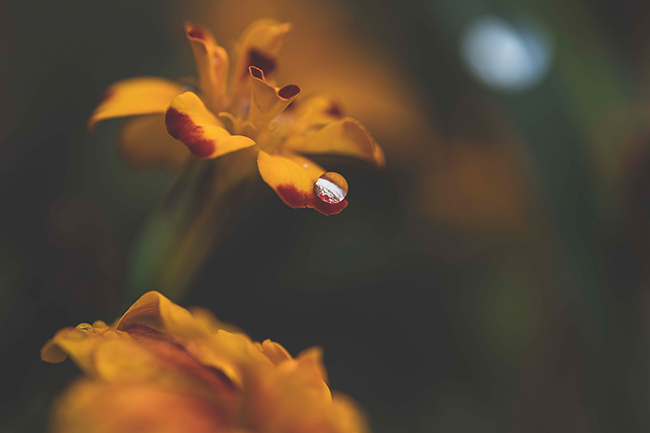
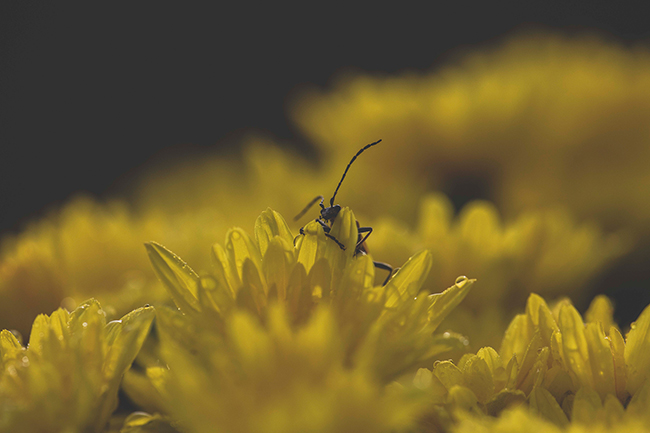
The day I shot these three photos was, what I thought, going to be a very boring, overcast day. I had planned on going to one of the many spots I use for wildlife photography, but it kept raining off and on, so I decided to stay in my backyard. I had taken home a few telephoto lenses but realized it was a great chance to try out the Sigma 180mm f/2.8 DG HSM OS Macro with the Canon EOS 5DS.
I started looking around in my garden, and I began to notice things I’d never seen before. It was like being on another planet and seeing all of these little alien creatures for the first time. What I had initially thought was a bad day for lighting turned out to be great. It was about 30 minutes after sunrise (around 7 am), and the light cloud cover served as a natural softbox, spreading the morning light around and balancing it all out. The rain was now something that I was benefitting from because of the tiny drops lingering on the leaves and flowers. I wanted just to drink them all because they looked so big and delicious at 180mm.
One of the things I like most about the Sigma 180mm f/2.8 DG HSM OS Macro is that you can distance yourself a lot more than you can with other macro lenses. I found that this gave me all kinds of new angles and perspectives that I had never tried before. Focusing is no easy task with this lens, however. It takes a lot of patience and many shots that are out of focus, especially when using it for the first time. At such a long focal length, this lens gives you lots of bokeh and makes your subject stand out when you’re up close.
Considering it was my first time using this lens, it still surprises me that these two photos are still two of my favorite macro shots. If I mentally zoom out from that world I was in that morning; I can see why my neighbors sometimes look at me in a weird way. From their view, I’m the world’s most dedicated grass photographer.
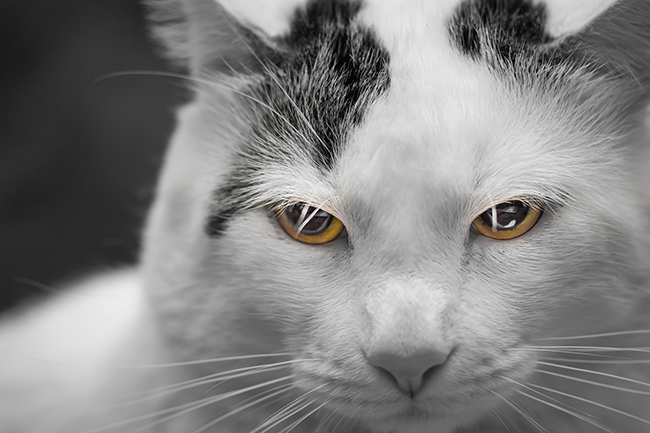
This is Mooski. He’s a ferocious predator that inhabits my home. Only a daring, fearless photographer, like myself, would take such a risk to get a shot of the true beast resting in his eyes. Actually, none of that is true. He is very sweet, lazy, and will do anything to get a tiny crumb of Flaming Hot Cheetos. Mooski is always lounging around the house, so it’s pretty easy to get good shots of him.
This photo is from about four years ago before I worked at LensRentals, and I had rented the Canon 60mm f/2.8 EF-S Macro to use on my Canon Rebel T3i. I had never used a macro lens, so I just started shooting anything and everything. Mooski was laying on my bed, and I wanted to sneak up on him and try to get a shot of him sleeping. I was now the predator. As I ascended from the side of my bed, about a foot away from his face, he woke up and gave me a very displeased look as I took this shot. This is why he looks a bit angrier than he is. It was around 5 pm and he was in his spot on my bed where the sunlight falls through the window and creates his warm cat nap zone. I honestly had no idea what I was doing at the time, so I was shooting everything at f/2.8, auto ISO, and letting the camera decide the shutter speed. If I were to take this shot now, I would shoot it somewhere around f/4-f/5.6. There is a lot of experimental Photoshop work going on in this photo, which I have no comment on. However, it’s worth mentioning that I had to bring a little bit of shadow out of his eyes because of the high angle of the sunlight.
From now until September 20th, receive 15% all macro photography gear by using the coupon code CLOSEUP15. And if you have any interesting Macro Photography, please feel free to share them in the comments below.
Author: Zach Sutton
I’m Zach and I’m the editor and a frequent writer here at Lensrentals.com. I’m also a commercial beauty photographer in Los Angeles, CA, and offer educational workshops on photography and lighting all over North America.
-
l_d_allan
