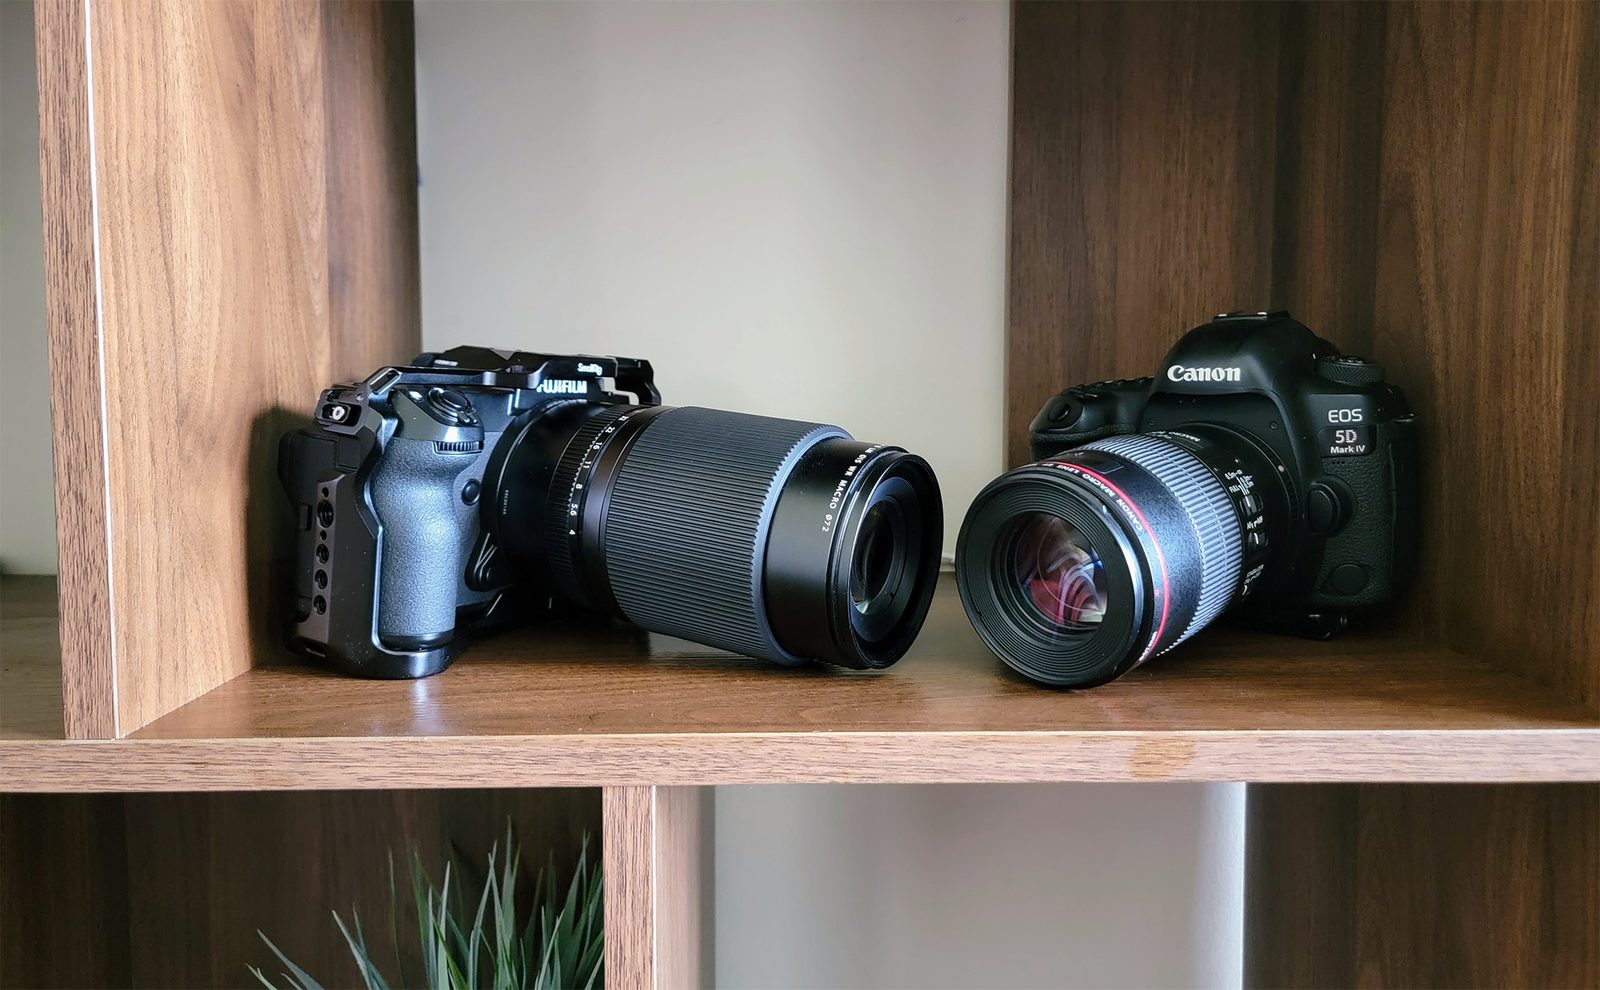
With the announcement of the Fujifilm GFX 100 II last week, I started thinking about my own camera and gear. I have owned the Fujifilm GFX 100s for a few years now, and I absolutely love it as my daily camera system. However, despite having the Fujifilm GFX 100s as my main camera for nearly three years now, I have only ever owned one lens for it, the Fujifilm GF 120mm f/4 Macro R LM OIS WR Lens. So let’s talk about what I love about using a macro lens, not just for macro work, but for all my photography.
What is a Macro Lens?
A macro lens is a lens with an extremely close minimum focus distance (usually around 12 in or less), that will then allow you to have a magnifying ratio of 1:1, or at times, even higher. This magnification allows you to get details you wouldn’t normally see if you were pulled back, like the dozens of lenses on a dragonfly’s eye, or the colored veins on a flower pedal.
Traditionally, macro lenses are prime lenses, between the focal lengths of 75-130mm – though of course there are exceptions. One thing is static though – macro lenses will often have superior sharpness over other lenses, because of the detail-specific purpose of the lenses. The higher the magnification ratio, the more magnification you have on those details. The Canon MP-E 65mm Macro, for example, has a magnification ratio of 5:1. In contrast, the Canon RF 100mm f/2.8L Macro IS USM has a magnification ratio of 1.4:1 – still giving you a larger-than-life result. While my Fujifilm GF 120mm f/4 Macro R LM OIS WR Lens only has a magnification ratio of 1:2, it still does a nice job of getting those little details thanks in part to the 102mp sensor size on the GFX 100s.
So Why Macro?
For 95% of my work, I use a macro lens like a traditional lens in the same focal length, shooting a few feet from my subject. However, being a commercial beauty photographer by trade, a macro lens allows me to quickly get up close and capture all the detailed shots I need, without the process of switching out lenses or other gear. This dual functionality of the lens (using it both as a typical prime lens, as well as a macro lens) is my main reason for using macro lenses in nearly all of my work. From detailed shots of individual eyelashes for a beauty campaign, to a corporate headshot for a local law firm, the Fuji 120mm f/4 Macro checks all the boxes for any studio work I do.
Working with Macro Lenses
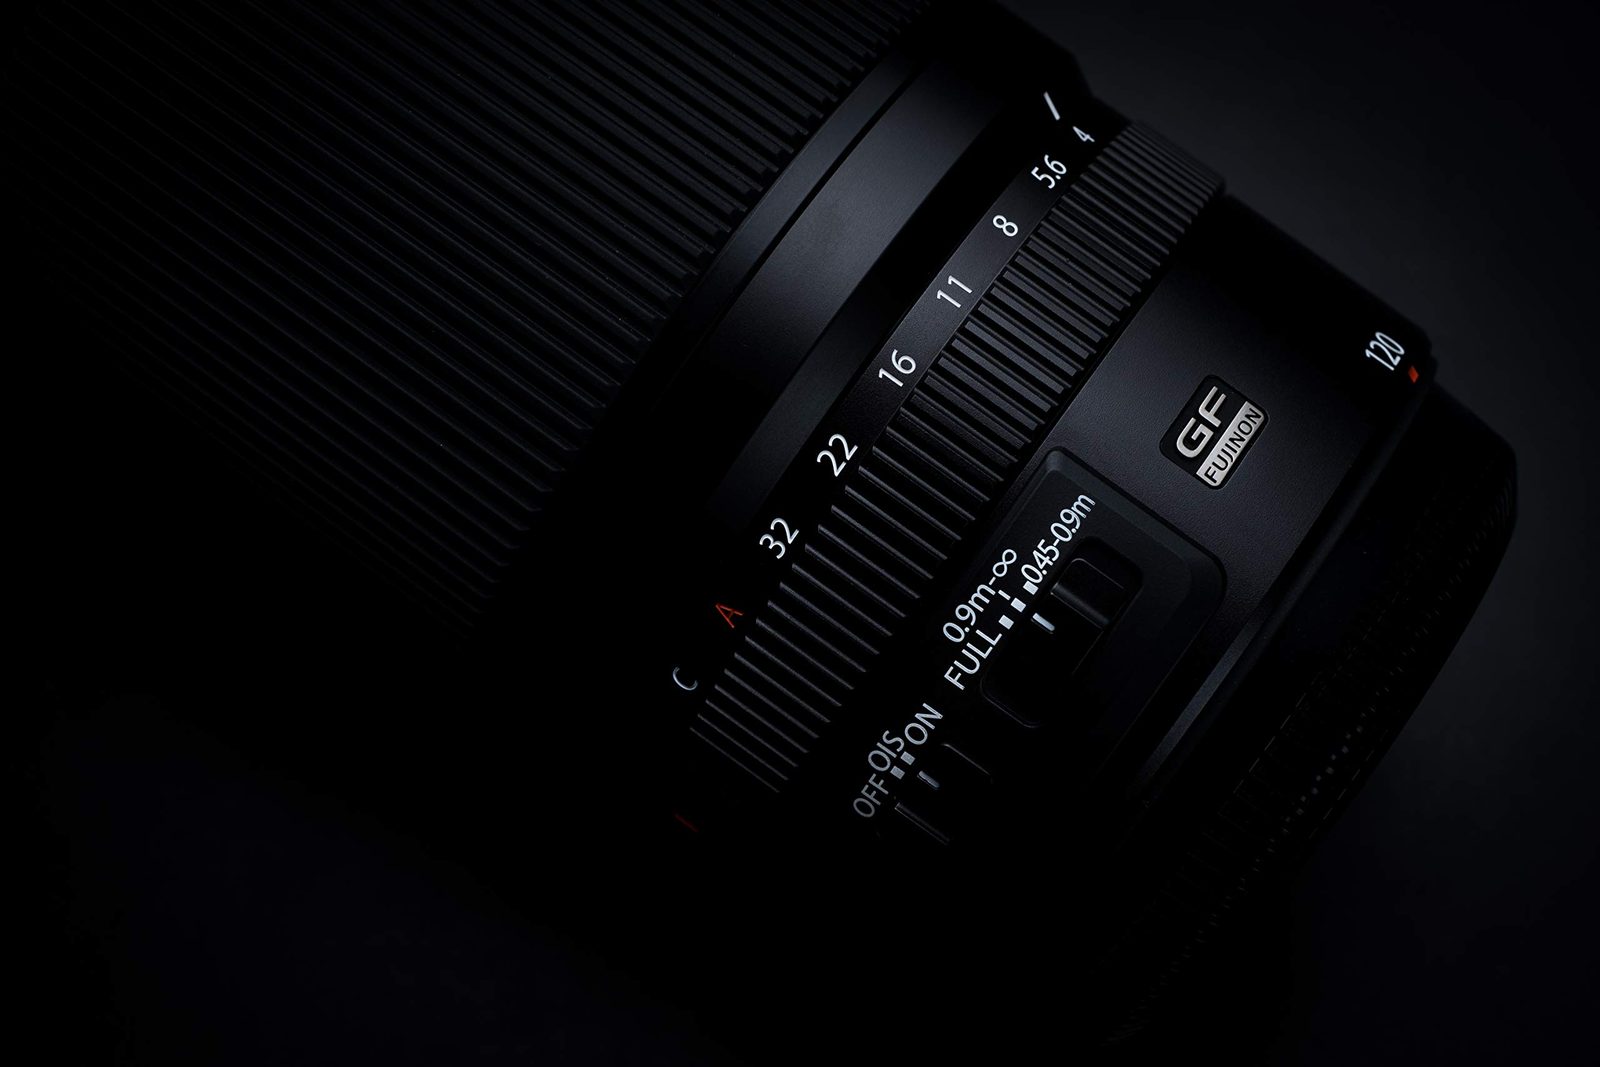
Perhaps a common misconception about macro lenses comes with the use of the lenses. You do not need to shoot macro photography when using a macro lens exclusively, and when you pull the lens back a bit, it operates exactly like any other lens would work in that focal length. The critical difference in operation comes in a small switch on the side of the lens, enabling you to turn off and on the macro focusing capabilities to speed up the autofocus process. But aside from the fine-tuning you may see on a macro lens autofocus capabilities, the lens should function like any other prime lens in your kit.

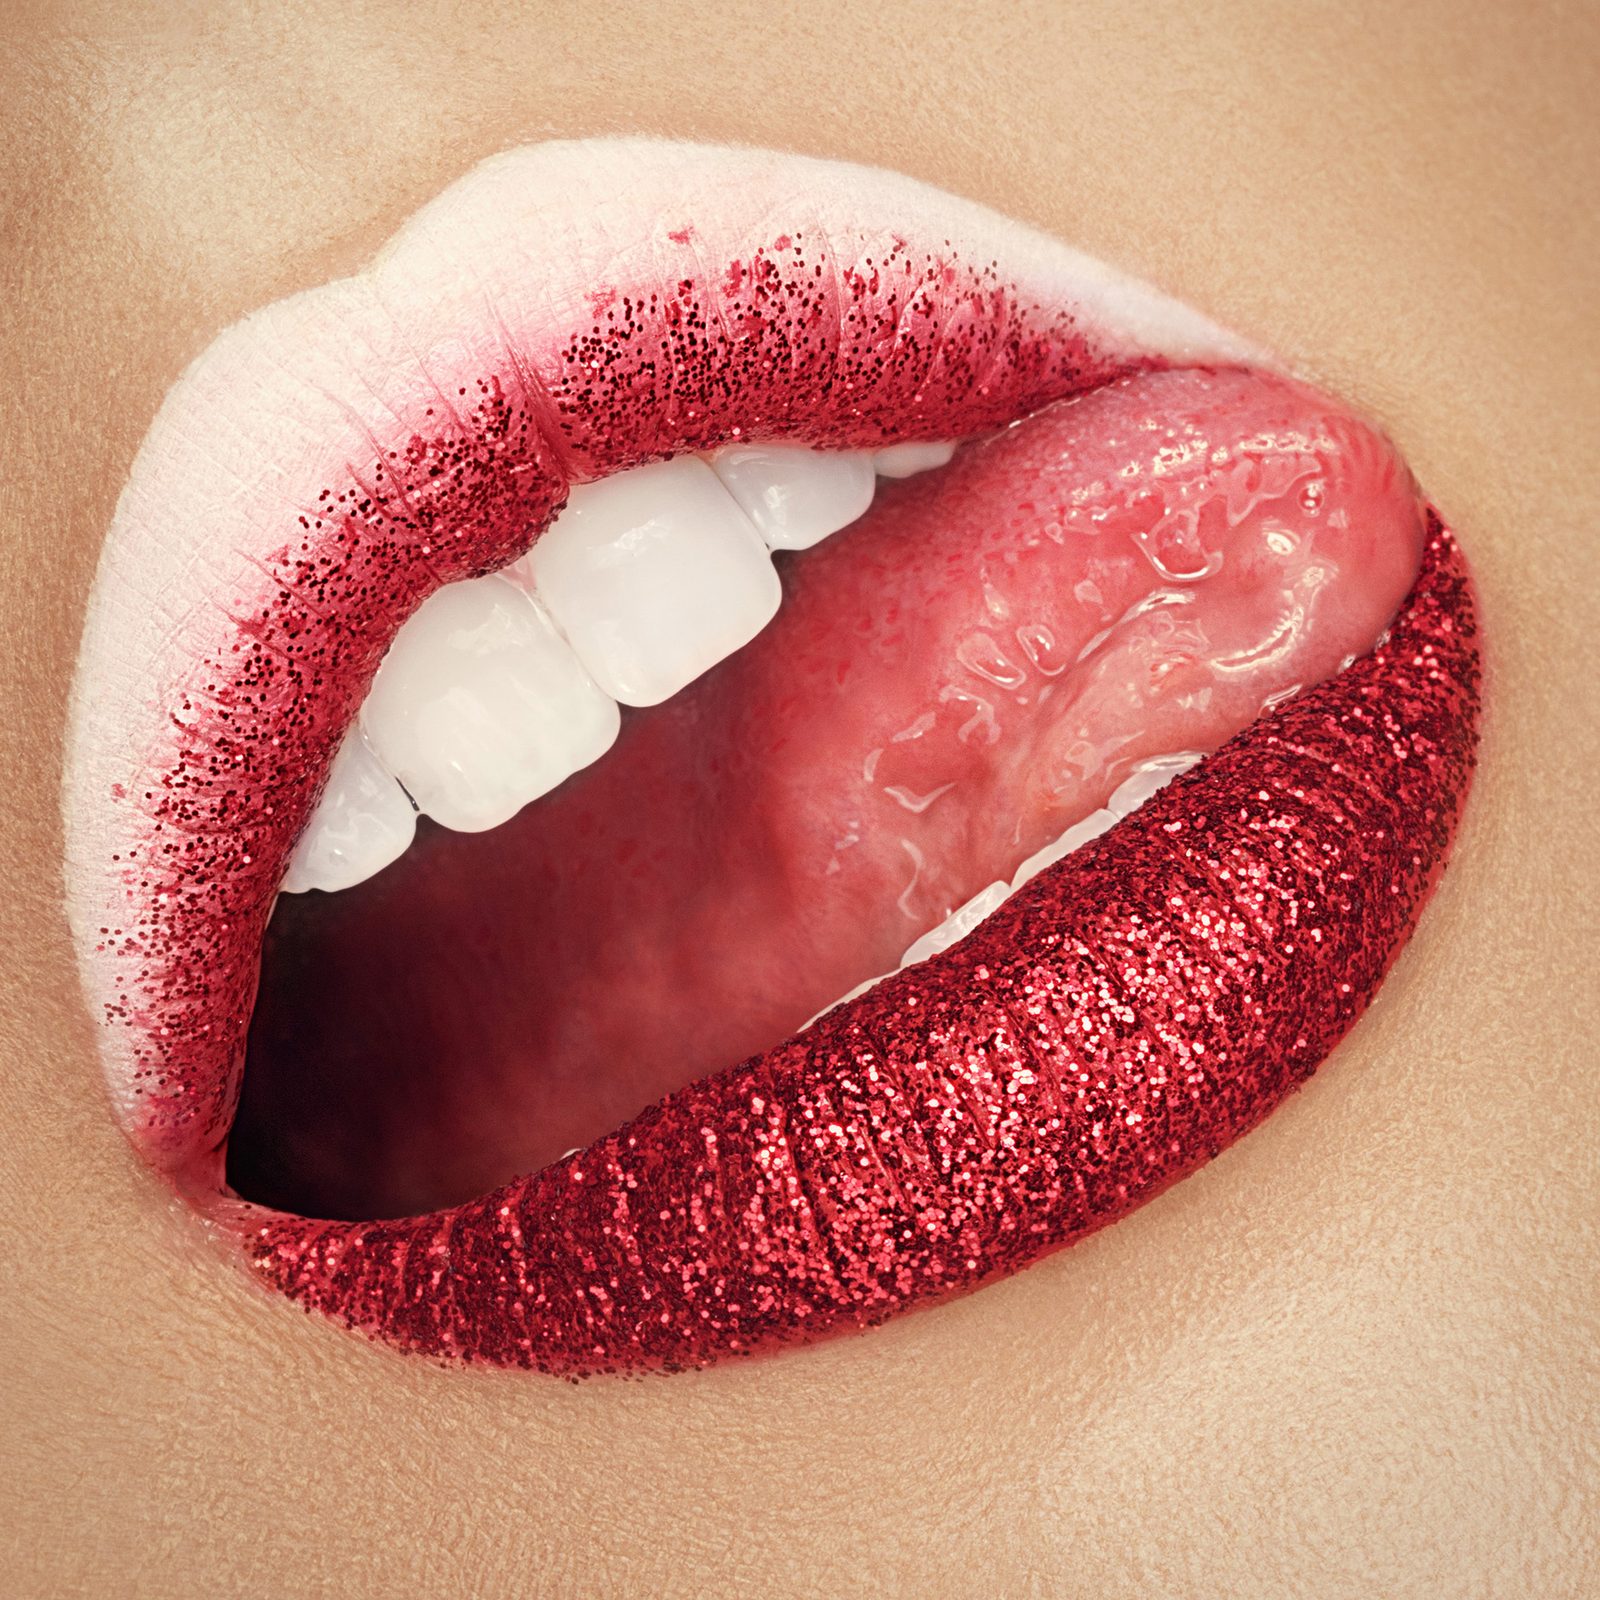
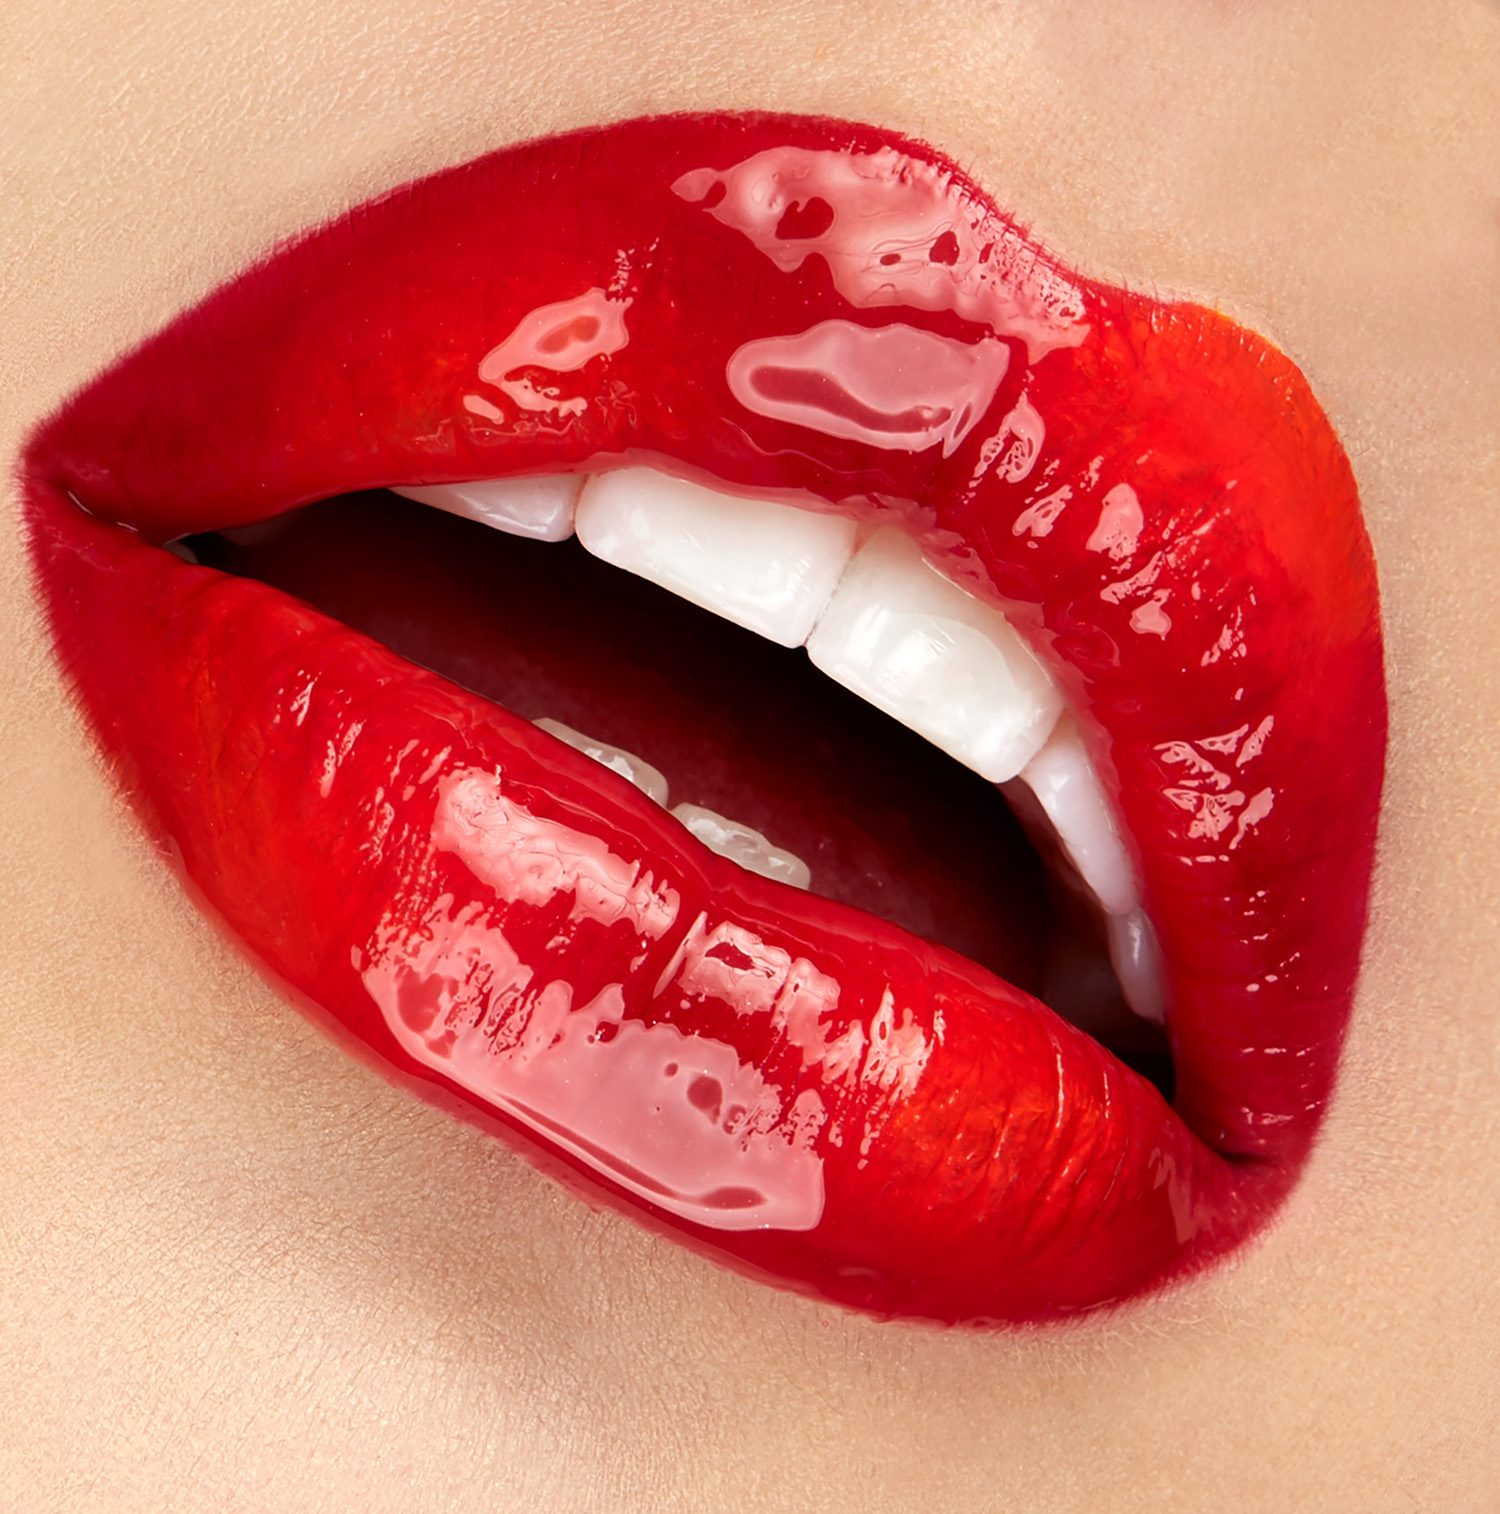
On the topic of focusing, if it’s your first time using a macro lens, you may notice that your focus is razor-thin when using the macro feature of a lens. If you’ve ever played with a depth-of-field calculator, you may know why – depth-of-field is contingent on a few different variables. The depth of field is determined by your sensor size, your focal length, your aperture setting, and finally, your distance from your subject. When shooting macro, you’re often within a foot from your subject, contributing significantly to the (at times, literal) razerthin depth of field. To help mitigate this, it’s pretty common to stop down your aperture when shooting macro and opt for an f-stop of f/10 and above. The images below help illustrate the shallow depth-of-field that can be accomplished with a macro lens and a $5 bill.

When shooting in the studio, and in particular, macro beauty photography, you may also see some changes in your studio setup. With traditional portrait photography, I often shoot with my lighting setup between me and the subject. With macro, however, you’ll need to be close to your subject, so you often are between your subject, and your light source – often blocking the light from hitting your subject. I often correct this by shooting on a tripod, and remote trigger my camera, to help reduce the amount of light that my body is blocking from the subject. Alternatively, I’ll also use larger light modifiers, that will wrap around me and still hit the subject appropriately.

This is just a brief breakdown of things you may need to be aware of when you step into the world of macro photography for the first time. Is there anything you think we missed? Feel free to chime in with a comment below.*

2 Comments
Tamron India ·
Thanks for the post, Introducing Tamron India's Macro Lenses Collection - the ultimate companion for capturing intricate details with precision. Designed for professional photographers and enthusiasts alike, our Macro Lenses offer outstanding image quality and versatility. Crafted with the latest optical technology, these lenses excel in reproducing minute subjects with exceptional clarity and vibrant colors.
Visit here: https://tamron.in/product/F017
spider-mario ·
For static subjects, focus stacking can be helpful.