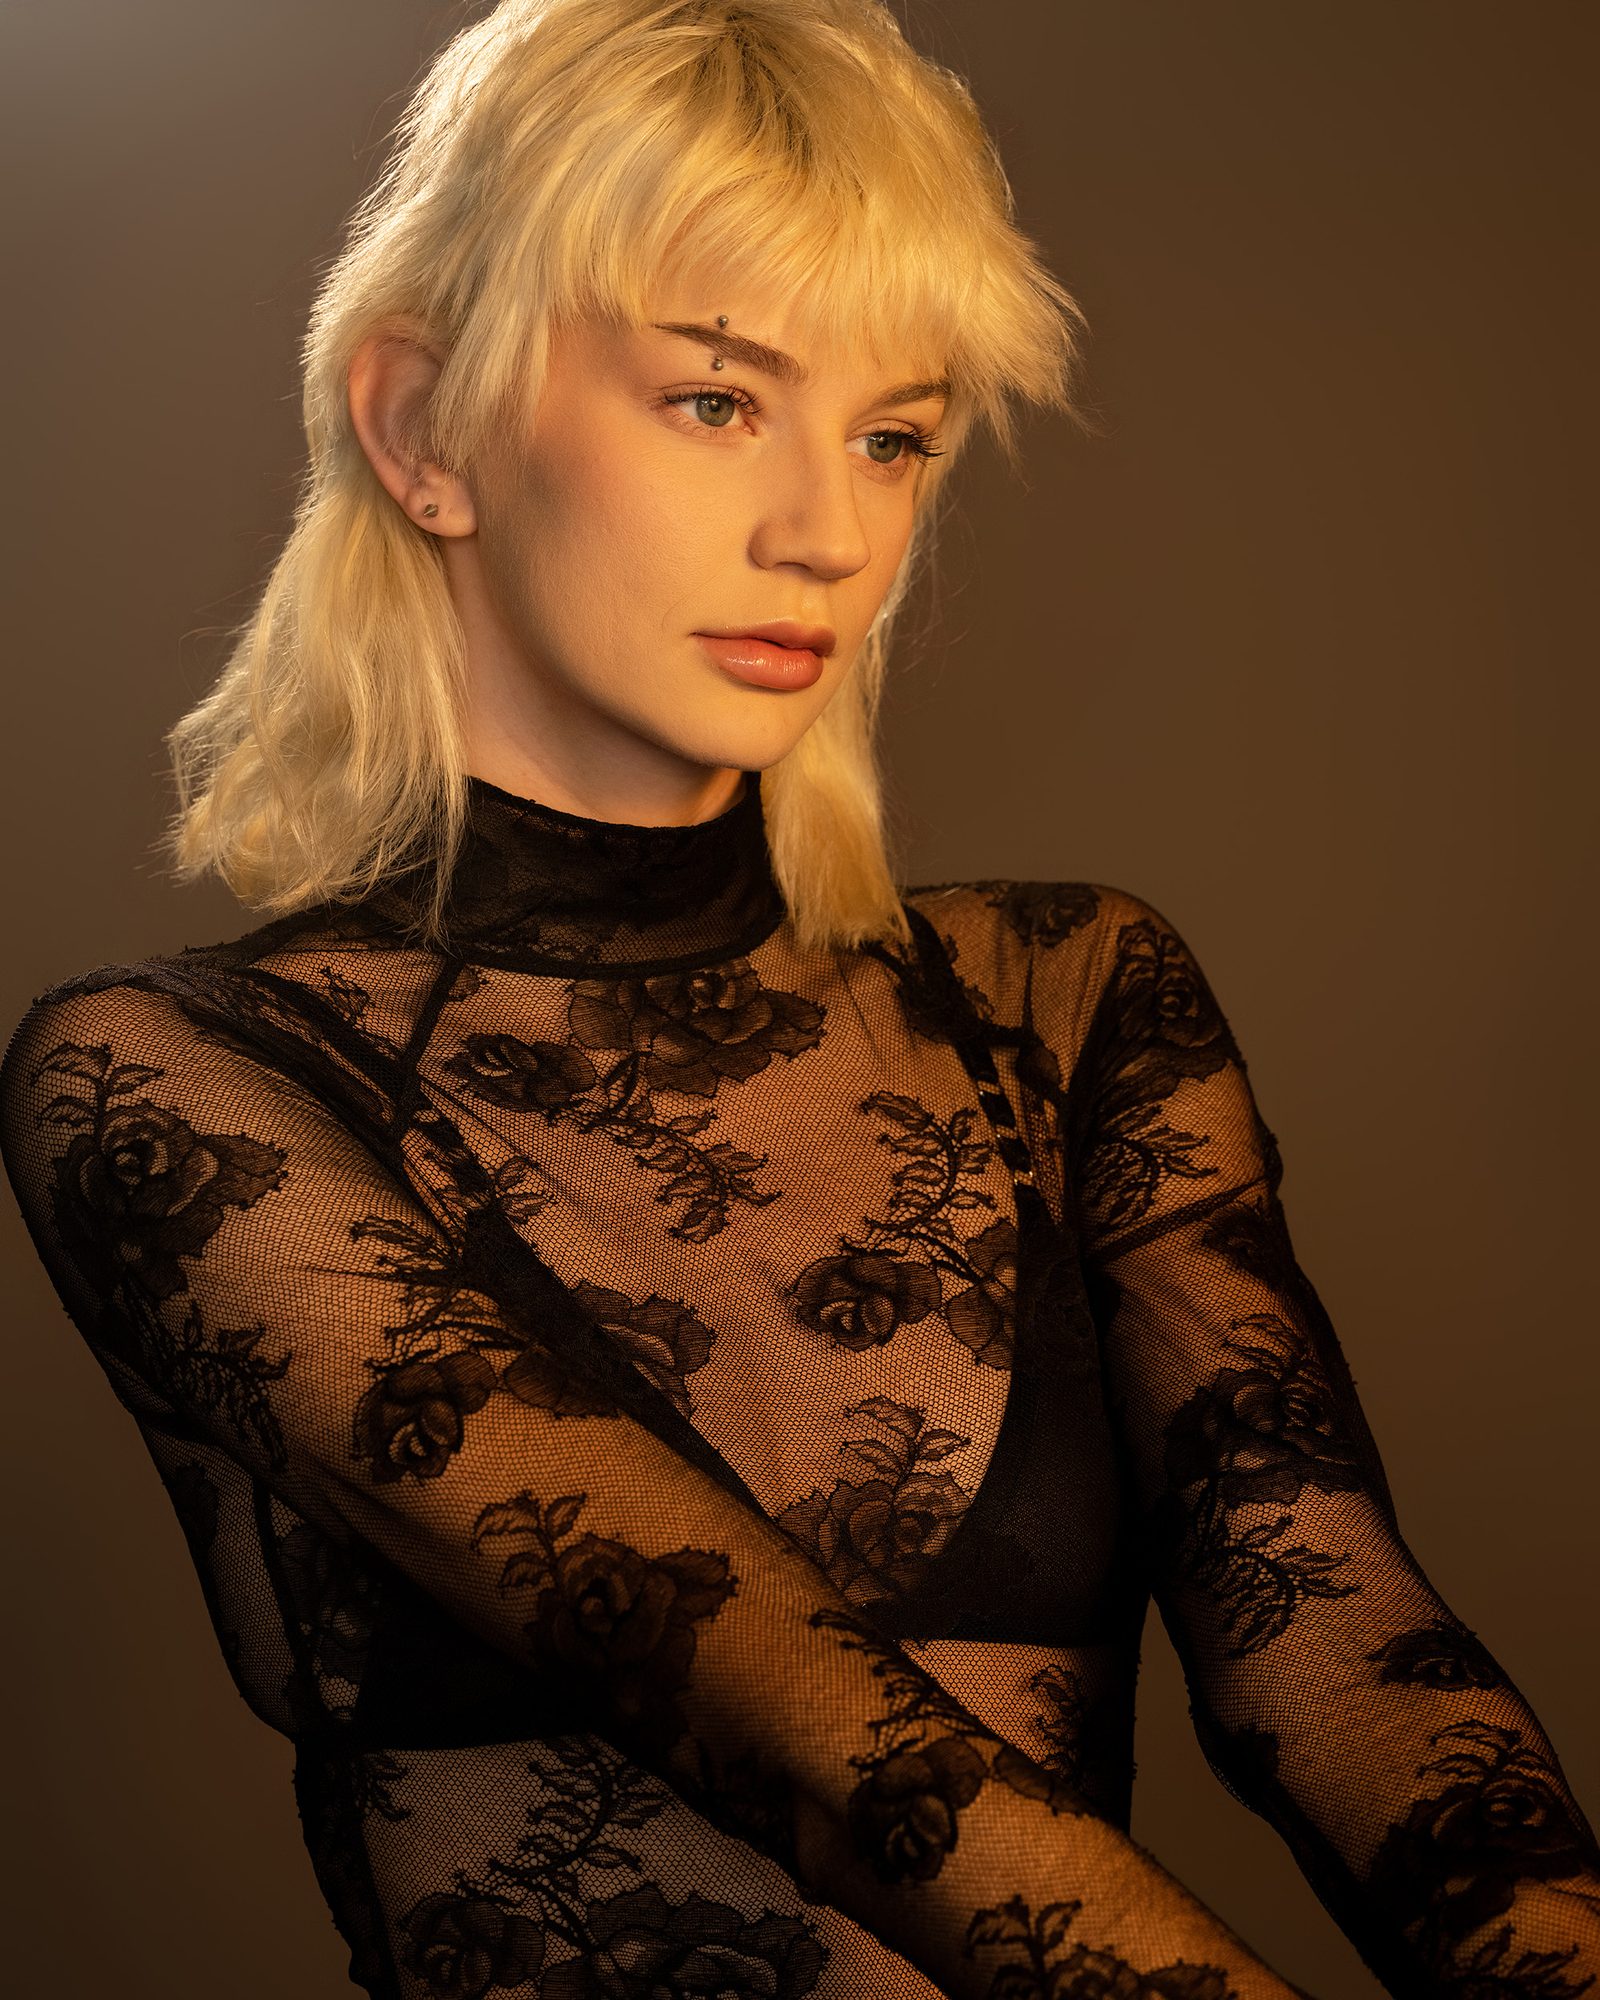
Continuous lights and studio strobes are both crucial tools in photography and videography, yet they serve distinct purposes. Continuous lights, primarily used in videography, provide constant and steady illumination, allowing for continuous lighting during video shoots. These lights emit a continuous, steady beam of light, enabling videographers to preview and adjust the lighting in real time. Continuous lights come in various forms, such as LED panels, fluorescent bulbs, or tungsten lights, each with unique qualities like color temperature control, portability, and brightness adjustment. They are ideal for shooting videos, interviews, and events where a consistent and constant light source is essential.
On the other hand, studio strobes deliver short bursts of intense light. These flashes provide a powerful burst of light for a fraction of a second, freezing motion and capturing still images with precise lighting. Because of their short bursts of light, studio strobes are incredibly versatile and allow photographers to “overpower the sun” or essentially, provide enough power to appear brighter than the sun at the right settings. Unlike continuous lights, studio strobes typically require synchronization with the camera to trigger the flash at the right moment, as they work with precision often in the 10,000ths of a second.
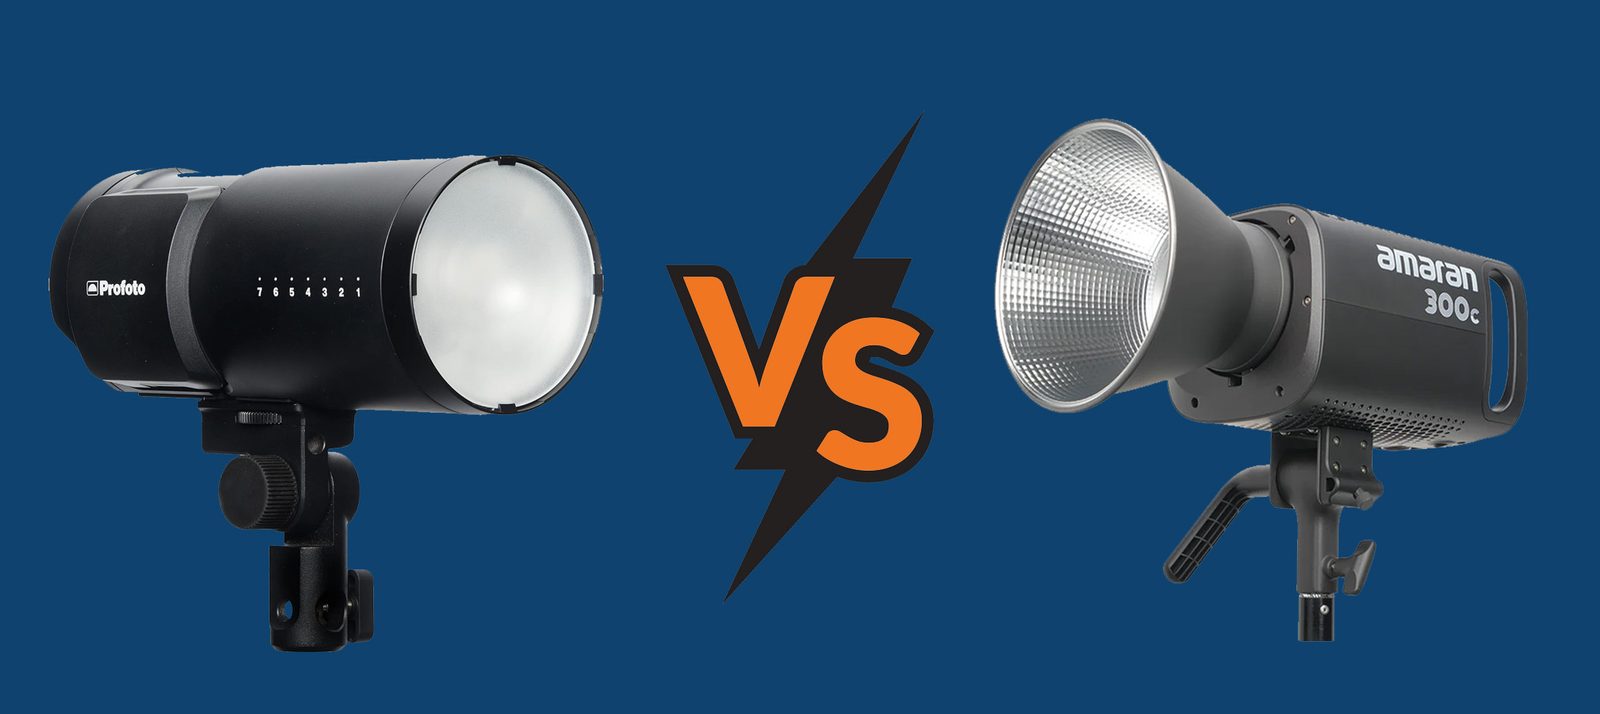
But if you’ve been on a commercial set in the last couple of years, you’ll likely see video crews working on one side of the studio, and photography crews working on the other, with a creative director asking why the two can’t merge to save both space and cost. And so, this article was born with the question “Can continuous lights be used in photography productions?”.
The answer to that question is “Of course they can”, HMI lights have been around for years, and are exceptionally bright – but come with an exceptionally high price point. So instead, I decided to test my theory of continuous lights for photos, took three reasonably priced lights in the LensRentals.com inventory, and tested them in a photoshoot setting. So let’s take a look at my choices. As a preface to this article, I recommend you read my article about the various types of continuous lights from a couple of years ago as a refresher if you’re not very well-versed in video lights.
Aputure amaran 300c RGB LED Monolight
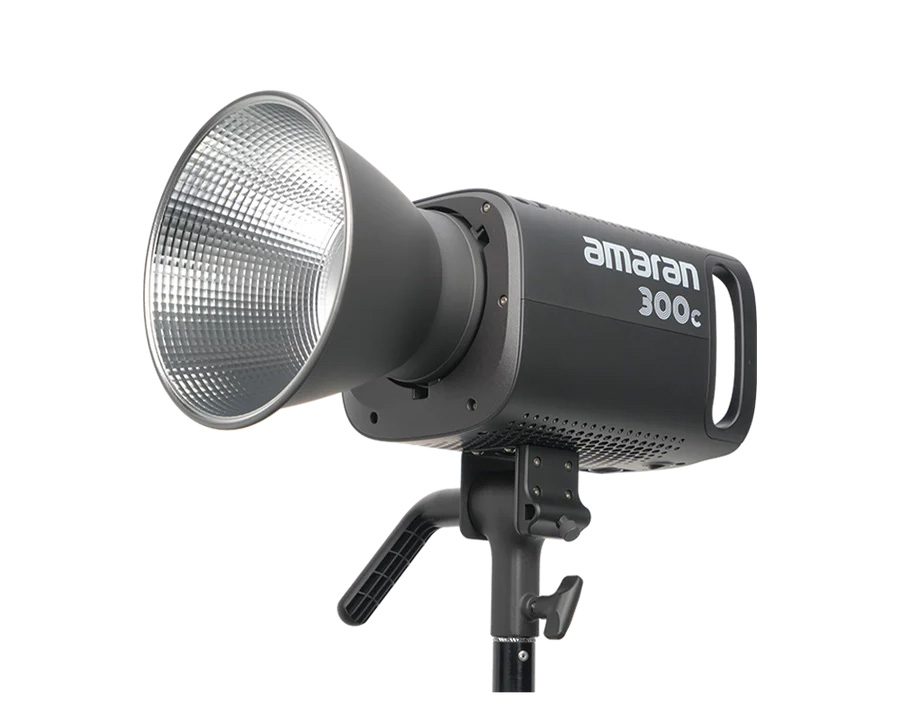
The amaran 300c RGB LED boasts a 300w output, and full RGB control in a nice monolight LED system. With it being LED, you’re graced with limited heat and exceptional light output for the size and price. Additionally, the added benefit of full RGB control is you can adjust the light output from 2K-10K on the white balance scale, and are offered over 16 million different color options, making gels a thing of the past.
Parabolix OMNI LED Lamp
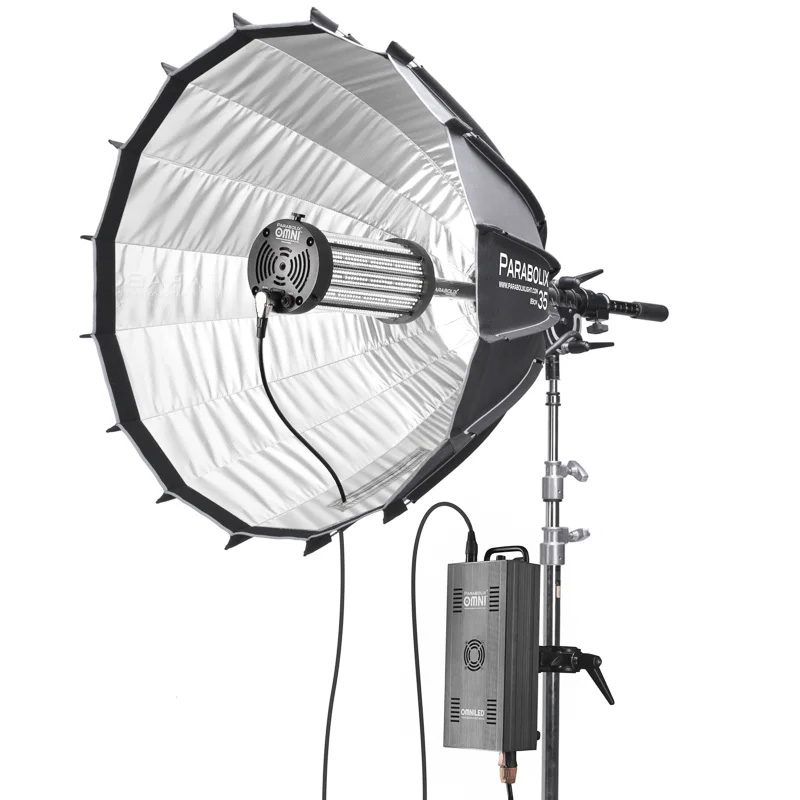
Next on the list is the Parabolix OMNI LED Lamp. Why did I choose this specific light? Well, because I love the Parabolix system as I’ve written about in the past, and this light was designed specifically for use with their Para systems. With its Omni-directional 2K output, the use for this light is pretty limited, but pairs well with a para, giving you sharp, focusable light in a pretty small package.
Nanlite PavoTube II 30X
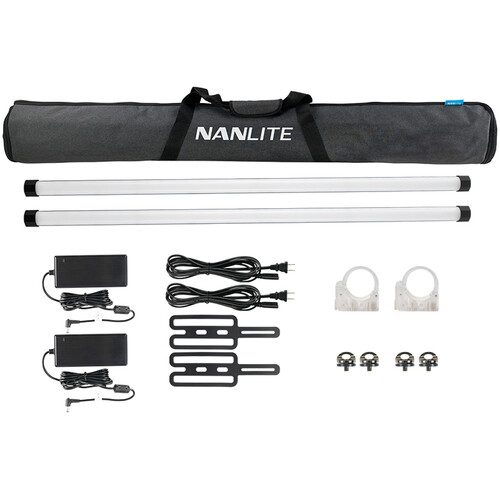
Finally is the PavoTube II from Nanlite. Another specialty light, these tubes take the shape of a 4′ fluorescent light tube, and give you full RGB control in a very small and easy-to-use package. While the least powerful on this list (or at least from my experience), they are still quite useable with a boost in your ISO settings. While I worry that these lights don’t have the power to light a full scene, and would instead use them as rim lights, other photographers have used them with great success in the past, and as main light fixtures in photography.
In an effort not to bury the lede in this article, do these lights work in photography? Yes, they work great in photography…but they come with a few caveats. So let’s talk about those caveats.
Upping Those Settings for Continuous Light
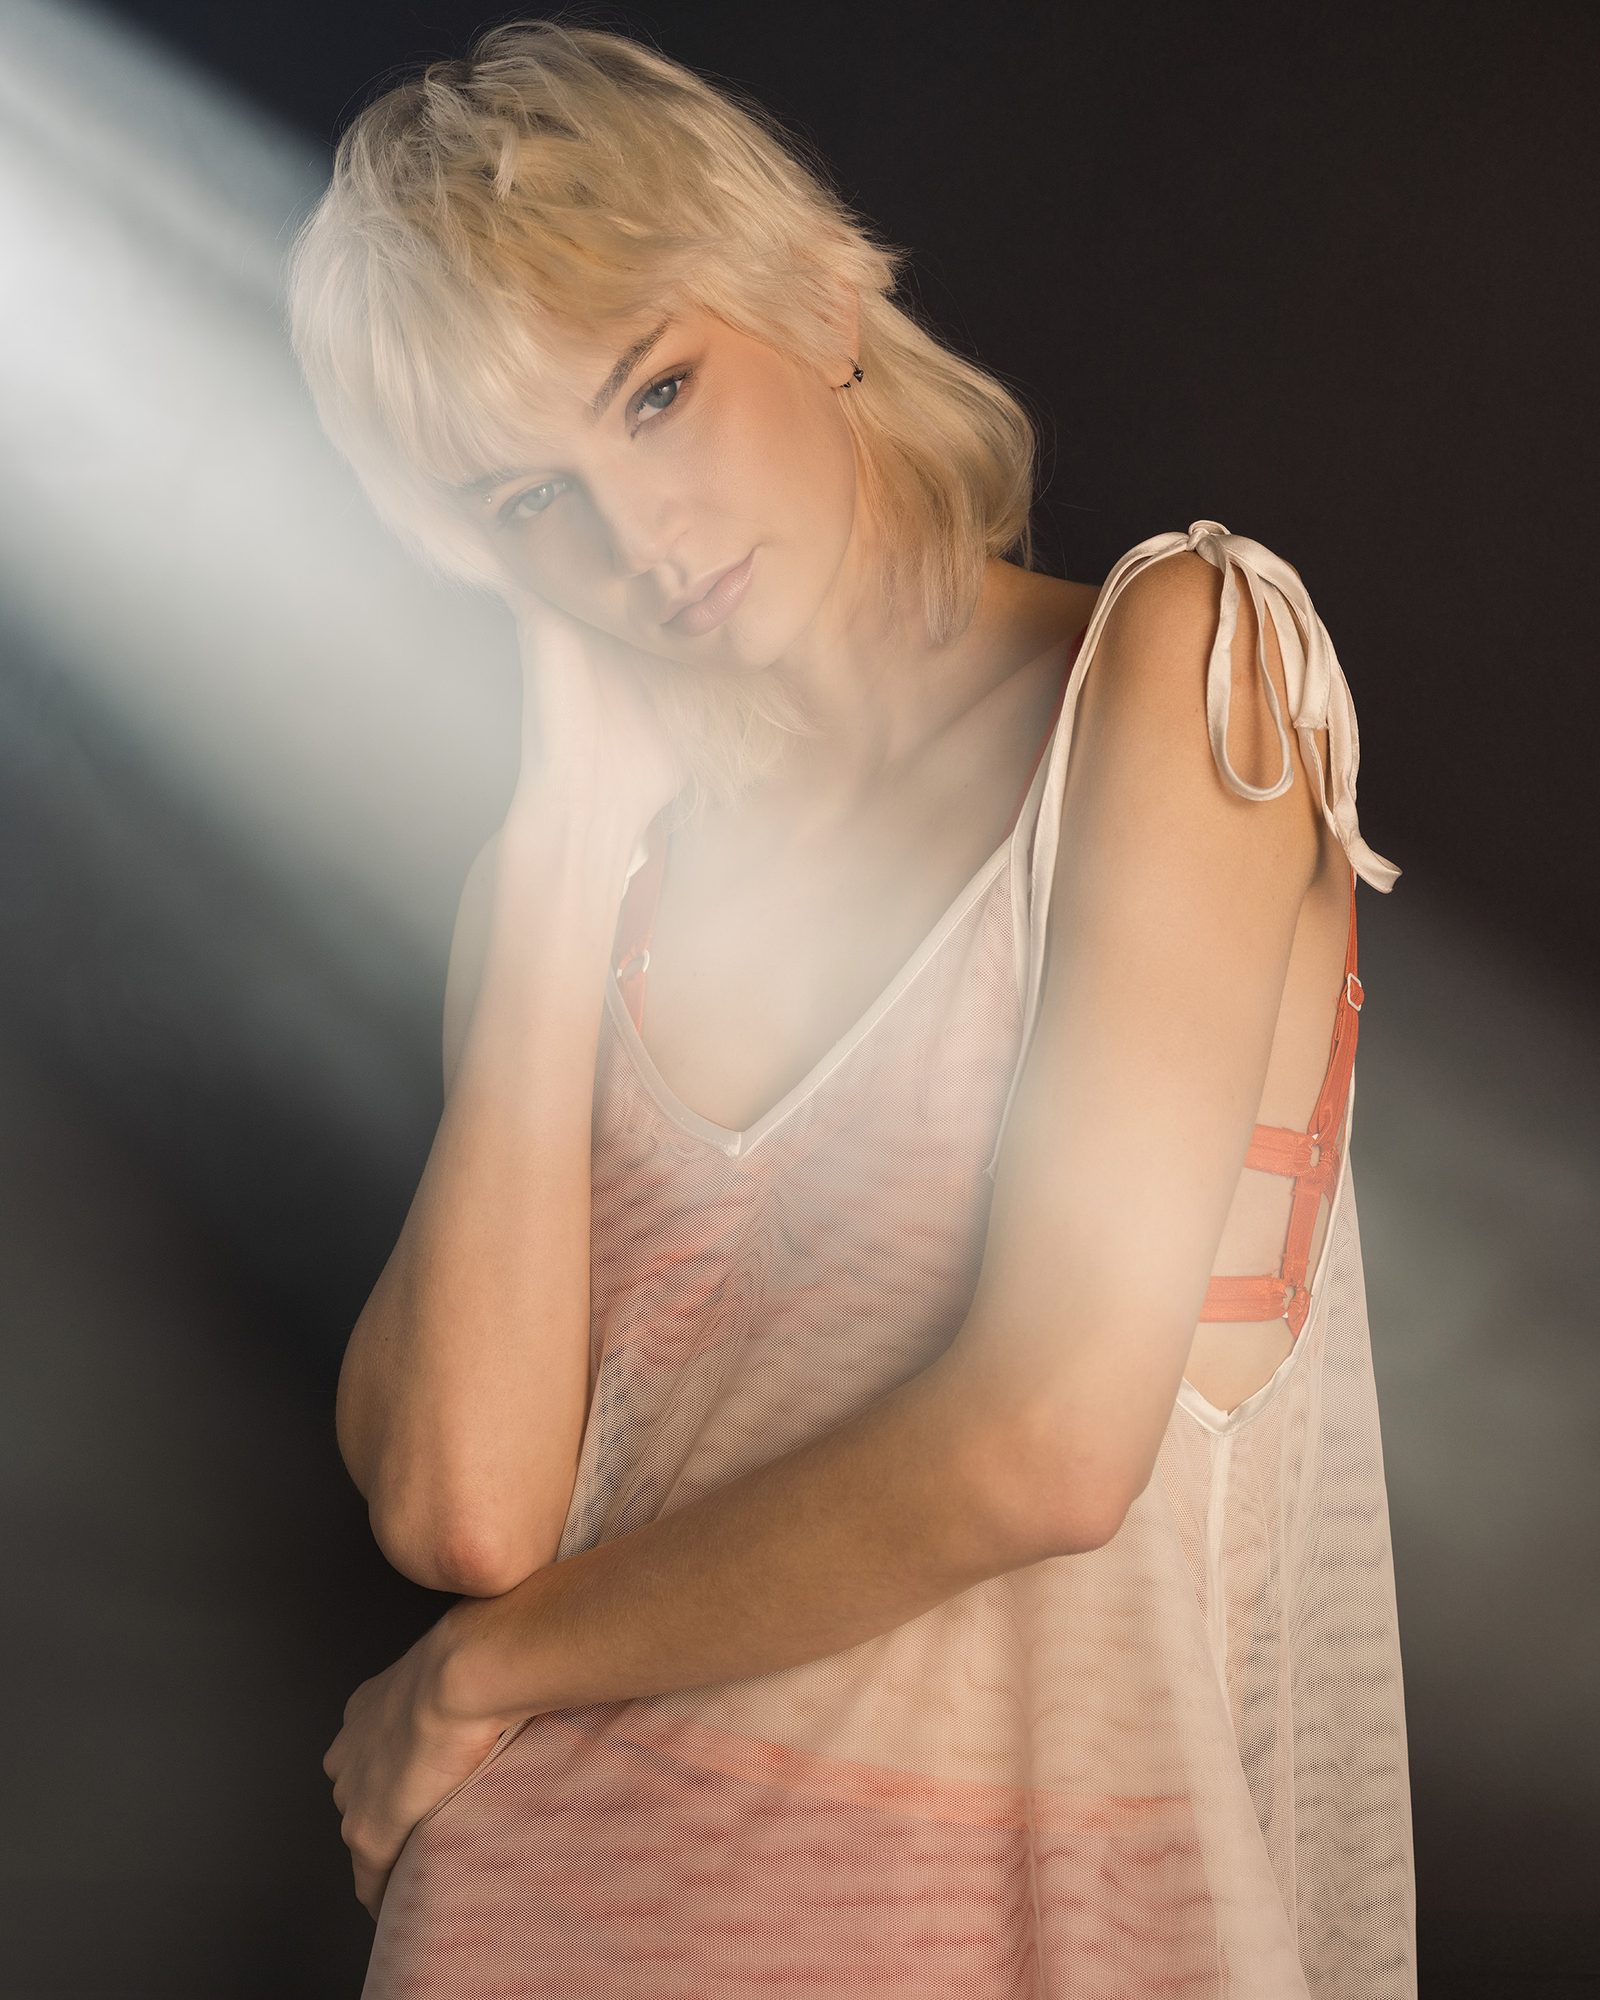
If you have experience with studio strobes, you’ll know that two of your three main camera settings will be constant. Low ISO (usually ISO 100), and a Shutter Speed at your max sync speed to avoid outside light disrupting the photos (Usually 1/125-1/250 depending on the camera). This is because the flash duration of a studio strobe is often in the 1000ths of a second, so shutter speed generally does not affect the image and light, and a low ISO will usually give you the cleanest image. With continuous lighting, though, your light is working much like any traditional light would. As a result, and especially with the lower overall brightness (it takes more energy to have a light output constantly than it does to flash for a fraction of a second), you’ll want to increase your ISO and lower your shutter speed a bit to better compensate for the overall lower light output. And because of that, these lights are most effective in indoor settings.
But with modern cameras come higher ISO tolerances with lower noise, so shooting at ISO 800 isn’t a problem like it was 10-15 years ago. These continuous lights work exceptionally well in these settings. But let’s look at some of the advantages of studio strobes versus continuous lights.
Using The Options Available
I went into this experiment excited to try some new lights different than my extensive strobe kits – and overall, I found the use of the lights to be easy and more than capable for stills photography. So let’s briefly go through each light, starting with the amaran.
amaran 300c RGB LED Monolight
Of the three lights tested, I found the amaran 300c to be the easiest to use by a sizable margin. If you have experience with studio strobes, single-point LEDs are the most obvious transition into continuous lighting, as they function largely the same. At 300W, I found the amaran to be bright enough with some small setting adjustments, and I particularly liked the quality of light when paired with their Light Dome II 34″ and set to a warmer tone.
Parabolix OMNI LED Lamp
The next light I tried was the Parabolix OMNI light, which works much like an LED panel, except it’s fully omnidirectional, so works best as a specialty light designed specifically for the Parabolix light modifiers – a modifier I’ve been a big fan of for years. When using the OMNI, I found the light to be really simple to use, and incredibly bright for photo work. Again, my ISO was set to 800 throughout, but even with 4-5ft separating my subject and the light, I was able to get plenty of light to shoot what I needed. That said, of the three lights testing in this, the OMNI is the one with the fewest features, offering a daylight-balanced light with a full dimmer, but no bi-color or RGB.
Nanlite PavoTube II 30X
My time with the Nanlite PavoTubes II 30X came last. I’ve actually owned a few Nanlite PavoTubes for a couple of years now, so I’m well-versed in how these lights function. Of the three lights tested for this piece, the Nanlite PavoTubes were the least powerful, but Nanlite make up for it by having a feature-rich product with a lot of great design choices. Still, because of the power of the light, I more often use them as quick-rim lights to add a specific color to the scene or subject.
So with my time with three different continuous light designs (single point LED, Omni-directional LED panel, and whatever we want to classify the PavoTubes as), I found all three of them could work in a studio and replace strobes for specific photographers. While continuous light is much easier to use (because you can see the light placement in real-time), I’m not going to replace my strobes just yet. But let’s quickly look at the pros and cons of each platform – strobes versus continuous video lights.
Pros of Using Continuous Lights
- What You See is What You Get. With the use of continuous lighting, you can adjust your lights in real-time and see the changes it makes instantaneously. A big advantage for complex lighting setups, or those new to lighting.
- Micro-Level Controls. Adjustments to power and color can be made in minute changes, giving you added flexibility in light, power, and color-cast.
- RGB Capabilities on the Fly. Full color output of constant lights without the pains of using gels or complicated color balances.
Cons of Using Continuous Lights
- Bright Lights Can Disrupt Vision. With bright continuous lights, you may cause eye strain for your subject, making it difficult to get photos with the eyes fully open.
- With Constant Light Comes Heat. While LEDs generate less heat than HMIs and Tungsten lights, generally speaking, continuous lights will generate way more heat than studio strobes.
- Limited Modifier Options, Depending on the Light. Specialty continuous lights can have a limited utility of use – depending on the size and shape.
- Consumer-Grade Products Not Powerful Enough to Use in Sunlight. Because of their size and need for constant power output, you’re not going to “Overpower the sun” in a cost-effective way.
Pros of Using Strobe Lights
- Considerably More Power by Design. Because they fire at fractions of seconds, strobes offer quite a bit more power for both in-studio and on-location shooting.
- Ability to Stop Movement with Flash Speed. Strobes can freeze the movement of subjects and elements by their quick-firing design.
- Low-Level Heat. Strobe generate far less heat, because of their quick firing features.
Cons of Using Strobe Lights
- Radio Connectivity Required. A wireless trigger is required (or a cable connection to the light) for the use of strobes.
- Color Casting Requires Gels & Additional Equipment. With RGB video lights, you can change the color with a dial, strobes require gels.
- Strobes Require More ‘Guess & Check’ Tactics. Because you can’t see the placement of power of light (though modeling lights help), you might need longer to test your light power & placement.
So in the end, would I recommend continuous lights for in-studio photography work? Yes, of course. Continuous lighting can be incredibly useful, and with the right power, can replace a lot of work done with strobes effortlessly. That said, I would be mostly interested in single-point LED lights with a power output of a minimum of 300W. Additionally, you’ll want to be mindful of the mounting options for video lights. Most of my personal lighting gear is Profoto mount, and Bowens seems to be the standard in the video work, so if you’re thinking of adding continuous lights to your already established strobe kit, you may need to buy some new speed rings or converters. Do you have a continuous light that you like using in your photography work? Chime in with your examples in the comments below.

4 Comments
grubernd ·
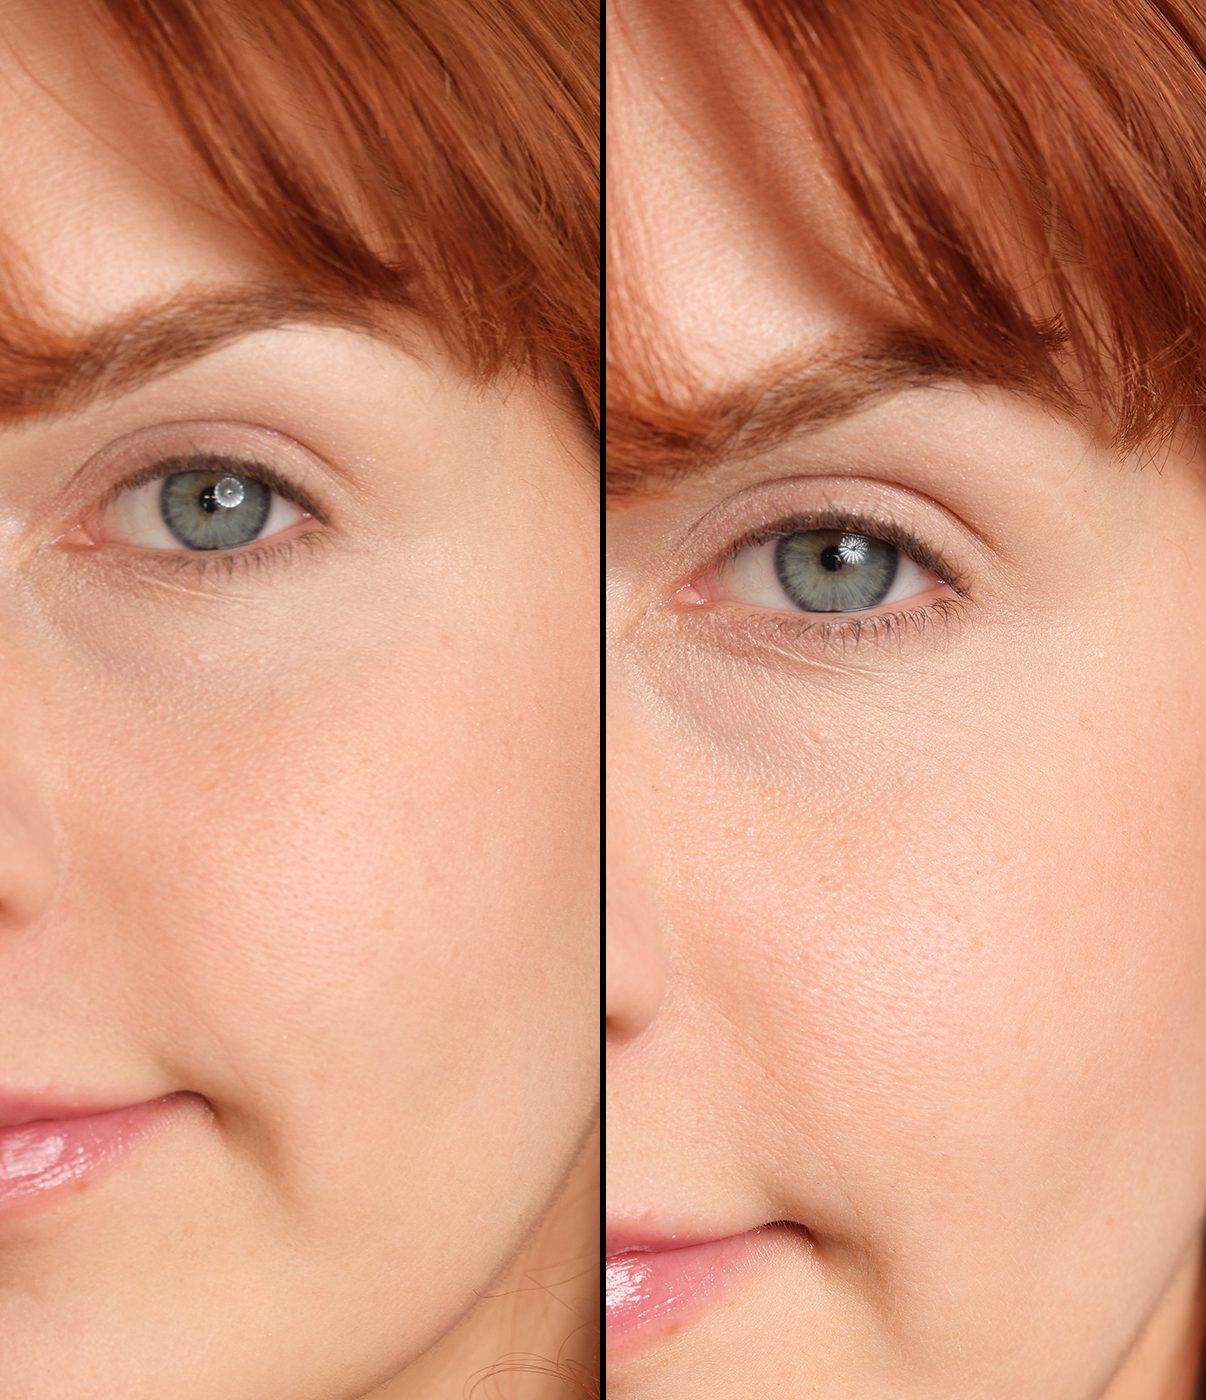
For pictures with people it boils down to one question when photographing inside:
How do you want the pupils: small or large.
Eriksson Tord ·
I am an amateur but I have found that LEDs, close up to the subject are excellent, but powerful LEDs are expensive. Some LEDs designed for cars work just great and don’t cost an arm and a leg, as the Brits say, and some simple CN-126 LEDs are surprisingly cheap and run on 9V so you can attach them to a suitable PSU and run them all day long. The use of LEDs for me started with the fact that most of my cameras have a 1/60 flash synch speed, and that just rarely works for me in normally lighted rooms. So heap of LEDs and a flash for lightening purposes occasionally works great!
Franz Graphstill ·
It’s rare for cheaper continuous lights to have a high CRI. There were some continuous lights which had peaks in one or two frequencies, making getting a good white balance difficult. If you are looking for a colour cast as an effect in your photography, that’s fine, but if you are looking for natural skin tones, that could be a problem.
Photographic strobes are built for purpose, so a good CRI should be expected.
Carleton Foxx ·
Yes, but only if you want all your photos to look like they were shot by George Hurrell