If you’ve ever had a photo shoot on location, and you’re anything like me, you’re likely hit with moments of anxiety on the drive to the location – questioning yourself if you brought everything with you to make this photo shoot a success. From lenses to memory cards, to batteries, it’s really easy to forget something in the chaos of loading up your vehicle on the morning of a big shoot. After dealing with this anxiety over the last decade, I’ve started implementing a checklist of gear the day before and double-checking my packed bags before loading them in my car. But I’ve also implemented the use of a grip kit that I generally always have packed, and take with me to photoshoots. So let’s talk about what goes into a grip kit.
What is an On-Set Grip Kit?
While having a fancy name, my personal grip kit is nothing more than a small black backpack I’ve collected over the years. In that backpack, I keep all of my backups of gear that might be incredibly useful on set. Generally speaking, I keep this bag in a storage cupboard in my studio and never open it…so that nothing gets lost in the process. So what goes into a nice little on-set bag? Well, let’s dig into mine, and open it for the first time in months.
Rocket Blower

The first is a piece of equipment that used to live in my camera bag, but would often get removed from my bag because it would take up too much needed real estate. So instead, it has found its home in my onset grip bag. A rocket blower is a simple tool that is often used to remove dust from a sensor and lenses, by blowing directional air at the problematic areas. This can be incredibly useful if you have some problematic spots on your sensor plane of the lens, and aren’t as diligent about keeping your gear in pristine condition.
A Clamps
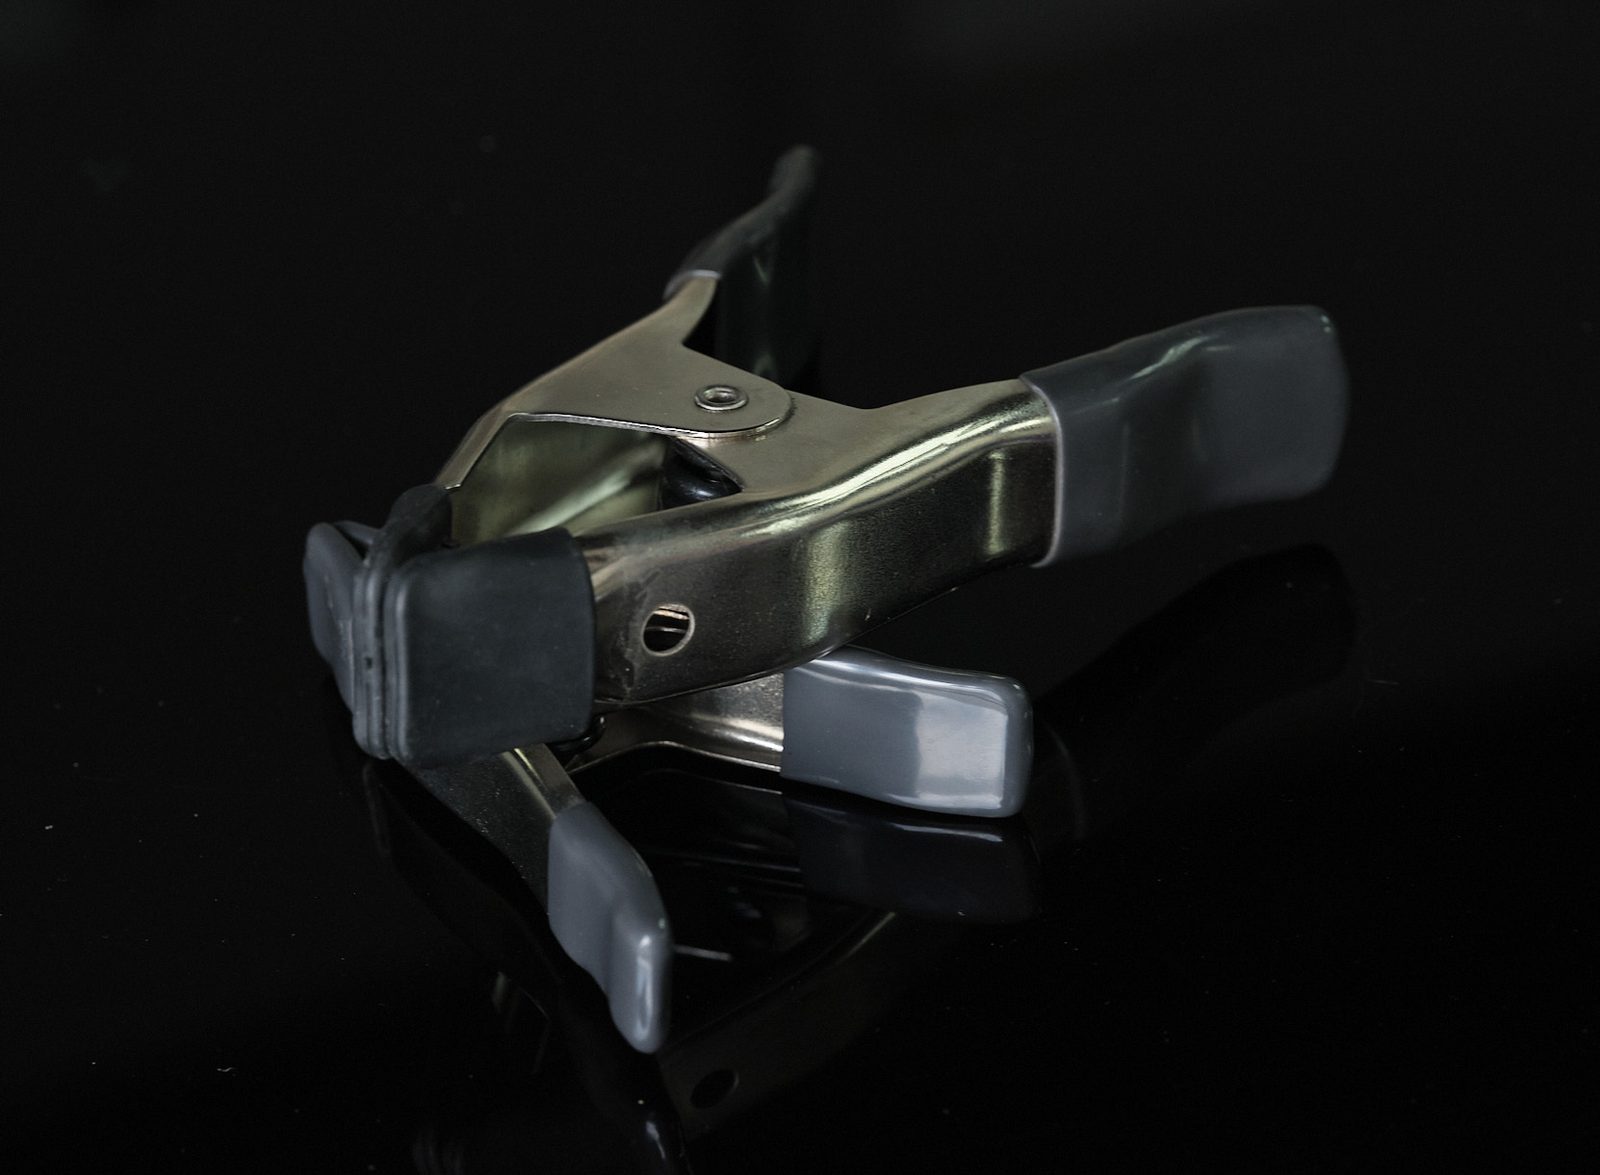
Among the most useful tools you can have in any on site grip kit is also one of the most affordable – A clamps. At only about $1 a piece from most hardware stores, an A clamp is immensely helpful in a variety of uses. I regularly use A clamps to prevent rolls of seamless paper from unrolling, to hanging diffusion panels, to helping better tailor wardrobe. There is a limitless amount of uses for these A clamps, and why you will routinely see dozens of them in most studios.
Super Clamp & Flash Brackets (w/ studs)
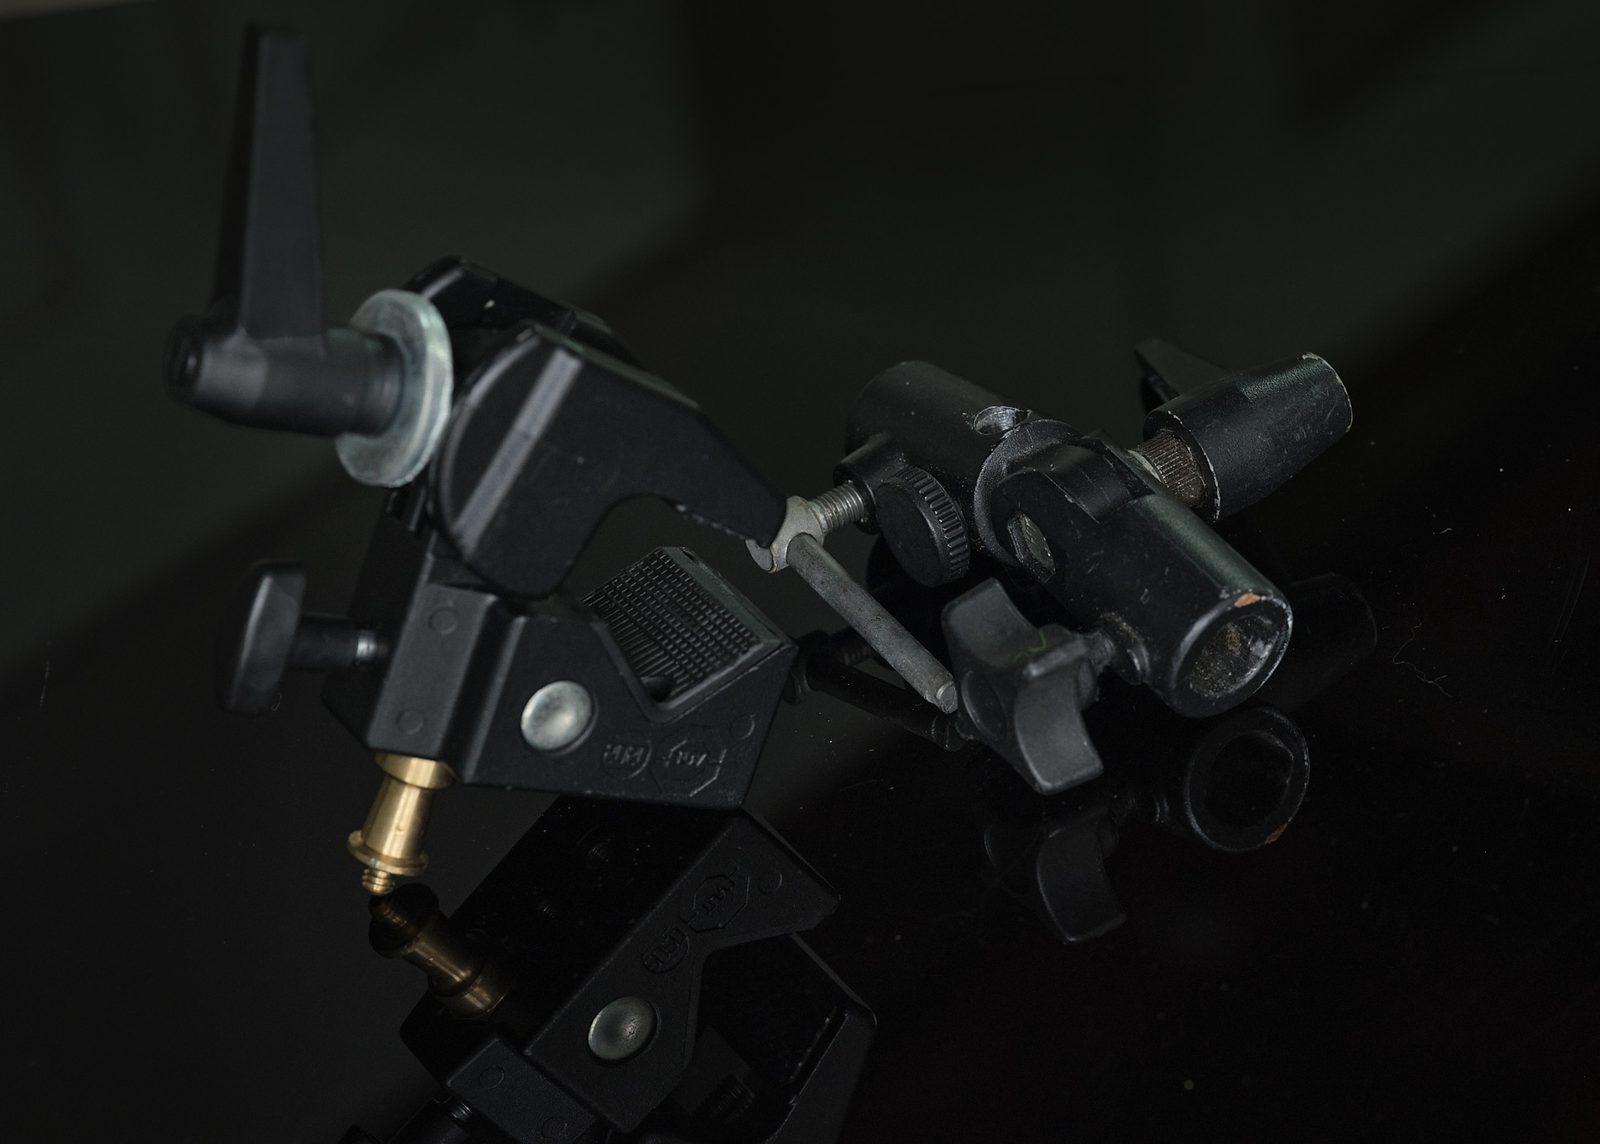
Staying on the topic of clamps, I also make sure my grip kit has both a Super Clamp and Flash Bracket. Like A Clamps, these two tools are immensely useful when mounting lights to various things, and their usefulness doesn’t stop there. Need to weight down a lightstand? Tighten a Super Clamp to the stand and hang your camera bag from the clamp. Need to get a timelapse behind the scenes video? A flash bracket makes it so attaching a DJI Osmo 3 to a lightstand easy.
MultiTool
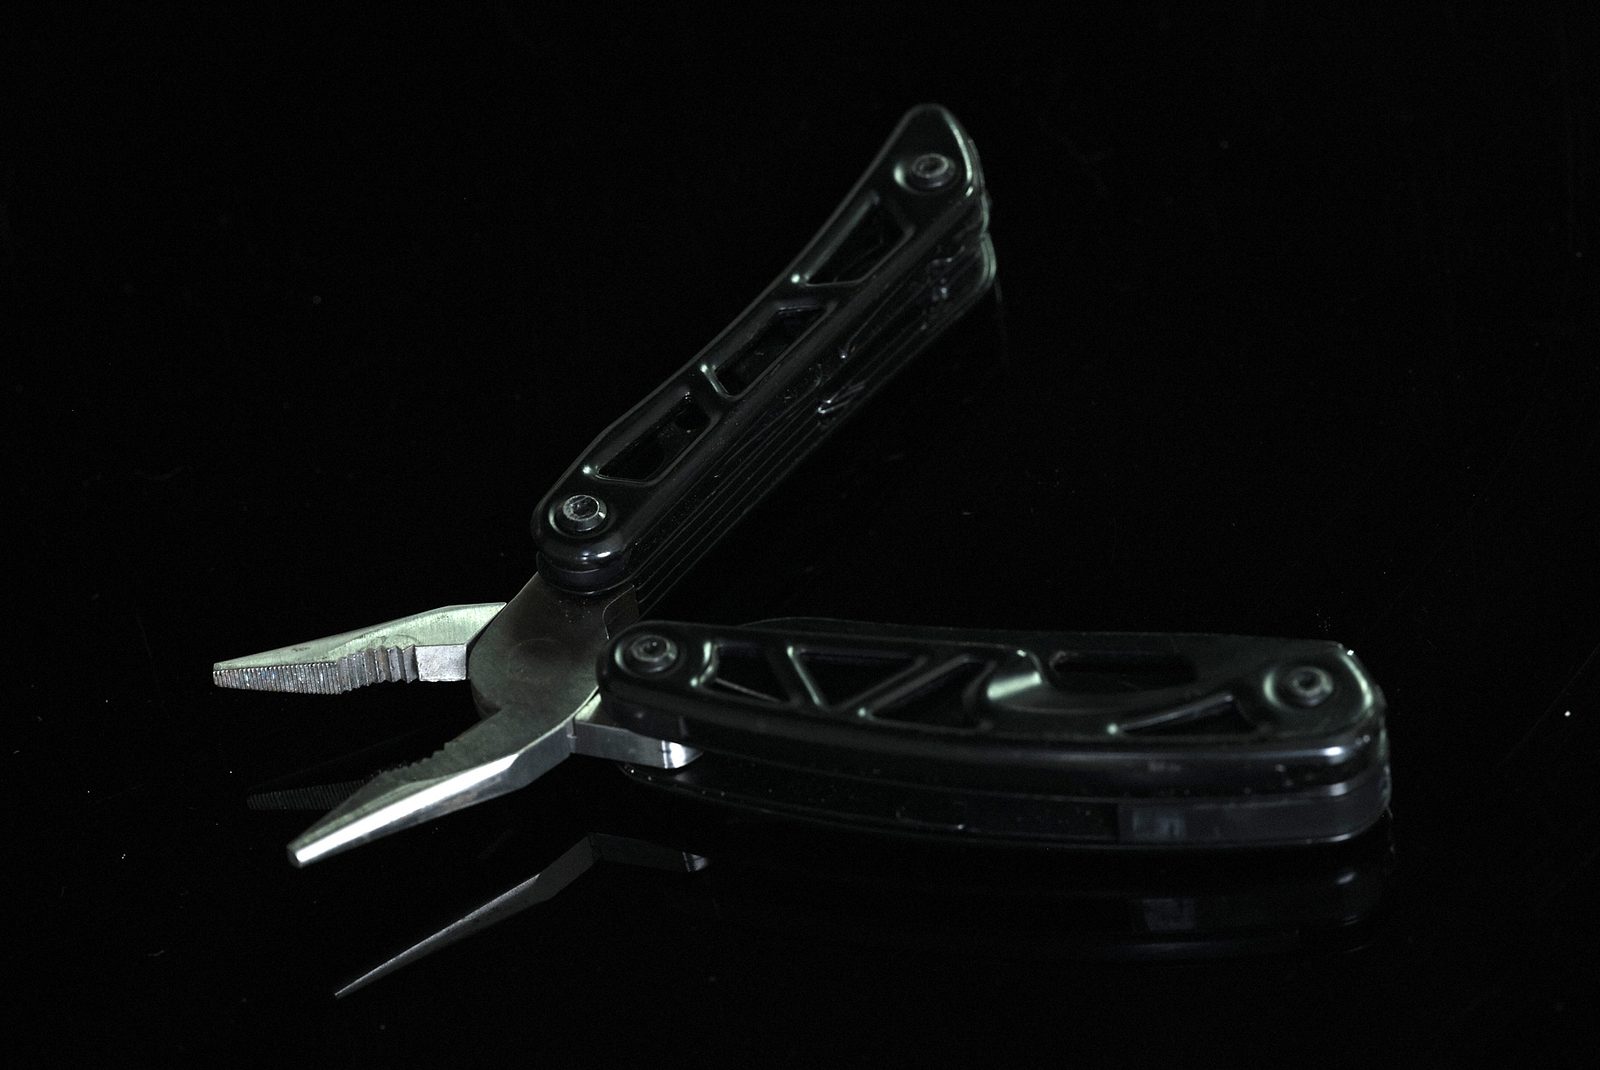
A multitool should be placed on top of this list, and what I consider a requirement for anyone who is working on set. Rarely do I have a shoot where I don’t need to use my Multitool for one thing or another. From using the knife to cut off the bottom of seamless paper, to using the pliers to unstick locked up C-stand Knuckles, a Multitool is absolutely a must have while on set.
Card Reader
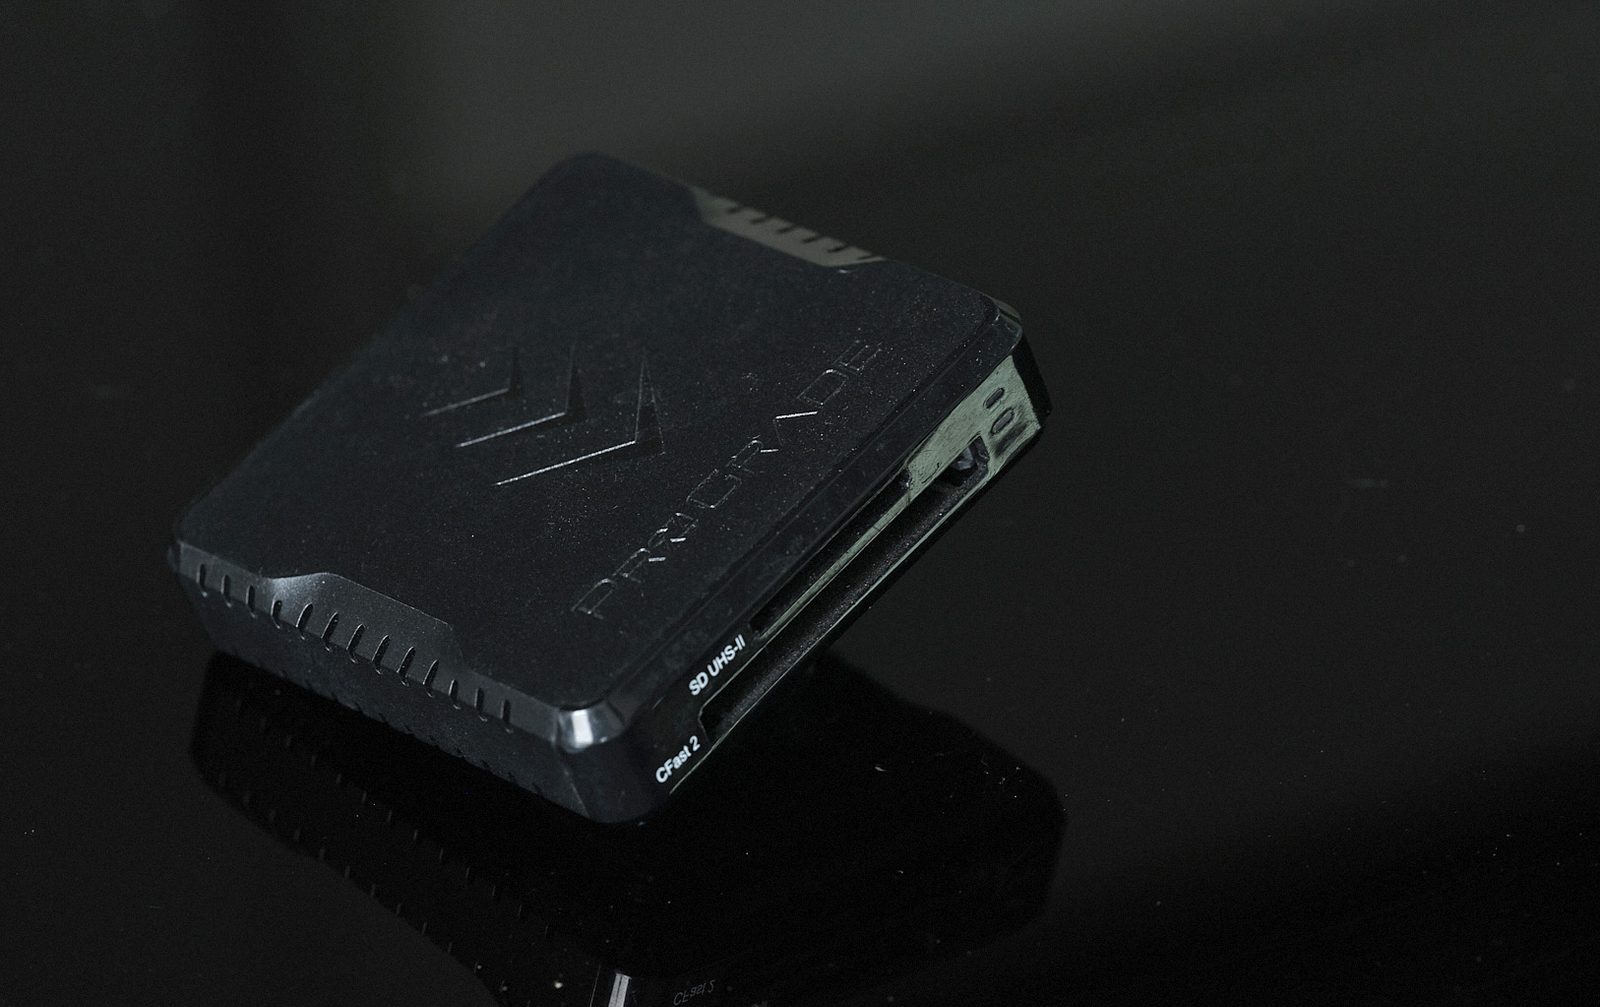
If I’m on set, I’m often working out of a large studio, and tethering to a laptop – but there is always the possibility of failures in that process. Sometimes, tether cables go bad, laptops crash and tech gremlins can make their way into the process. While that is a massive inconvenience, as tethering is a pretty significant tool in my photography process, it’s important to have a backup in place if needed. So, I have a card reader in my bag on the off chance that I’ll need to upload images to a computer the old-fashioned way.
Back-Up Hard Drives
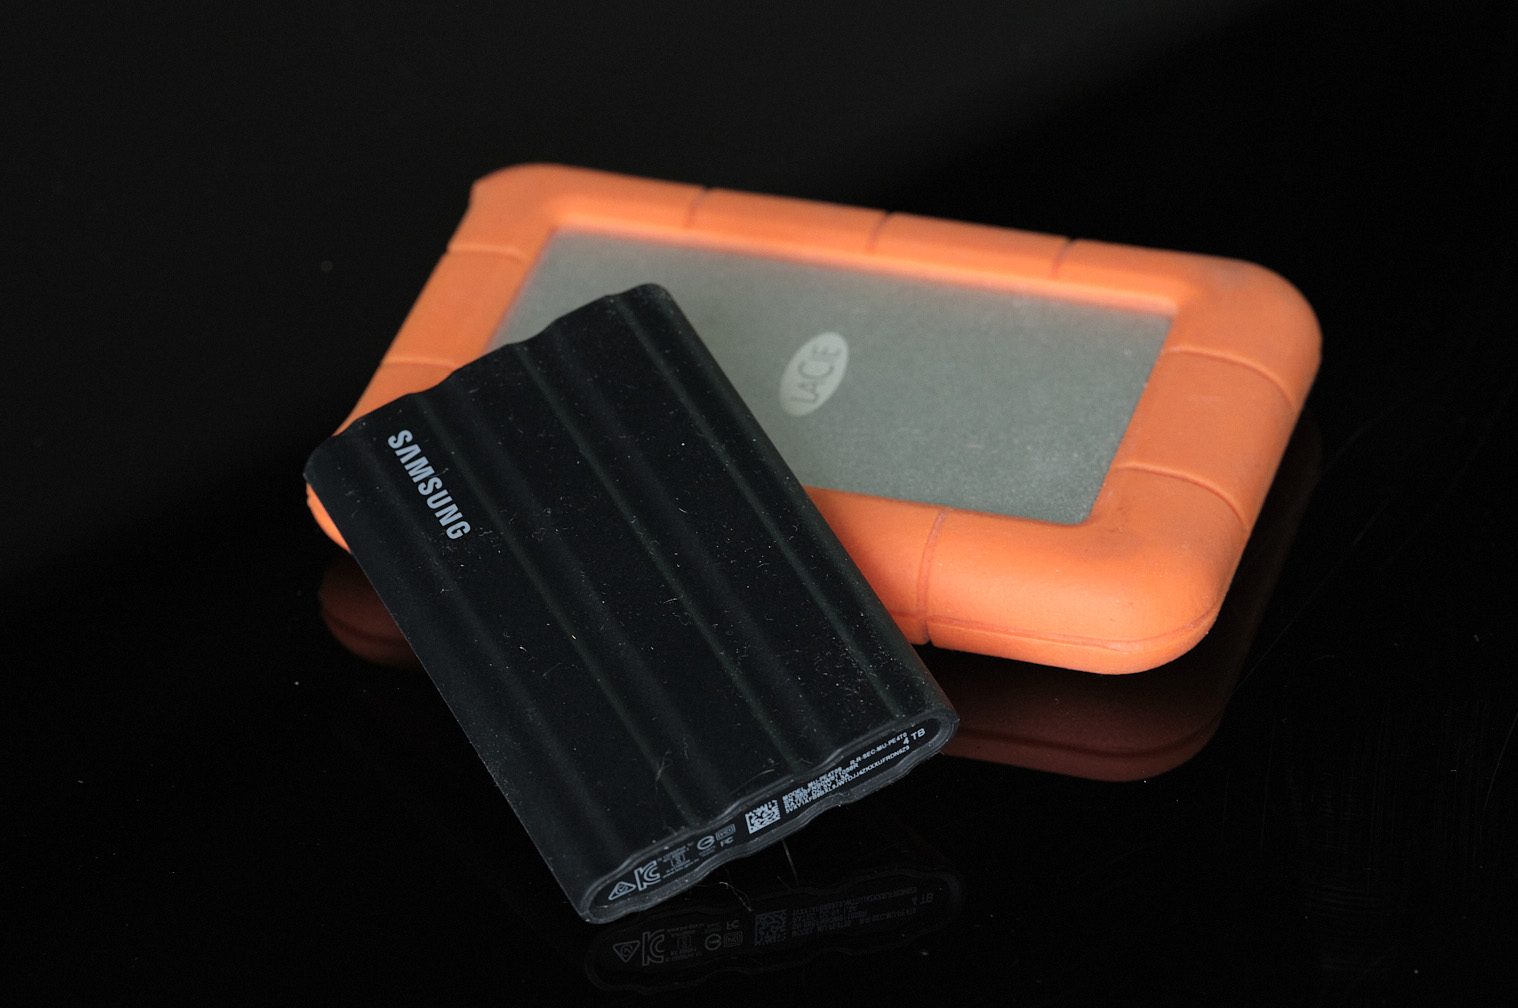
Generally, I like to keep a backup drive or two in my grip bag at all time, so that I can avoid a catastrophe of lost data. When I conclude a photo shoot, I will make sure I maintain at least two backups prior to getting home. Usually, one of those backups lives on my laptop; and the other, will go on a backup hard drive. From there, I make sure to keep the drive and the laptop in separate bags, to assure the day’s worth of work is kept safe.
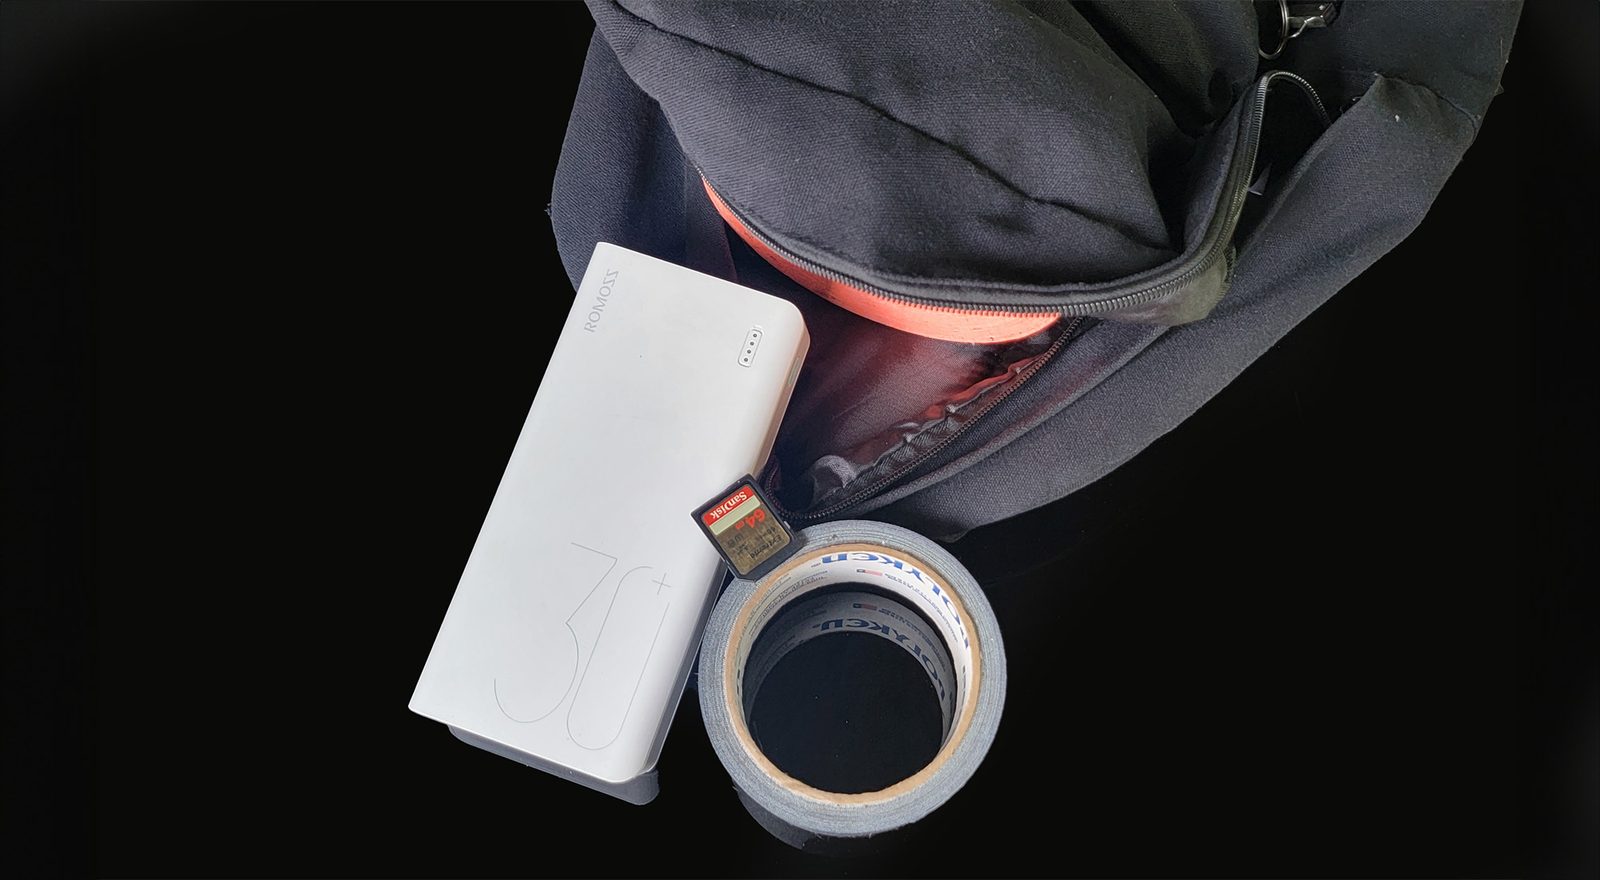
Gaff Tape
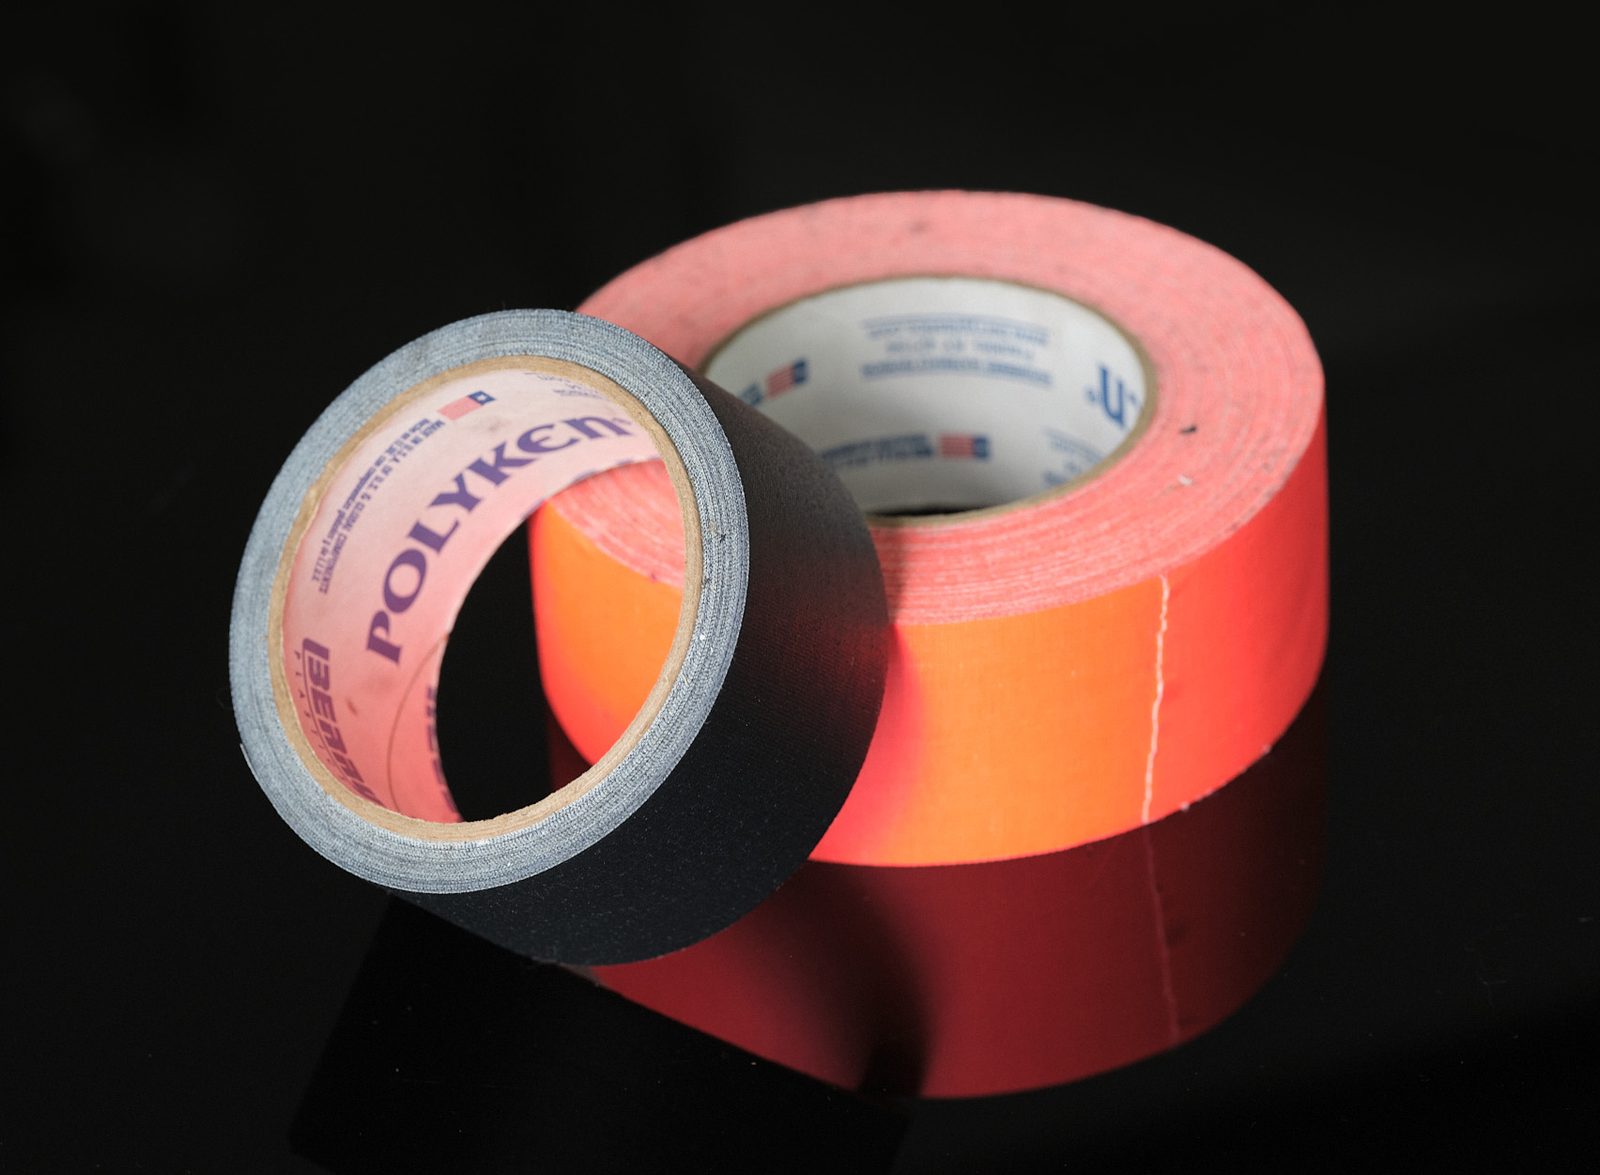
Next on the list is something you as a photographer or videographer could never have too much of – gaff tape. Gaff tape, for those who might be unaware, is a tape (usually black) that has a stickiness about as good as duct tape but leaves no residue on surfaces. So it’s perfect if you need to tape cables down to the floor to avoid tripping hazards, and works as a great makeshift tool for an unlimited amount of possibilities. I’ve used gaff tape to tape white fabric to light modifiers, stick black flags to objects, to block out window light entirely.
Cinefoil
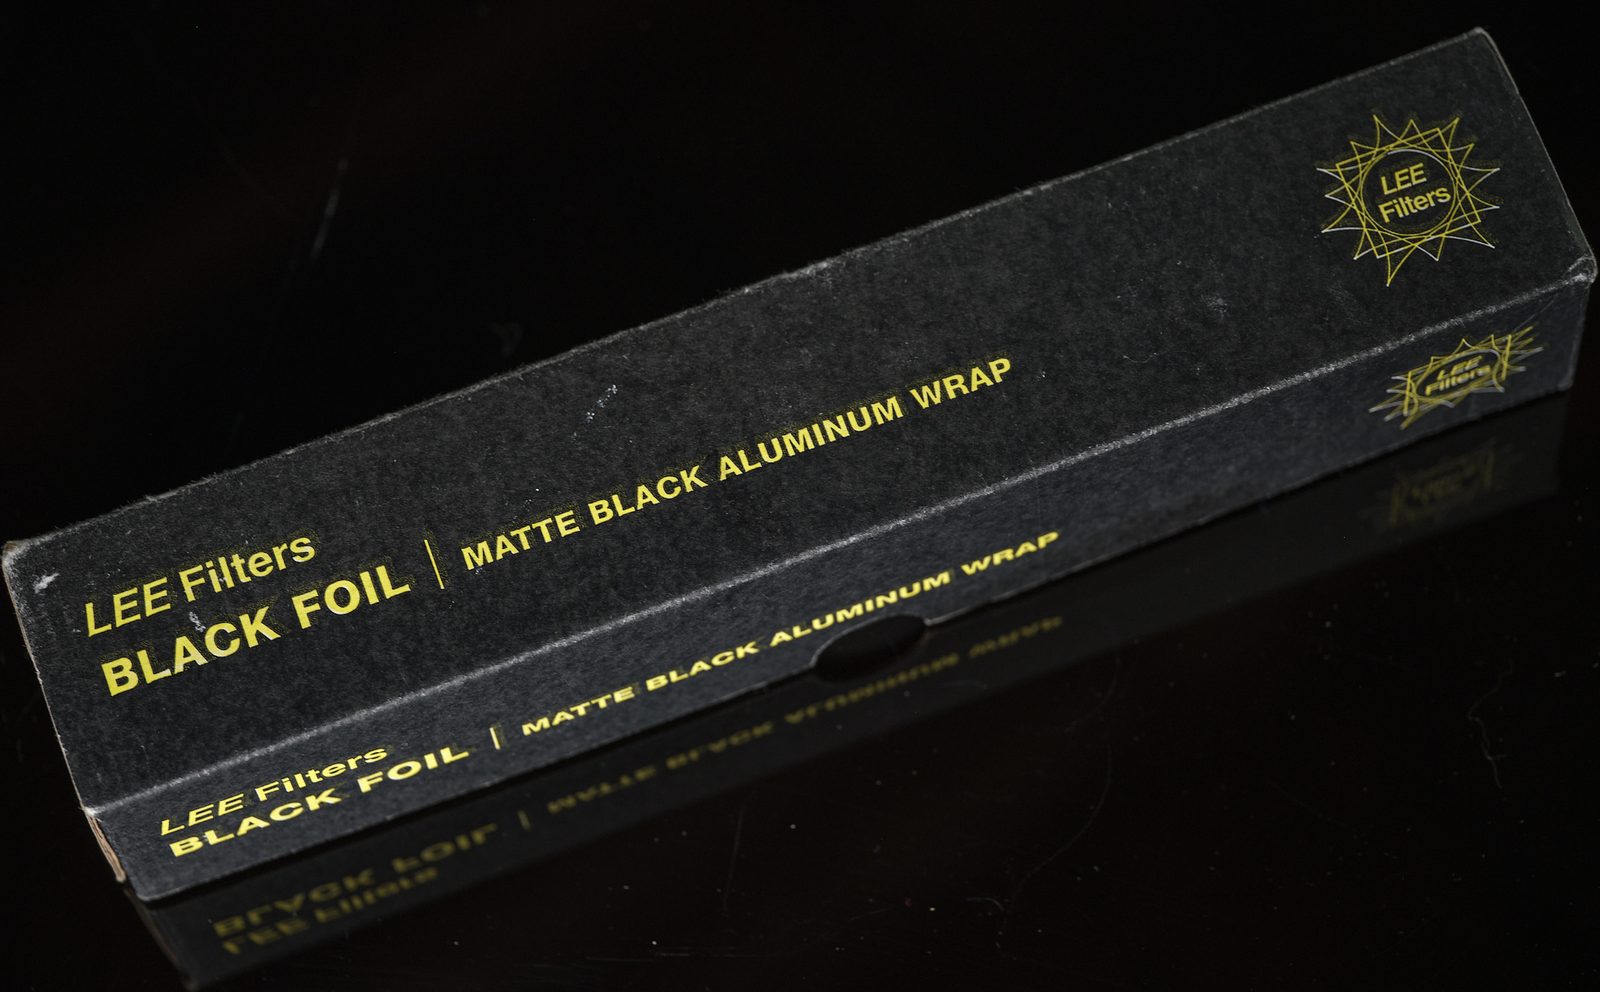
Cinefoil is just matte black aluminum foil that has a lot of practical uses that can save you while on set. I’ve used cinefoil (with a partnership of gff tape) to shrink the front of softboxes, to block out windows, make snoots, and block out ceiling lights that you might not be able to turn off. The amount of uses for cinefoil is pretty endless, and since it’s made of aluminum, you can use it on hot objects without fear of it catching fire (though obviously it does conduct heat, so touch with caution).
PocketWizards
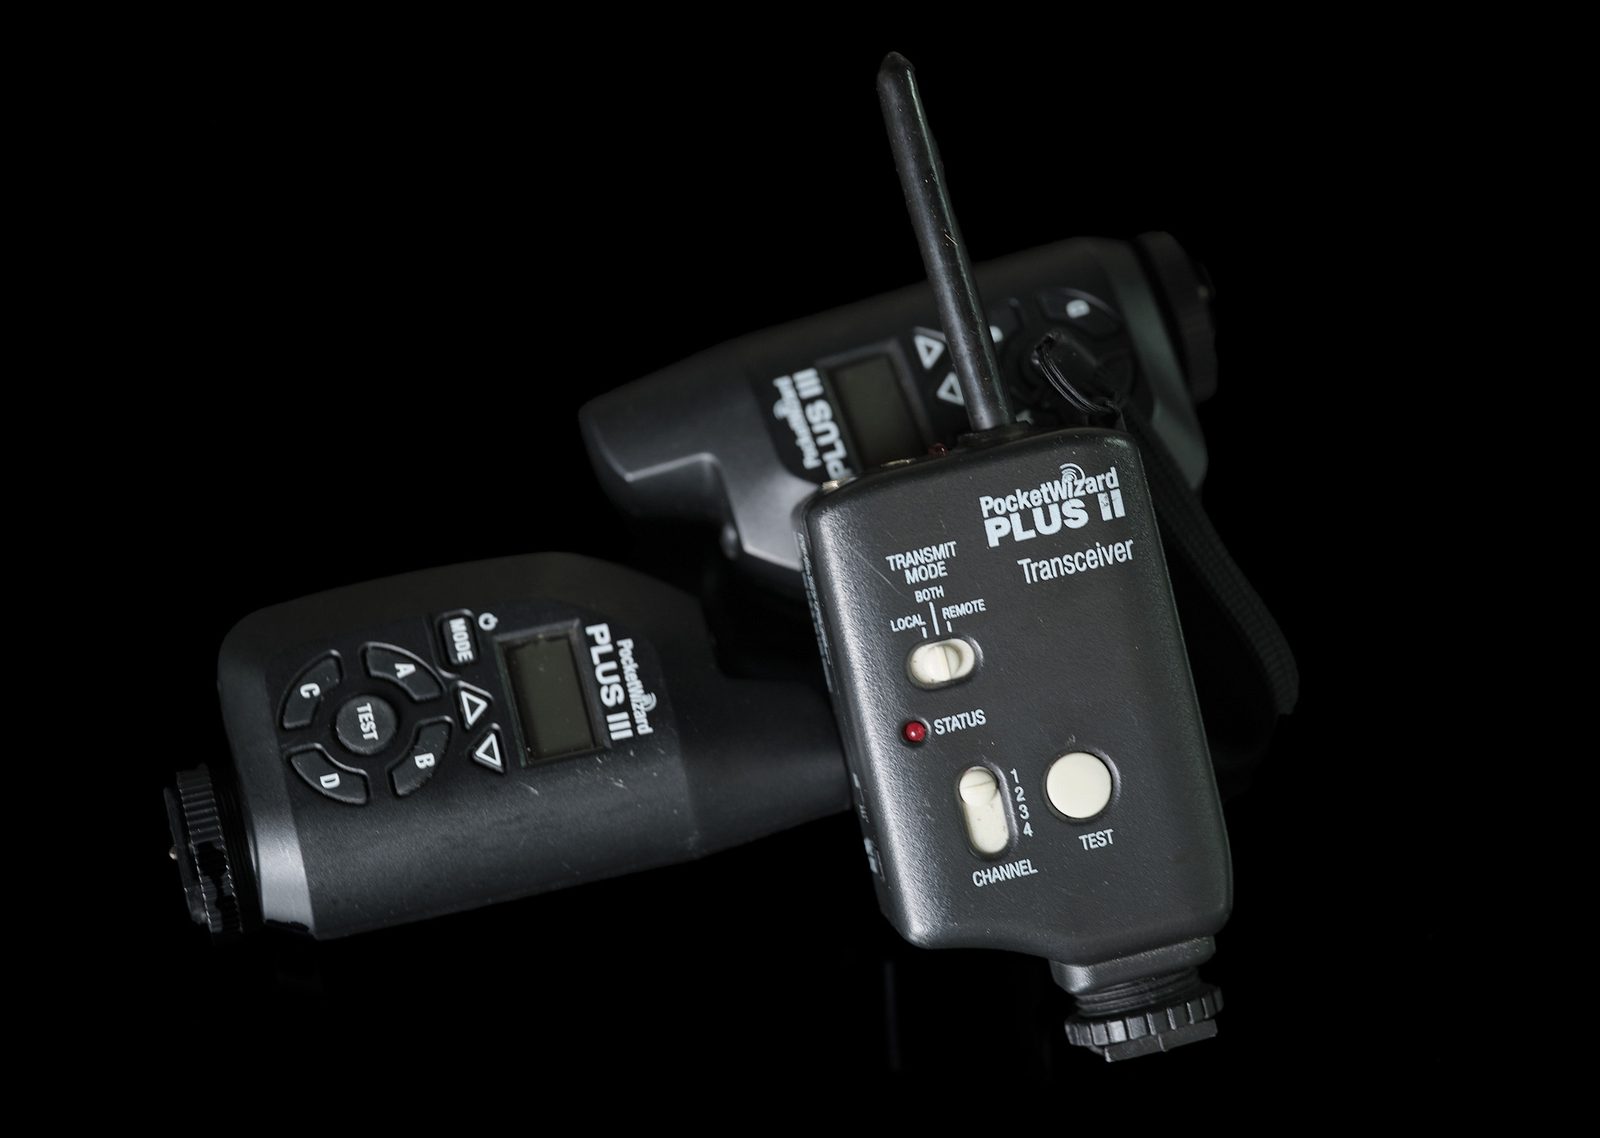
This one is for those who might use off-camera lighting while shooting and want a backup if a wireless trigger breaks while on location. Traditionally, I use the Profoto TTL remotes for my wireless triggering of my lights, because the bulk of the lighting I do is with Profoto. But nothing works at 100% reliability, and so, I’ve gotten into the habit of having a second trigger system in myon-set grip bag, in case of a gear failure. I have a handful of PocketWizards that I’ve collected for cheap on the used market and keep them with me on the off chance that something else fails while on set. The benefit of PocketWizards is of course their universal nature – working with pretty much every light on the market. And their reliability is just as good as any other brand on the market, based on my own previous testing.
Battery Pack & Charging Cables
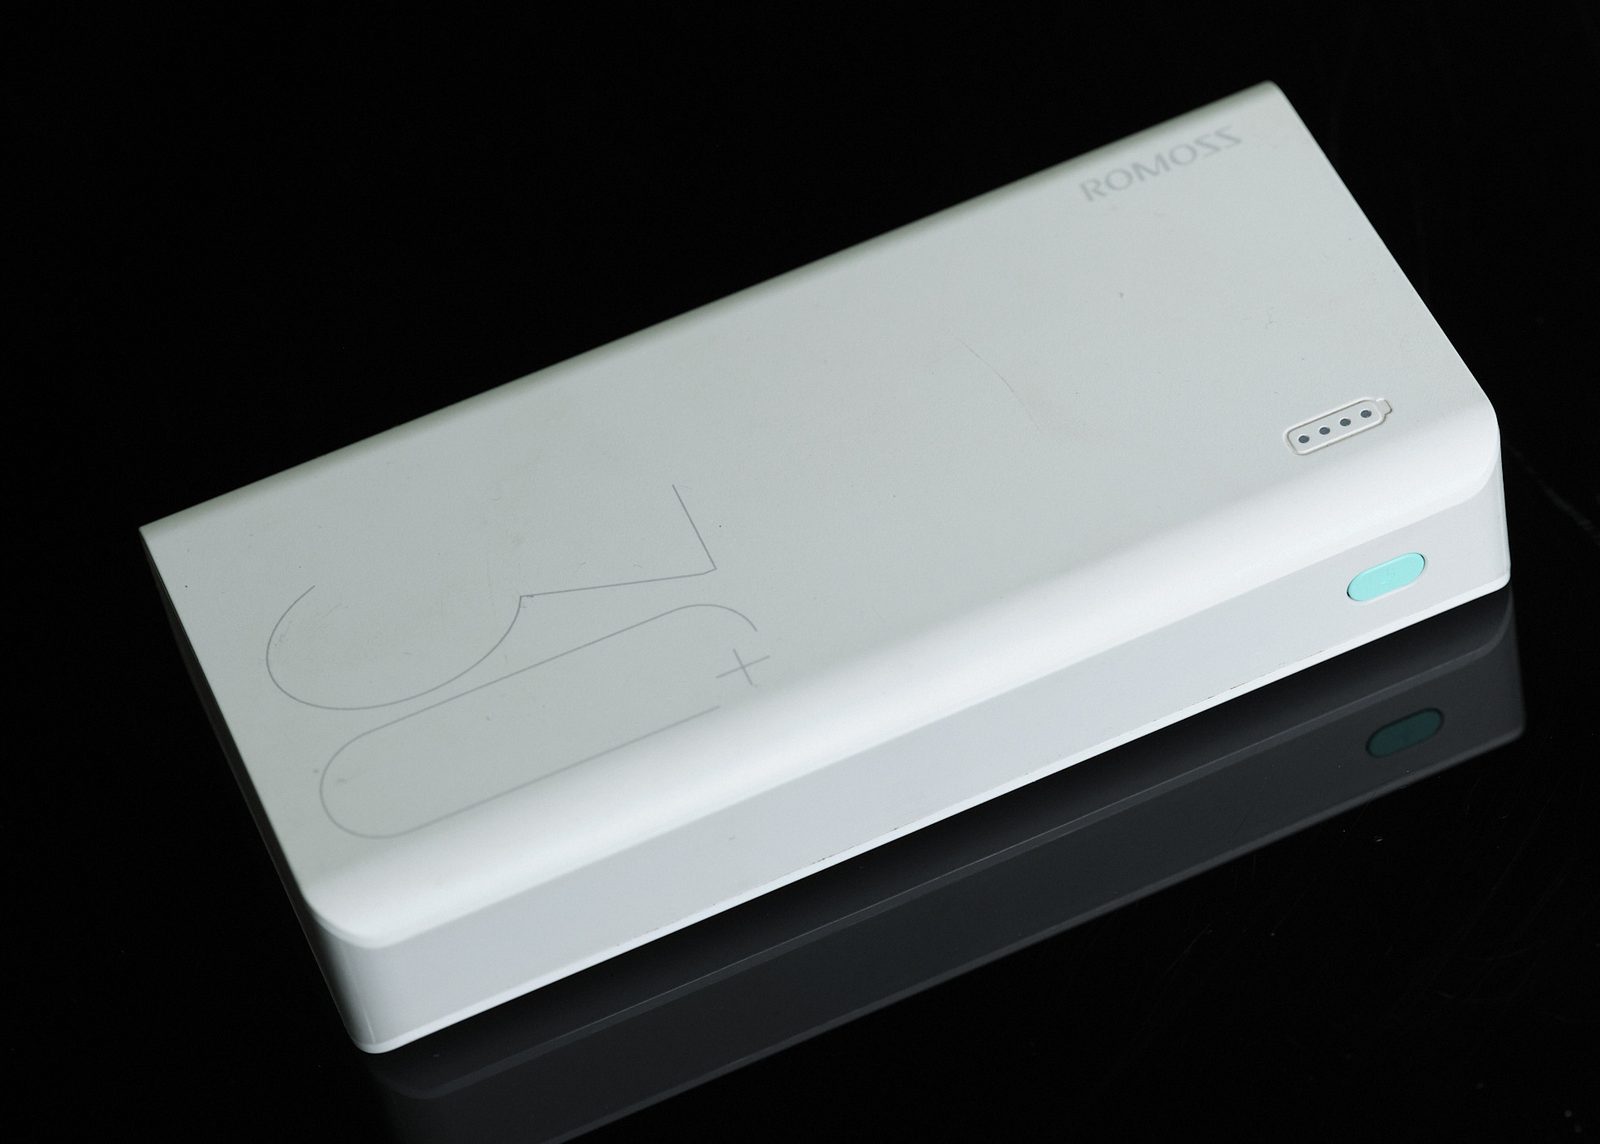
The next is to keep your phone, iPad, and any other battery powered tool charged – a high capacity battery pack. The reason as to why is pretty simple, dedicated power is not always an option. I use a cheap high capacity battery I’ve bought from Amazon, and it’s able to keep my phone charged, any tablets I’m using up and running, and even powers the little portable Bose speaker I use on location.
Extra Memory Cards, Pens, & Batteries
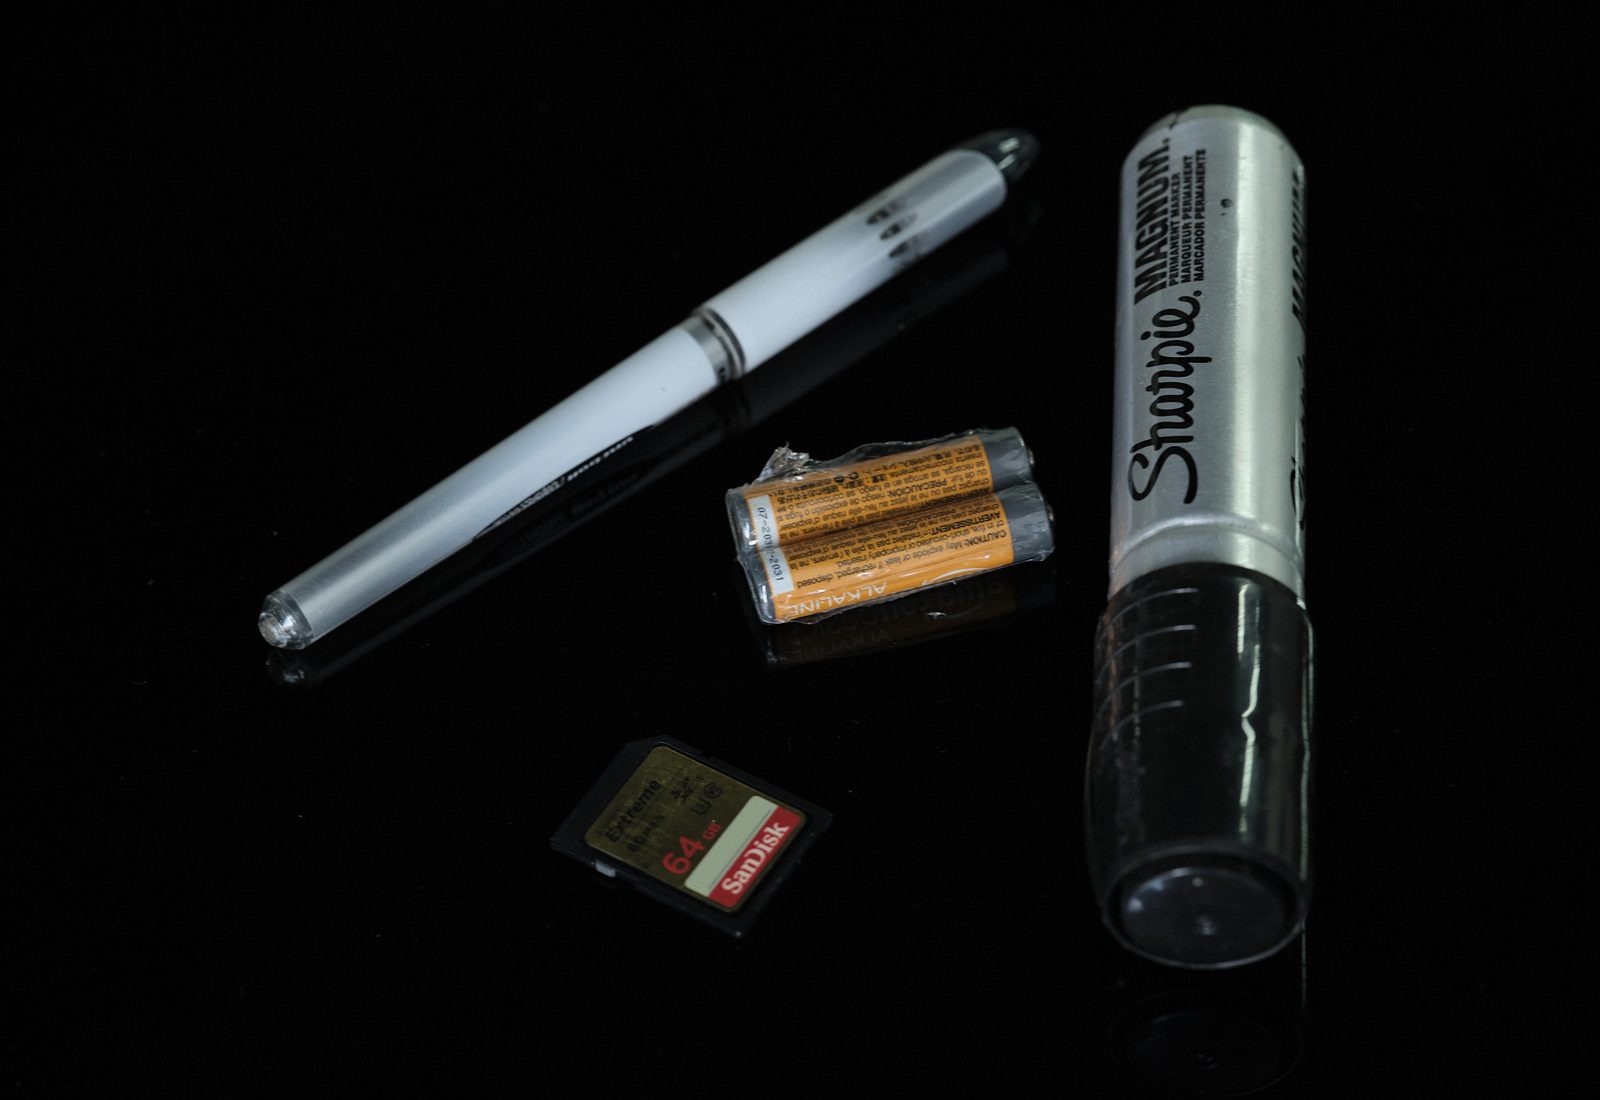
And the final piece to this puzzle is an obvious one – batteries and memory. It’s no secret that you should be bringing extra memory and battery to all of your shoots, but sometimes it’s forgotten. So as a result, I try to keep an extra memory card or two, as well as some AA/AAA batteries in my grip bag for the times that a wireless trigger dies, or a memory card fills up.
Is there anything you think we missed? Feel free to give some of your own advice in the comments section below. Anf if you have a second, be sure to check out all of our recommendations in our Production Tools section.

1 Comment
Paul Trantow ·
Yes! Emergency cards and batteries are essential! Not really grip but it’s good to mention everywhere! I tend to bring my grip stuff (more clamps and super clamps, knuckles, arms, etc. to the shoots that seem more complicated (Like outdoors-3x the shot bags you think you need) or in locations that have proven problematic in the past, or are totally unknown. Good article!