Chromakey has become a staple in all video productions, from big-budget Marvel films down to your local weather report – but the history of chromakeying and masking is a long and storied one, that dates back over 100 years, well before the digital tools that make it easy today. Being that it’s a technique implemented on all sizes of video production, I figured, what better topic to give a brief history about? So let’s dive into the history of Chromakeying and Masking.
What is Chromakeying
In an effort to not be overly pedantic, I’m using the phrase Chromakey, but this article is going to be talking largely about masking, double exposure, and other techniques that the modern population would refer to as chromakeying today. Chromakeying is the process of using color information of a select range of colors, and isolating them to better manipulate the frame. By creating a strong color differentiation, filmmakers are able to isolate that portion of the frame and alter it as needed. Today, this is done most often with a blue screen or green screen – but throughout its long history, a lot of techniques were developed.
The Humble Beginnings
Likely the very first use of what we’d refer to as Chromakeying (or masking, as it was during the era of black and white), is from filmmaker Georges Méliès in 1898 with his short film “Four Heads are Better than One” or often also called “The Four Troublesome Heads”. Filmed just 3 years after the very first motion picture, Georges Méliès painted portions of the frame with black matte paint, filming a scene, and then reversing the process to film it again in what we’d commonly call a double exposure today. While this 60-second film may feel novel today, it was like wizardry in the late 1800s.
As time developed, so did techniques – most notably techniques known as the Williams Process and later, the Dunning Process. Developed in 1918, but not being publicly seen until 1922, the Williams Process is a matte creation technique patented by American cinematographer Frank D. Williams. The process works as follows – first, the actors are filmed in front of a black background. Then, that footage would be printed on high-contrast film several times until a holdout matte was achieved and inverted, essentially creating a black silhouette of the actor over a white background. From there, the matte was stacked over the original film, and they could film the background plate, compositing the actor into the frame through double exposure. While the results would often have haloing and artifacts throughout, it was considered a modern marvel for the era. The first film implementing this technique, 1922’s Wild Honey was generally met with negative reviews, but the technique was noted and used for hundreds of films to come.
Bipacking and The Dunning Process
While the Williams Process helped pave the way for what we know today as Chromakeying, the technique was truly born from another technique, known as Bipacking. Bipacking first developed in the era of color filmmaking after the success of the first color film in 1903 by Thomas Edison’s own Edison Manufacturing Company entitled “The Great Train Robbery”. Bipacking is the process of loading two reels of film into the camera, so that they pass through the camera gate together, and was developed to develop color processes commonly known as Prizmacolor, Multicolor, and most famously, Technicolor (which used three-color film strips – red, blue, and green). By using films for specific colors, the Dunning Process was born by lighting the foreground in yellow light, and the background in strong blue light. By using panchromatic negative films, filmmakers were able to separate the foreground from the background, which could then be changed out later. While this technique was designed specifically for black and white films, it was developed as a quicker and more effective way to composite scenes in film and was most notably used in the 1933 film King Kong, and quickly made its way into early color films.
Schüfftan Process
During this time, many people were experimenting and finding ways to make masking and Chromakeying (as we know it today) more efficient and effective. Among those attempting new ideas was German cinematographer Eugen Schüfftan, whose work was made famous in the 1927 film Metropolis. In an attempt to insert actors into miniature scenes, Eugen Schüfftan, along with the film’s director Fritz Lang used mirrors to help make these miniature sets larger than life. Schüfftan achieved this by placing a plate of glass at a 45-degree angle between the camera and the miniature building and set. He would then use the camera’s viewfinder to trace an outline of the area where the actors would be inserted into the glass, and then transfer the outlines onto a mirror placed in the same position of the plane of glass. The reflective part would block a portion of the miniature building behind it, and when the actors were placed several meters away from the camera, they would appear to be the right size when they were reflected in the mirror. If it sounds complicated it’s because it was…but through the use of mirrors and forced perspective, Schüfftan was able to do a pretty convincing job, and the same technique was used in Alfred Hitchcock films in the late 1920s and early 1930s. It was even used as recently as 2003 with The Lord of the Rings: The Return of the King.
The Debut of the Blue (and Green) Screen
As color films started becoming more popular, blue screens would also debut. Blue was initially chosen because it was a color furthest away from a human’s skin tone, and in the Technicolor RGB film process, blue stock had the smallest grain. By separating the film into three colors, the blue film stock would work well as a silhouette matte similar to the previously mentioned Williams process. Through the invention of the Optical Printer, filmmakers were now able to combine multiple film strips into a single strip of film. And so, the process became much simpler for the time, but still incredibly time-consuming by today’s standards. Film on a blue background, take the blue stock and remove the blue to make it a matte plate, and then use that matte plate to transfer the red and green film stocks with a backplate of your choosing through the help of an optical printer. This combining of two films allowed people to now composite their actors into entirely different scenes in color films, though the process did result in a lot of blue edges around their subjects and often lacked fine details.
Disney’s Prism and the Yellow Screen
While the blue screen and The Dunning Process were incredibly popular in the 1920s-1950s, the imagery from the process wasn’t always convincing by today’s standards. The blue edges seen on the subjects were severe, and the technique couldn’t handle smoke or other elements well. And so, in an attempt to rectify those problems, esteemed cinematographer Petro Vlahos worked exclusively with Walt Disney to develop the Sodium Vapor Process. This process involved your subjects being lit with traditional lights, and standing in front of a white backdrop lit with incredibly powerful sodium vapor lights, which would make the backdrop appear yellow. Sodium Vapor lights are a very specialized light that operates on a specific wavelength. Through the use of a specialized coated prism placed in front of a technicolor camera, the Sodium Vapor wavelength would be captured by one side of the prism and split off to be filmed on a separate strip of film, which would create a black-and-white matte of the subjects separated from the backdrop. This process was used exclusively by Disney and allowed them to create some of the absolute best special effects and composites of the time – most notably seen in the 1964 film Mary Poppins.

Because Disney owned the only Sodium Vapor Prism to create this effect, it helped make them the film behemoth they are known as today. Allegedly, the only prism created for this process is long lost, and many filmmakers are looking to recreate this prism to achieve some of the effects used in popular films in the 50s, 60s, and 70s.
The Blue Screen Strikes Back
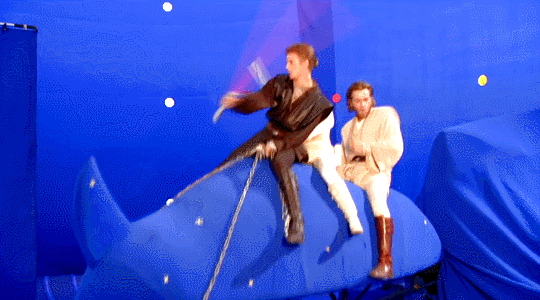
While Disney had full control of the Sodium Vapor Process and it worked exclusively for 35mm film, MGM got in touch with its inventor Petro Vlahos to invent their own process for their upcoming 65mm blockbuster Ben Hur. After several months of research, Vlahos discovered that blue and green often share the same values (in colors not exclusively green or blue). By using a complicated process to create blue separation positives and difference masks, Vlahos was able to create a much more convincing blue screen process – that often removed much of the edge banding and fine details issues found in previous iterations of the tech. While the process is complicated enough that entire books are written about the process, just know that this newly developed process became the standard for over 40 years – and when shot on film, often still used today. But with digital, also came the use of Green Screens.
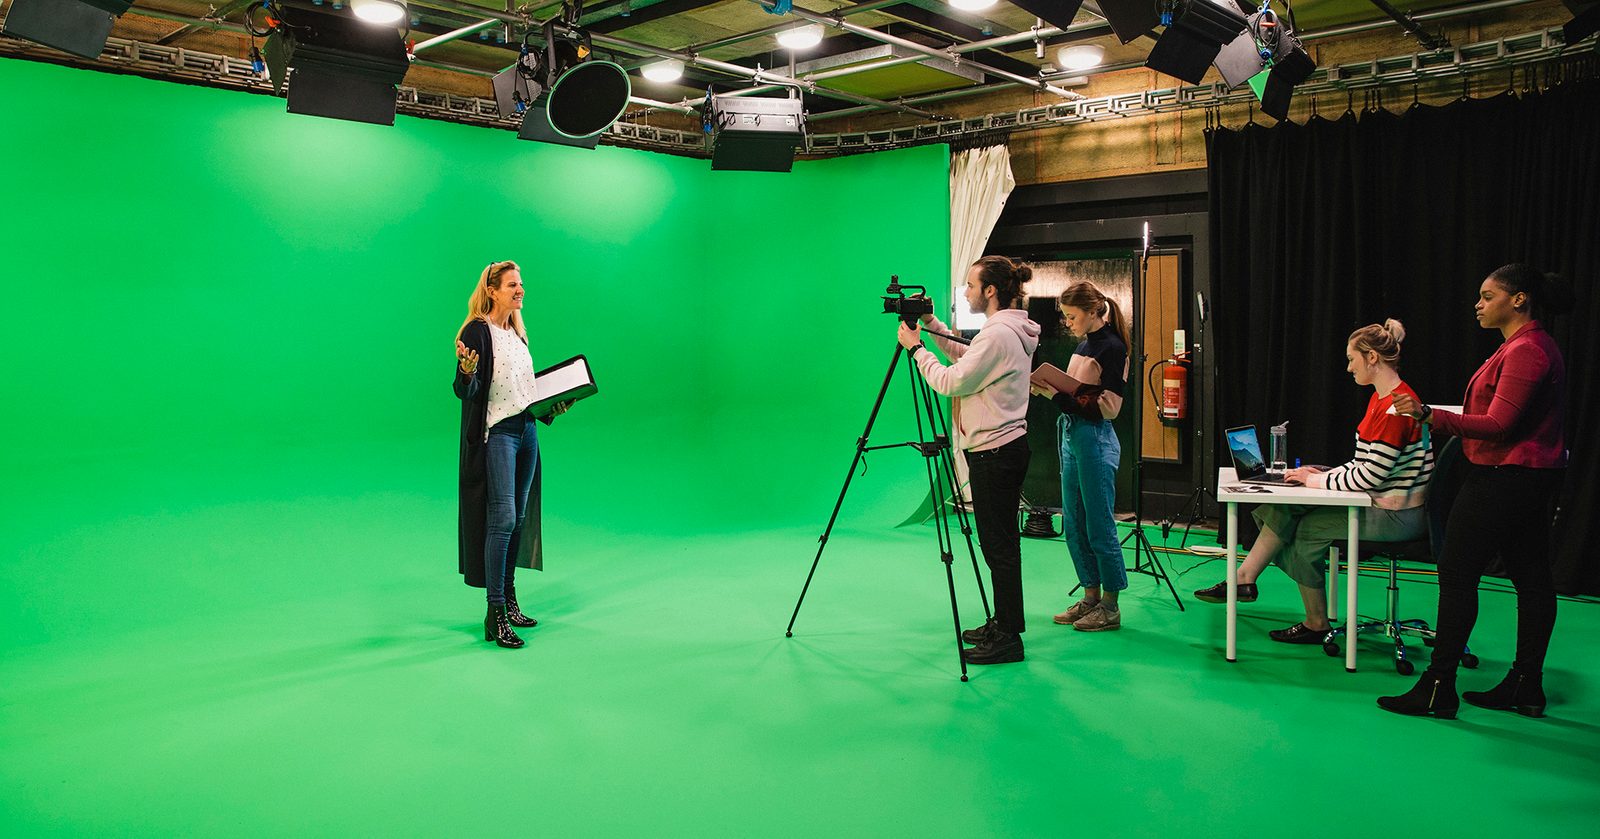
The Digital Era and Popularity of the Green Screen
Up until the 1990s, blue screens were a popular tool in most film productions to create composites used in both blockbuster hits, and local TV productions – but as digital cameras began making their debut, green quickly started showing up as a better option. With the digital camera, came the Bayer pattern, which is a technology for capturing light on an RGB spectrum. Because of the pattern of pixels found on the sensor plane of a Bayer Sensor, green is far more prevalent over red or blue, meaning it requires less light to capture, and often appears brighter than other colors.

Because of this added sensitivity to green found on modern digital cameras, it was quickly determined that green screens are a better option for compositing, as the green is far easier for a camera sensor to detect, and is far less common in wardrobe and sets over blue.
Because of this sensitivity, the technology for Chromakeying has only gotten easier and easier over the past decade, and now incredibly convincing compositing can be done in real time. What once was a skillset used exclusively by talented cinematographers, is now a technique that can be done through the push of a button in any video editing software.
The Future of Chromakeying
The process of compositing was once an arduous one, but has now become a very basic skill that anyone in video editing can learn in less than an hour. With advancements in camera technology and tools such as LiDAR, compositing has now moved past the need for a green screen in many cases, while still offering incredibly accurate results. Productions such as The Mandalorian have moved beyond compositing in many of their sets and instead, use a digital backdrop that provides realistic set design through the use of very high-resolution screens and projections. Essentially, it’s compositing by swapping out the green screen for your final backplate thanks to high-resolution LED screens.
So where do you think Chromakey will go from here? Do you think upcoming technology in the LiDAR space will make the green screen obsolete? Do you have some experience with masking and chromakey? Feel free to chime in using the comments section below.

1 Comment
KeithB ·
Isn’t today’s process more related to video chromakeying? You even call it chroma key. I have fond memories from my childhood of Hobo Kelly painting a new scene onto the video screen.