
If there is ever one universal truth about photographers, it’s that they could be better organized. I might be the worst offender, but I’ve started this year with a new mindset and goal of better organizing my photos, so I figured it was worth sharing in an article with you guys today.
The spawn of this reaffirmed desire came from a couple of different avenues. First, it’s still the new year, so I tried to adapt new practices for the new year like everyone else… One of them is organization. The second came from a client messaging me asking if I still had photos from a shoot we did a few years ago. Of course, I did – I saved all of my images for an indefinite amount of time. But as to where they were was a complete mystery to me. After spending the week going through half a dozen external hard drives, I found the pictures. But they were found by luck, not by any organization and management skill. I’m adapting new practices, and let’s go over a few that would be worthwhile for everyone.
Studio Management Software
Of all of these different tools, this is the one that I’ve used most religiously for the last decade or so. Studio management software is designed to keep you better organized and on pace when pre-producing photo shoots and delivering the final images. There are several different options available, and I don’t have a recommendation one way or the other. I currently use 17hats.com, but I’m looking to move to Honeybook or Pixieset. But there is also ShootQ, Sprout Studio, Studio Ninja, and about a dozen more.
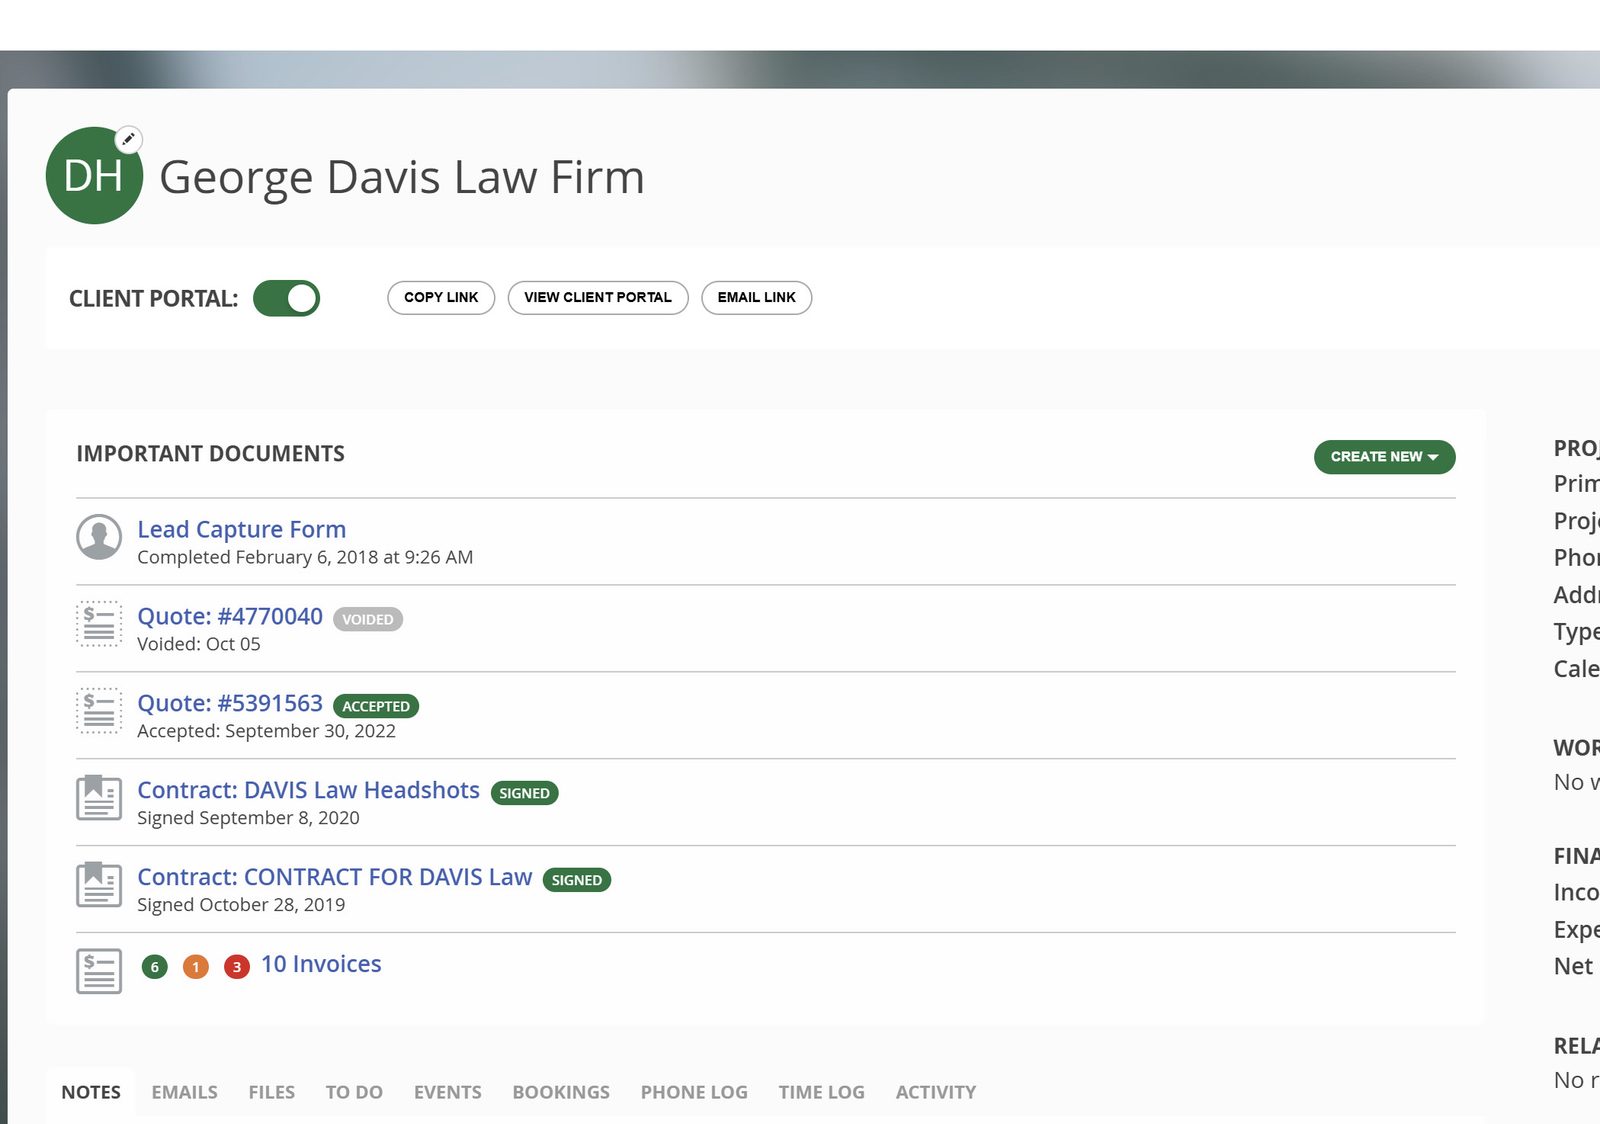
Studio management software uses a broad range of tools to help keep a photographer better organized. The most helpful tool for me is building various workflows, so let me explain how those work. Say a customer emails me using the contact form on my page. I can then read the email and activate a workflow to send them an email explaining my shoot packages and availability. From there, they can schedule the appointment via a tool synced to my calendar and pay a retainer for the session. If they don’t respond to that email after 7 days, my workflow will automatically send them a follow-up email. Assuming they book, my workflow will also send them a thank you email following the photo session and ask for a review on Google. The benefit of having all of this automated is that it gives me the ability to free up my time for other critical administrative duties. By having this automated, you can look at the workflows on an organized page, showing you precisely what you need to do with each session or potential booking. That’s only touching on about 1% of what studio management software can do. If you’re not using something already, I highly recommend you look into it, even if you don’t personally own a studio.
Metadata
The second tip is my greatest weakness and works in conjunction with the tip that comes after it. Metadata is a set of keywords and data that you can implement into a Capture One or Lightroom Session that allows you to easily organize and find your images later if you need to. I’ve always disregarded adding metadata to images until I took a Digitech class offered by Capture One. Through that class, I learned how much easier it is to search for files, and if structured correctly ahead of time, it is as easy as implementing with a few clicks.
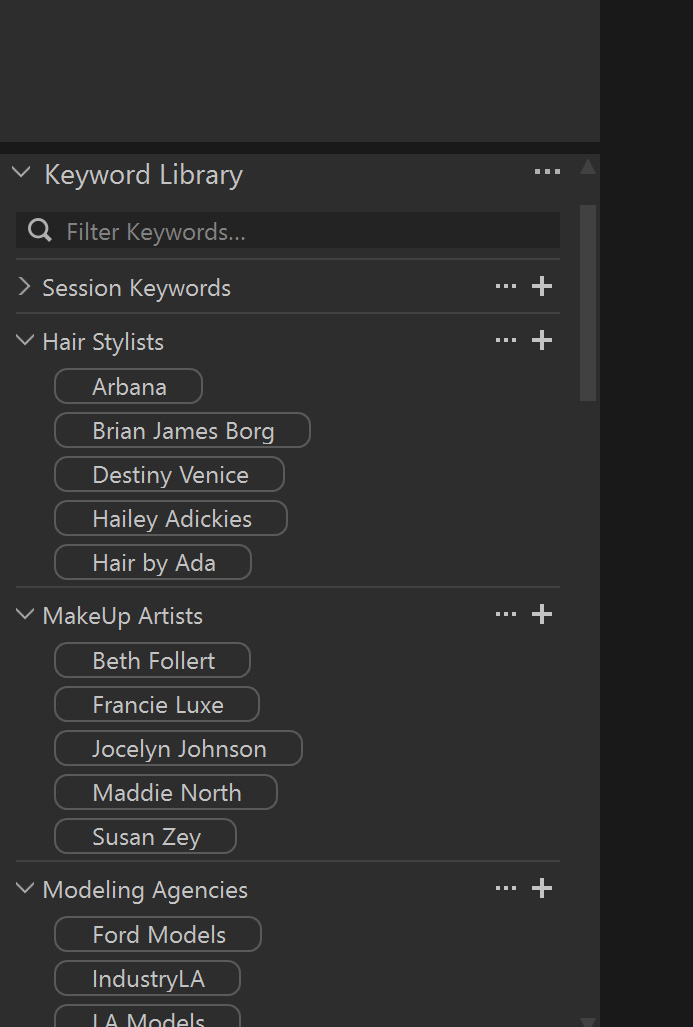
As a beauty photographer, I work on nearly all of my shoots with a hair and makeup team. So, I compiled a list of makeup artists, hair stylists, and modeling agencies I often work with. Before each session, I click the corresponding metadata tags, which can later be used to better categorize and search through my work. If, three months from now, a makeup artist asks for photos again, I can quickly search for their tag and deliver the images without any follow-up questions. And I’m only using them at 1% of their capabilities. Read more about how metadata can work for you in the Capture One blog.
File Organization
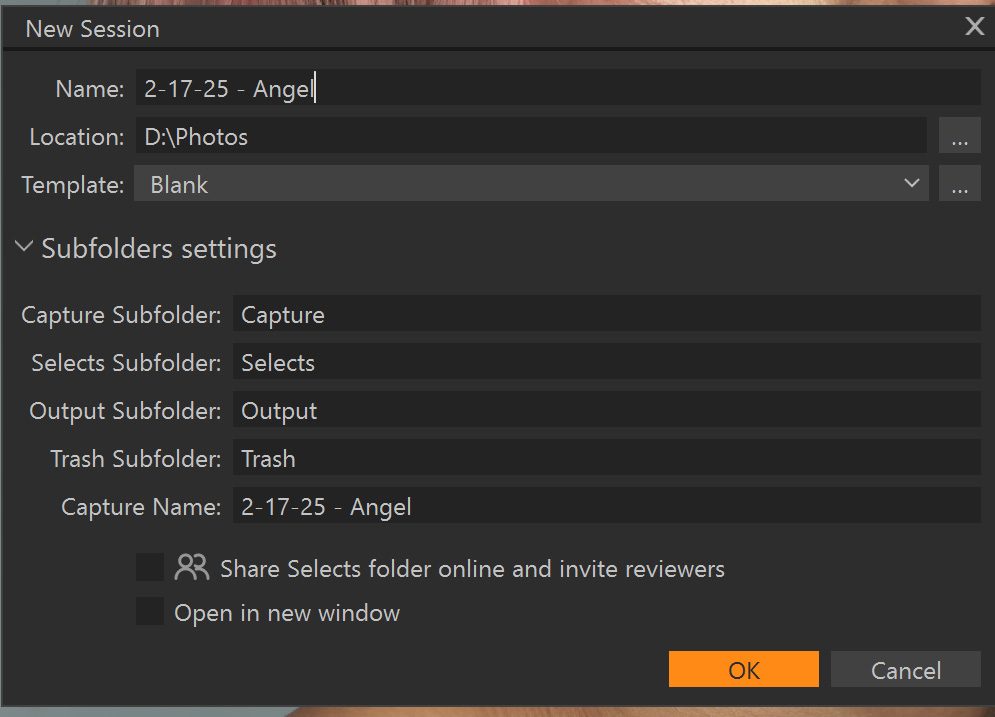
In the past, I used to organize all of my photo shoots in a date-based file structure. This would have worked well if a client had asked me, “Can I get another look at the photos we took on May 14th, 2022?” but naturally, I’ve never had anyone do that. Instead, I usually get a “Photos we shot last spring” or a month if I’m lucky. So, I then moved to a file structure that was built on the client name. However, I often work with a single client several times over, and I name a file structure “Davis Law Firm #4.” It isn’t particularly helpful if they’re looking for a specific photo from a specific shoot. So now, I use a combination of the two, naming folder structures based on the shoot date and the subject in the photo. This slight change has helped considerably when looking for specific photos and sessions.
Digital Galleries & Backup
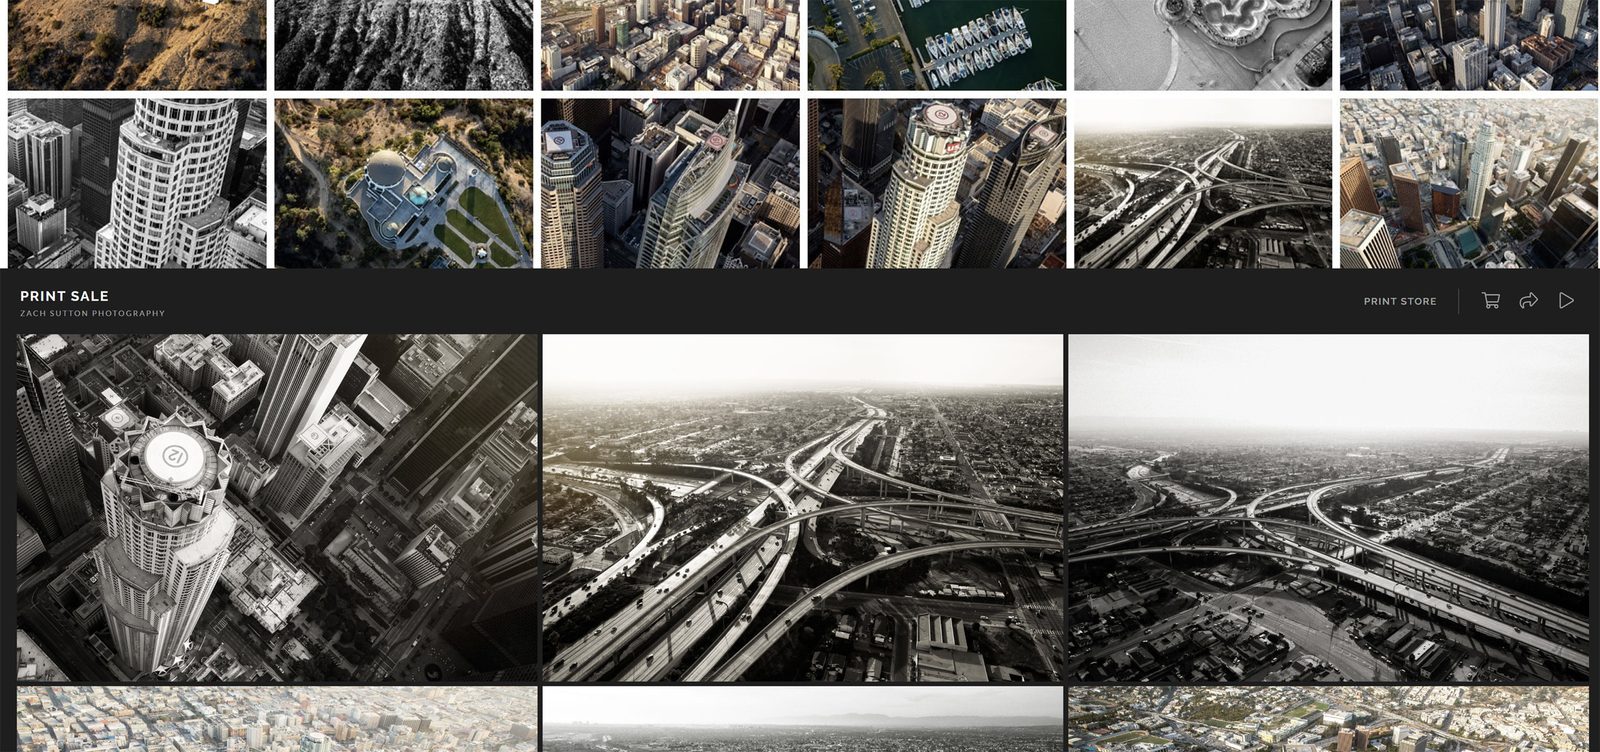
My final tip is to use digital galleries for your work. This offers a better way to display your images to your clients and gives you access to digital backups of your images – particularly if your digital galleries support full-resolution images. While you wouldn’t believe how nice it is to have access to your work, especially when you’re traveling. On several occasions, I’ve traveled to a different part of the country or world, and upon landing, I have an email or two from previous clients asking for new edits on images I’ve delivered. Naturally, I prefer to work on the original image and PSDs of the work so that I can go in and edit the workflow I’ve already developed. But if I’m without access to those PSDs while on the road, working on the full-resolution jpegs is more than enough to get the file back to the client. I wouldn’t consider these digital galleries a replacement for a 3-2-1 backup system, which I always support – but it does help in a pinch, and it’s always nice to have all your work categorized nicely in digital galleries.
Do you have any organization tips that have helped you in your studio and workflows? Feel free to write in using the comments below.