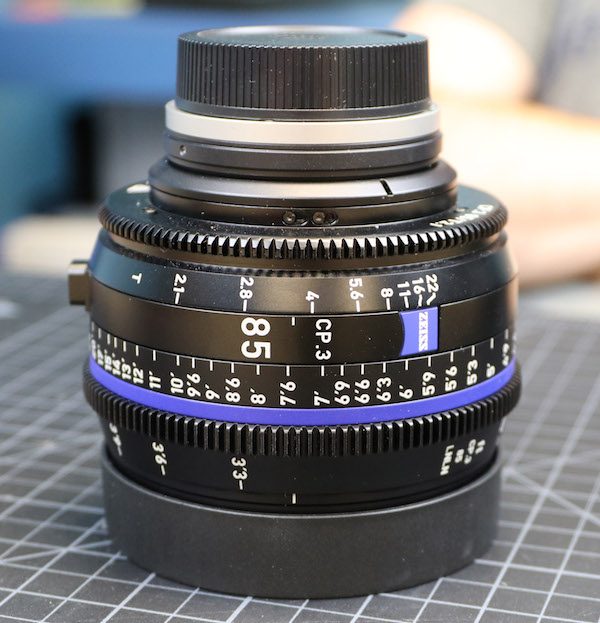
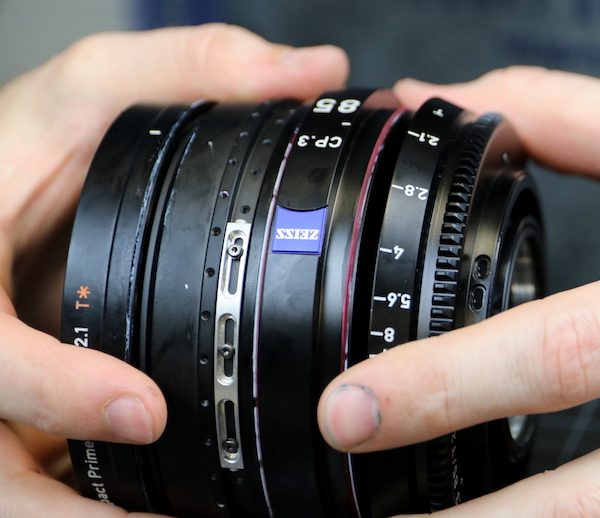
Long ago, in an office far, far away we did a teardown of the Zeiss 85mm CP.2 lens. Since we’ve already seen the earlier model, we thought it would be interesting to take a peek inside the new Zeiss 85mm CP.3 lens as well. We’re going to have to work on them eventually, and it’s always good to have an idea what we’ll be getting ourselves into.
If we understand correctly, most of the CP.3 and CP.2 are optically identical, the exception being the 18mm focal length (although Zeiss isn’t saying directly). The housings are improved on the CP.3 lenses, and that’s what we were interested in looking at. If you want to make a more direct comparison, you can open the Zeiss CP.2 teardown in a separate window. I’ll try to roughly follow the same order.
NOTE: I have linked to some images from the CP.2 teardown to make comparisons easier. If you click on these links, the image pops up but has the title of this article at the bottom. Just realize the pop-up images are of the Zeiss CP.2 version.
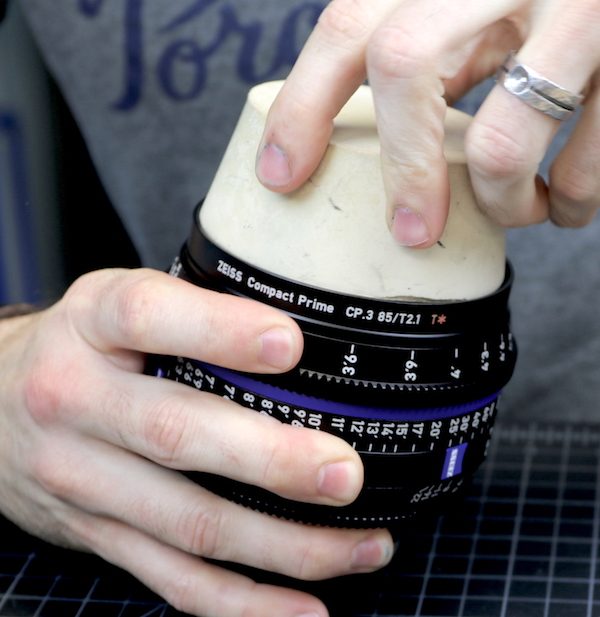
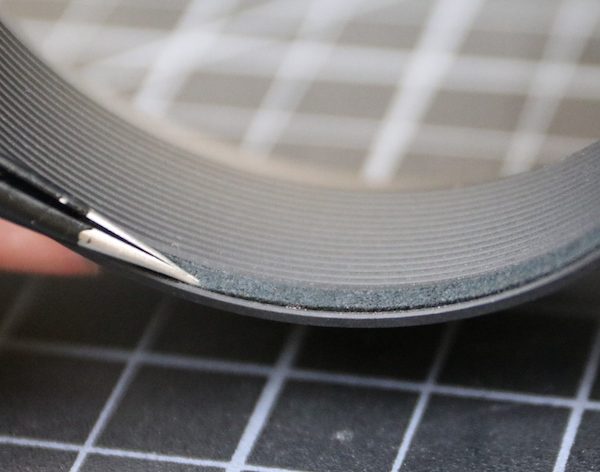
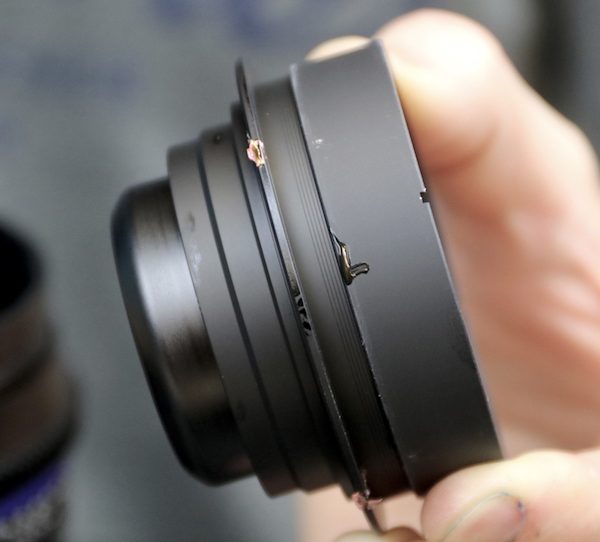
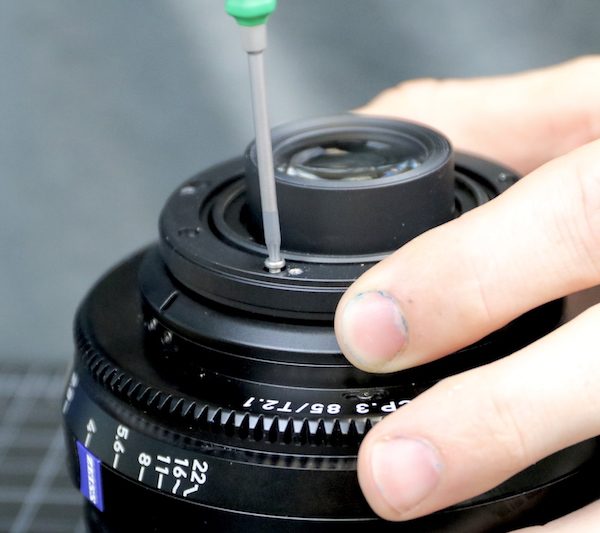
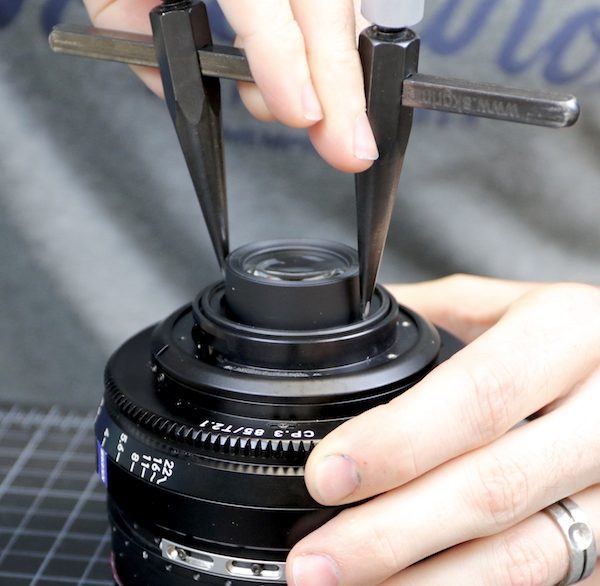
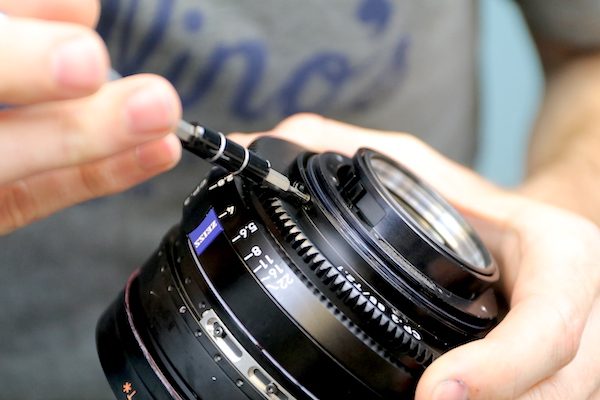
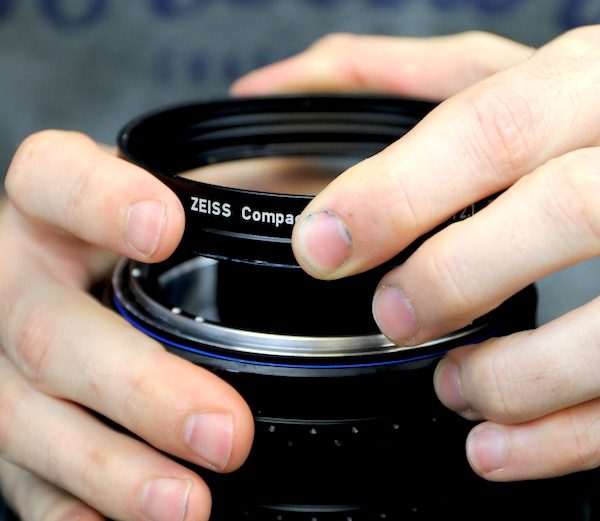
We start by taking off the front light baffle.
On the CP.2 this is one piece, but the CP.3 separates the spanner ring
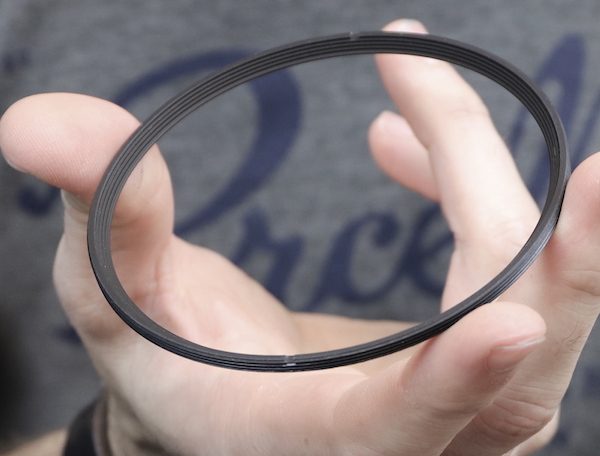
from the light baffle
The lower side of the baffle has a thick felt seal where it seats against the front element of the lens like you’d expect.
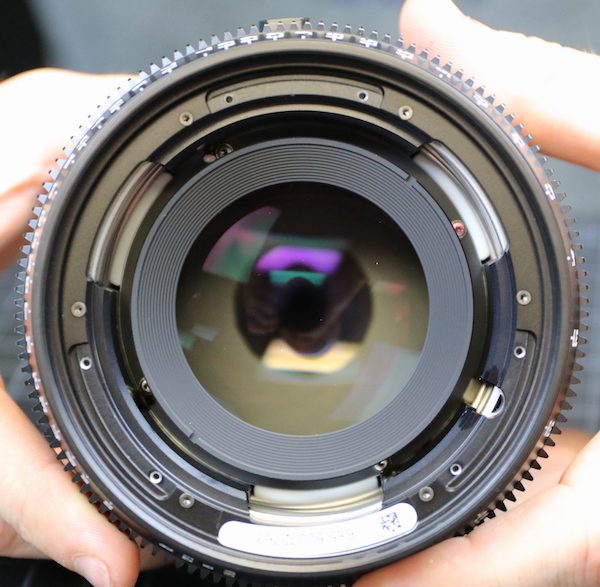
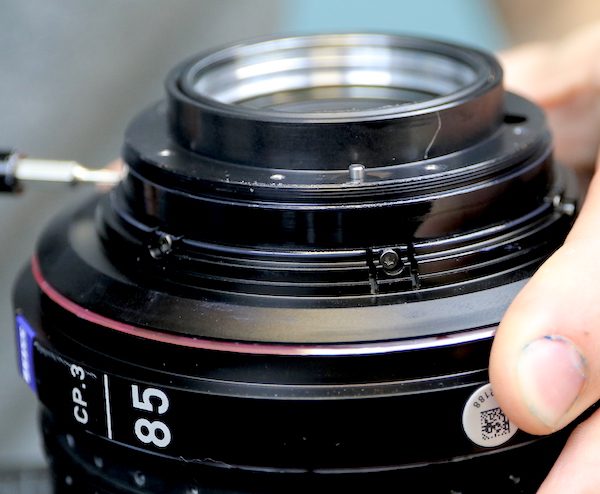
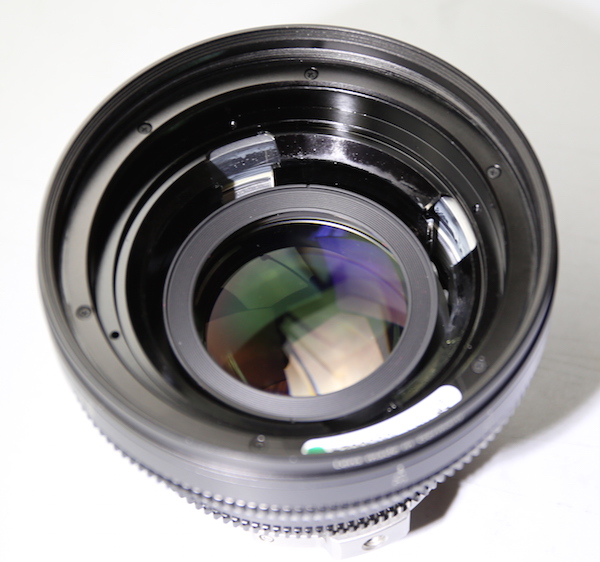
With the baffle removed we can see that the front group arrangement is very similar to the Zeiss CP.2 Version; the group is set on a centering plate held down by four screws. You can make out, at the bottom of the barrel, the nylon helicoid that’s part of the focusing system.
The smaller size of the CP.3 makes it a bit more difficult to get to the screws. We had to try a couple of different drivers to get a barrel narrow enough to fit easily.
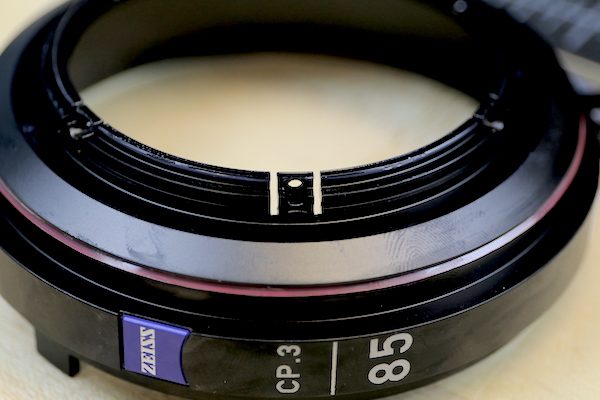
Once it’s out, you can see it’s basically identical to the front group of the 85mm CP.2.
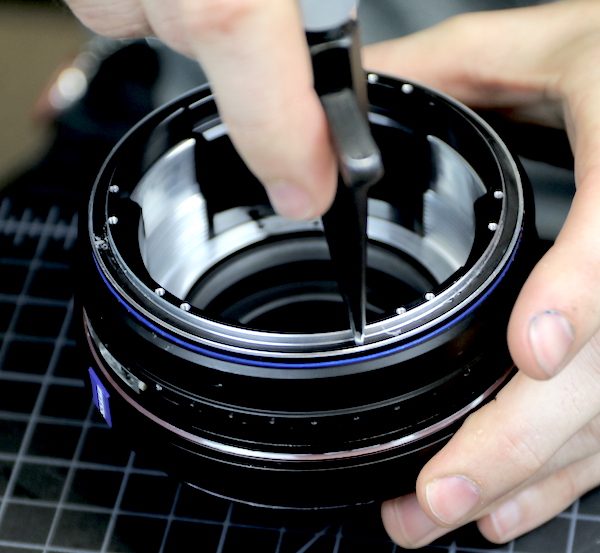
With the front optical group removed, we get a look down at the oh-so-nice aperture assembly.

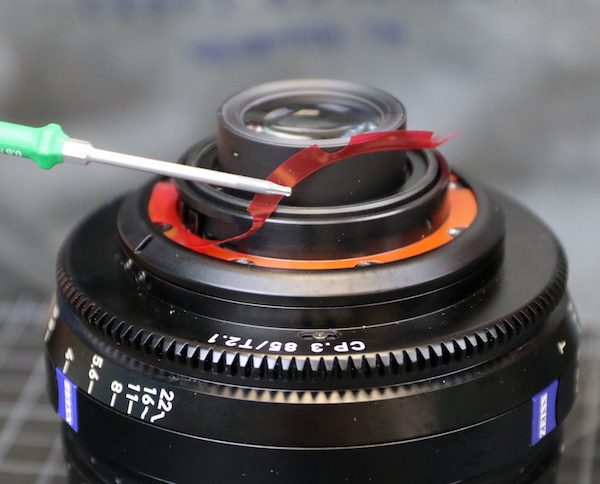
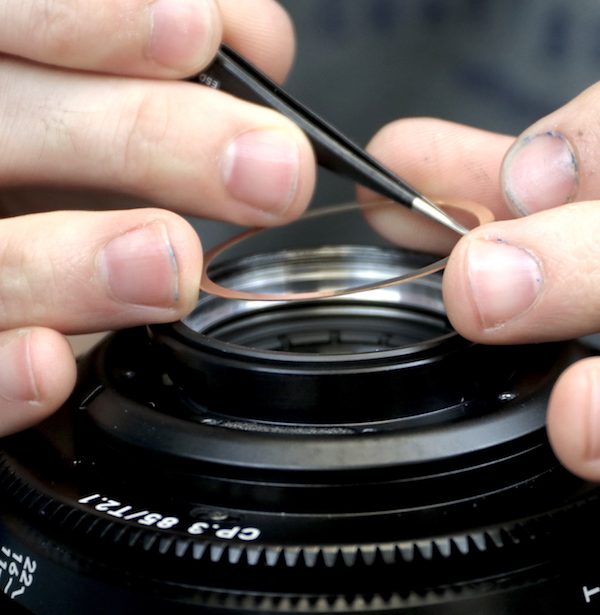
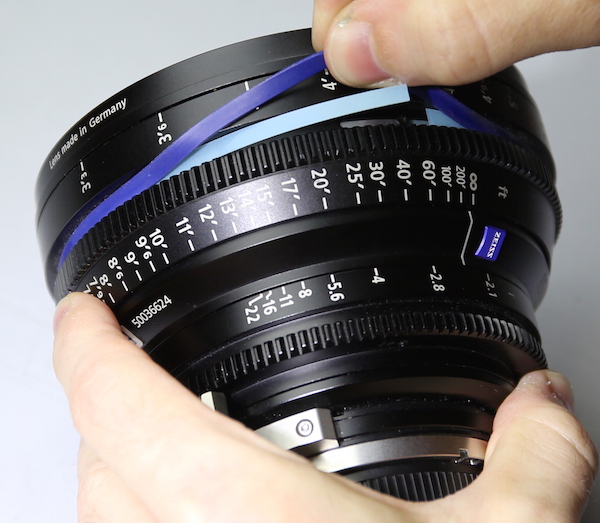
The next step is to remove the blue rubber makeup ring and the nylon seal below it, exactly what we do on the CP.2 lenses.
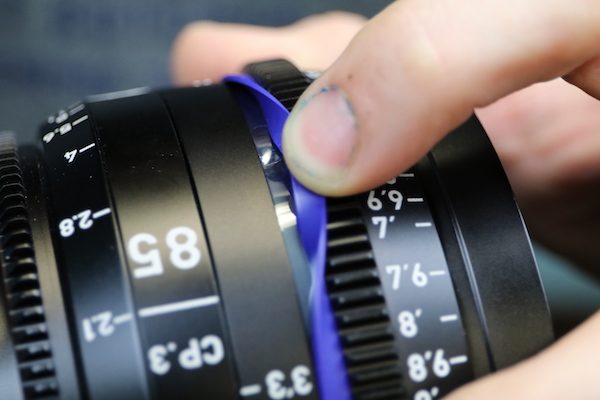
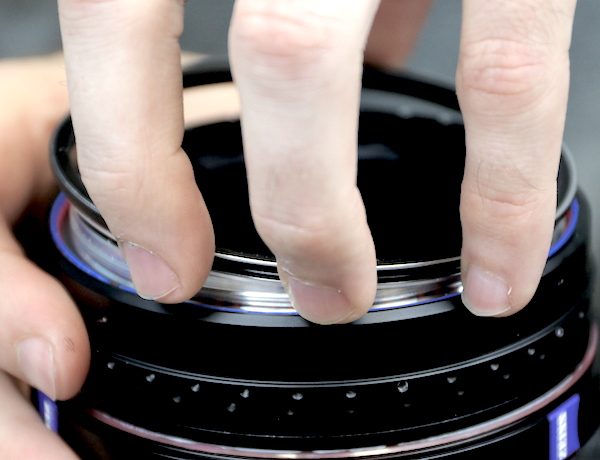
This gives us access to the screws that hold the focus ring on. The slots are so the ring can be adjusted to make readings accurate, of course.
Removing those screws lets us slide the ring off.
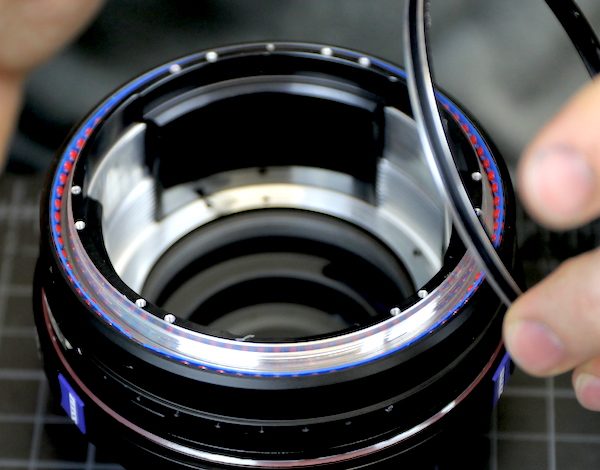
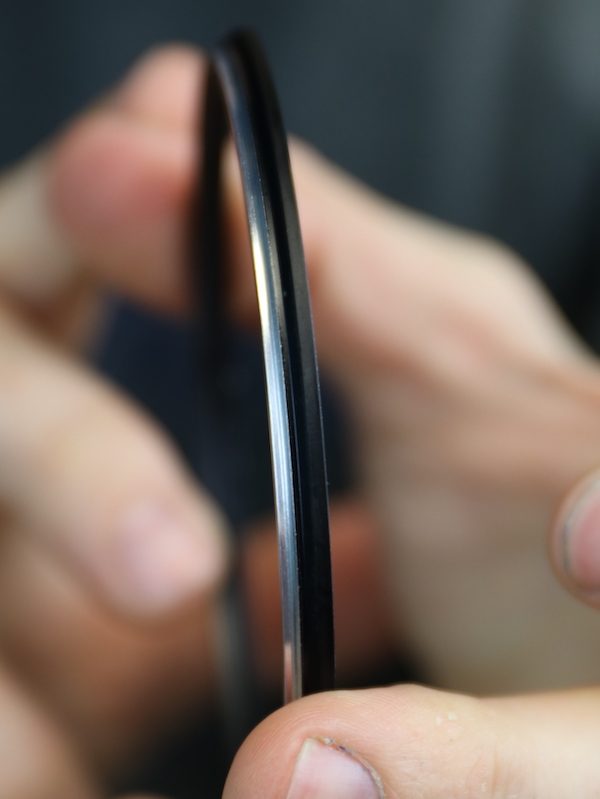
Underneath are a couple more rubber weather seals (the red lines you see are actually thin rings). Also, the adjustable silver bar is the infinity hard stop for the focusing assembly. This is quite different than the mechanism in the CP.2 and this seems much easier to adjust.
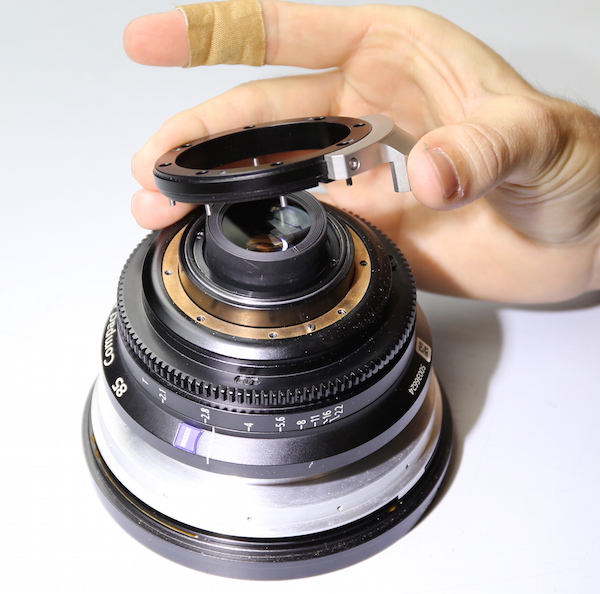
Now it’s time to open up the back half of the lens. The interchangeable mount comes off in the usual fashion.

As does the lens mount underneath it.
The focus-distance shims are underneath this ring. This is a routine way of doing things, used in the CP.2 and many other Cine lenses.
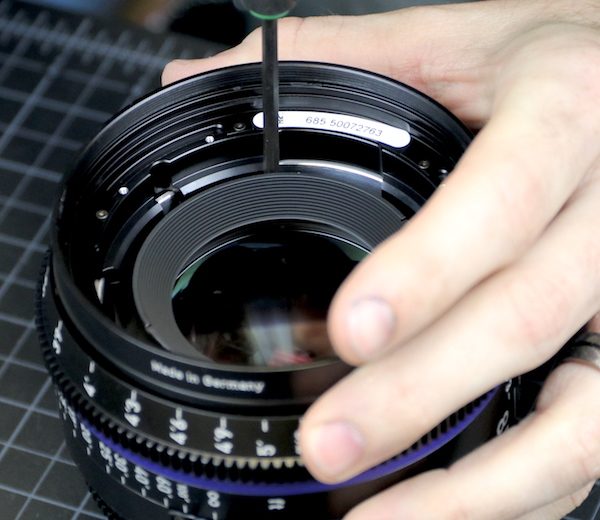
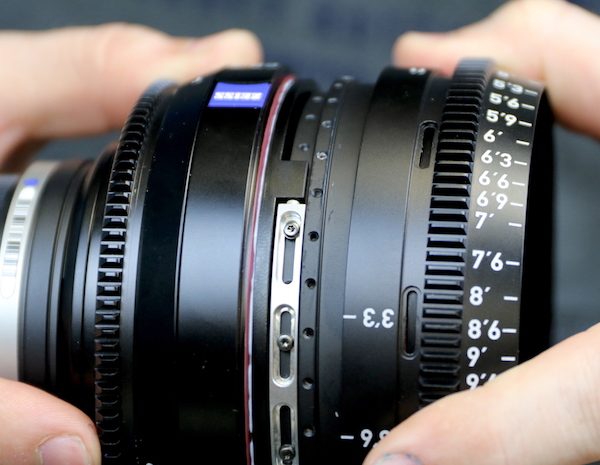
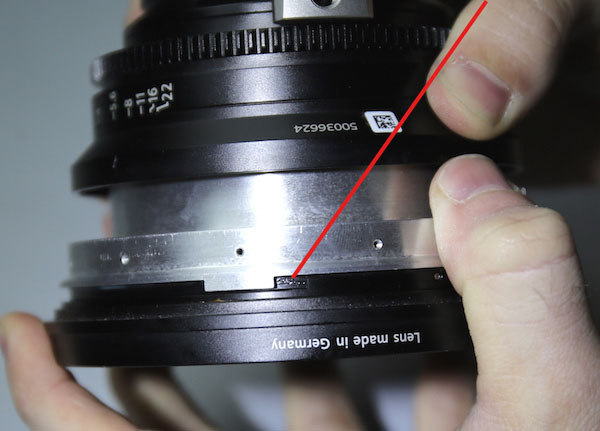
At this point we can show you where the electronic connections will be for the eXtended data versions of the CP.3, coming up from the lens body (which has a sealing plug in this non XD version) …
… and, at least on this mount, tucked away for protection. Some XD mount versions will communicate through this piece to electrodes at the lens mount, some versions through a Lemo port rather than the mount.
Just as it is in the CP.2 version, the rear group is held in place by a spanner ring. It is non-centering, only the front group is adjustable for centering.
But there is a shim to adjust spacing under the rear group.
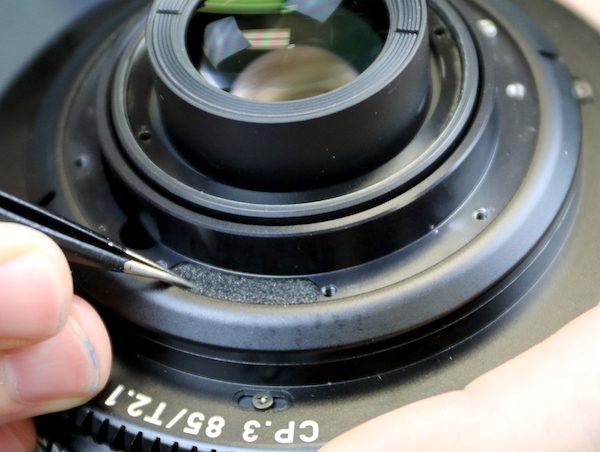
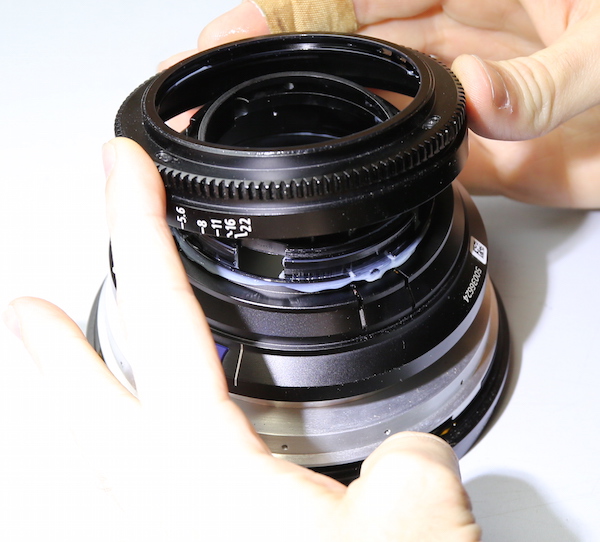
Next we span off the aperture-pressure retainer ring after dissolving the glue that holds it in place.
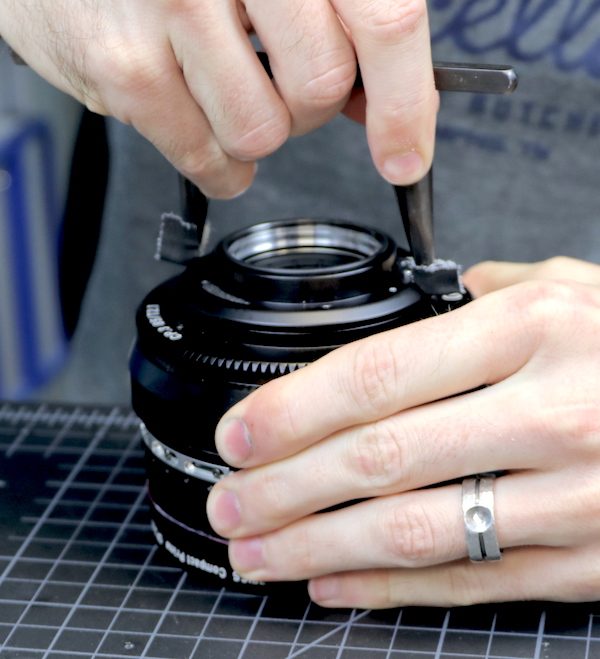
There’s a brass spring-ring underneath the spanner ring that actually provides the friction to the outer aperture ring.
Speaking of the aperture ring, next we remove the screws that attach it to the aperture assembly.
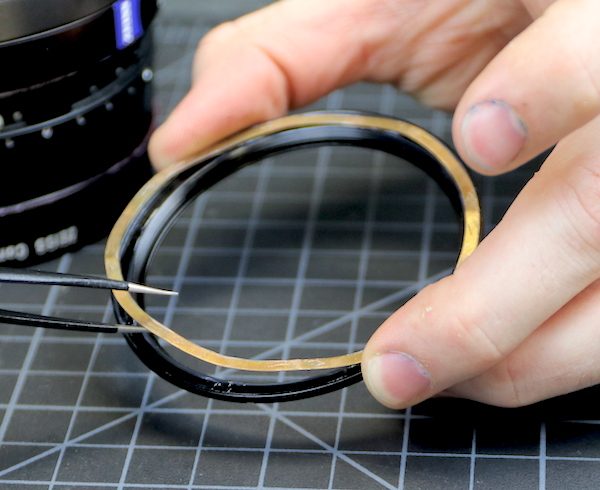
Then we can slide the ring off. Notice there’s another of the red rubber seals here. There’s no joint in this lens that doesn’t have a seal of some type. The little bit of white you see around the red ring is lubricant. Overall, this part of the assembly is identical, other than the shape of the parts, to what we saw in the CP.2.
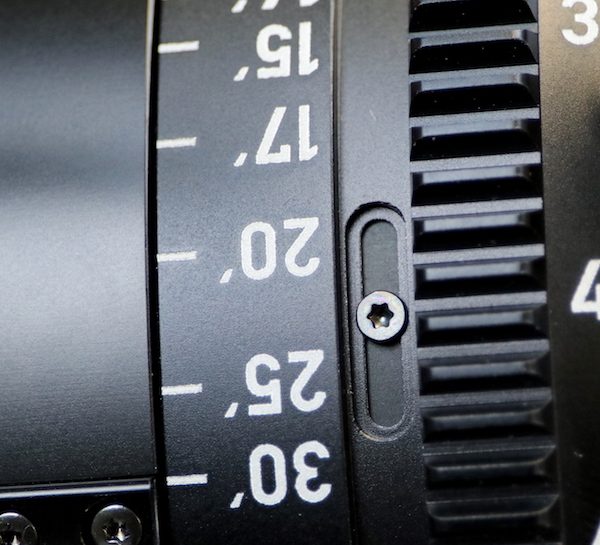
The underside of the aperture ring contains the hard stops for aperture settings. You can see two of the three screw ends that hold this in place.

Looking at the other side of the barrel, you see the slots the screws are set into, allowing adjustment of the hard stops.

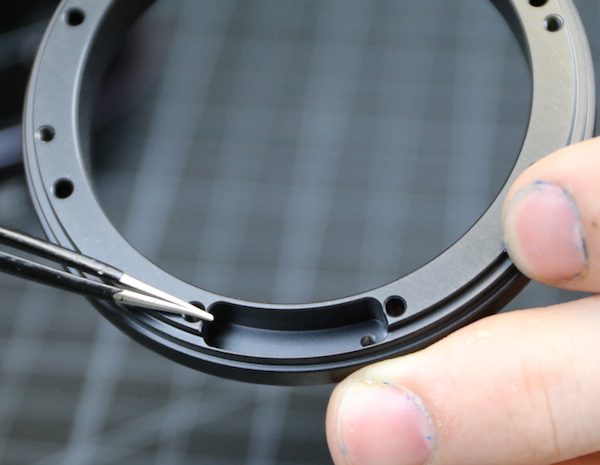
The fixed (AKA mid) barrel is held on by six screws.
The screw holes are set in slots. We assume this acts as a shock or vibration absorber. But we often assume wrong, so take it for what it’s worth. The CP.2 had similar slots on this barrel.
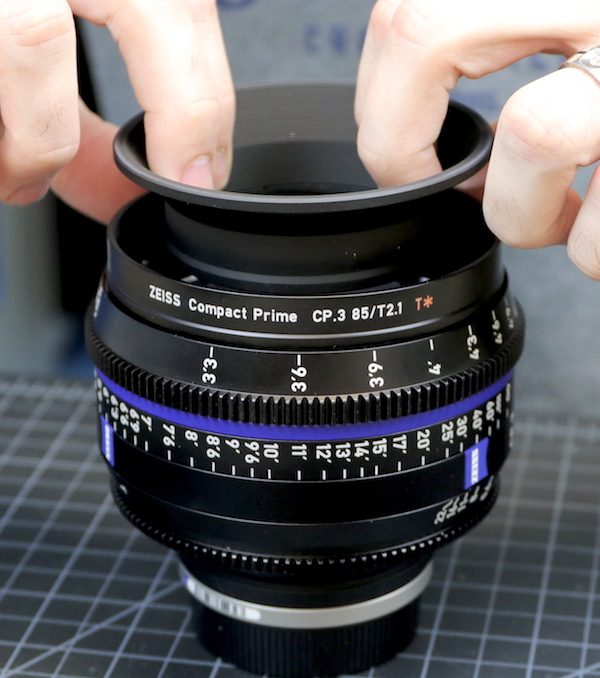
Finally, the last piece of outer barrel, the front filter ring, is removed. This could have been done earlier, the order wasn’t critical.
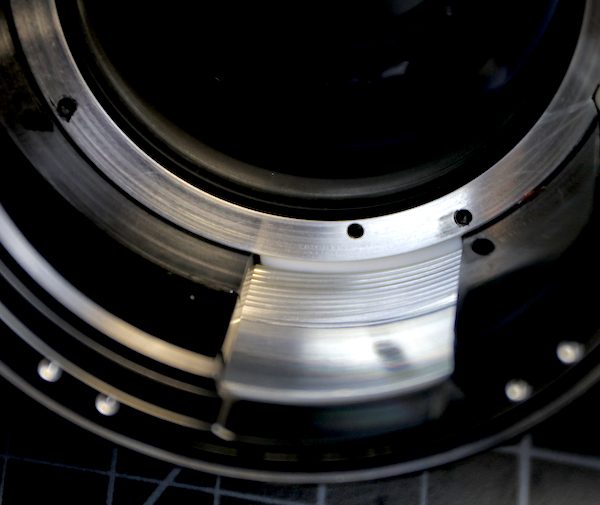
Looking at the inner assembly of the lens, there’s a very obvious large, white nylon piece that is a new addition compared to the CP.2 lenses.
Looking inside the barrel, we can see that helicoid assembly is nylon on aluminum threading.
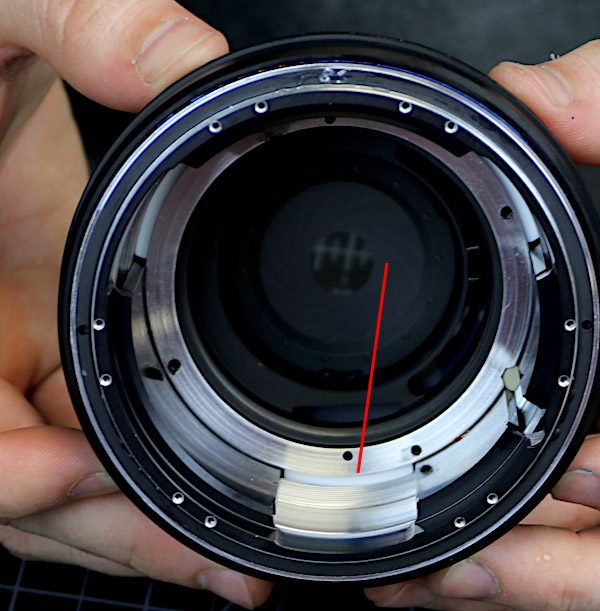
This should be smoother and more shock absorbing than metal on metal of the CP.2, but only time will tell how it holds up. It could be more robust, maybe not. But CP lenses have a very reliable track record under a fair amount of abuse so my guess is these will be very reliable, too. This is probably why Zeiss claims the focusing system will function better at temperature extremes; nylon isn’t going to expand or bind at temperature extremes.
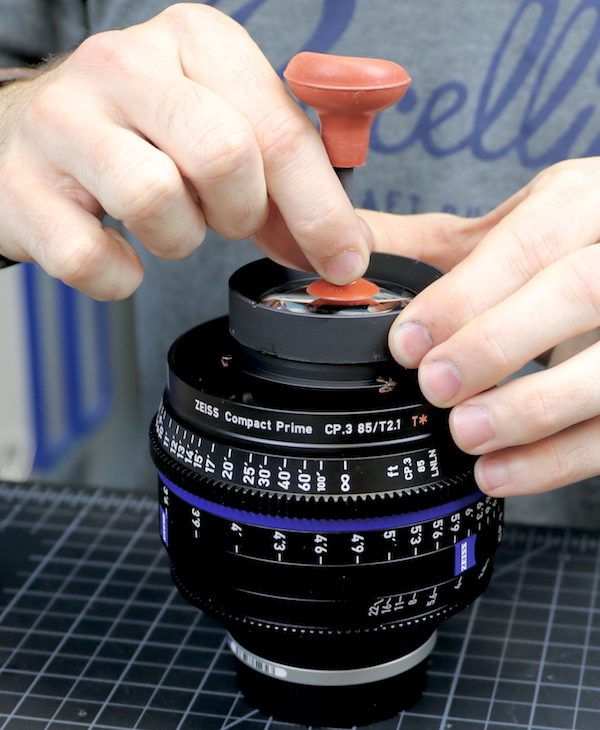
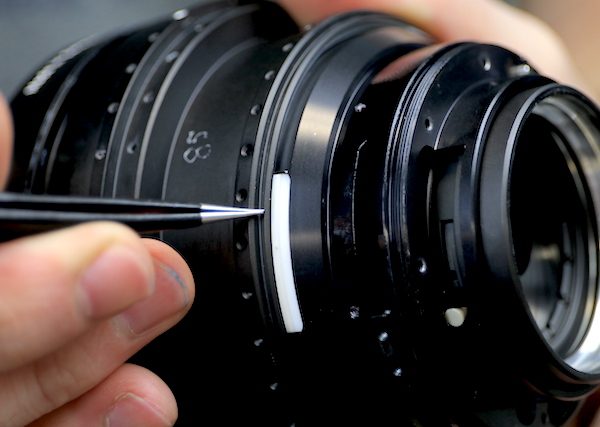
There was one more area we wanted to explore. There was a spanner ring on the top of the inner focusing barrel that was crying ‘take me off, take me off’, so we did.
Underneath, in a most unZeissly bright color scheme, was a strip of neon blue plastic inset with bright orange plastic ball bearings.
It took us a moment to regroup from this splash of color in a Zeiss lens. (Well, it took me a moment. Aaron is color blind so a lot of the impact was lost for him.) It was sort of like finding out the guy who always wears grey Armani pinstripe suits favors polka-dot boxers. But after a moment the purpose of this became apparent.
The spanner ring has a beveled inner lip…
as the ring is tightened down this pushes the ball bearing strip against the inner focusing ring, providing a way to adjust the resistance while keeping it very smooth.
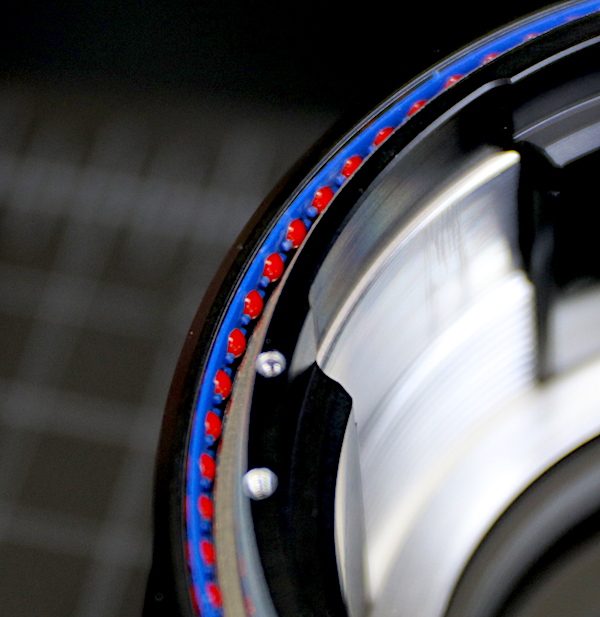
It’s kind of an elegant solution compared to the usual spring loaded rollers or bumpers used for that purpose.
So What Did We Learn Today?
Well, the Zeiss CP.3 85mm T2.1 is optically identical to the Zeiss 85mm CP.2, but in a new housing. The housing has some nice new touches, and a splash of color you’ll (hopefully) never see except in the pages of this blog. It’s a bit more compact externally than the CP.2, which will be an advantage for some people.
The increased use of nylon and plastic in the focusing and aperture accounts for the smoother focusing we felt when using the lens. It probably has a lot to do with the improvement of focusing and aperture at extreme temperatures that Zeiss claims for the CP.3 lenses. Whether it has a positive or adverse effect on long-term reliability, I can’t begin to guess.
For those of you who collect the whole set, the physical consistency between the different focal lengths in the CP.2 lenses will certainly be advantageous. If you work at extreme temperatures, there’s a distinct advantage to the CP.3, too. Of course, many of you are eagerly awaiting the eXtended Data versions. But if you currently have CP.2 lenses and are happy with how they focus there’s not a huge reason to run out and upgrade to the non-ED CP.3.
Roger Cicala and Aaron Closz
Lensrentals.com
August, 2017

18 Comments
David Weber ·
Roger, great job on the above detailed photos you posted! I have a little lens repair/adapting shop where I work on still photography lenses. Having recently taken apart a Zeiss ZF 85mm f/1.4 Milvus lens, it’s interesting to note that some of your photos are virtually identical to what I viewed when taking apart the Milvus lens (e.g. brass spring-ring). I’m certainly not saying that these two lenses are the same optically, but they do share some of the same construction techniques. Overall, Zeiss lenses (and Voigtlander too) are my favorite lenses to work on because of their exceptional quality build.
Roger Cicala ·
David, I think they are nearly identical optically.
J L Williams ·
I always enjoy the teardown articles, but found this one especially interesting. I had thought that Zeiss might be among the more traditionalist lens makers in terms of design and manufacturing, but obviously they’re just as open to modernized materials and designs (nylon helicoid, plastic ball bearings, Torx screws holding down retaining plates, numerous adjustments, etc.) as anyone else.
This interests me because I still read posts in the photo-blogosphere praising this or that lens because it’s “made the old-fashioned way” or has “traditional high-quality construction.” I assume those posts mean the way lenses were made back in the ’30s through ’50s: built up out of nested metal tubes secured by threaded metal rings held in place by setscrews, with adjustments limited to shims or select-fitted parts.
I would guess that the advantage of that system was that one guy with a lathe could make just about every part for every lens in the manufacturer’s lineup; the disadvantages would be that that one guy had to be an extremely skilled machinist with a lot of time to do his work, and that if anything went wrong with the lens later there wasn’t any way to adjust it (except for maybe swapping out shims.)
I’m convinced that the newer methods and materials yield a better product, but I’m curious as to whether ANY manufacturer still constructs lenses “the old-fashioned way.” Thoughts?
Roger Cicala ·
J L – interestingly the Kickstarter type old fashioned lenses and some of the ‘new name’ Chinese companies do that, along with many of the Voigtlander-branded lenses.
Horst ·
I couldn´t read deapth of field on that lens but i am just a photographer.
Alex Toney ·
They aren’t optimized for street style zone focusing, they’re optimized for making an AC’s job easier when he’s pulling focus. Thus, you get tons of easily readable witness marks instead of a dof scale.
asad137 ·
“…nylon isn’t going to expand or bind at temperature extremes.”
Nylon actually expands and contracts far more than aluminum, and a common engineering ‘trick’ to make mechanisms function properly over a broad range of temperatures is to make everything out of the *same* material so it all expands and contracts the same way in order to avoid binding.
Is it possible it’s not actually nylon but something like HD or UHMW polyethylene? Both of those materials have low friction coefficients and would be a pretty good choice to reduce friction in a sliding or threaded assembly.
Roger Cicala ·
You’re certainly correct – my material science knowledge is nil. I probably should have said “Shiny, white, slightly malleable plasticky stuff” because that’s really what I know.
Chuck ·
But the coefficient of thermal expansion of UHMW-PE is about 200 x 10^(-6) and this is about 10x the aluminium. Should this not be pretty much the same as aluminium as you said before?
asad137 ·
I’m not sure what you’re asking.
Lee ·
How many times is Zeiss going to rehouse these same lenses? I can’t believe they didn’t use the new 35 1.4, 50 1.4, and 85 1.4. At least they used the new 18.
Roger Cicala ·
Lee, I imagine those will be the CP.3 Super Speeds
Lee ·
Probably, which is just slimy. Arbitrarily using old lenses here to add a little more justification to the wildly overpriced Super Speeds. I suppose that’s in a way better than it being the exact same lenses without a restricted iris like the CP.2 SS, but for my money the CP.3 SS should’ve been Otus-based.
SpecialMan ·
Could you please share the secret of how you guys manage to take apart lenses without screws and other small parts getting dropped, kicked, swallowed, or otherwise lost?
And how do you remember where all the screws go?
I would never dream of taking apart a lens, but I am called upon to repair other small devices and I consider myself lucky if I’m able to find and correctly replace even 75% of the fasteners that originally held the device together.
Roger Cicala ·
It requires a high degree of OCD. But basically as we disassemble, each part is set in order so the go back in order. The screws that hold each part in place are kept in that part after disassembly. Sometimes we show a wide picture of all the parts and you’ll see they’re in order right-to-left top-to-bottom, as they way we disassembled.
Brandon Dube ·
The secret is named Aaron Closz
Simeon Boys-Layton ·
Any chance you will write a how to article on lens tear downs/
Dan Lim ·
Interesting to see how the Zeiss CP3 looks like internally. Thank you for sharing.