Five Ways to Shoot Portraits on a White Backdrop
When shooting portrait photography, you’re going to inevitably run into a white backdrop in some form or fashion. Whether it’s a roll of seamless paper, a backdrop made from a V-flat, a cyc wall, or even just a white wall, white backdrops are among the most common tools in portrait work. Despite its simple look, there is a whole lot that you can do with a white background, so let’s look at five different ways to use a white backdrop to get very different looks.
How Lighting a White Backdrop Works
If you’ve tried your hand at studio photography, you’ll quickly realize that lighting doesn’t exactly work as your eyes might perceive it. You may look at a white wall, and it appears white, but when you take a picture where your subject is lit and not your backdrop, it’s going to look grey, or even black, depending on the situation. And this is because of many different variables, though the most common one is the Inverse Square Law.

I won’t bore you with the math behind the Inverse Square Law, especially since it’s something I’ve covered before on this blog, but all you need to know is that distance is everything. When using a single light source, the closer you have your subject to the background, the lighter the background will be, the further away, the darker it will be. Let’s use this basic principle to look at a few different ways to use this.
The Bright White
The first technique is the most obvious. The bright white is a technique where you light the backdrop so that it appears a solid white color, pulling the focus and attention to the subject. This is a common technique in commercial headshots for actors, but it is also common for a broad range of styles. Achieving this look can be done a couple of different ways, depending on the number of available lights.
Single Light
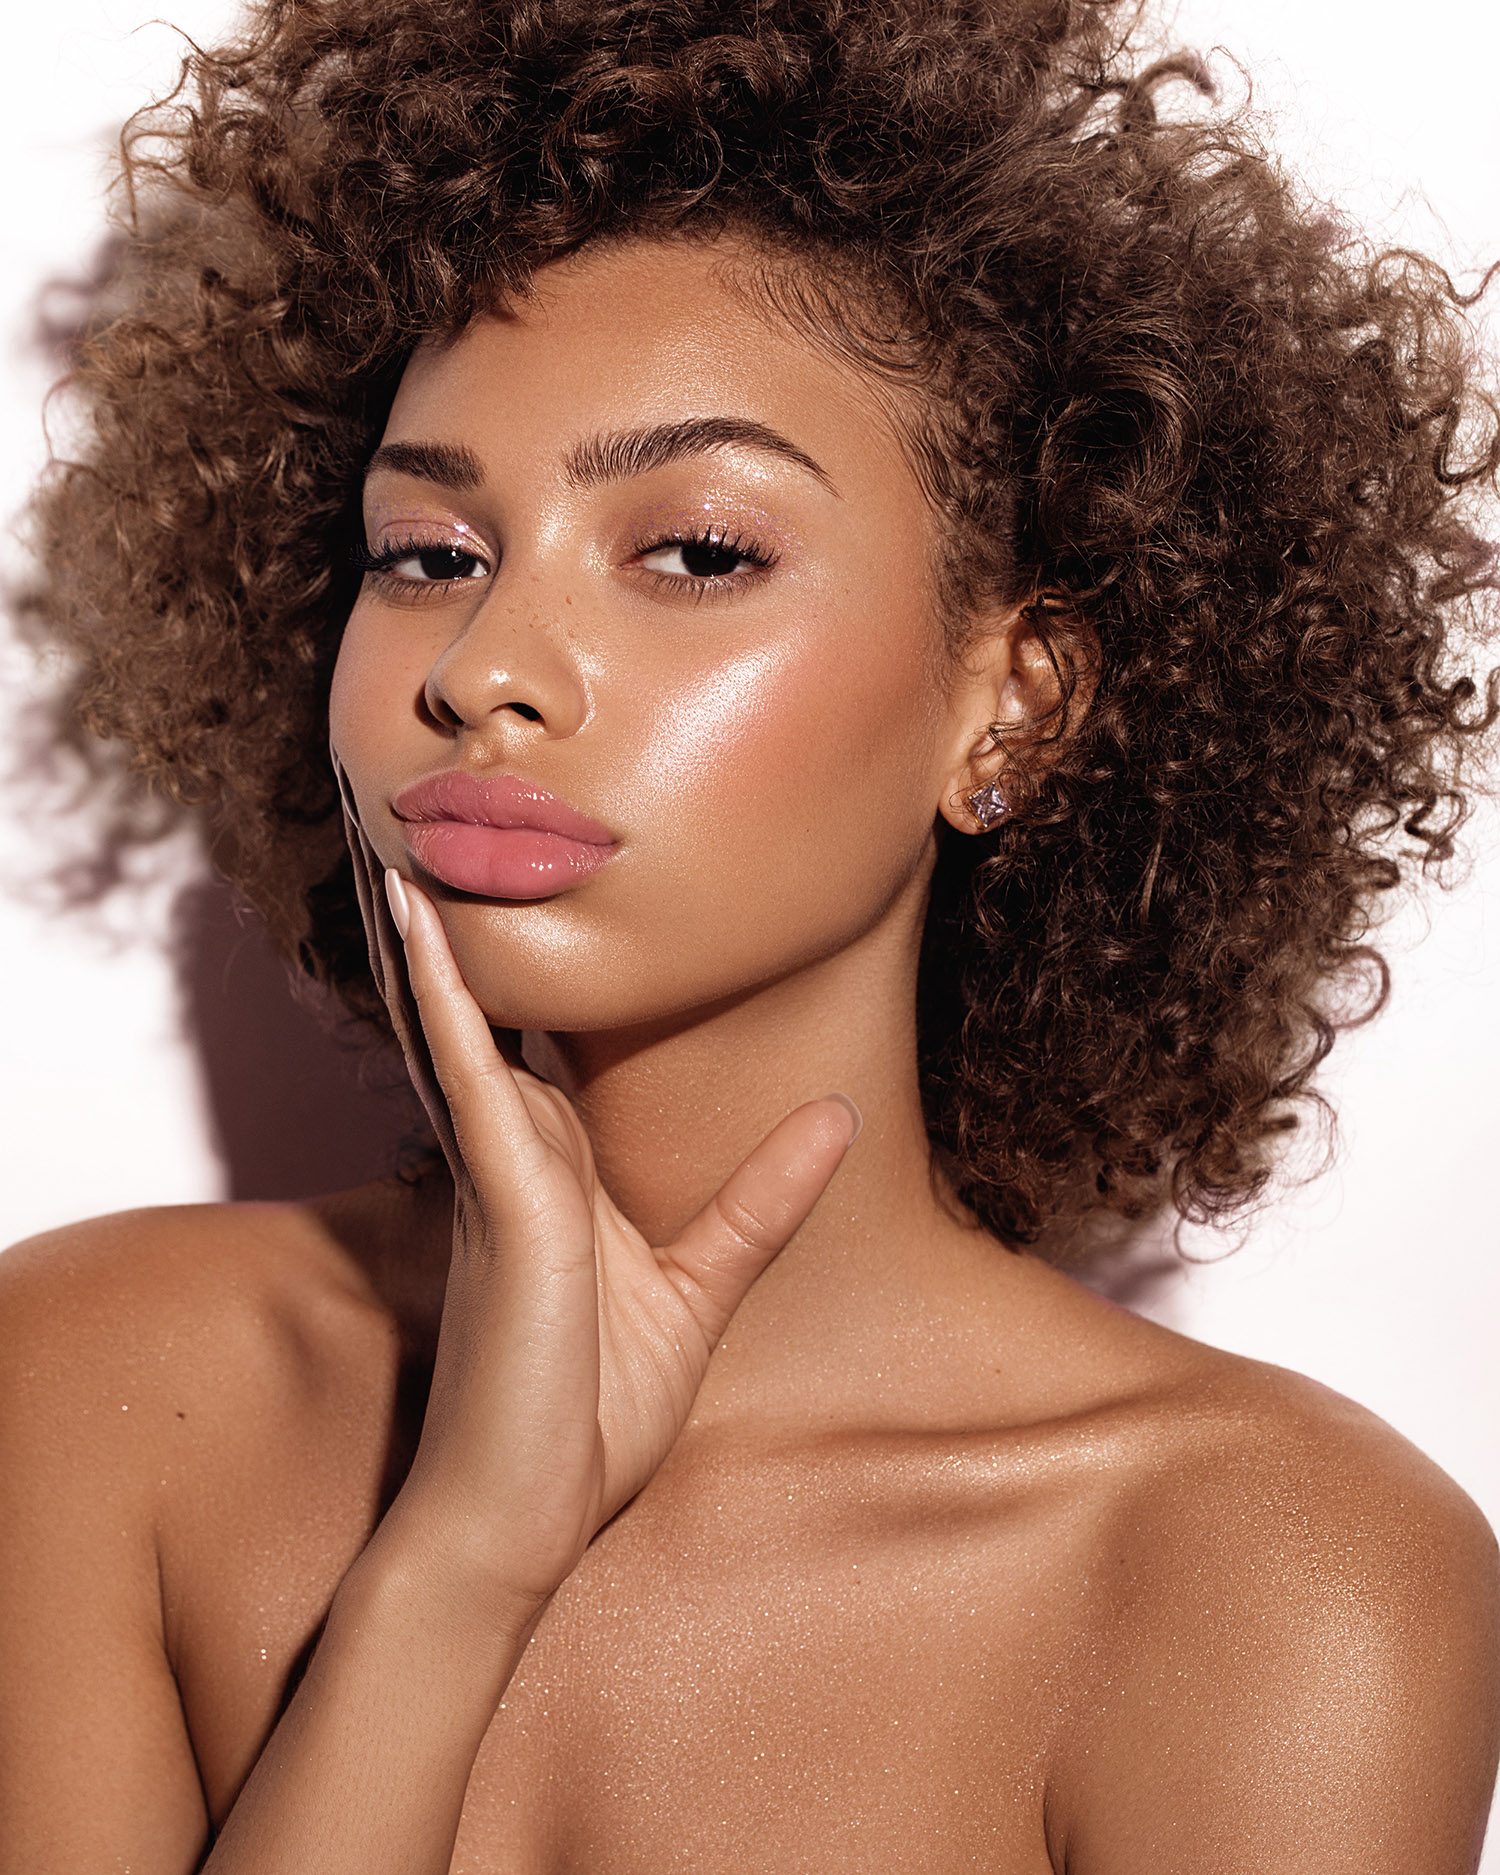
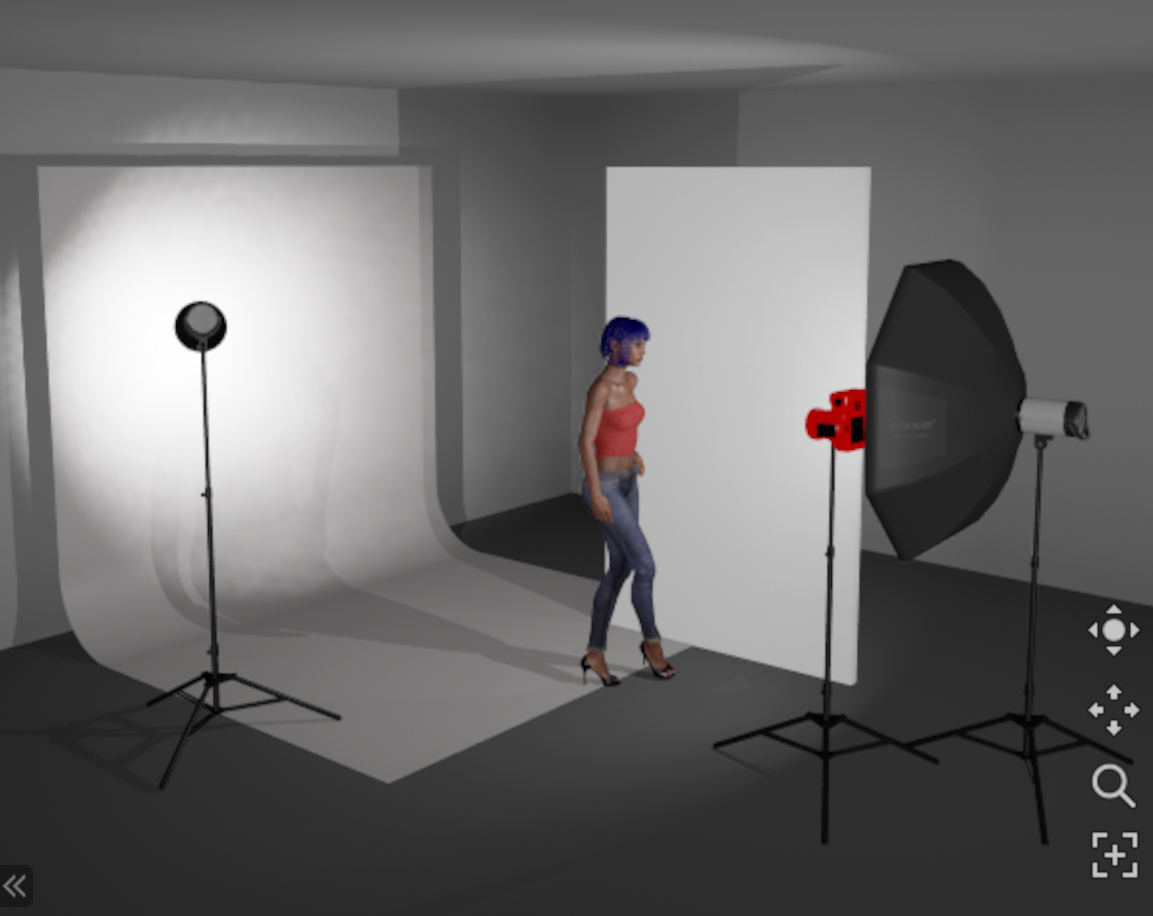
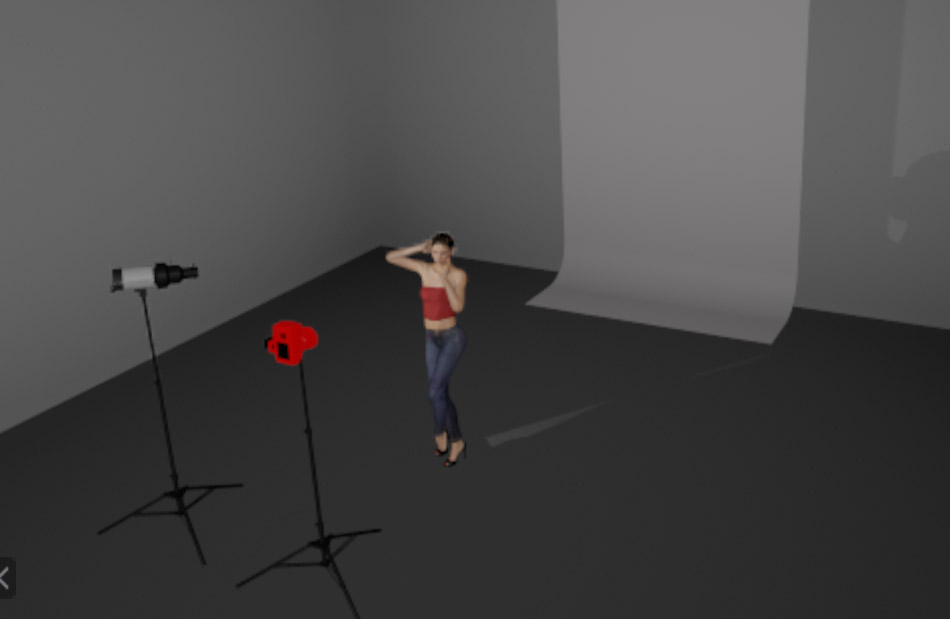
The first way is the easiest and requires the least amount of lights. The secret to getting the white background in this look is to keep your subject very close to the background, with your lights pulled back from them a bit. With this setting, it should be easy to get a white or “near white” backdrop, while also retaining any color and detail in the skin. However, when having your subject so close to the backdrop, you’ll often get their shadow falling onto the backdrop itself. Below is a lighting diagram, as well as the results of such a technique.
Multiple Light
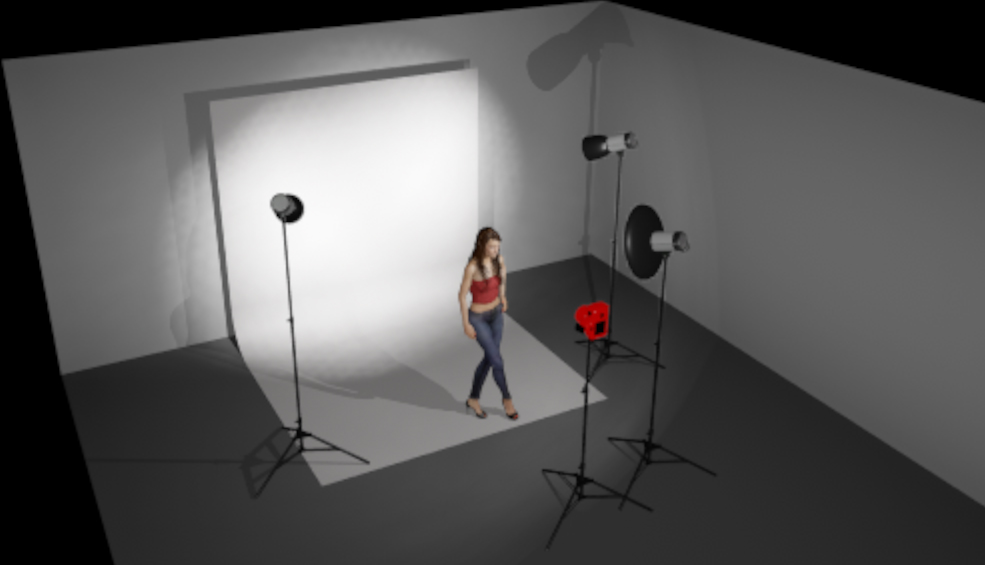
There is the major benefit to using multiple lights though – and that is to independently light the backdrop and source without them interfering with each other. By using multiple lights, you’re able to light the backdrop and your subject independently so that no shadows are cast on the backdrop, giving you the pure white or white void effect. There are no set rules on how many lights you may need to achieve this look (though I prefer to have two lights on the backdrop – one on each side), though the distance is key here. To avoid any light bouncing back onto your subject, you’ll want to have a decent amount of distance separating your subject from the backdrop.

A Medium Grey
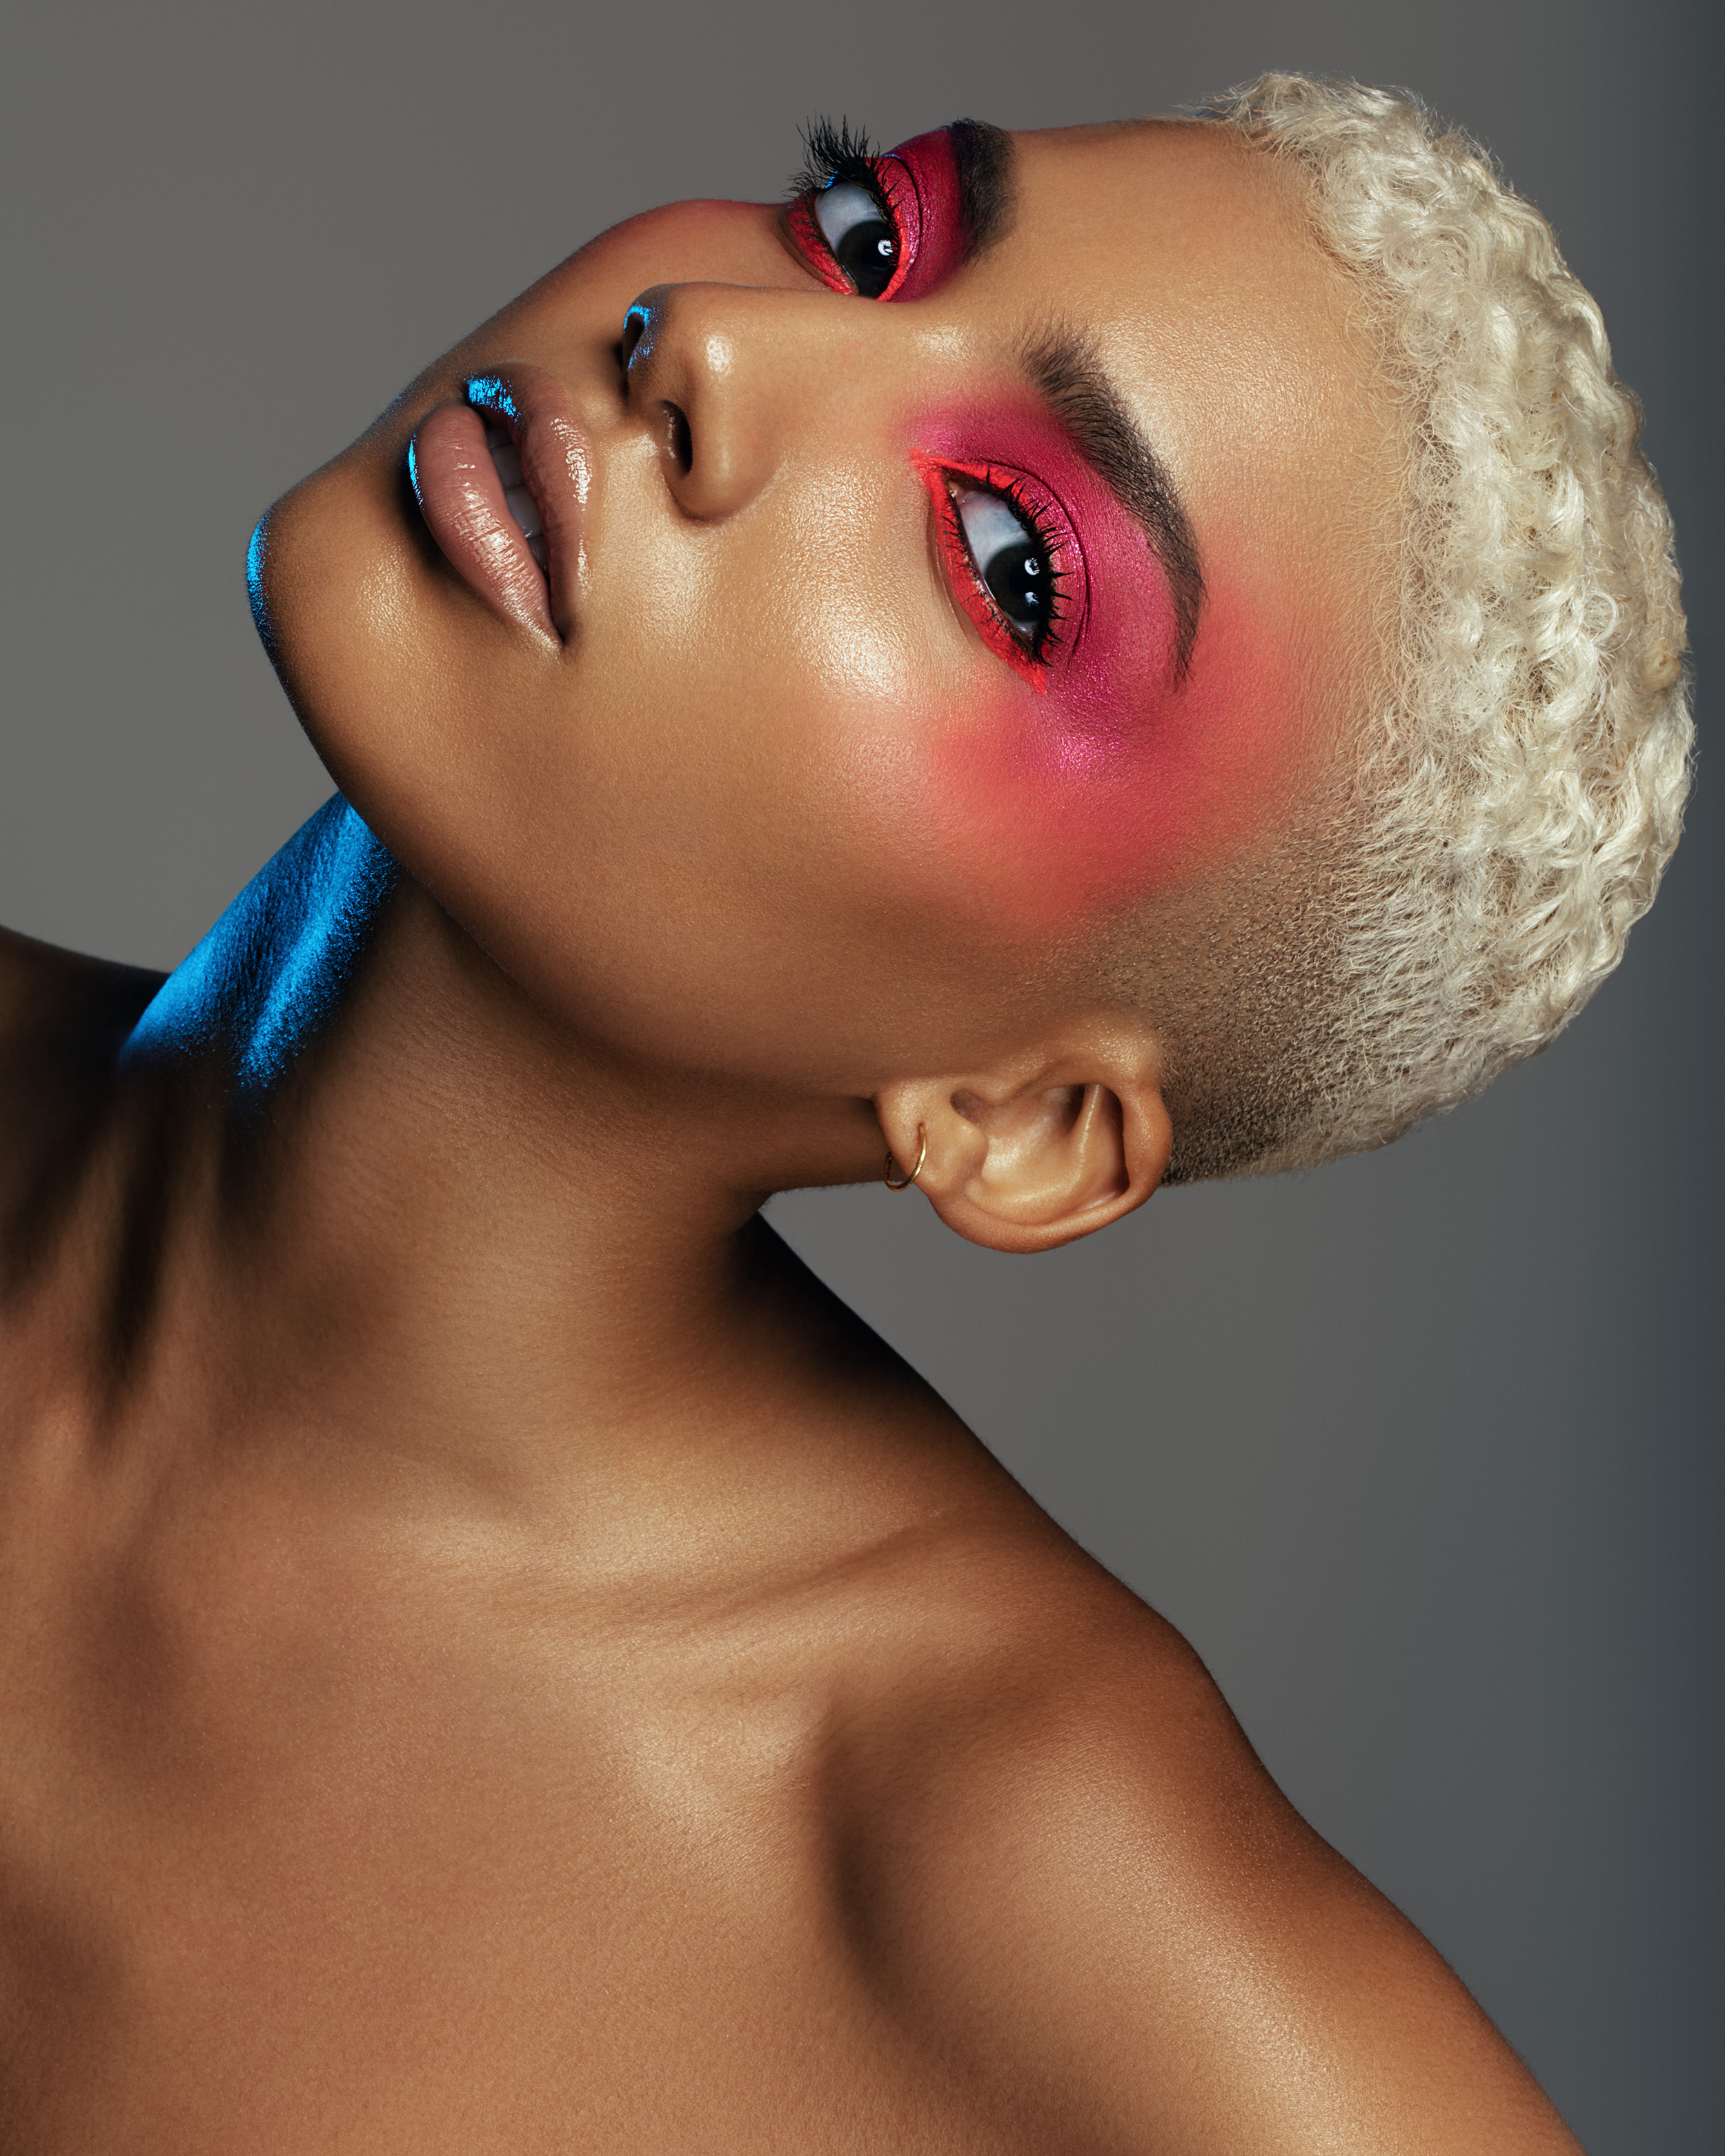
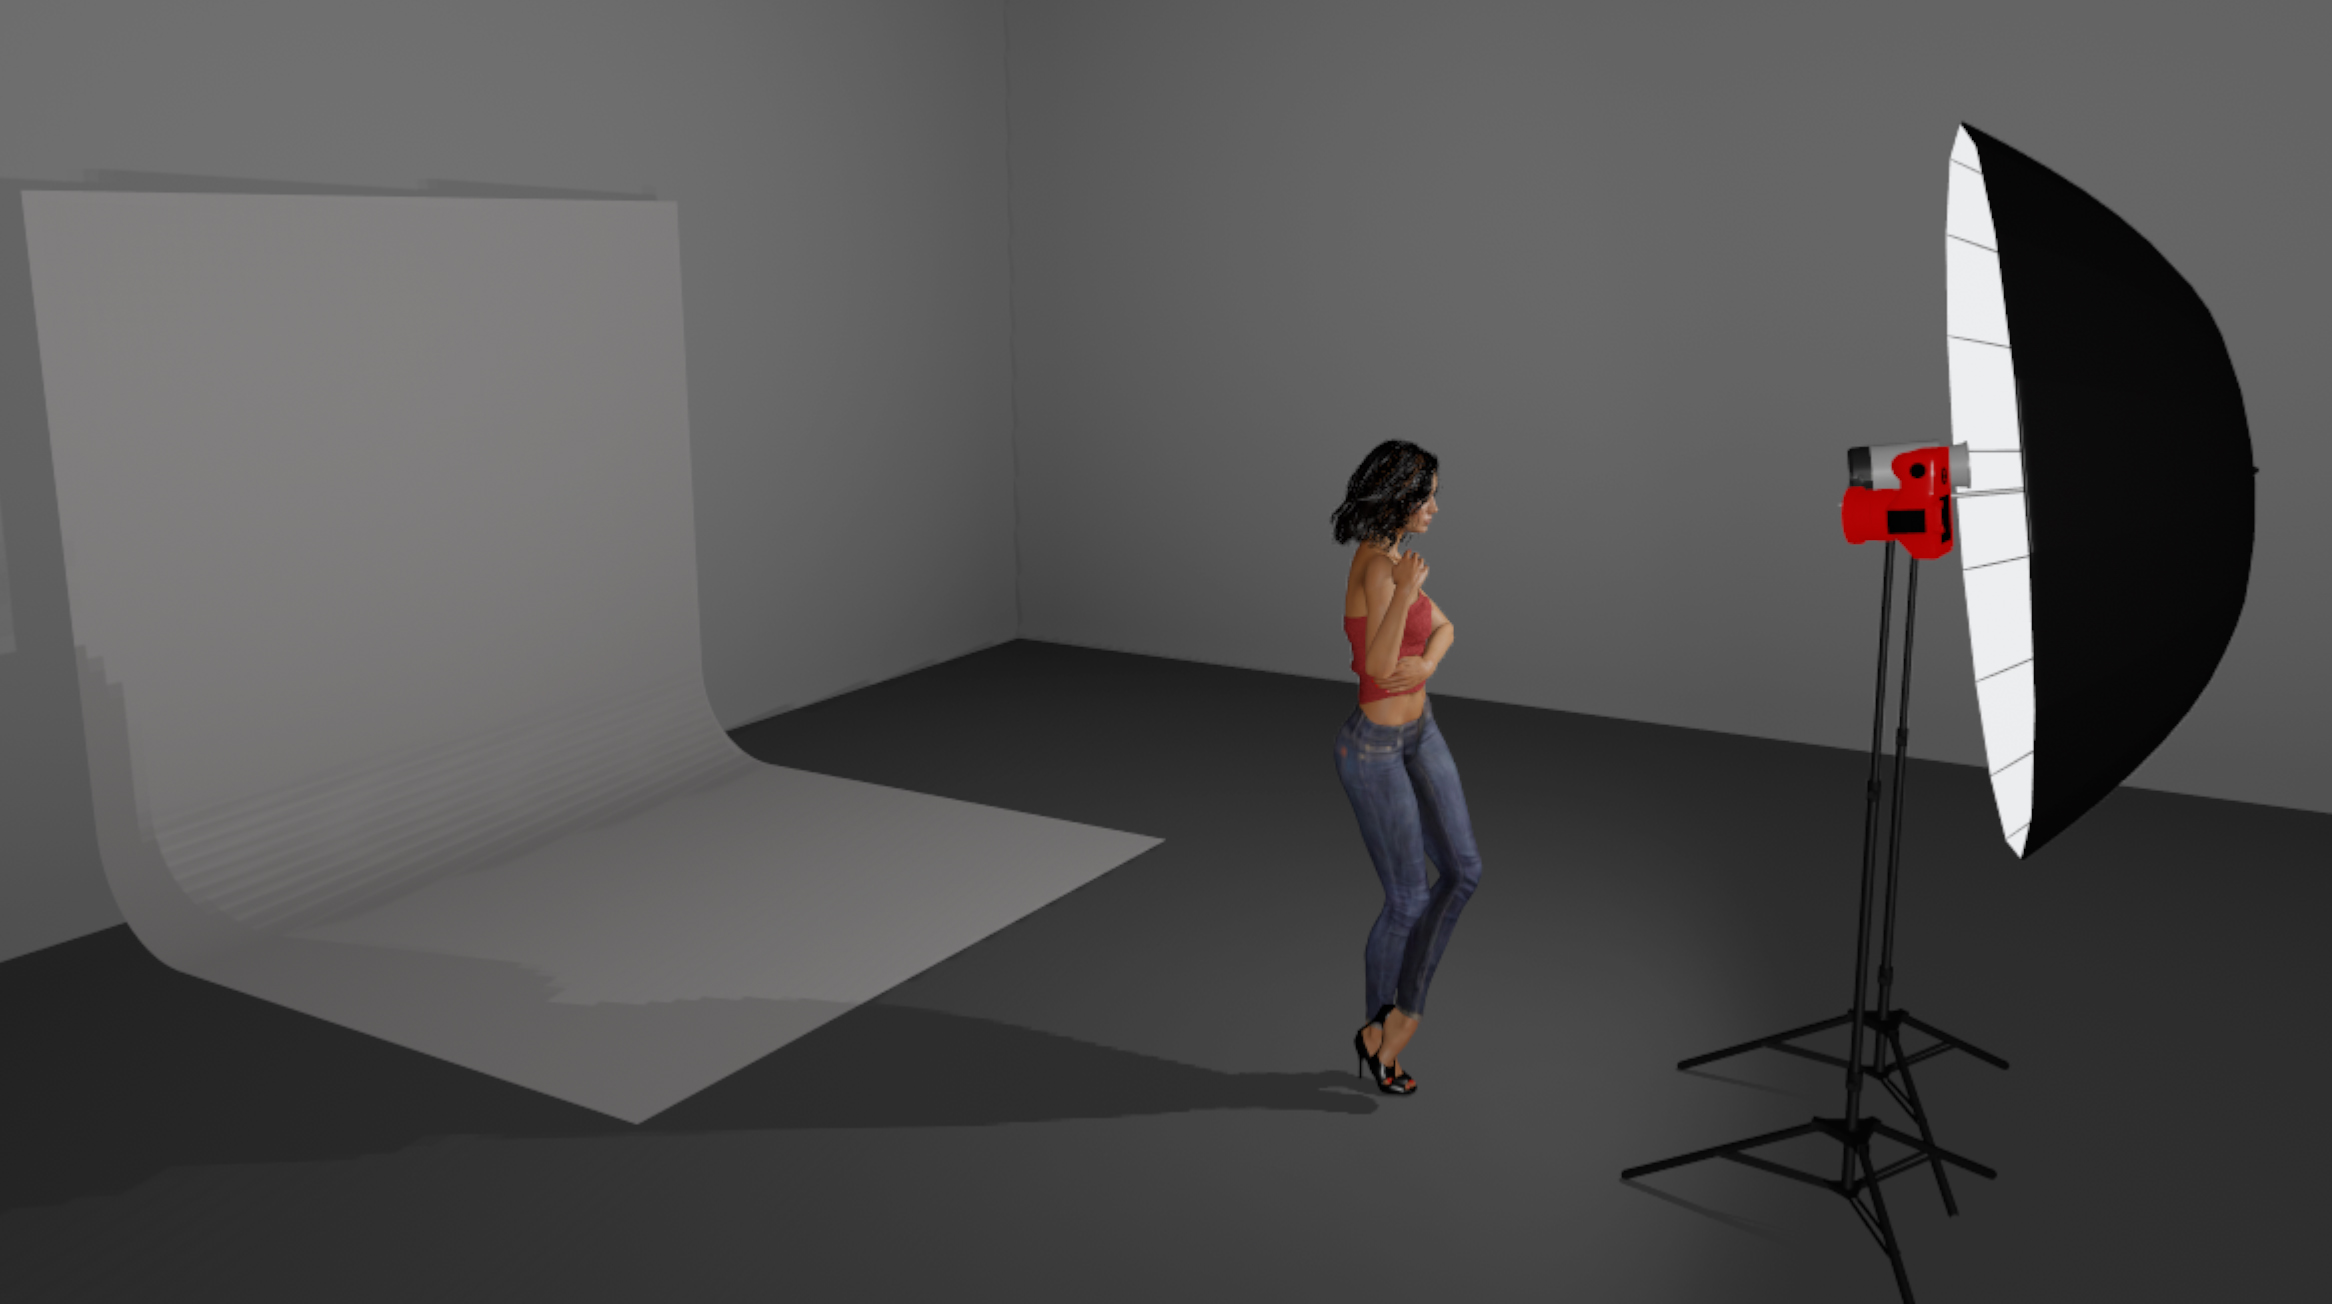
As mentioned multiple times now, light brightness is heavily affected by distance, and so, you’re able to take a traditional white backdrop and darken it to a grey through the use of distance. By moving your subject off of the background, and exposing our light for the subject, you’re able to darken the background quite a bit using only one light. Again, a lighting diagram and example photos are below.
Dark and Moody
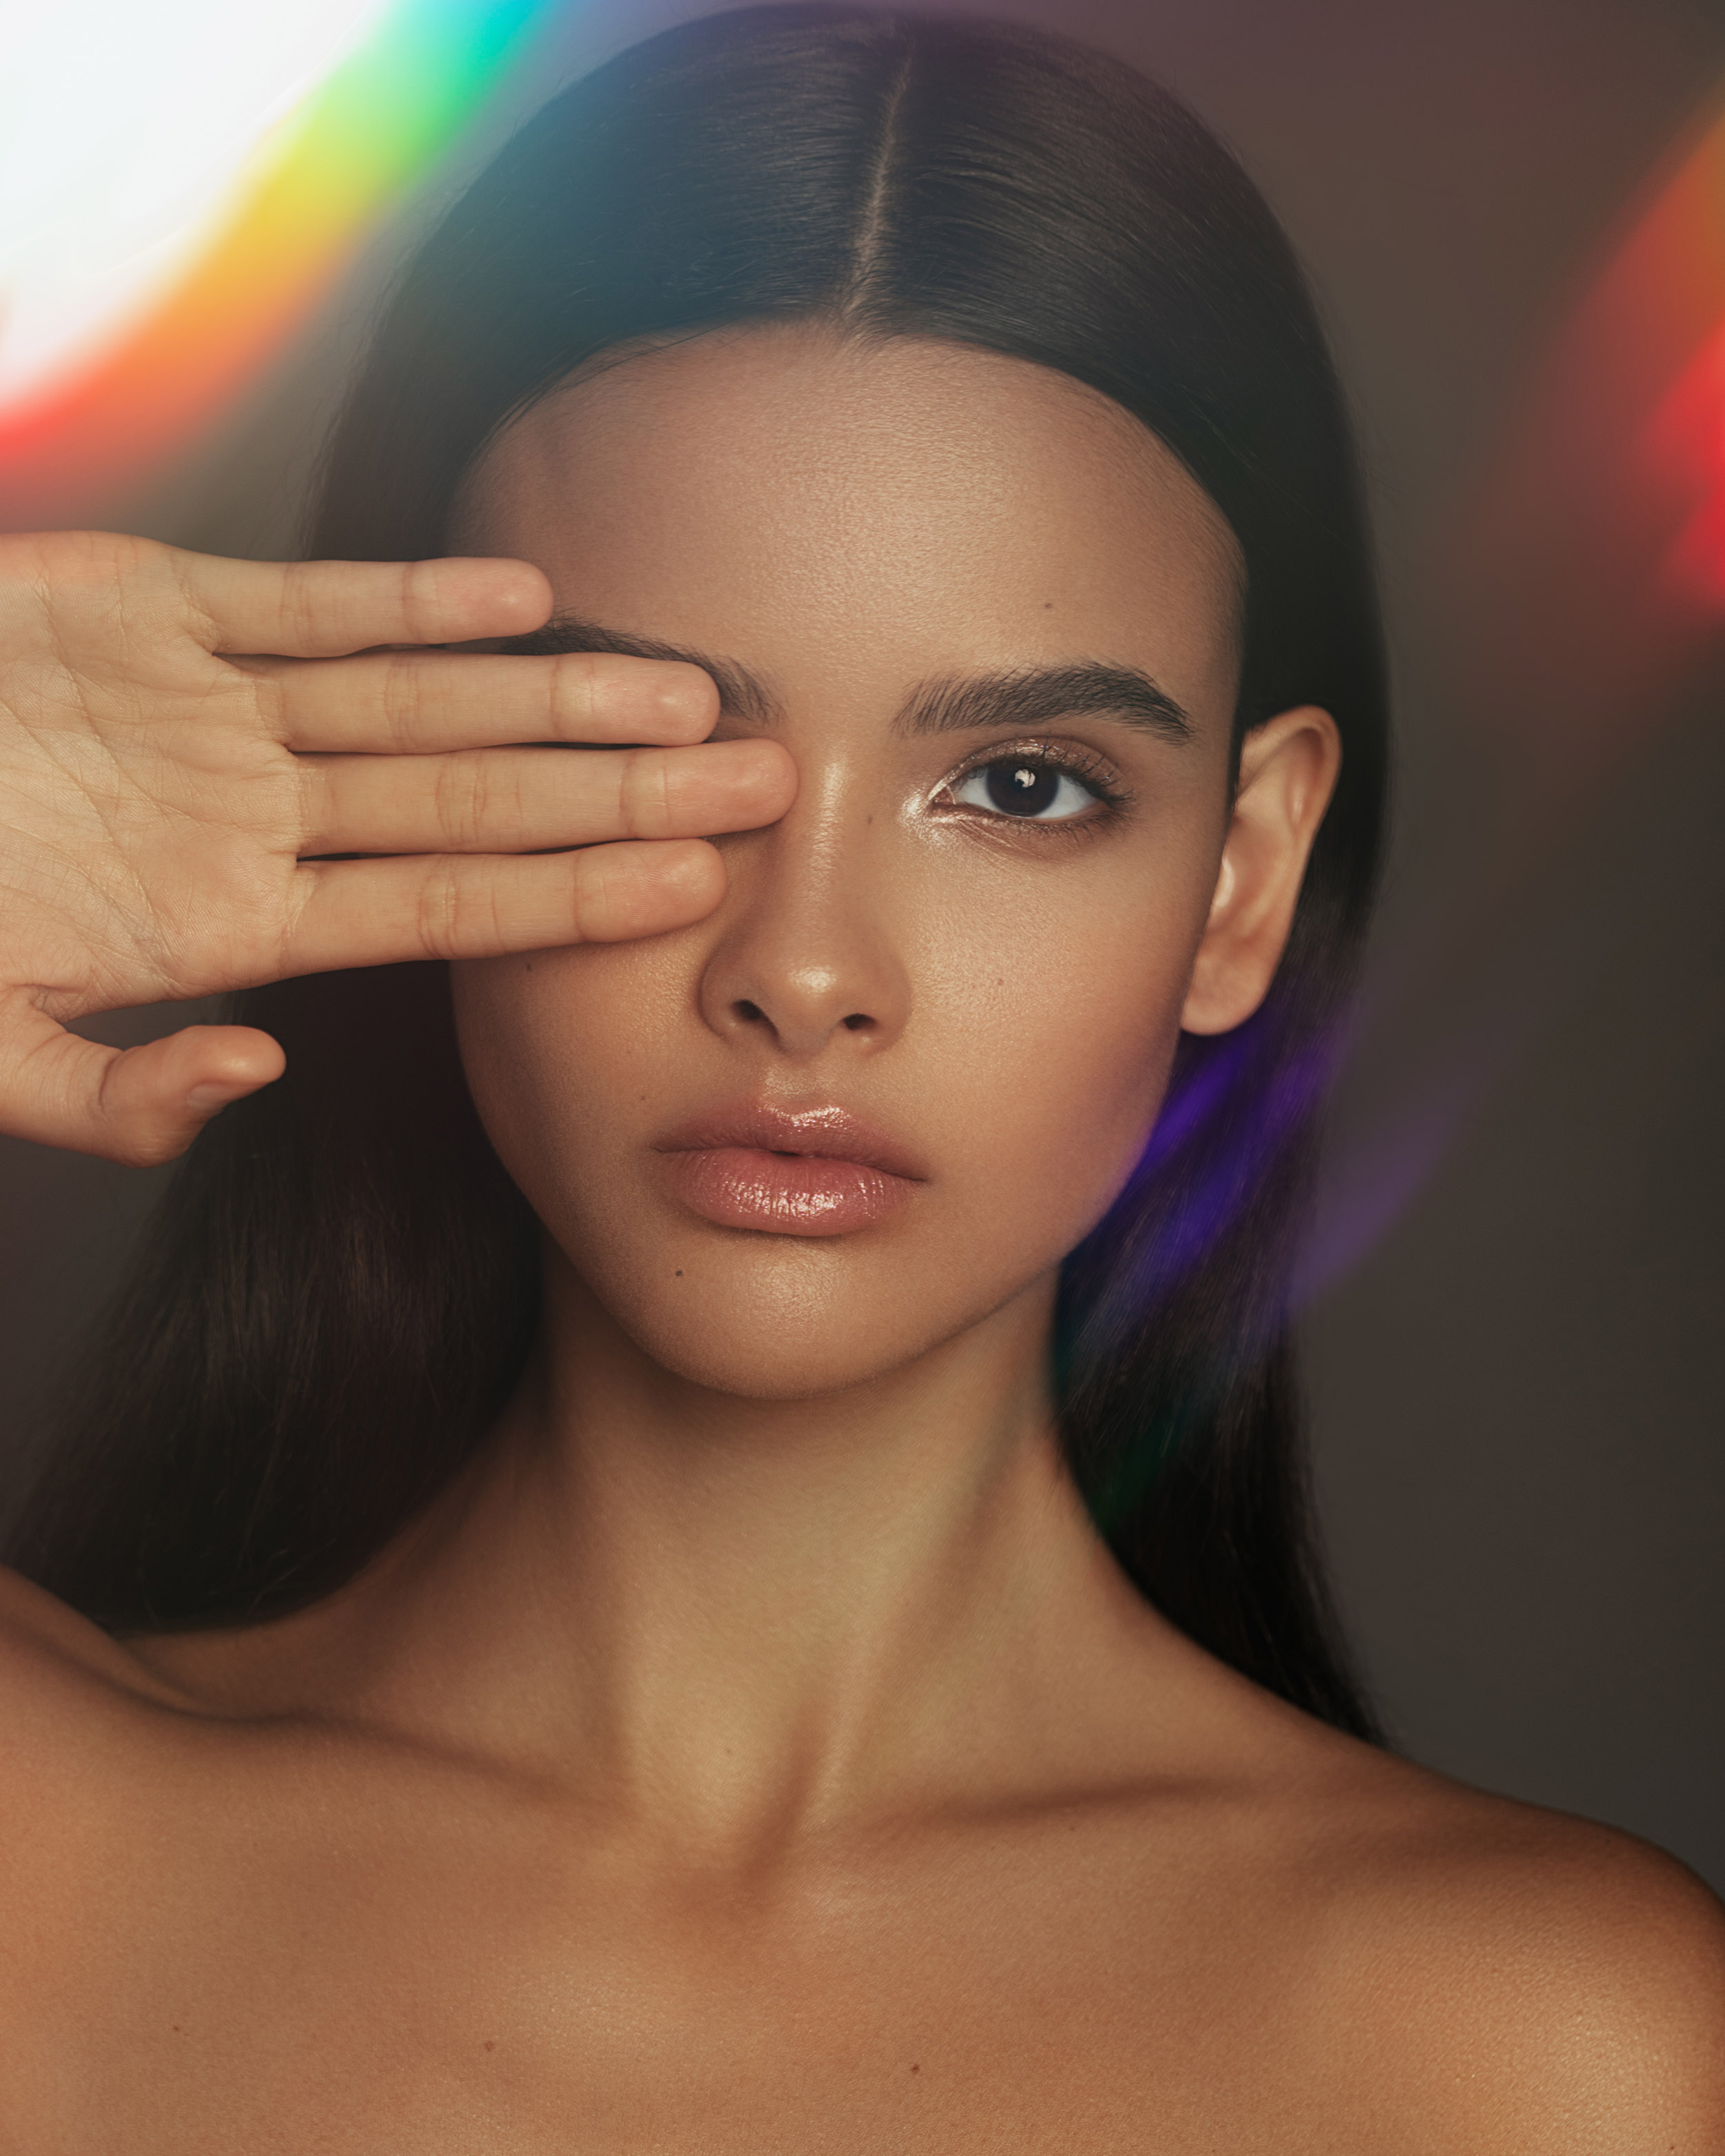
And so, the same rules apply when trying to darken the background even further. By pushing your subject even further away from the backdrop and keeping the strobe close to your subject, you’re able to darken the backdrop to nearly black, depending on the conditions. And those conditions are pretty easy to figure out. First, you’ll want to be minimizing natural light as much as possible by shooting at a higher shutter speed. I also recommend using black flags or V flats to help reduce the light reaching the background. As before, below is a lighting diagram and images to show the final product.


Angelic Lighting
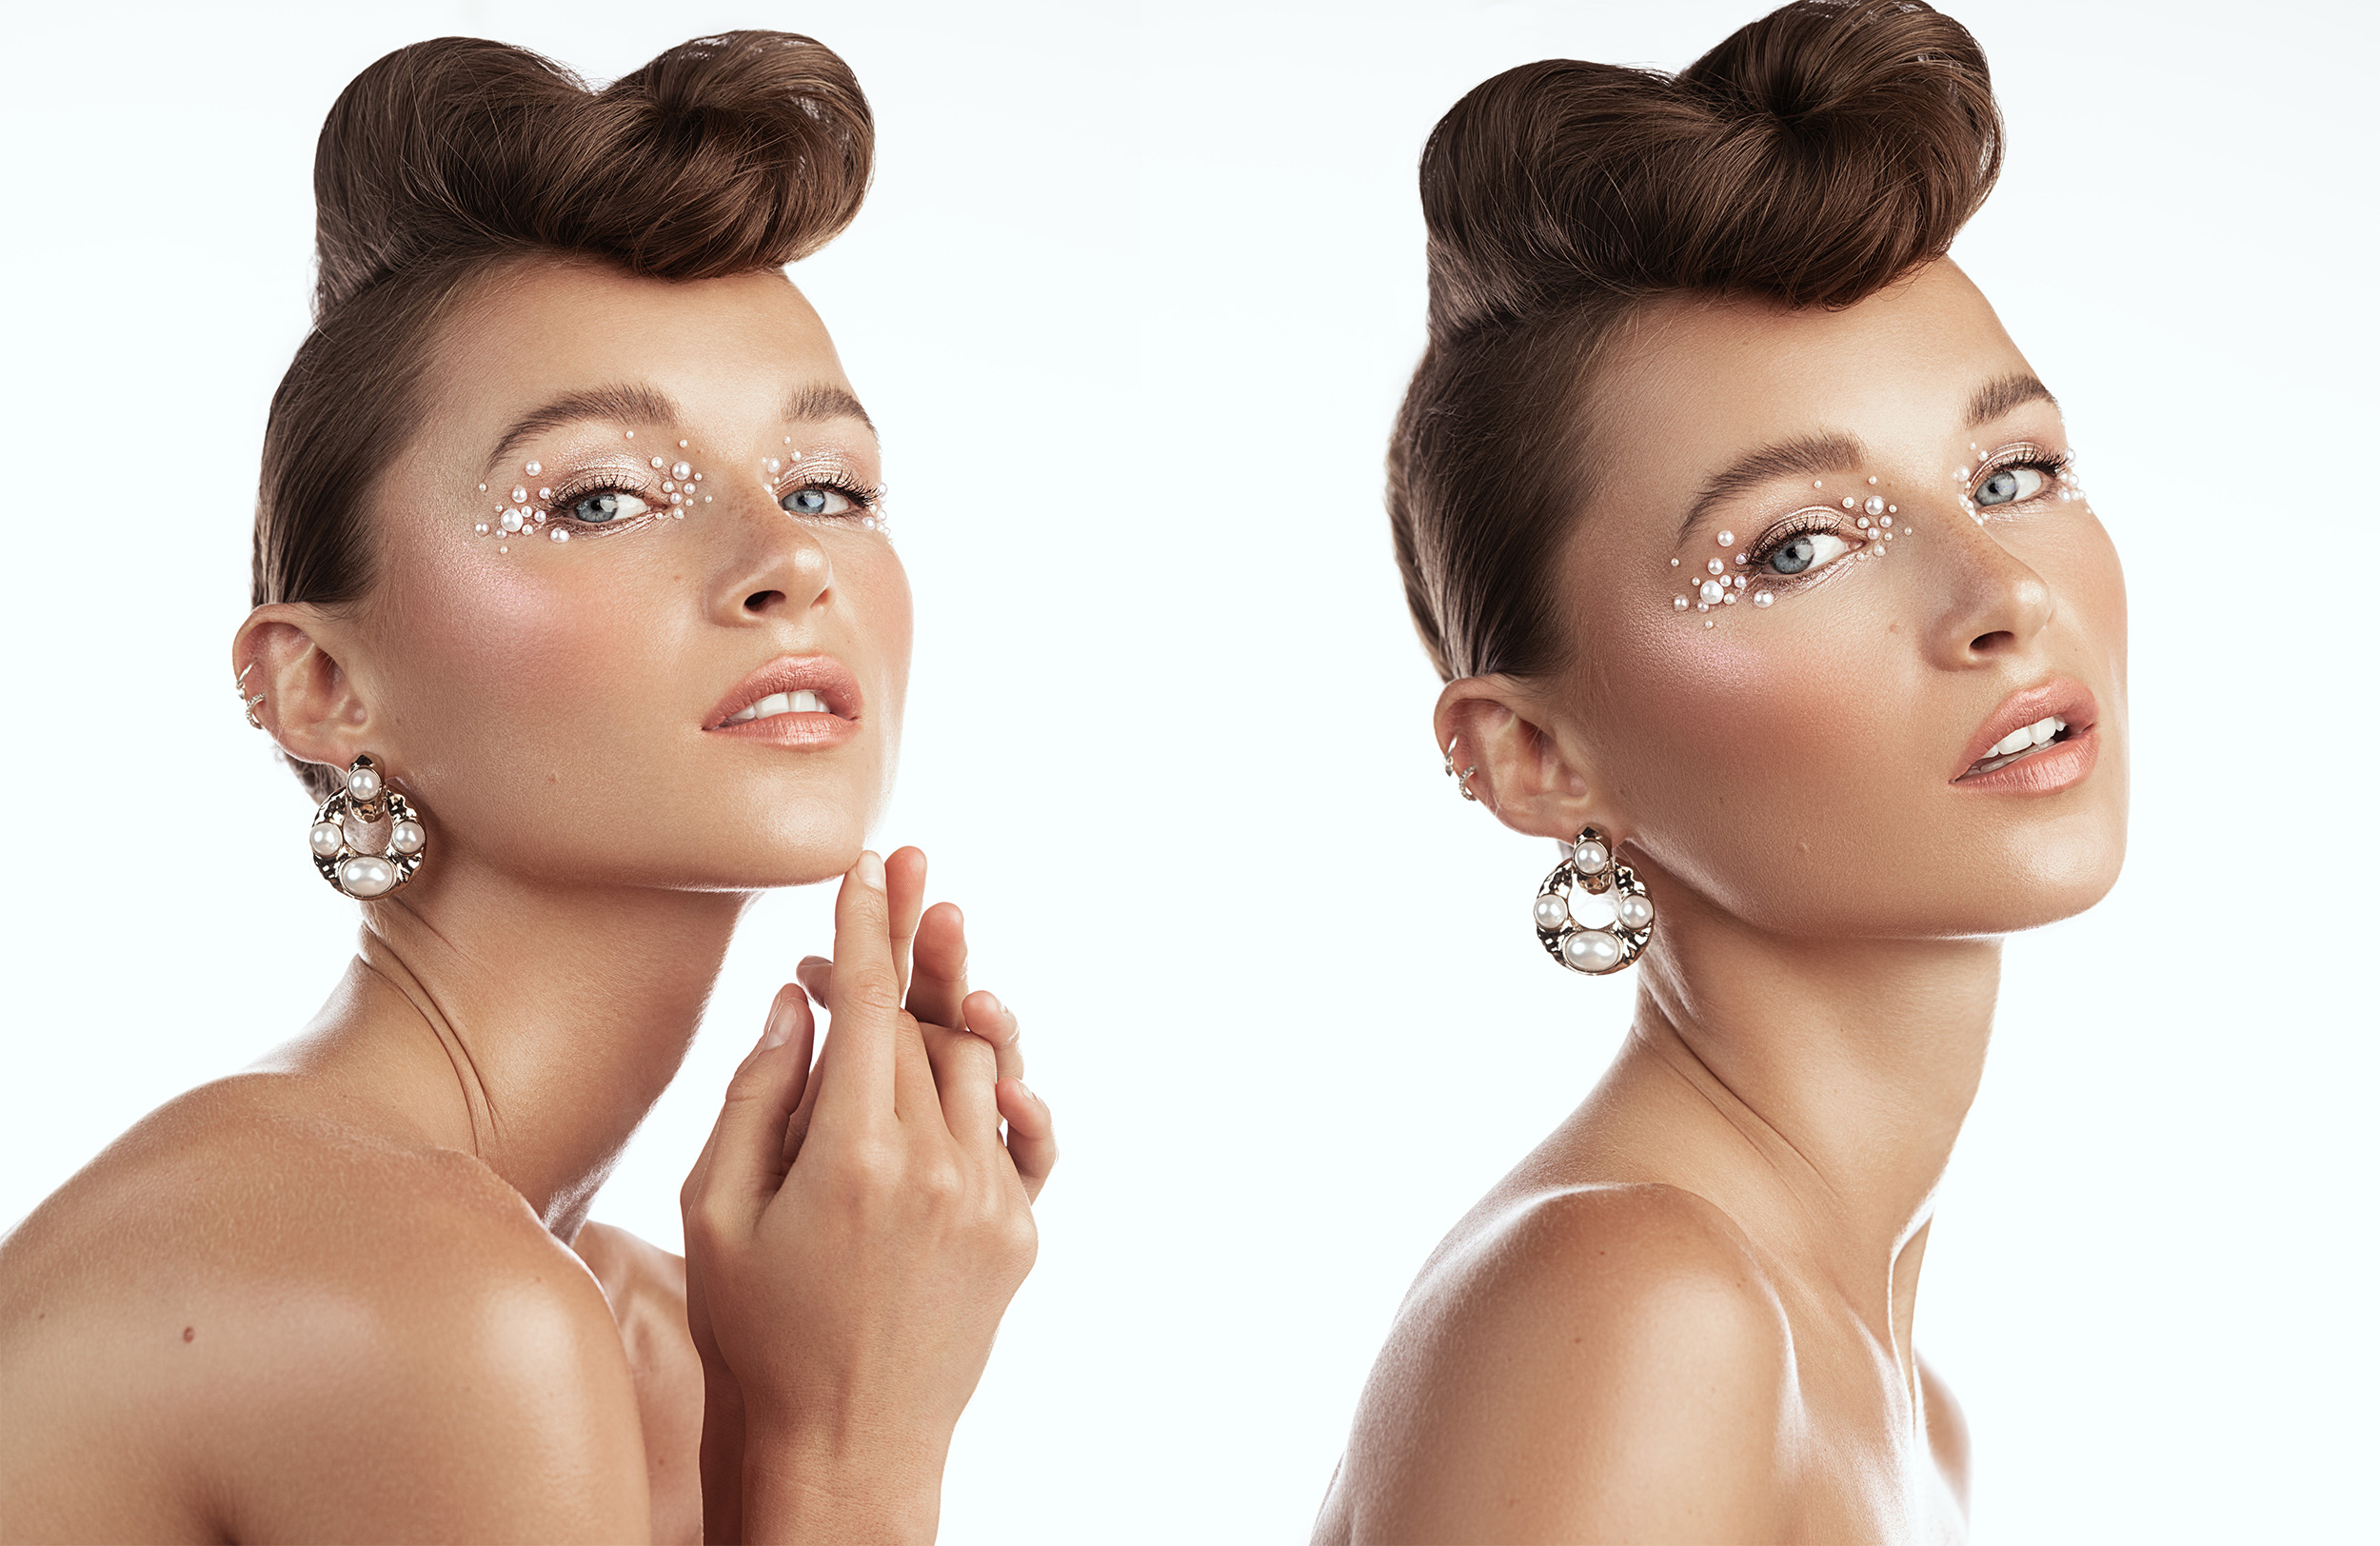
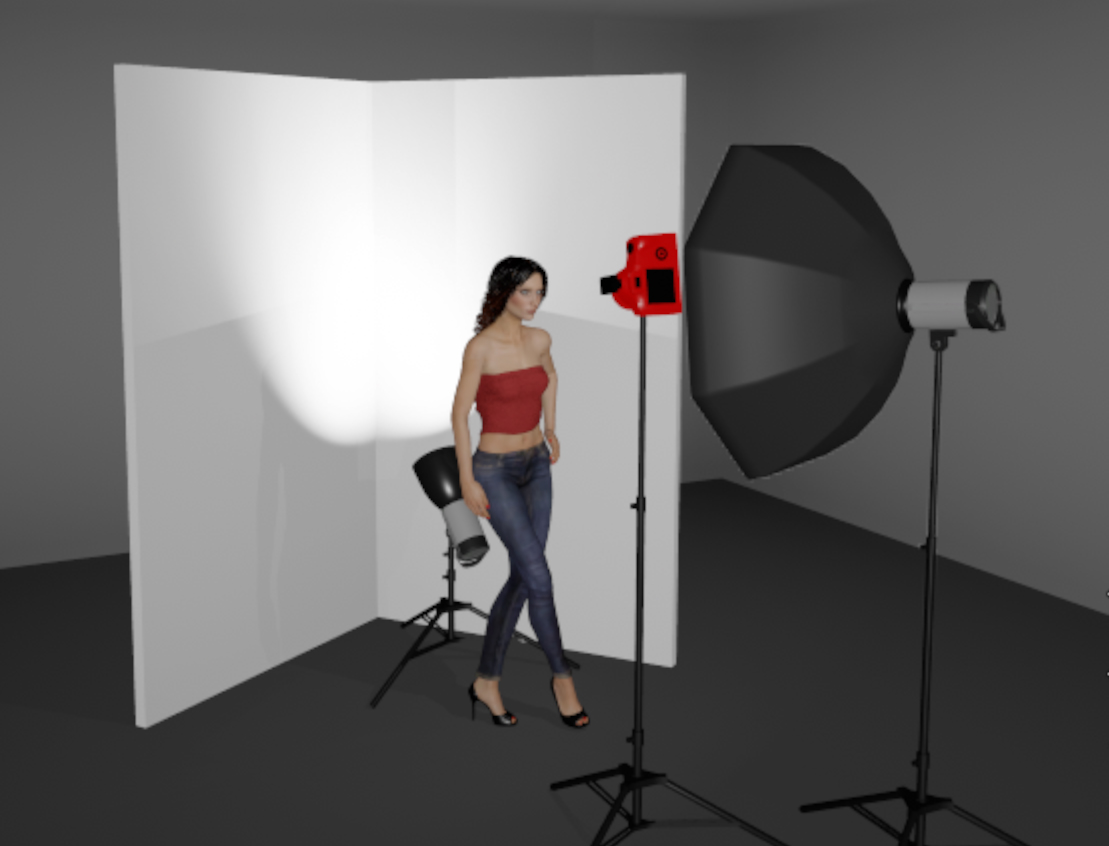
One of my absolute favorite lighting techniques is over-exposing the backdrop, allowing it to wrap around the subject and give an angelic look to the images. This technique takes a lot of finesse, as too much over-exposure will mute your color and contrast and give the image a hazy look. So the secret I’ve found when doing this technique is to angle a Vflat as a backdrop so that you can maximize the rim and wrapping light without overpowering the backdrop and losing contrast in the image.
Strong Bounce
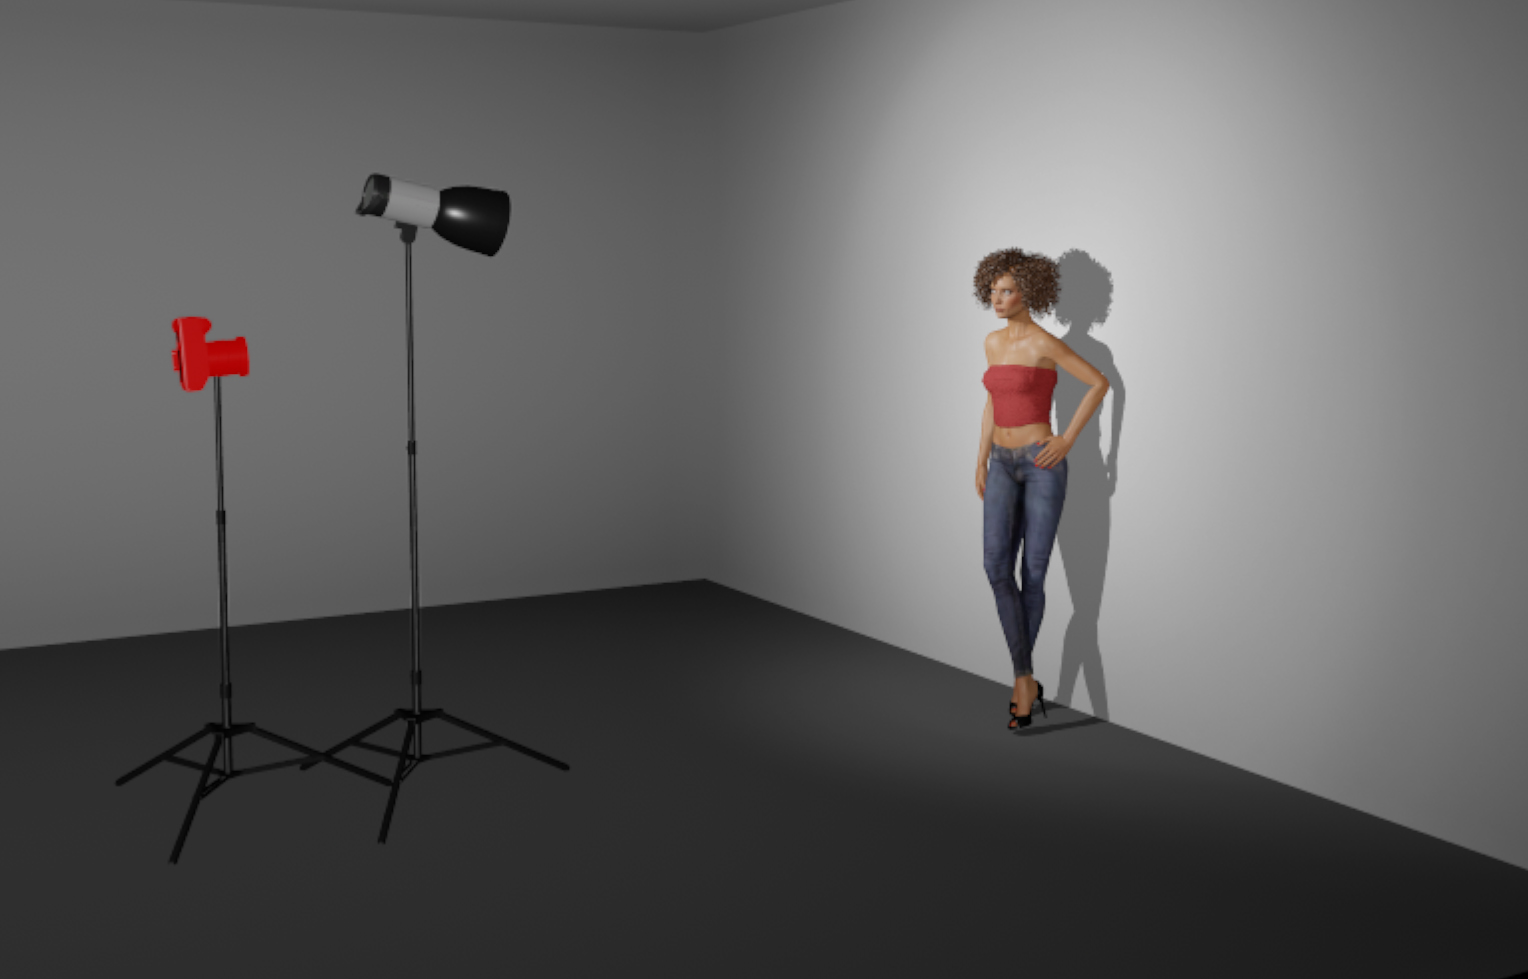
The final suggestion is to use the white wall as a bounce light source. By all means, this is not a new idea, and bounces and flags have been readily available in the photo industry for years. But too often, people see a white wall (or seamless, or cyc), and think that their subject has to have their back to it for it to work effectively. But using the wall as a bounce gives you an opportunity to soften your light source, without needing to bring a bunch of extra equipment out.
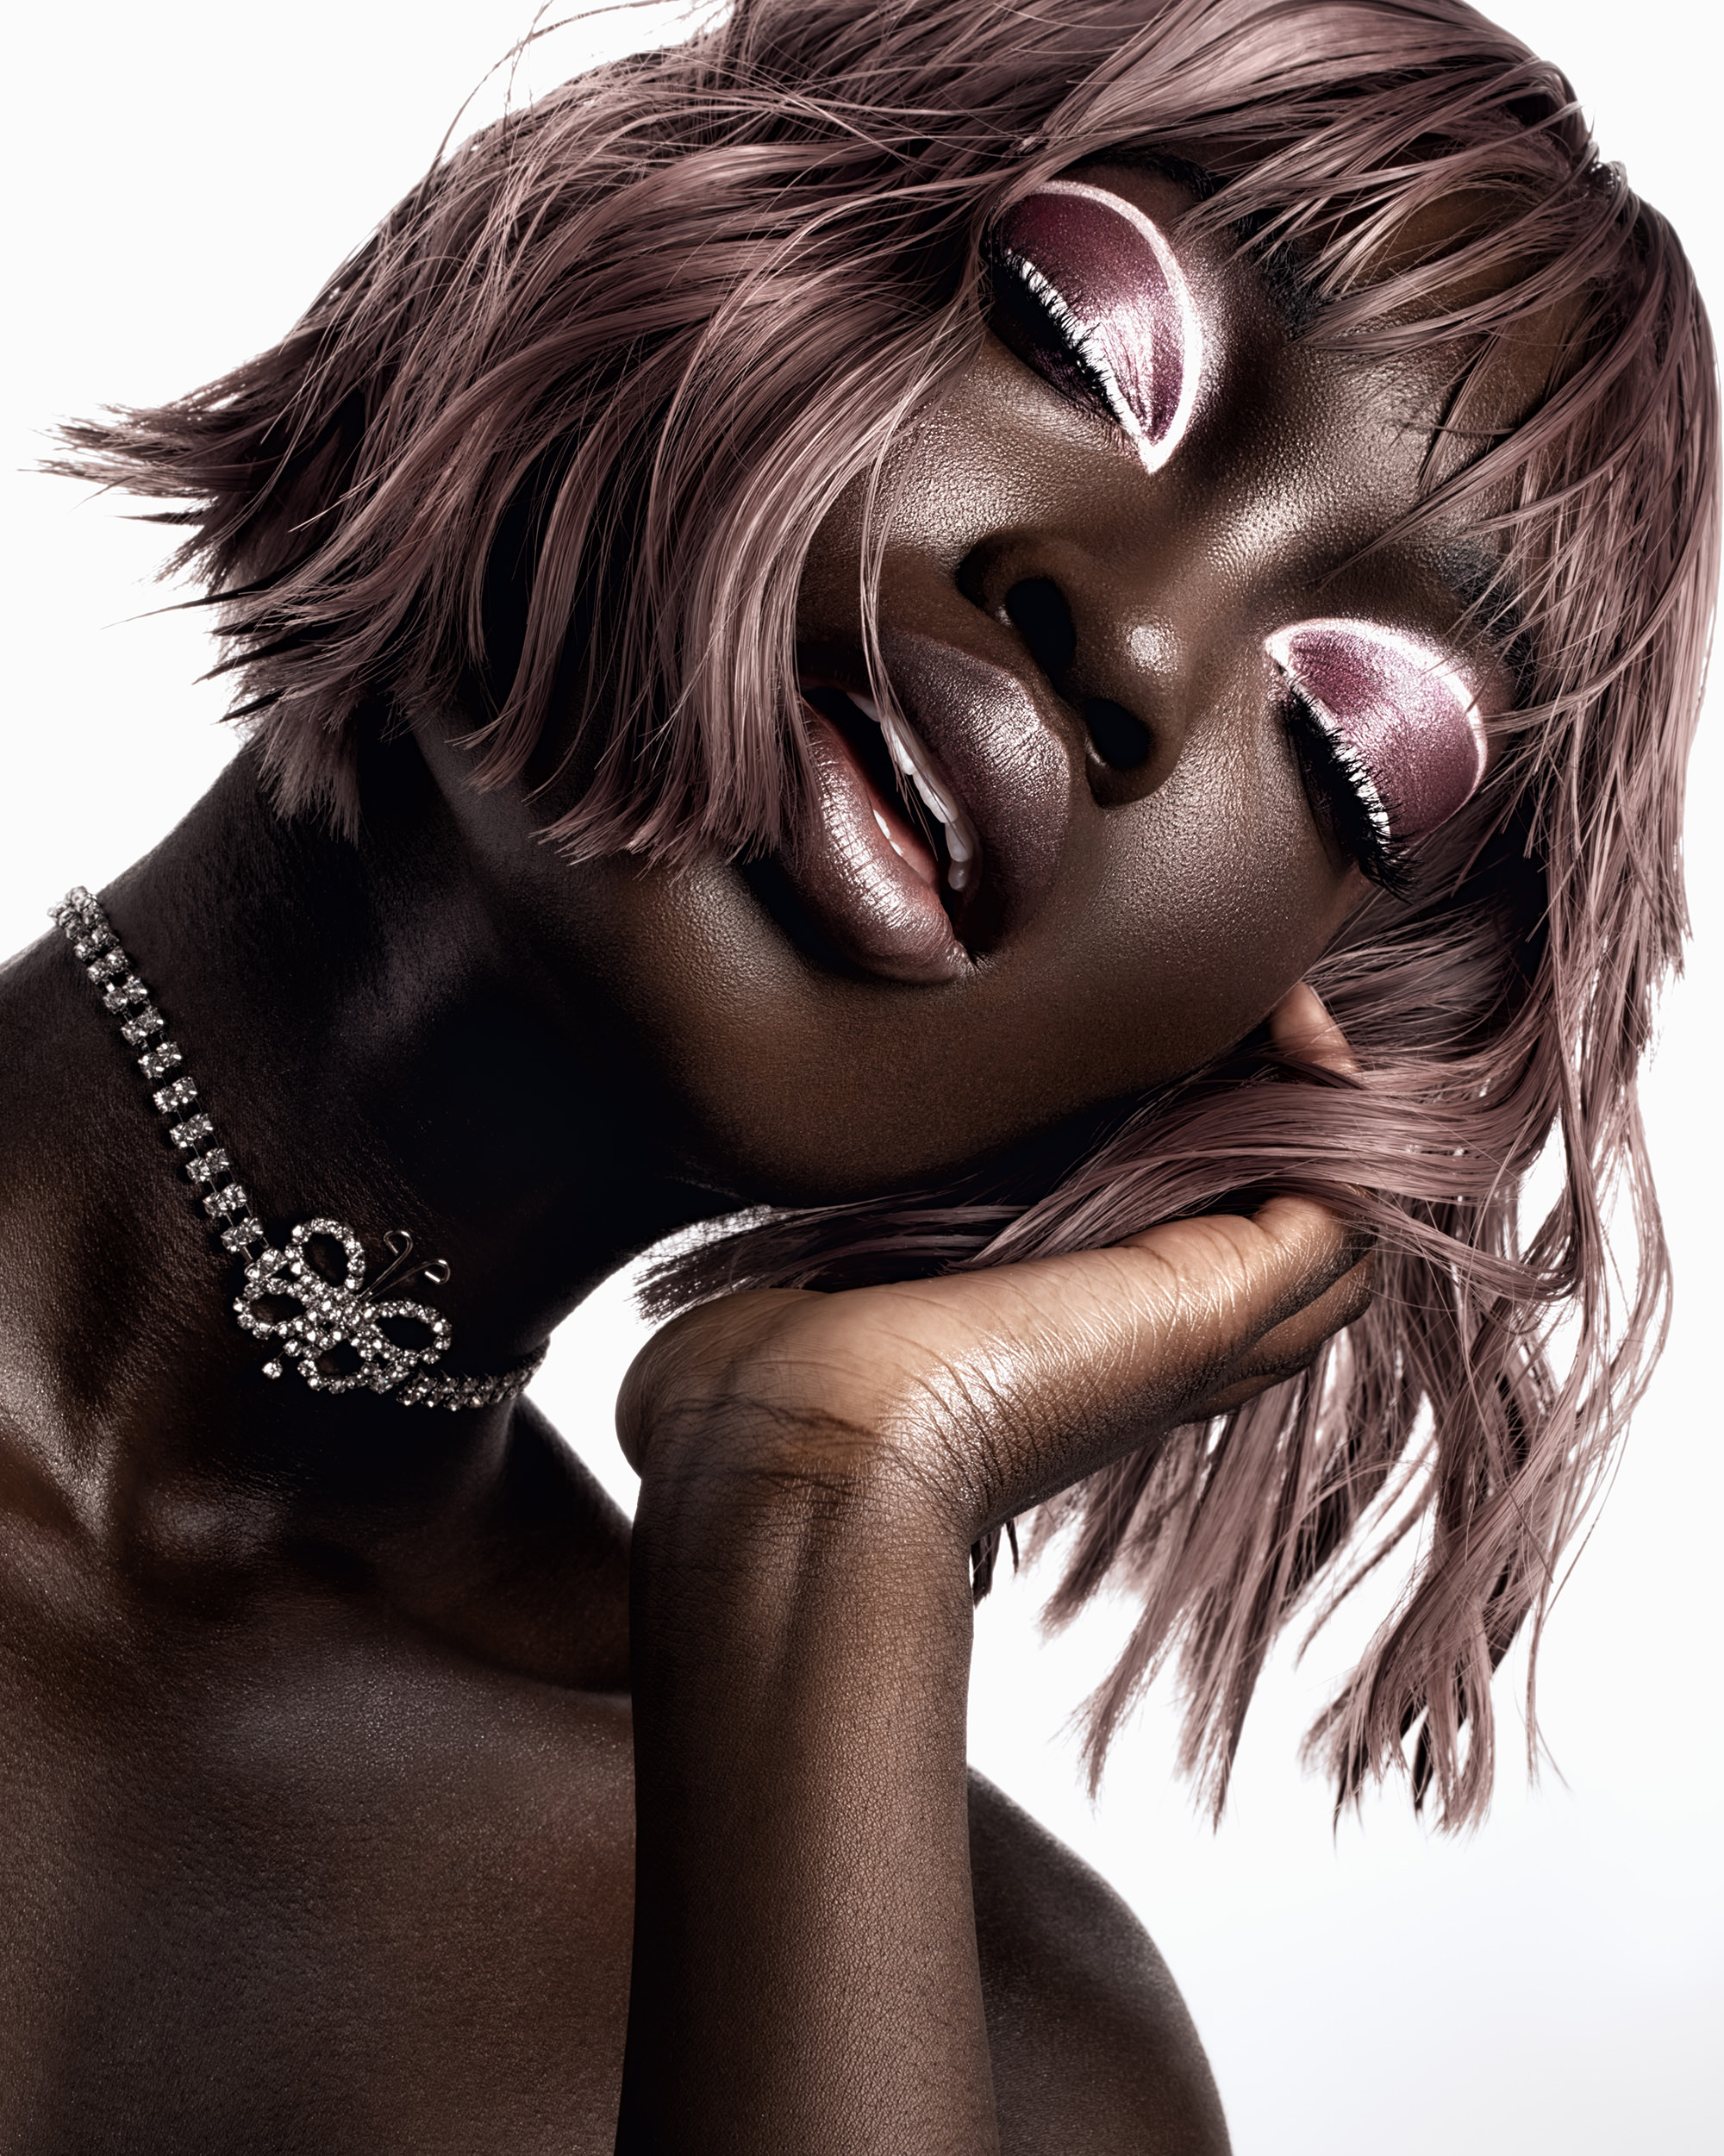
With a white backdrop, you have an immense amount of tonal ranges that you can use to get the desired effect for your portrait session – and we haven’t even covered the usefulness of gel kits. Do you have another suggestion on how to light a white backdrop in a creative way? Feel free to chime in in the comments below. And to see some more of my work on white, be sure to give me a follow on Instagram.
9 Comments
Stefan Mokrzecki ·
Thanks for the article Zach.
Annie ·
Another way that I like is to use a large softbox as my background, shooting directly into it with the subject in front of it. It takes a little fine-tuning to keep from having it too bright, or too dark. Too much and it wraps around the subject more than might be liked, too little and it isn’t white enough.
Mikey ·
… and I wondered if I was the only one who does that. Great idea you’ve got here! 😉
Markthetog ·
I actually built a system in my studio where I hung a 4×8 sheet of milk white plexi about 5 feet away from a white wall. I shot a light at the wall and the bounce was diffused back through the plexi.
Worked great for backlight but my real goal was using it as a sidelight to mimic window light.
I used two sheets sided by side to get 8 feet of width.
Being on a hanger system I could just slide them to one side when not needed.
Annie ·
Another way that I like is to use a large softbox as my background, shooting directly into it with the subject in front of it. It takes a little fine-tuning to keep from having it too bright, or too dark. Too much and it wraps around the subject more than might be liked, too little and it isn't white enough.
Mikey ·
... and I wondered if I was the only one who does that. Great idea you've got here! ;-)
Markthetog ·
I actually built a system in my studio where I hung a 4x8 sheet of milk white plexi about 5 feet away from a white wall. I shot a light at the wall and the bounce was diffused back through the plexi.
Worked great for backlight but my real goal was using it as a sidelight to mimic window light.
I used two sheets sided by side to get 8 feet of width.
Being on a hanger system I could just slide them to one side when not needed.
jshooter ·
I wish there’s a like button so you know it’s a good article. Thank you.
Cut Out Experts ·
Really enjoyed this post! Shooting portraits on a white backdrop might seem simple, but as this guide shows, there’s so much room for creativity. Great tips on lighting and composition—especially loved the breakdown on how to avoid flat-looking images. As someone who works in post-production, I know clean white backgrounds paired with expert retouching can create stunning, high-impact portraits. Definitely recommending this to my photographer clients!