We have a lot of gear in our inventory, which means we also have a lot of broken gear in the middle of repairs. When it comes to lenses, one thing we see a lot in the repair department is front element scratches. And that makes sense, when a lens is mounted, it’s the single piece of glass exposed to the world; and to accidents.
And so it seemed like it was time we relooked at a topic we discussed years ago on this blog, and talked about how front element scratches can affect your images, and image quality. After all, there is an entire industry trying to sell you UV filters, lens hoods, and other tools to help prevent scratches to the front element of your lens. So we decided to bug our repair department, and pull a few lenses with some front element scratches, to see how they compare to pristine variants.
How Front Element Scratches Affect Your Images
To put it simply, front element scratches will reduce the contrast and sharpness of your images, but nearly exclusively at the point where the scratch is on the element. So will you notice these scratches in your images? Probably not. This is because of how lenses capture light. In general, dirt, debris, and damage will be most evident when it’s closest to the focal plane (sensor). At lower aperture values (f/1.4, f/2.8, or f/3.5 for example), a front element scratch will be almost impossible to detect, and dust or damage on the actual sensor (or on the rear element of the lens) will appear as a small shadow or possibly a blurry artifact. At higher aperture values (f/16, f/20, f/22, for example), a front element scratch may be a bit more noticeable, appearing as a place with less contrast and hazier. A rear element scratch or sensor scratch will be much more apparent at higher apertures, appearing as a flare, or in some cases, even a black blob. This is why it’s easy to test whether or not you have sensor dust – just set your aperture to f/16 or above, point the camera to the blue sky, and press the shutter. You’ll likely see sensor dust pretty easily, as dark spots.
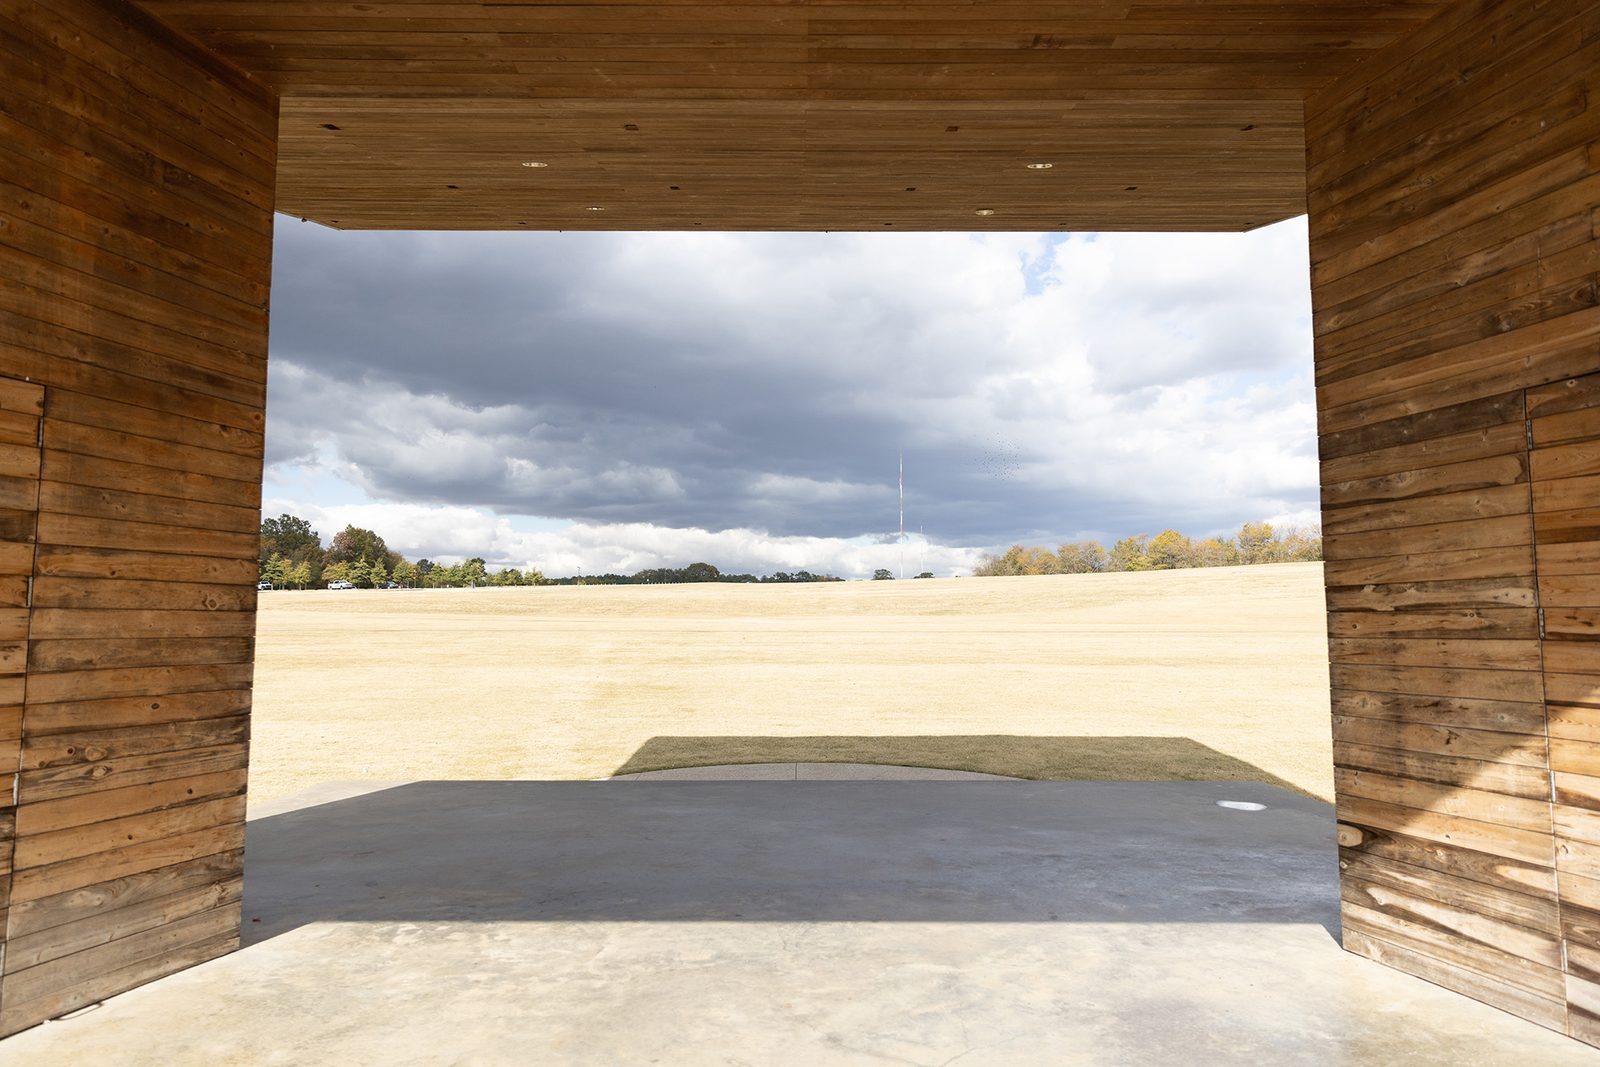
To illustrate this point, we pulled some scratched lenses from our repair department’s inventory and did some side-by-side comparisons. Example photos are below, and as you can see, both lenses performed near equally to their undamaged brethren. I doubt you’ll be able to see any differences between the scratched and unscratched comparisons.
-
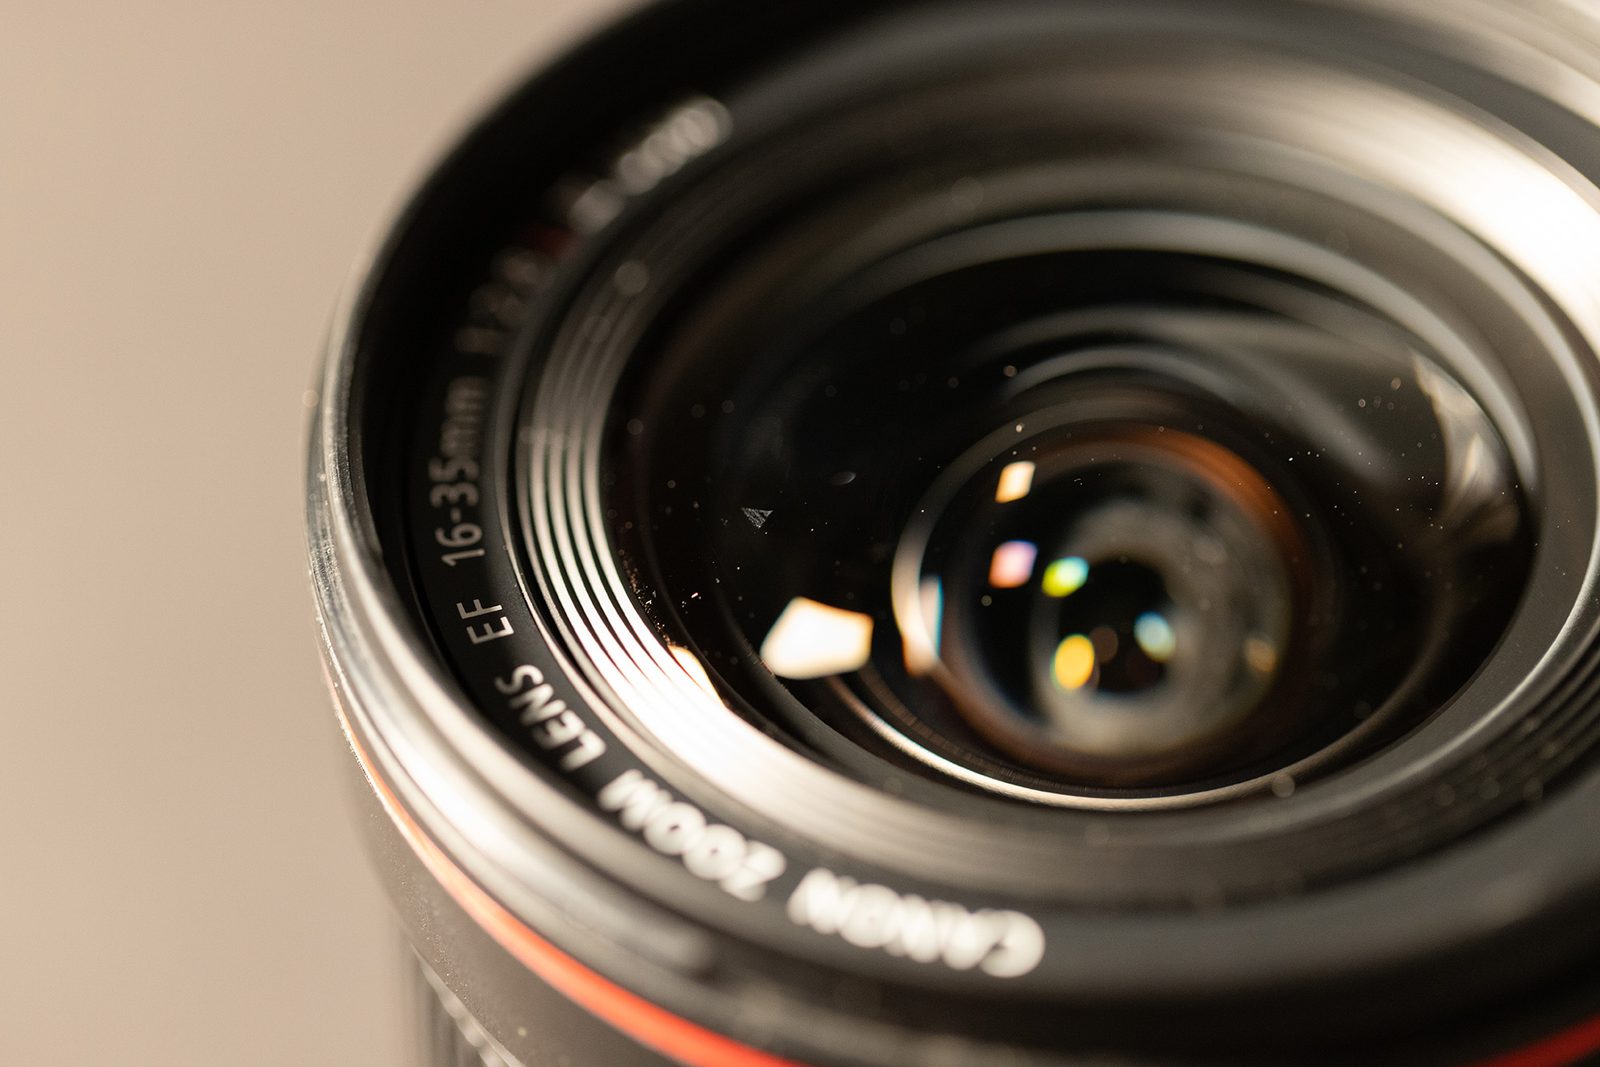
Close Up of Scratch on Canon 16-35mm -
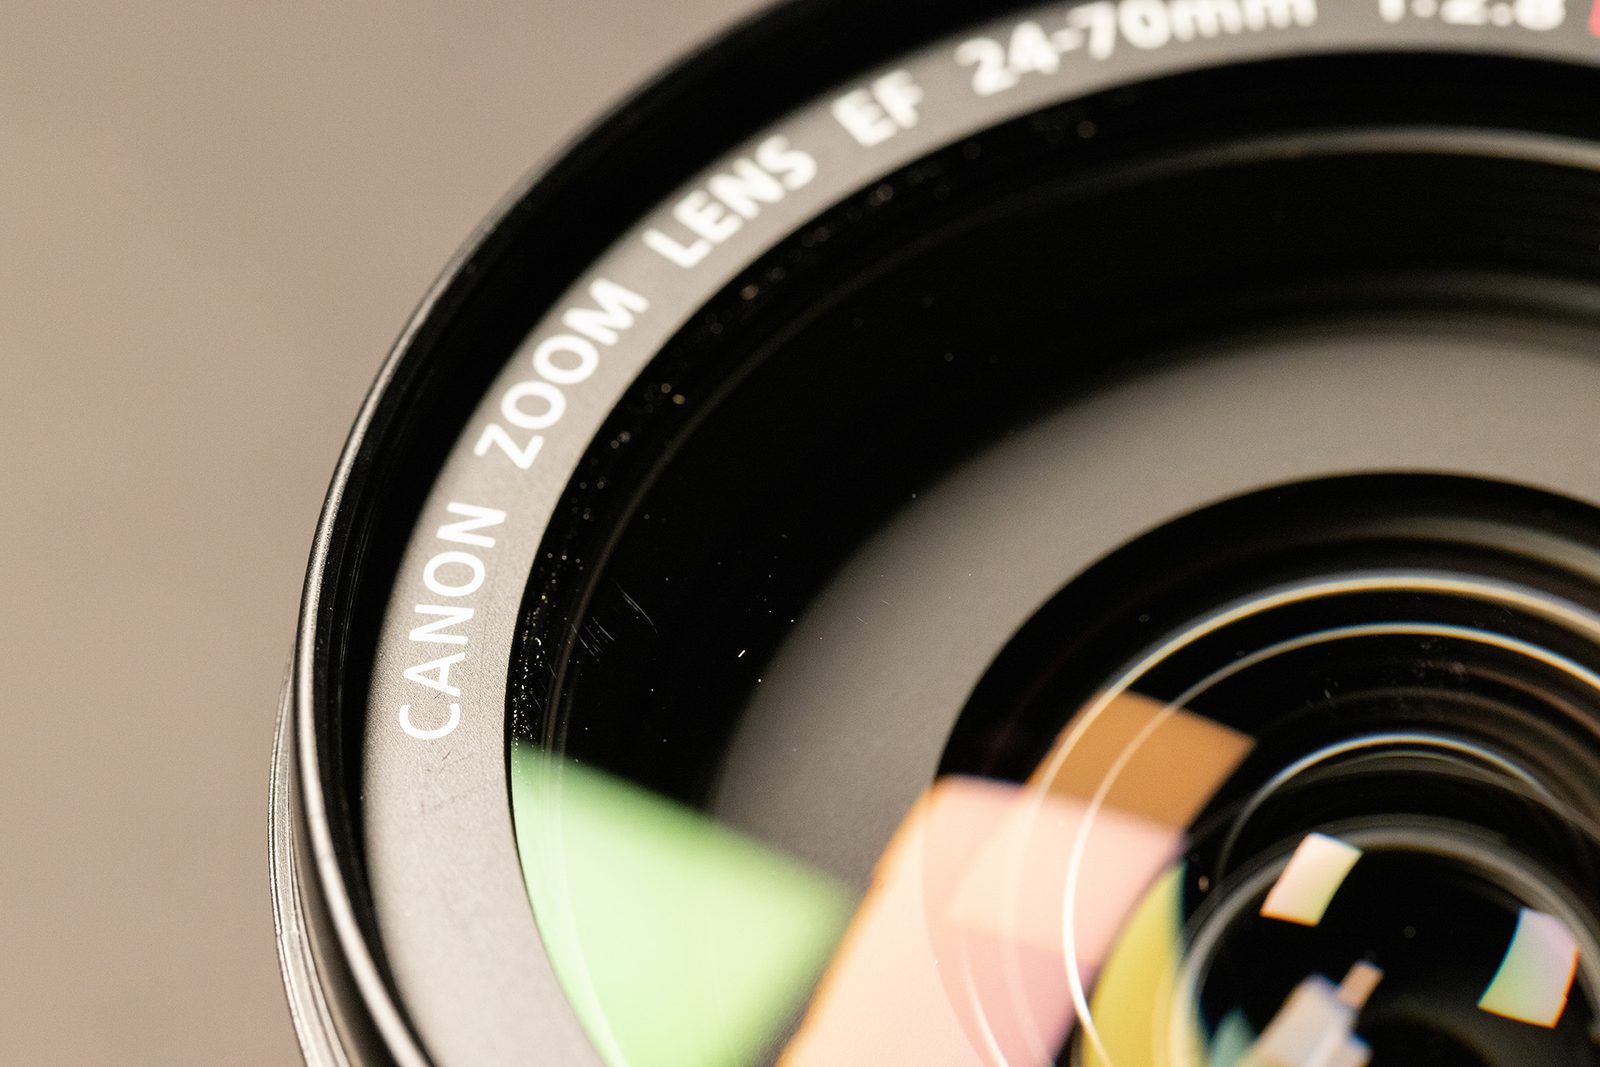
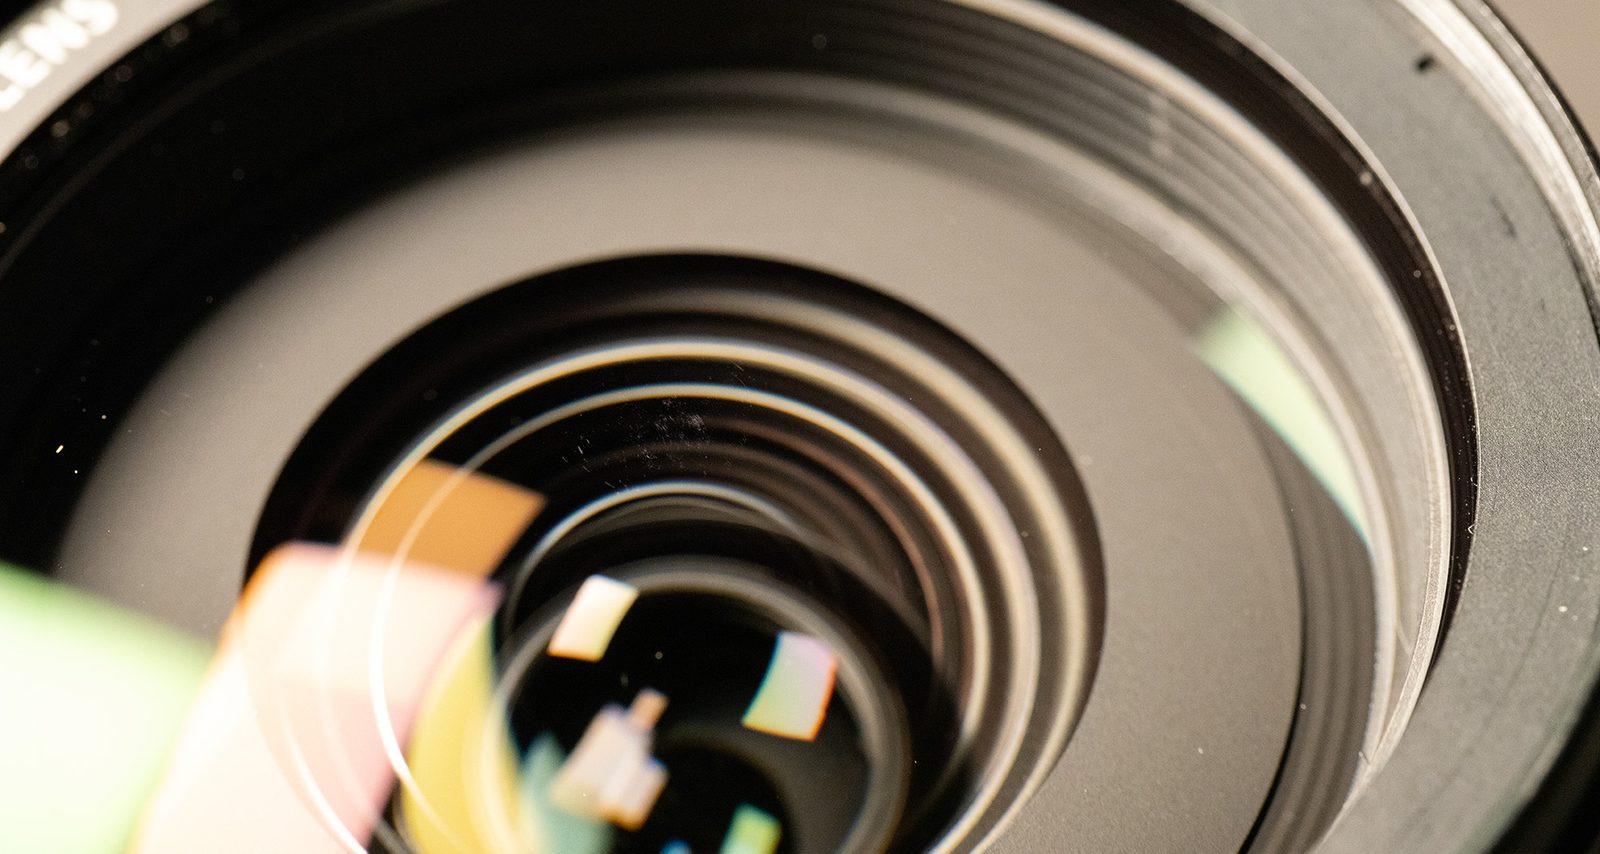
Close Up of Scratch on Canon 24-70mm -

Canon EF 16-35L Scratched Front Element -

Canon EF 16-35L Unscratched Front Element -
Canon EF 24-70L Scratched Front Element -
Canon EF 24-70L Unscratched Front Element
As you can tell from above, you likely won’t be able to see the differences between one image and the other, and scratches will have almost no noticeable changes to your images. However, one place where it can have larger effects is when you have flares in your images, so let’s look at how each lens performs when we’re intentionally flaring lights.
-
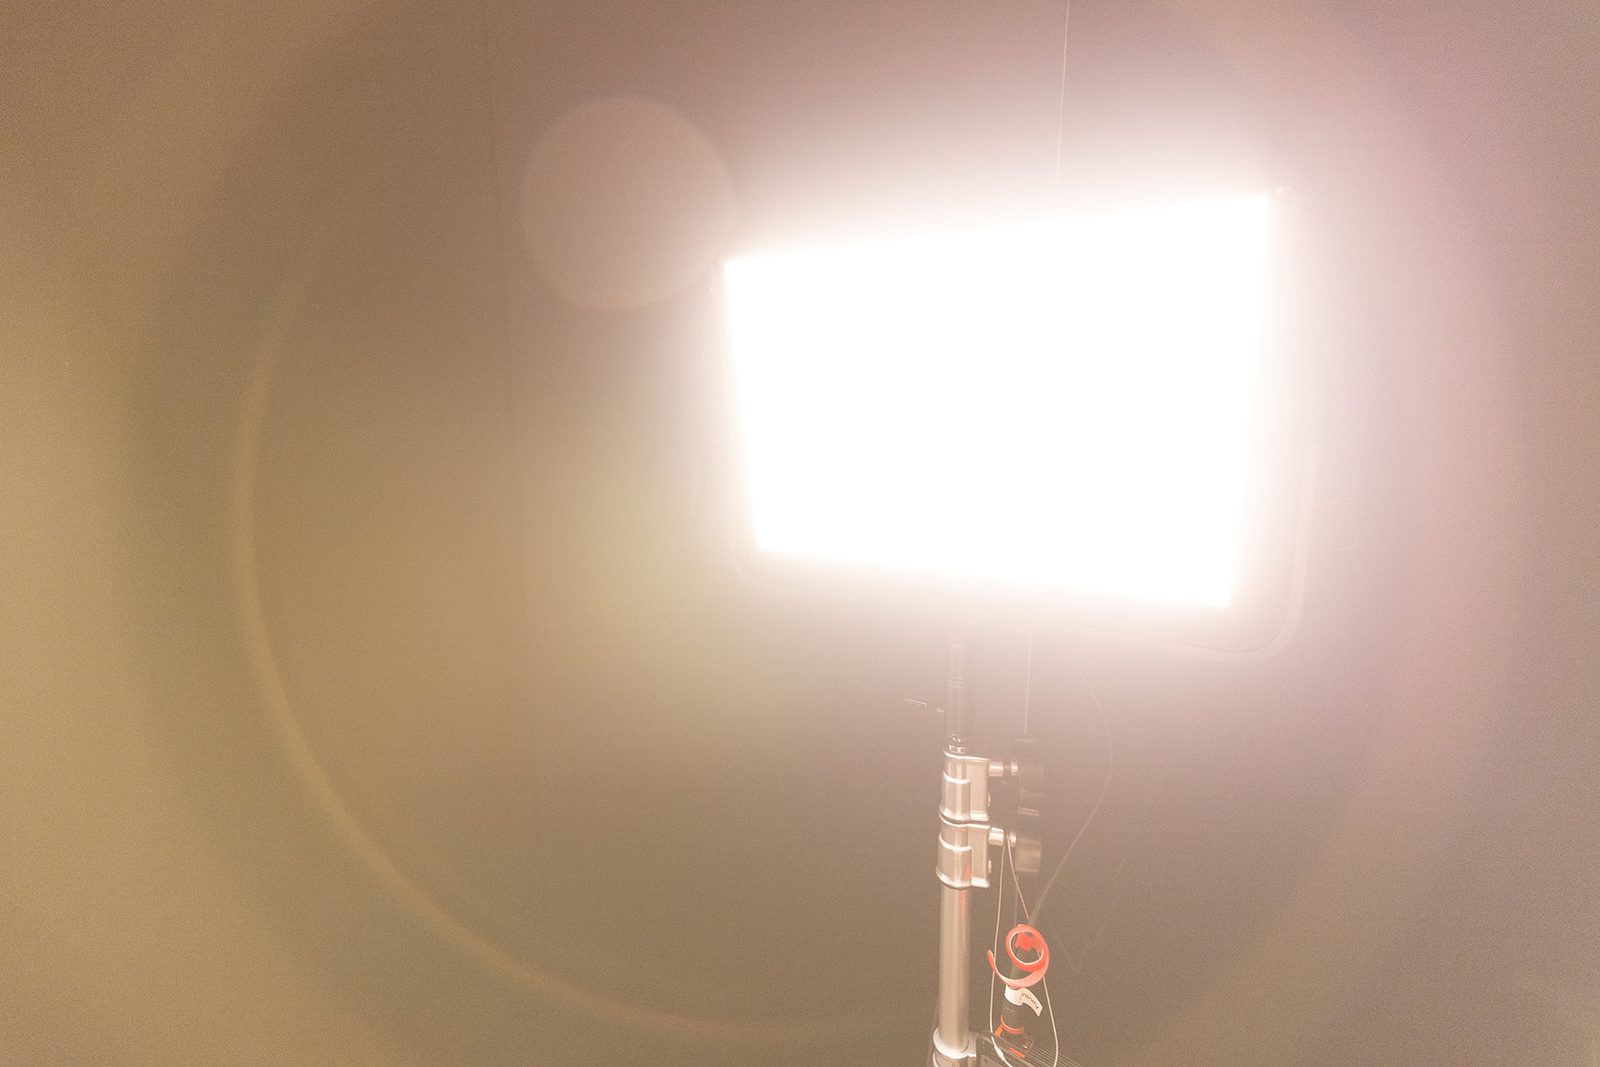
Canon EF 16-35L Scratched Front Element -
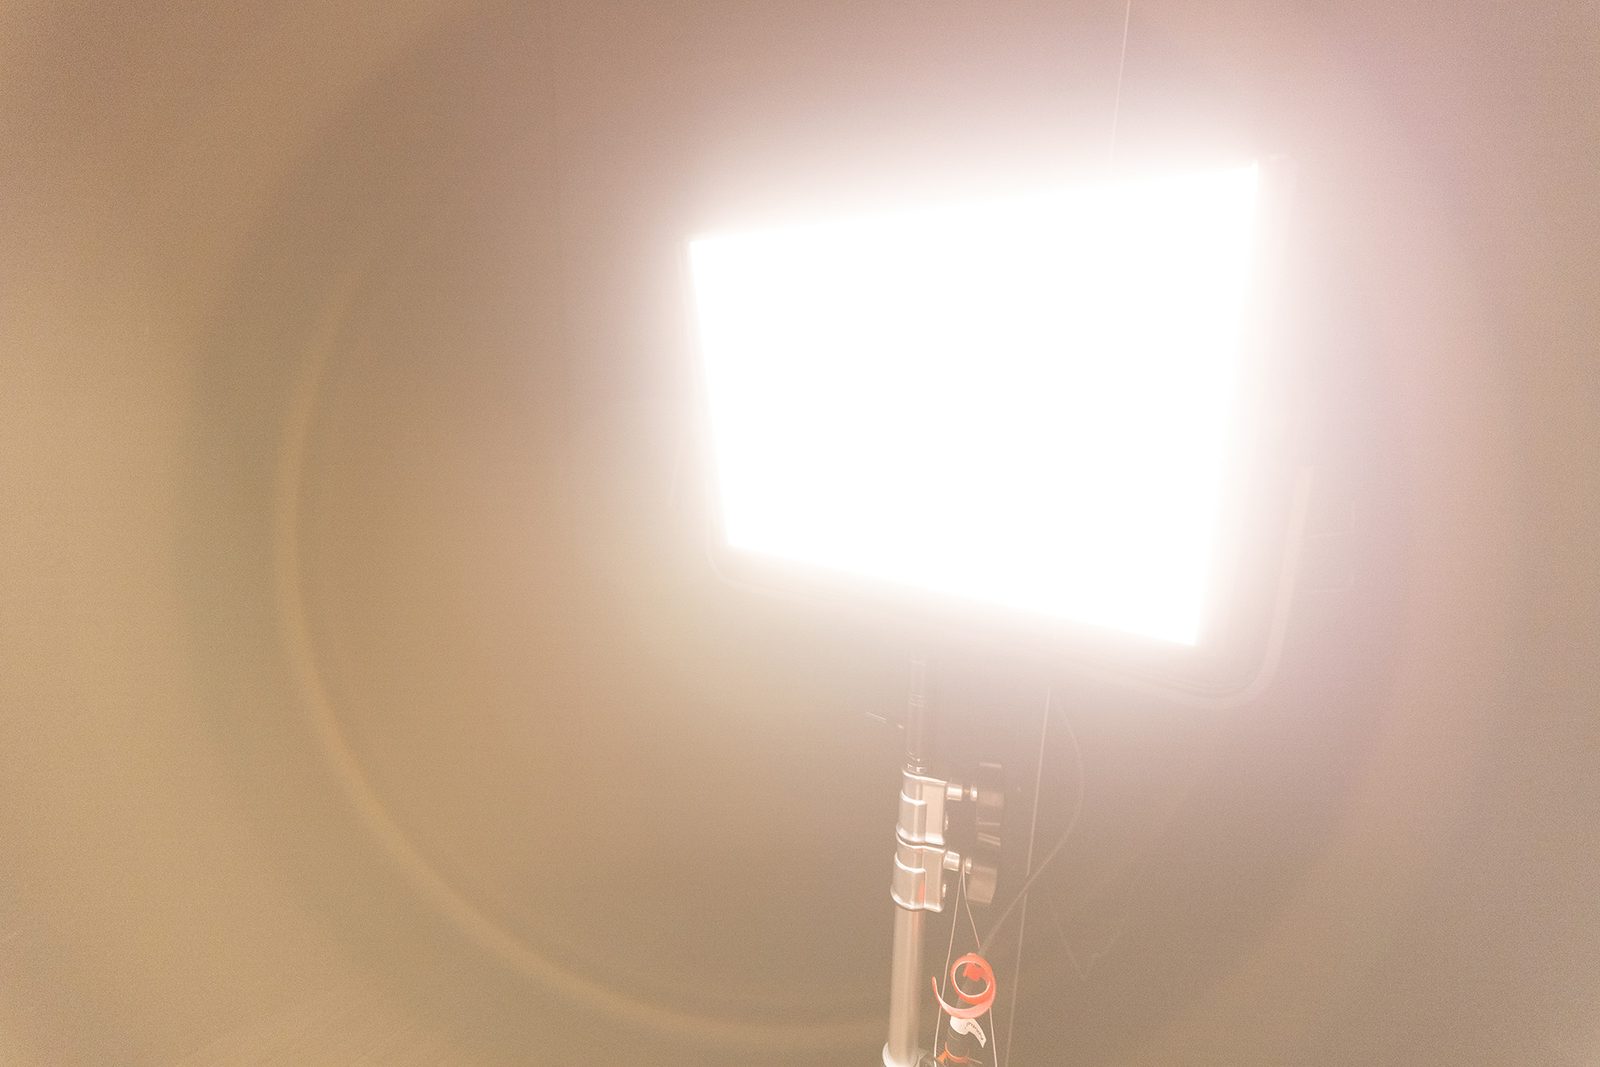
Canon EF 16-35L Unscratched Front Element -

Canon EF 24-70L Scratched Front Element -
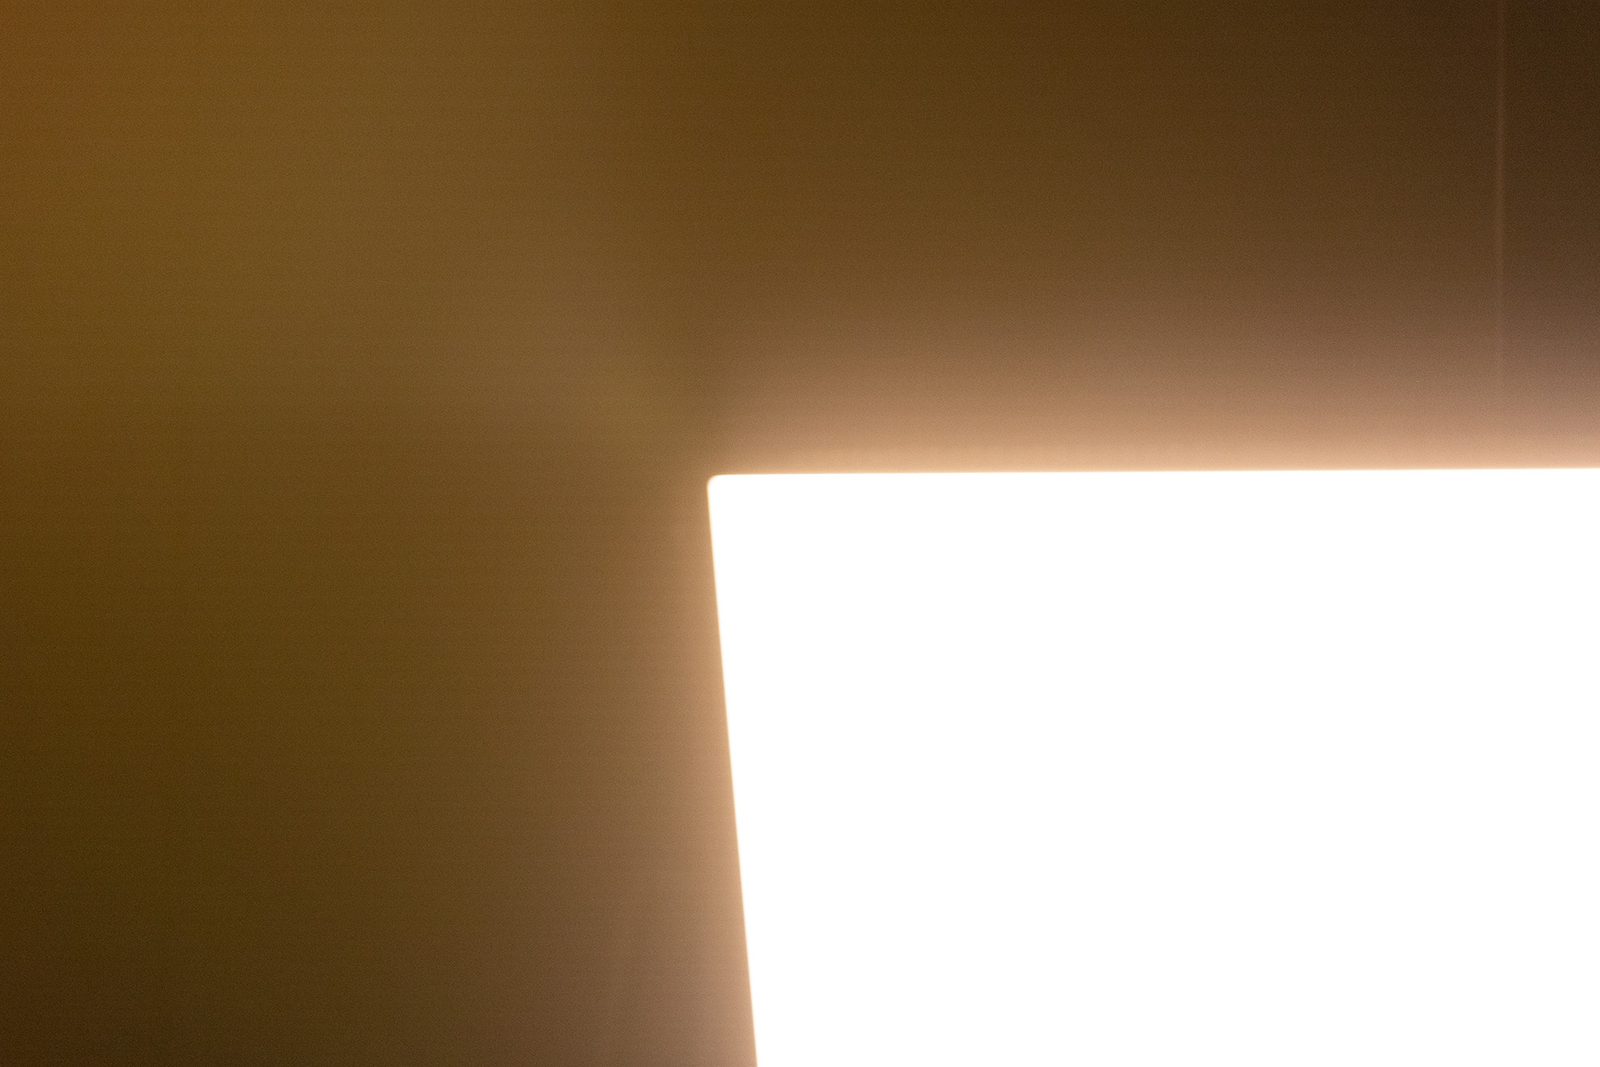
Canon EF 24-70L Unscratched Front Element
That said, obviously, regardless of these results, no one wants to put a big scratch on the front of their lens, so, it’s important to take means of protecting their lens if they can, so here are some tools that can help protect the front of your camera lens.
How to Protect Your Lens
UV Filter
The most common way, and probably most practiced, is using a UV filter. We’ve gone back and forth on our stance on UV filters in the past, in fact, when we started, Lensrentals sent all their lenses out with a UV filter, and then at some point, we removed them all. We’ve since added them back to most (if not all) of our lens inventory. However, we still have some tried opinions on the topic. For one, if you choose to put a UV filter on your lens, you should always invest in a good UV filter. Your optics are only as good as your weakest link, and if you put a $3 UV filter on a $2,000 lens, you can take a guess where that weakest link is. There are plenty of lists online where anonymous authors weigh in with what UV filter is the best quality, but my stance is a simpler approach – cost can usually correlate with quality. B+W and Hoya both make exceptional filters, but will cost quite a bit. Tiffen is cheaper but also a credible brand and makes some great products. But the pragmatic approach is that if you start seeing weird sharpness or hazy issues in your photos, remove the UV filter to see if that’s affecting the image quality. And if you wanted a more in-depth look into UV filters, Roger did an elaborate comparison on this blog just a few years ago.
Lens Hood
The other main way to protect your lens is with the tool that likely came with the lens – the lens hood. Designed more as a tool to help with flaring than a tool for protection, a lens hood will help make the front of your lens further recessed, and will help protect it from any potential damage. This is an effective way to protect your lens from colliding with objects, and best of all, it’s a free option.
Related Reading
- How to Quickly Ruin Your Camera and Lens
- My Not Quite Complete Protective Filter Article
- Looking at Clear and UV Filter Spectrograms
- Yet Another Post About My Issues With UV Filters

19 Comments
Mike Aubrey ·
Scratches also show up in bokeh highlights. https://uploads.disquscdn.com/images/99d2b97878cd467edc85c6361f337d14a6b78e2568cf9c755e0d437d27154efe.jpg
Niko PetrHead ·
Scratches are mostly invisible… Unless you put the sun in the frame. And close the aperture to get a nice sunstar, for good measure.
I’d worry about it more on a wide-angle than on a tele, for this reason.
Paul Trantow ·
Yep! Or strongly backlit situations. I had a nasty one in one of my zooms, and every time I’d get backlit, or a little flare, this awful ghost of the scratch (which was no deeper than the coatings) would appear. Looked terrible. I finally sent it in for (a kind of expensive) repair!
Patrick Chase ·
Also because any given f/# corresponds to a physically smaller entrance pupil in a wide-angle, which means that any given scratch will have more of an impact.
The impact of a scratch is roughly proportional to its size divided by the area of the entrance pupil. Long, fast lenses are more or less immune to all but the most horrible damage. A 12 mm wide-angle at f/16 only has a 3/4 mm entrance pupil, which means that just about any surface defect will show up, especially if it acts as a source of flare.
Roger Knight ·
Yikes, Mike, when does a scratch become a gouge? ?
Franz Graphstill ·
I’m disappointed that you referred to UV filters throughout, completely ignoring that there have been purpose built protective filters for over a decade. Protective filters with no filtration and toughened glass – there’s at least one made from transparent ceramic. There’s no need for UV filtration with digital sensors – it was chemical film that could be fogged by UV.
This article reads like it was written by a inexperienced member of the team, rather than Roger.
Athanasius Kirchner ·
The terms are used pretty much interchangeably, and indeed almost no one today purchases a UV filter to block that part of the spectrum – they’re used simply as protection.
Franz Graphstill ·
But this is specifically talking about using a filter as protection, and a real UV filter is less protection that a purpose built protective filter. If someone reads this, decides to purchase such a filter, and buys a UV filter, then this article has done them a serious disservice.
Patrick Chase ·
No a UV filter is not “less protection”, unless you’re talking about a very specialized ceramic material like Sigma WR-Ceramic that isn’t available as a UV filter.
For most brands UV and Clear both use almost identical crown glasses. That’s certainly true of both B&W MASTER (#007 Clear vs #010 UV) and Hoya HMC EVO, which are the two that LensRentals has standardized upon for their lens fleet.
You’re not doing anybody a service either, by making more of it than is reasonable.
Patrick Chase ·
Yep, I think that the focus on “UV” vs “Clear” is misguided. For most practical uses you can’t tell any difference. IMO the reputable brands (B+W, Heliopan, Hoya, Sigma, Tiffen, etc) all produce optically flat filters that won’t degrade sharpness unless you stack them egregiously as LensRentals did in a test a while back.
The real differences between reputable filters are in the coatings IMO. Cheap uncoated filters are flare machines (5% scattering/reflectivity per glass-to-air interface), while high end 16- or 32-layer multicoatings can knock that all the way down to tenths of a percent per interface, at which level the filter will seldom create any detectable difference in the image. IMO some of the most interesting filters from a cost/performance perspective are “cheap” multicoated ones like HMC, which can get you down to <1% scattering per interface at a fraction of the price of top-of-the-line filters. Based on their specs the "T98" Chiaros are also in that category, though I don't have much experience with them (I have one that I've never really used).
FWIW I use a mix of B&W MASTER, Sigma WR-Ceramic, Heliopan SH-PMC, and Hoya SMC EVO filters for both protectors and ND. Those are all first-rate filters, but the costs really add up once you factor in both variable and fixed NDs in a few sizes. If I were on a budget I'd build around Hoya HMC in a heartbeat.
Impulse_Vigil ·
Any recommendations? I’ve always used B+W clear filters and they seem to hold up well enough, tho ironically they’re usually a couple bucks more than the same size UV filter in the same model line.
Franz Graphstill ·
Just say “protective filters” – that covers purpose built ones made from toughened glass (or transparent ceramic), and the use of regular filters for protective purposes.
Patrick Chase ·
You can’t go wrong with the B&W XS-Pro (now MASTER) filters. The B&W brand is made by Schneider, and everything I’ve ever used from them has been first rate, though priced to match at $103 for an 82 mm clear protector.
In terms of price-performance I’ve always thought that Hoya HMC (4-layer multicoating) do very well, and cost about $27 for an 82 mm protector. They’re noticeably more reflective than the 16-layer coatings on XS-Pro, but far better than any uncoated filter. I would say that they get you 80% of the way there in terms of performance for 1/4 the cost, with the only optical difference being worse flare in difficult lighting where every little bit of excess reflectivity counts (and again, they’re vastly better than any cheap uncoated filter). Hoya HMC also lack the antistatic coatings of MASTER.
I’ve noticed that LensRentals has started using Hoya SMC EVO filters, which are priced similarly to B&W MASTER ($102 mm for 82 mm protector). EVO filters use 16-layer antistatic coatings similar to B&W MASTER, and the one I got when I “loved” a lens from LR is quite good, with no detectable difference in reflectivity/flare or impact on sharpness.
I think you can’t go far wrong with any of those 3. It’s just a matter of how much you’re willing to pay to eliminate the potential flare contribution of the filter.
geekyrocketguy ·
Sadly Roger seems to have moved on to greener pastures and taken his expertise and insightful blog posts with him. 🙁
DD D ·
Unfortunately, I'm a lens scratcher but I've stopped using protective filters because it's so hard to evaluate their quality and quite difficult to find good reviews on them. I do have a B+W skylight filter but normally don't use it. I believe Lenstip.com did a review on different polarizing filters several years ago and one of the high quality filter makers came out poorly. It's up to Roger to test some for us.
ktmrider ·
This, along with most similar discussions misses the mark because it doesn’t address how we, as laymen, can evaluate the quality of these UV or neutral protective filters. The implication is that if we blindly throw money at the problem, we’ll be all right but will we be? Are there lesser costing filters that work as well?
For example, in a close parallel case, I just purchased a K&F CPL retailing for $179. I also have two UV filters from that company costing less but still expensive for a UV filter. Are these junk or did I get my money’s worth? Can a CPL *be* worth $180? It’s not like I can buy all these filters, test under controlled conditions and then pixel peek to determine the winner. Even if gifted all these filters, my pixel peeking isn’t skilled enough to report out the ranking.
Patrick Chase ·
For the most part what you’re paying for are antireflection (and perhaps antistatic) coatings. I have a couple of K&F square filters (along with many more B&W and Hoya filters of all shapes and sizes, and a few Polar and H&Y) and they’re solid and reasonably priced.
I’ve evaluated filters in 3 ways over the years:
1. Image an “extended” ISO 12233 target (one with patterns up to 4000 cyc/height) with/without them to check for optical impacts
2. Shoot into strong backlighting to check for flare, being careful to keep the configuration (lens, position of light source in FoV, etc) exactly the same between filters.
3. Directly examine the reflectivity of the filter, i.e. tip it back and forth and see how much it reflects vs transmits.
I’ve never seen a difference in (1) between reputable brands (including K&F). They’re all pretty flat and uniform these days.
You can sometimes see differences in (2), but it’s heavily dependent on the lens and the exact setup of the scene and light source. The filter is flat, so slight changes can determine whether it reflects light into an “unfortunate angle/location” for the lens. Uncoated vs coated can be fairly obvious here, 1-layer vs 4-layer vs 16-layer is progressively harder to detect.
Test (3) is probably the one where you’ll see the most obvious differences. I can easily tell a 4-layer Hoya HMC from a 16-layer Hoya EVO, but then you’re left with the question of whether it really matters from a practical perspective. I’m obsessive enough that I use 16-layer multicoated filters for just about everything, though.
To have paid that much for a K&F CPL you must have gotten a Nano-X Pro filter. Those are “double-sided 36-layer”, which I suspect means 18 layers/side. IMO that’s a very good filter, and similar in price to comparable Hoya (EVO) and B&H (MRC-Nano Master) filters. You’re basically getting the smallest-possible scattering and reflection from that filter. Whether that’s worth the price premium is in the eye of the beholder. Most of the time it won’t matter, but it can make a noticeable difference for difficult scenes.
ktmrider ·
You’re correct. The filter is claimed to be a Nano-X Pro. That said, I had no idea what it meant but now, due to your post, have at least a vague idea. Thanks.
Wedding-Photographer ·
Thanks for this article (and the great comments)..
Changing filters when they get scratched sounds like common sense. A kind of similar question I have always wondered is how does the dust inside the lens impact the image.
Does it create some effect in backlit situations, and some visible artefact in the bokeh?