
If you got your start in photography and have dipped your toe into the water of videography, you’ll notice that a lot of photography equipment can be used for video pretty seamlessly. But as you go further into videography, you’ll quickly learn that a lot of the equipment tailored specifically for videography has some significant advantages over photo gear. And perhaps more importantly, you’ll also open the door to new terminology when using video gear that didn’t really exist in the photo world. So to help end some confusion, let’s take a look at some of the video terminology you might run into when experimenting with video.
T-Stop vs. F-Stop
In the world of photography and cinematography, the terms “t-stop” and “f-stop” are often used interchangeably, yet they possess subtle distinctions that hold significant importance in the realm of light measurement and control.
“F-stop,” short for “focal ratio,” primarily refers to the numerical value that denotes the aperture size of a camera’s lens. It represents the ratio of the lens’s focal length to the diameter of its entrance pupil. This numeric scale serves as a fundamental tool for photographers and cinematographers to regulate the amount of light entering the camera, which influences both exposure and depth of field. A lower f-stop number signifies a larger aperture, permitting more light to reach the camera’s sensor or film, resulting in a shallower depth of field and potentially more pronounced background blur.
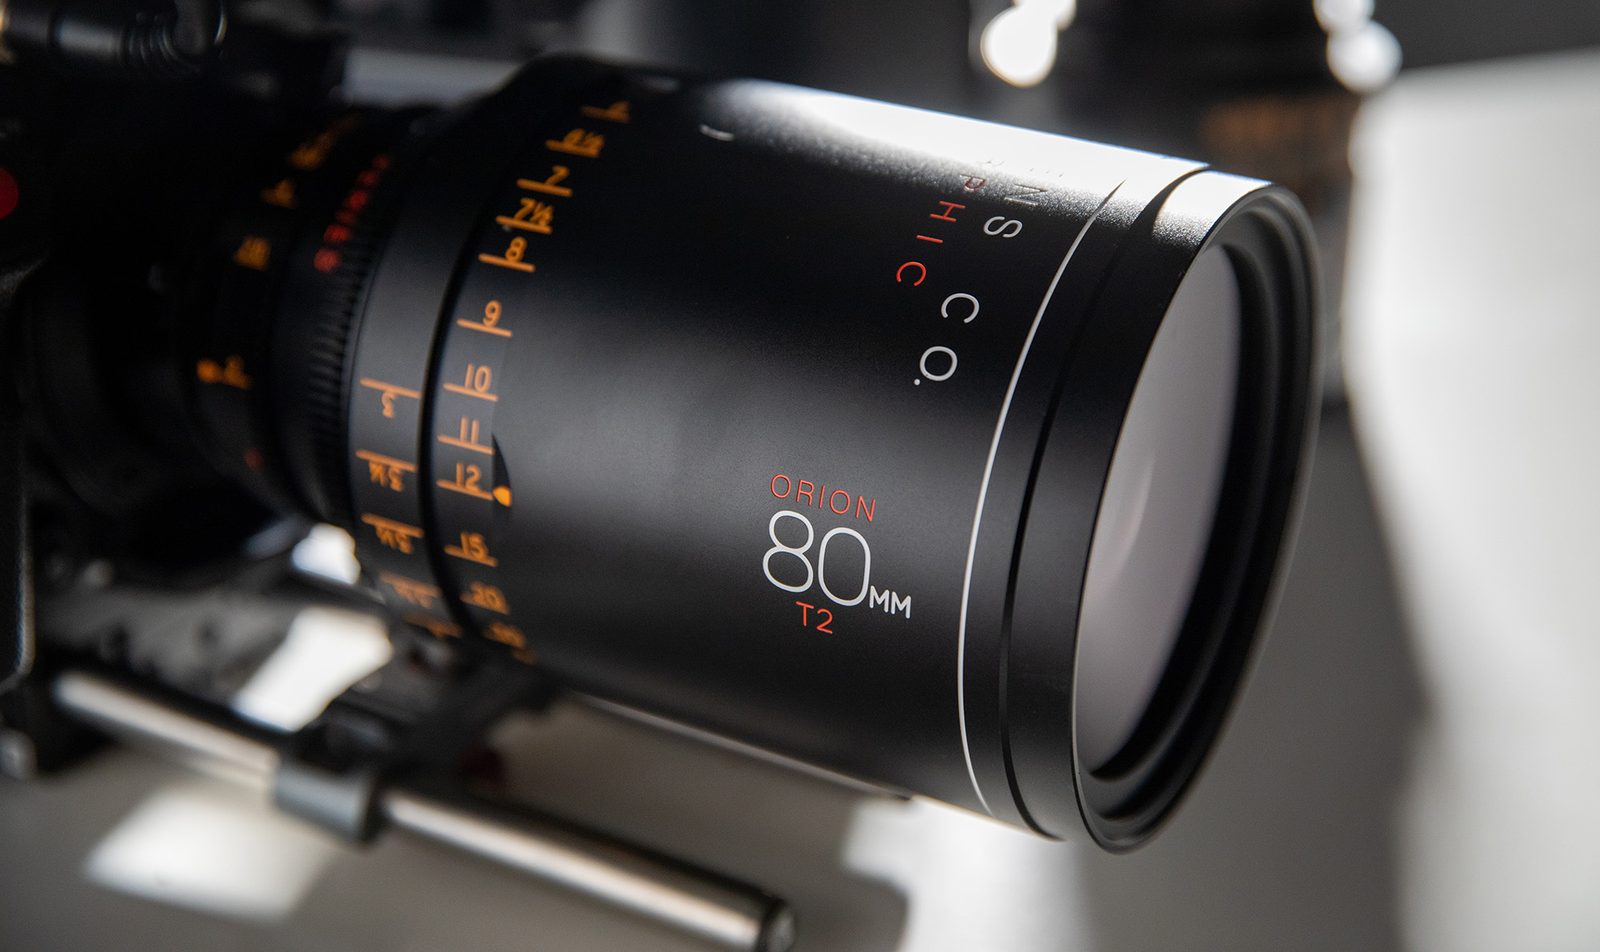
On the other hand, the “t-stop,” short for “transmission stop,” takes into account the actual light transmission efficiency of the lens system, encompassing not only the aperture but also any internal elements that might absorb or scatter light. This refined measurement assures greater accuracy in exposure calculations, particularly when using multiple lenses or complex optical setups. Unlike the f-stop, where the numeric value might not precisely correspond to the actual light transmission, the t-stop offers a more reliable way to gauge the light’s true impact on the final image.
If you’ve used multiples of the same lens at the same f-stop, you may notice that the exposures of the two lenses could differ as much as 2/3rds of a stop. This is because of quality control and differentiating factors within the lens. When all goes well, a t-stop will provide more uniform exposure from one lens to the next, which is far more important when shooting video. So in short, t-stop and f-stop are measuring largely the same thing, but a t-stop is going to be more accurate and uniform across several lenses.
Parfocal Lenses
If you’ve started to dive into video lenses, you may have seen the term parfocal (though sometimes lenses designed for stills will advertise themselves as parfocal). A parfocal lens is a lens that retains focus on a subject while zooming in or out across a specific range of focal lengths. Unlike traditional lenses that require constant refocusing during zoom adjustments, parfocal lenses maintain sharpness without the need for frequent adjustments. So for shots that may require you to zoom in on a subject, or zoom out to widen the scene, you’ll want to use a parfocal lens, or you may lose some of your focus and sharpness when zooming in and out on your subject.
Anamorphic vs. Spherical Lenses
In the world of optics, there are a couple of different choices of the design of the lens you may choose – most notably spherical lenses, and anamorphic lenses. But what’s the difference between one and the other? Let’s dive into it.
Spherical lenses, with their inherent simplicity, offer a straightforward approach to capturing images. So much in fact, that 95% of all lenses are considered spherical. These lenses evenly magnify the scene onto the camera’s sensor or film, resulting in a natural, undistorted portrayal of the world. A standard in both prime and zoom variants, all of your lenses are likely spherical lenses, and get their name because the light entering the lens enters through circular optics.
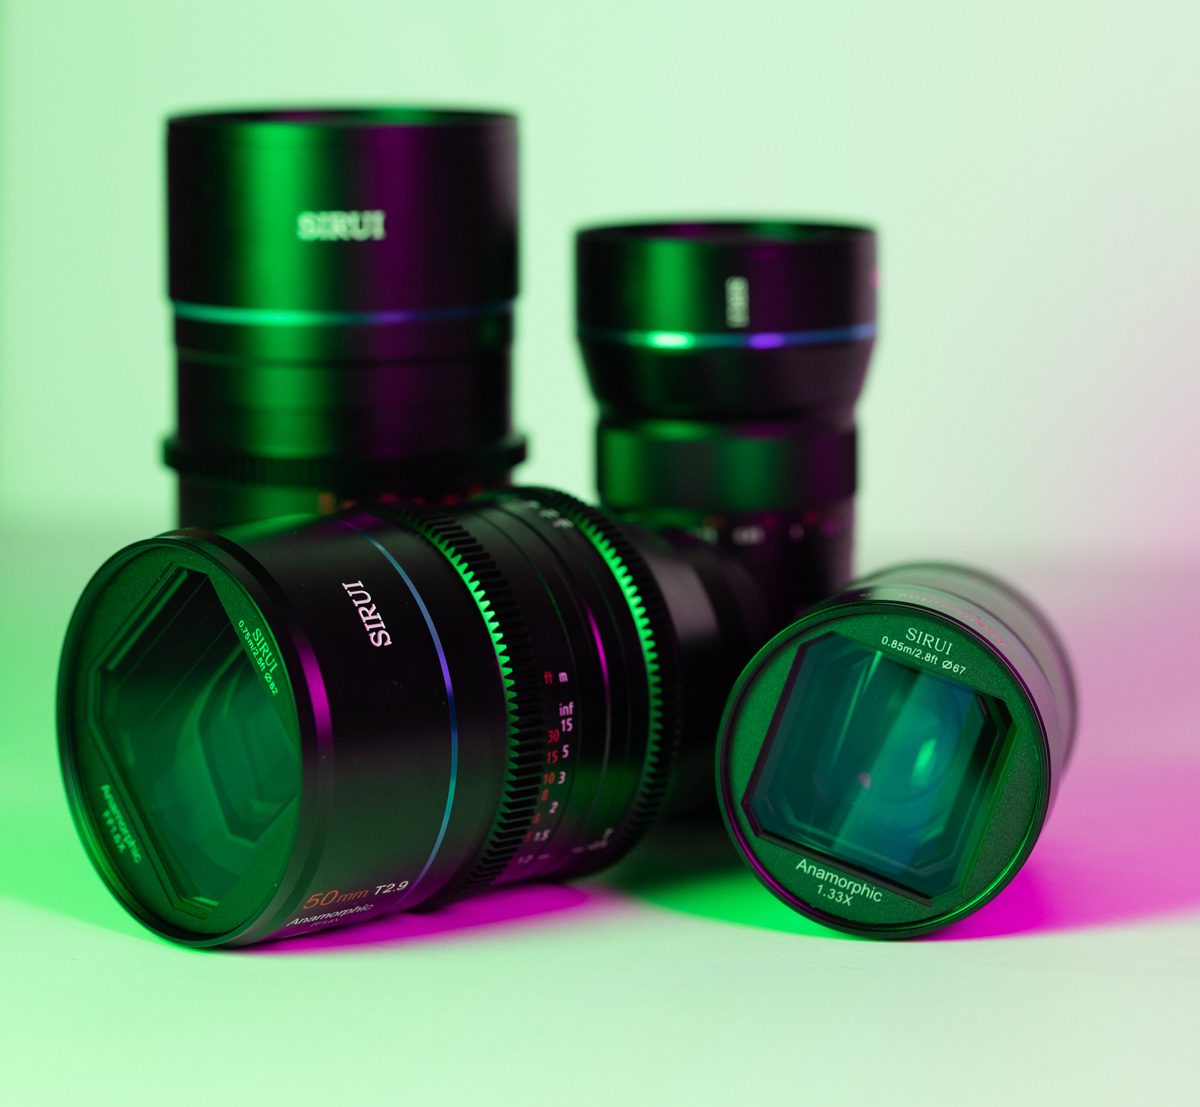
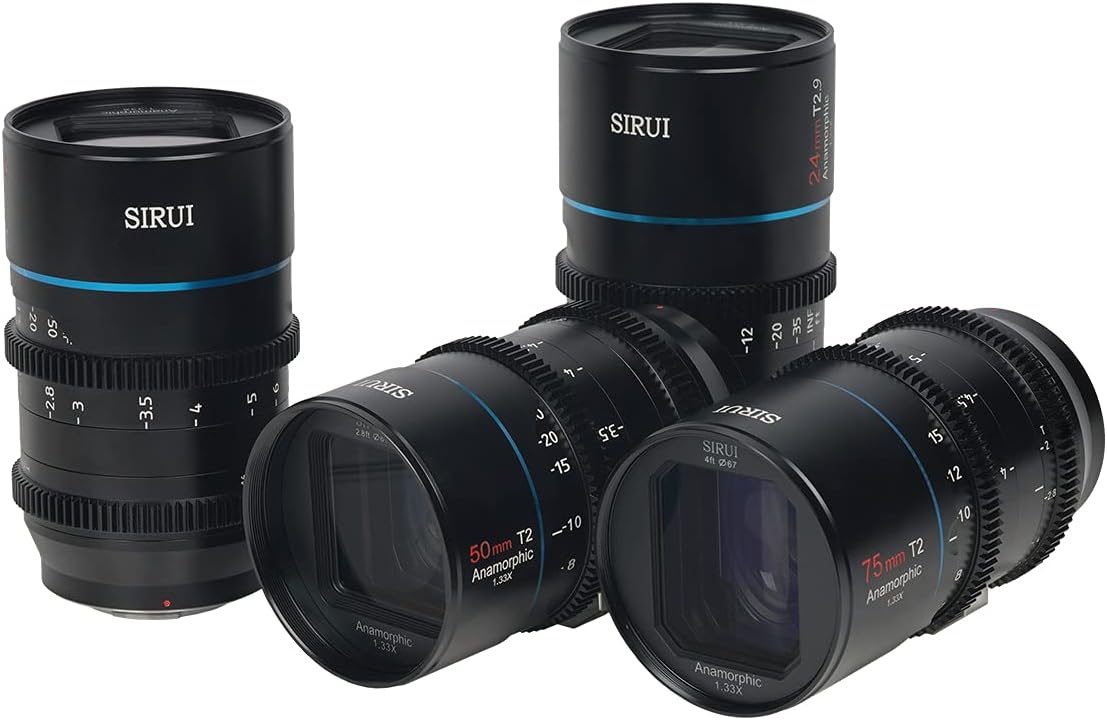
Enter anamorphic lenses—a preferred lens for true cinema buffs with deep pockets. Anamorphic lenses, renowned for their elongated bokeh and characteristic flares, capture a more theatrical quality to the imagery. They reshape the captured scene by intentionally distorting it, compressing horizontal information while preserving the vertical axis. When de-squeezed in post-production, this distortion unveils a widescreen image that is generally preferred over standard formats and ratios. While the footage from an anamorphic lens generally has a more ‘cinematic’ feel, you can usually tell if a lens is anamorphic by a few key markings; a squared front element, a badge explaining the squeeze ratio, or that many of them have ‘anamorphic’ scribed on the barrel.
While spherical lenses capture moments with clarity and familiarity, anamorphic lenses command attention with their dramatic and cinematic allure. The choice between the two is the decision (and budget) of the filmmaker, and one is not fundamentally better than the other. But much like a debate on the ease of use of digital, versus the quality of film, most filmmakers have a preference for one over the other.
Native ISO and Dual ISO
Until now, all of the terms displayed here have been focused on lenses, but there is also one important term used within video cameras – Native ISO. ISO is derived from the physical film era, where each roll of film had an ISO rating that would tell the photographer (or filmmaker) how sensitive of the film was to light. With modern cameras, the name has stayed the same but takes a digital approach using gain and voltage. Native ISO designates the ISO speed that gives a maximum signal without gain applied – or the ISO where the post-sensor gain is not applied to the signal. This means you’re getting the camera’s maximum capabilities in dynamic range, and the lowest amount of noise in the frame. On cameras designed for stills, the Native ISO is almost always a low number, like ISO 100 or ISO 160 – and the reason why you don’t want to raise the ISO in bright environments. Video cameras, however, will often have a Native ISO of ISO 800, or even ISO 1600. This allows the camera operator to shoot at a higher ISO with little noise, and still have the frame rate that can be used for video.
Additionally, some video cameras, like the RED Gemini 5K or Panasonic AU-EVA1 have dual Native ISO, meaning the sensor has two different ISOs where the files are at their cleanest and highest dynamic range. This is done with two analog circuits built into the camera, in which the signal is then converted digitally in the camera, giving you two outputs with two different gain levels that you can switch between. This added feature allows you to get equally clean images in both well-lit and low-lit conditions.
Any terminology that you think we missed? Feel free to chime in with the comments section below.

3 Comments
spider-mario ·
No mention of focus breathing?
EZ Equipment Rental ·
It is truly a great and useful piece of info.
DrJon ·
While “EI” on Cinema cameras means “Exposure Index” I tend to call it “Effective ISO” to help people remember what it does (while explaining it’s not the real name).
Basically you set the “Effective ISO” for a video camera by a combination of picking one, of typically two, Native ISO values and then using the EI setting to digitally adjust that to give the same brightness as a still camera shooting at that ISO.
So, a stills camera at ISO 3200 (simplified to avoid tone curve issues):
* Shoot exposure at ISO 3200 settings
* Amplify the analogue signal from sensor from the native ISO (say 100) to the desired ISO (3200 in this case), so by 32x, then convert to a Digital Number (DN) via an Analogue-to-Digital Converter (ADC). Lose anything that was too bright and got amplified to above the ADC’s range.
Cine camera with native ISO of 800:
* Shoot exposure at ISO 3200 settings
* Convert the sensor output to a Digital Number (DN) via and Analogue-to-Digital Converter (ADC) – in this case will be dark BTW.
* Adjust the digital output to give the desired EI (so multiply the digital numbers by 4 in this case, clipping anything that exceeds the maximum DN).