Having a photography studio can help elevate your photography work, and your brand image considerably, but what comes with a fresh photography studio is an immense amount of expenses. Because of this, you’ll find a lot of photographers who work exclusively on location – offering their sessions at local parks or public spots. But you don’t need to throw your life savings into a 1500′ storefront to have your own photography studio, and if you have a spare room or garage in your house, you have everything you might need to build out a photography studio and for far less than you might think. So let’s walk through the process of how to build out a studio on a budget.
What might surprise many people who follow my work, is that I work out of a small home studio that I operate out of my garage for a lot of my work. Living in Los Angeles, I know that any commercial jobs I book will also rent a studio space to accommodate the work that is commissioned to be produced – but it’s important for me to have my own sanctuary where I can be creative, experience, and produce work. While the topic of this article is focused on a photography studio, the reality is that a home studio could be a podcast studio, small video production studio, or anything you might need to elevate your creative work to another level.
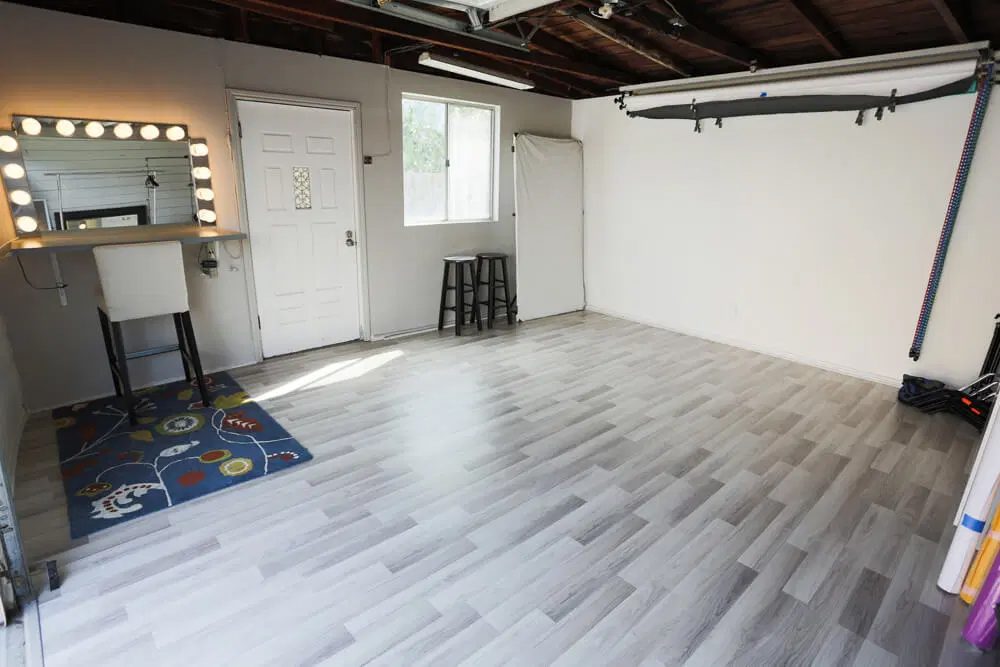
Because I’ve been working out of a personal 300ft studio for years now, I’ve learned a lot about how to maximize space, and build something that is welcoming to clients, creatively inspiring, and gives me the ability to be creative in my work. So let me walk you through how I created some key elements in my studio.
The Vanity
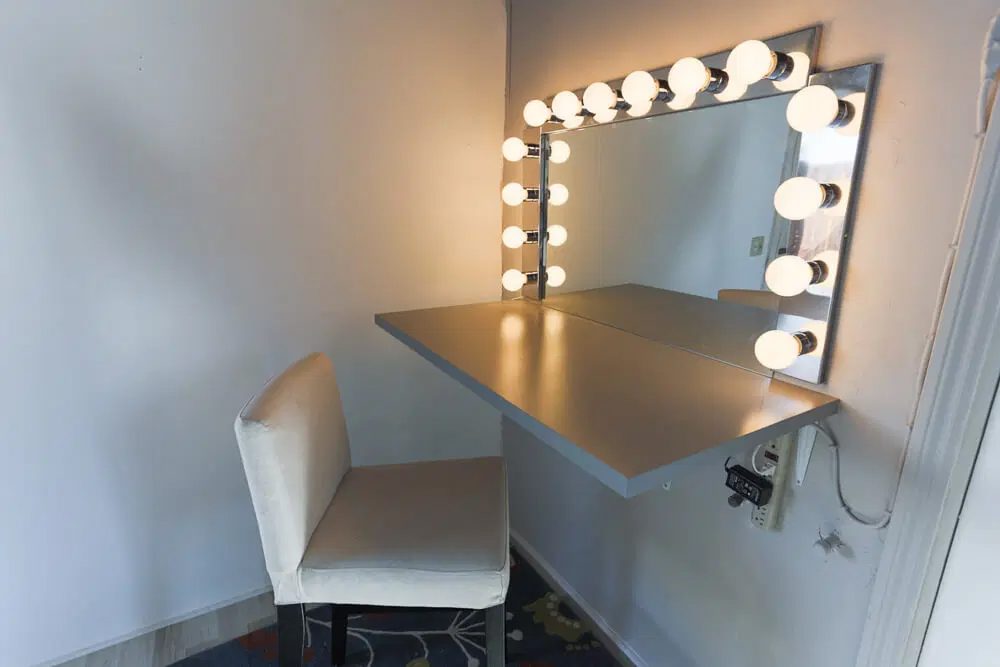
Because my work is predominately beauty photography, it was immensely important that I have a place for hair and makeup to set up, and do their work – so I knew my studio needed a vanity. If you have little budget constraints, you can find a nice vanity option for a few hundred dollars – but for about a fifth of the cost, you can also build one. I decided on the latter and started with a countertop and mirror. With a quick trip to Home Depot, I found a 24”x36” mirror that would work perfectly for $20 and got all the mounting glue and tabletop brackets for just a few dollars more. If you’re on a space constraint, folding shelf brackets might be the best option – giving you the ability to fold the table flush with the wall as needed. For a tabletop, I found a 48″ tabletop from Ikea called the Linnmon for only ~$25 that works great as a lightweight but sturdy tabletop solution. But what makes a vanity isn’t the tabletop, but the lights. So going back to Amazon, I was able to find two 24″ light fixtures, and a single 36″ lighting fixture. With some basic knowledge of wiring, was able to wire them up in a parallel system and build a lighting setup that works on a single switch. The total cost for the buildout of a vanity was well under $200 and fits my personal space perfectly.
Seamless Organization
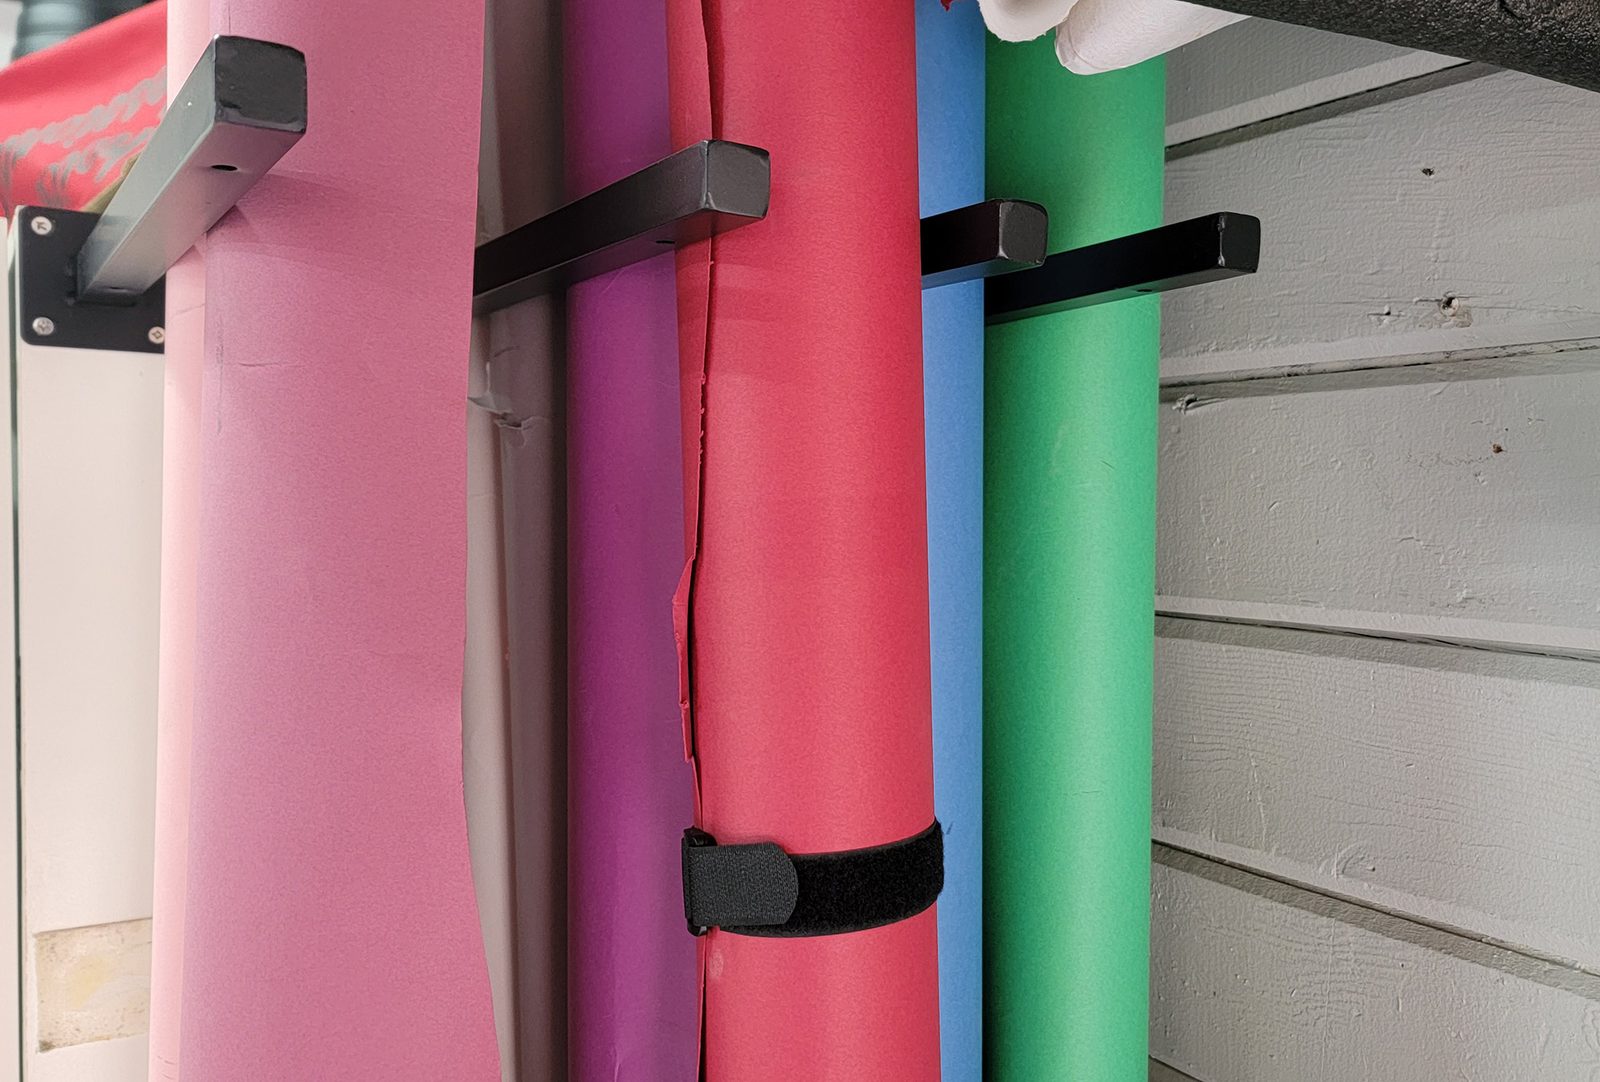
Essentially all that makes a studio a studio is a backdrop, right? So for my work, having a good way to organize and hang my seamless backdrops is essential. If you’re working with an incredibly small amount of space, I’ve actually found the 5’x7′ popup backdrops work great for headshots and tighter-cropped photos – in fact, I keep one in the trunk of my car most times. But for my studio, I work with 9ft seamless rolls for a lot of my work, and to mount them, I’ve installed an Impact Wall Mount kit, that allows me to install and switch between three different options with ease. However, I have way more than just three seamless color options, and it’s best practice to store seamless paper vertically to prevent sag (This also applies to seamless attached to the wall mount kit). I looked at all sorts of options to store seamless paper and decided to manufacture my own, using some Floating Shelf Brackets I found on Amazon, and spacing and installing them on the side of my storage cabinet. Each one can easily hold 3-4 rolls a piece, and when using Hook and Loop straps on your seamless, you can easily create a clean storage solution for your rolls of paper. The total cost of the mounting solutions and organization options falls well under 150 dollars in total.
Storage Solutions
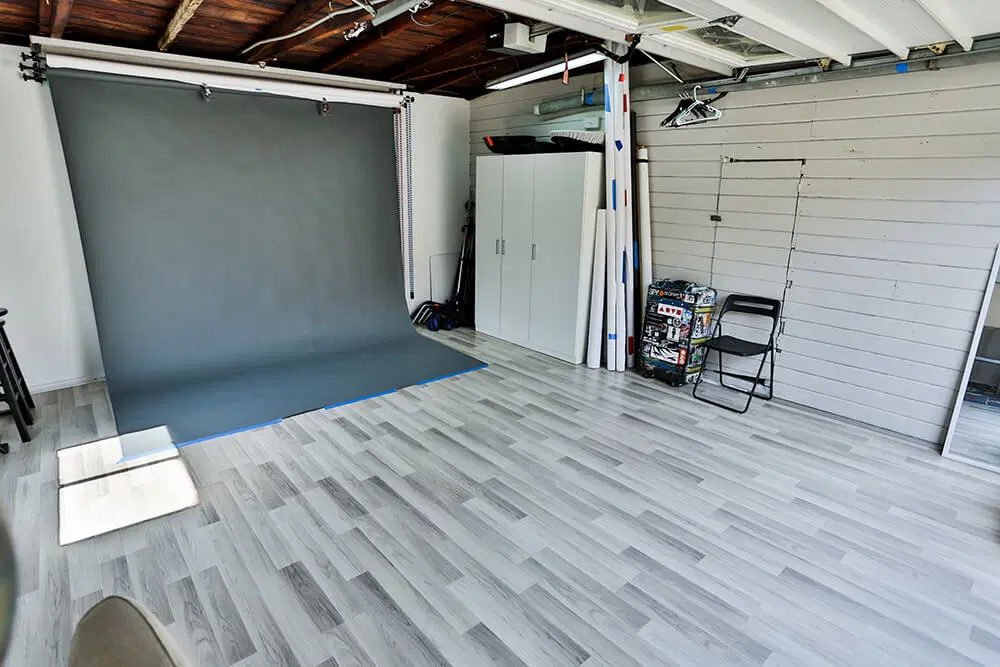
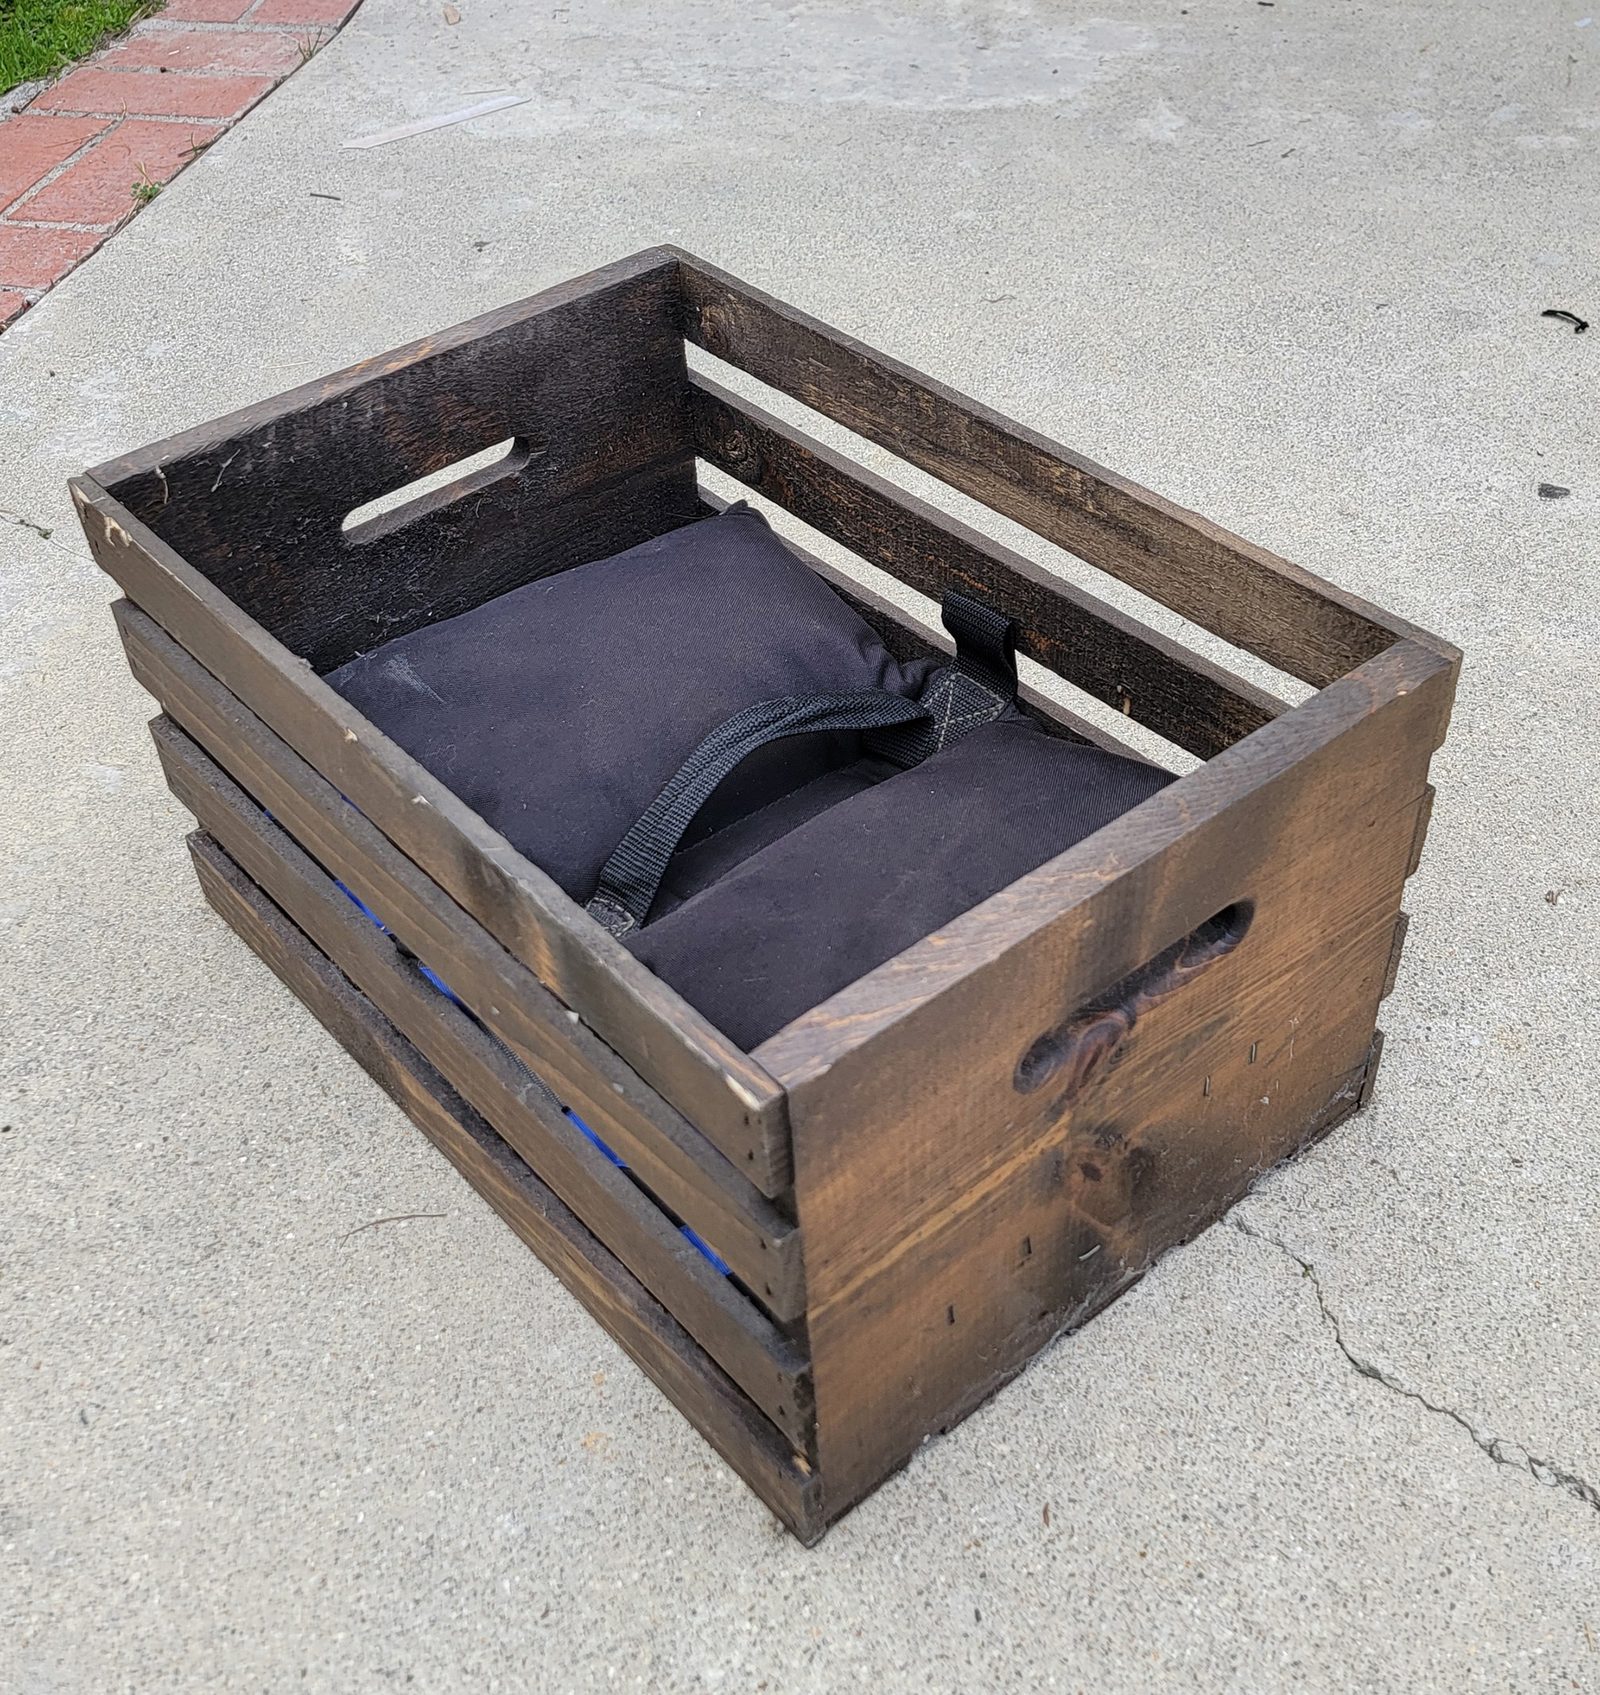
I’ve accumulated quite a bit of lighting equipment and modifiers over the years, so maximizing the space for storage of this stuff is equally important. For lighting modifiers and misc gear, I have a large wardrobe bought from Ikea for cheap. I have the DOMBÅS, which is no longer in production – a similar option would be the KLEPPSTAD. This option is large enough to hold the majority of my lighting modifiers, as well as all the grip gear, gels, and other things on the cupboard side of the wardrobe. For storage of things like sandbags and extension cables (Since we now have a studio, we can call them stingers), I love the look of Wood Crates from Home Depot – with a little stain on them, they end up looking really nice. But if you’re looking for durability, plastic milk crates might be the more obvious choice.
Work Station
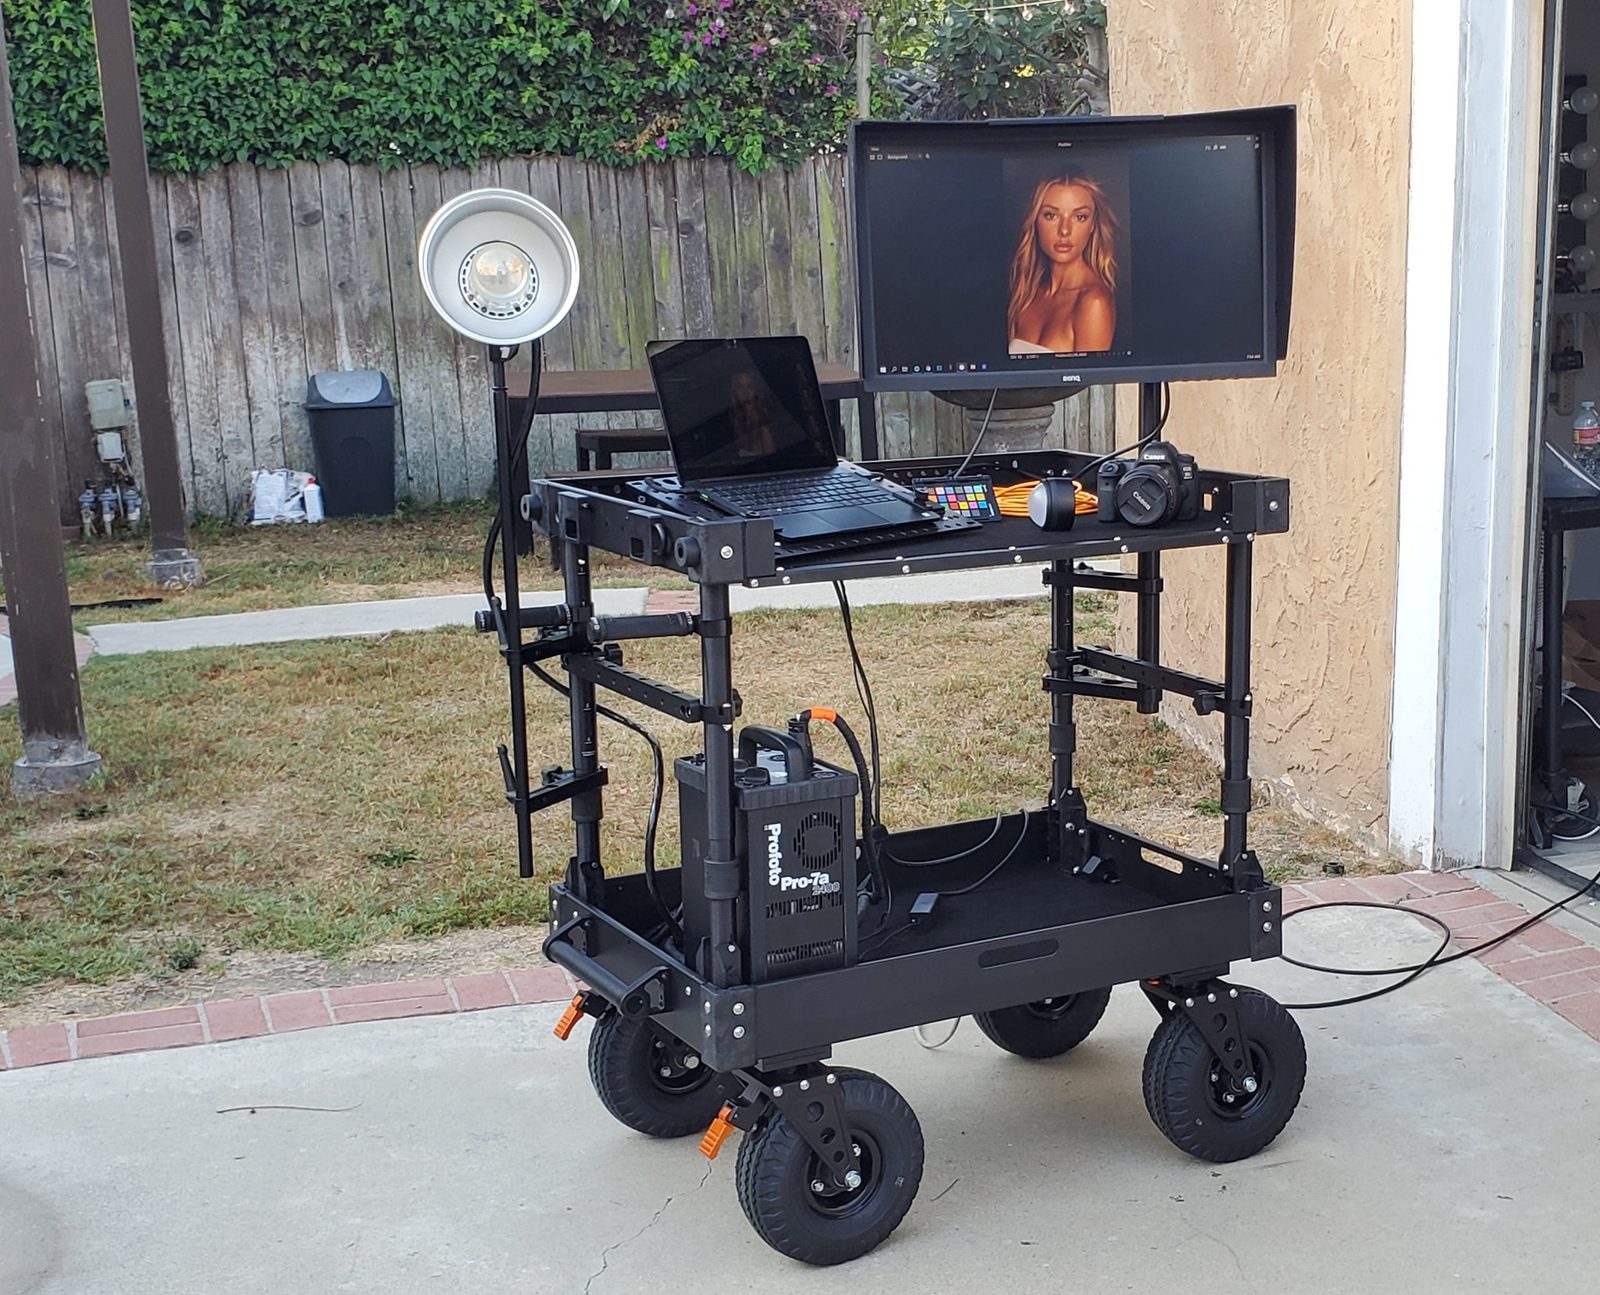
Among the most important aspects of my studio is my workstation. Because I tether for all of my shoots, I want a place where I can view my work as I shoot, and so, I’ve invested heavily in this side of things. For my personal needs, I have an Inovativ 36″ Voyager Cart, with a color-calibrated monitor attached. An expensive but worthy investment, this system gives me an incredibly robust workstation that can be moved around the studio as needed and keeps me organized. If you’re just getting started, and want a great beginner setup, a company named LaVa Cart makes tabletops that attach seamlessly to RocknRoller Carts.
Other Misc Equipment
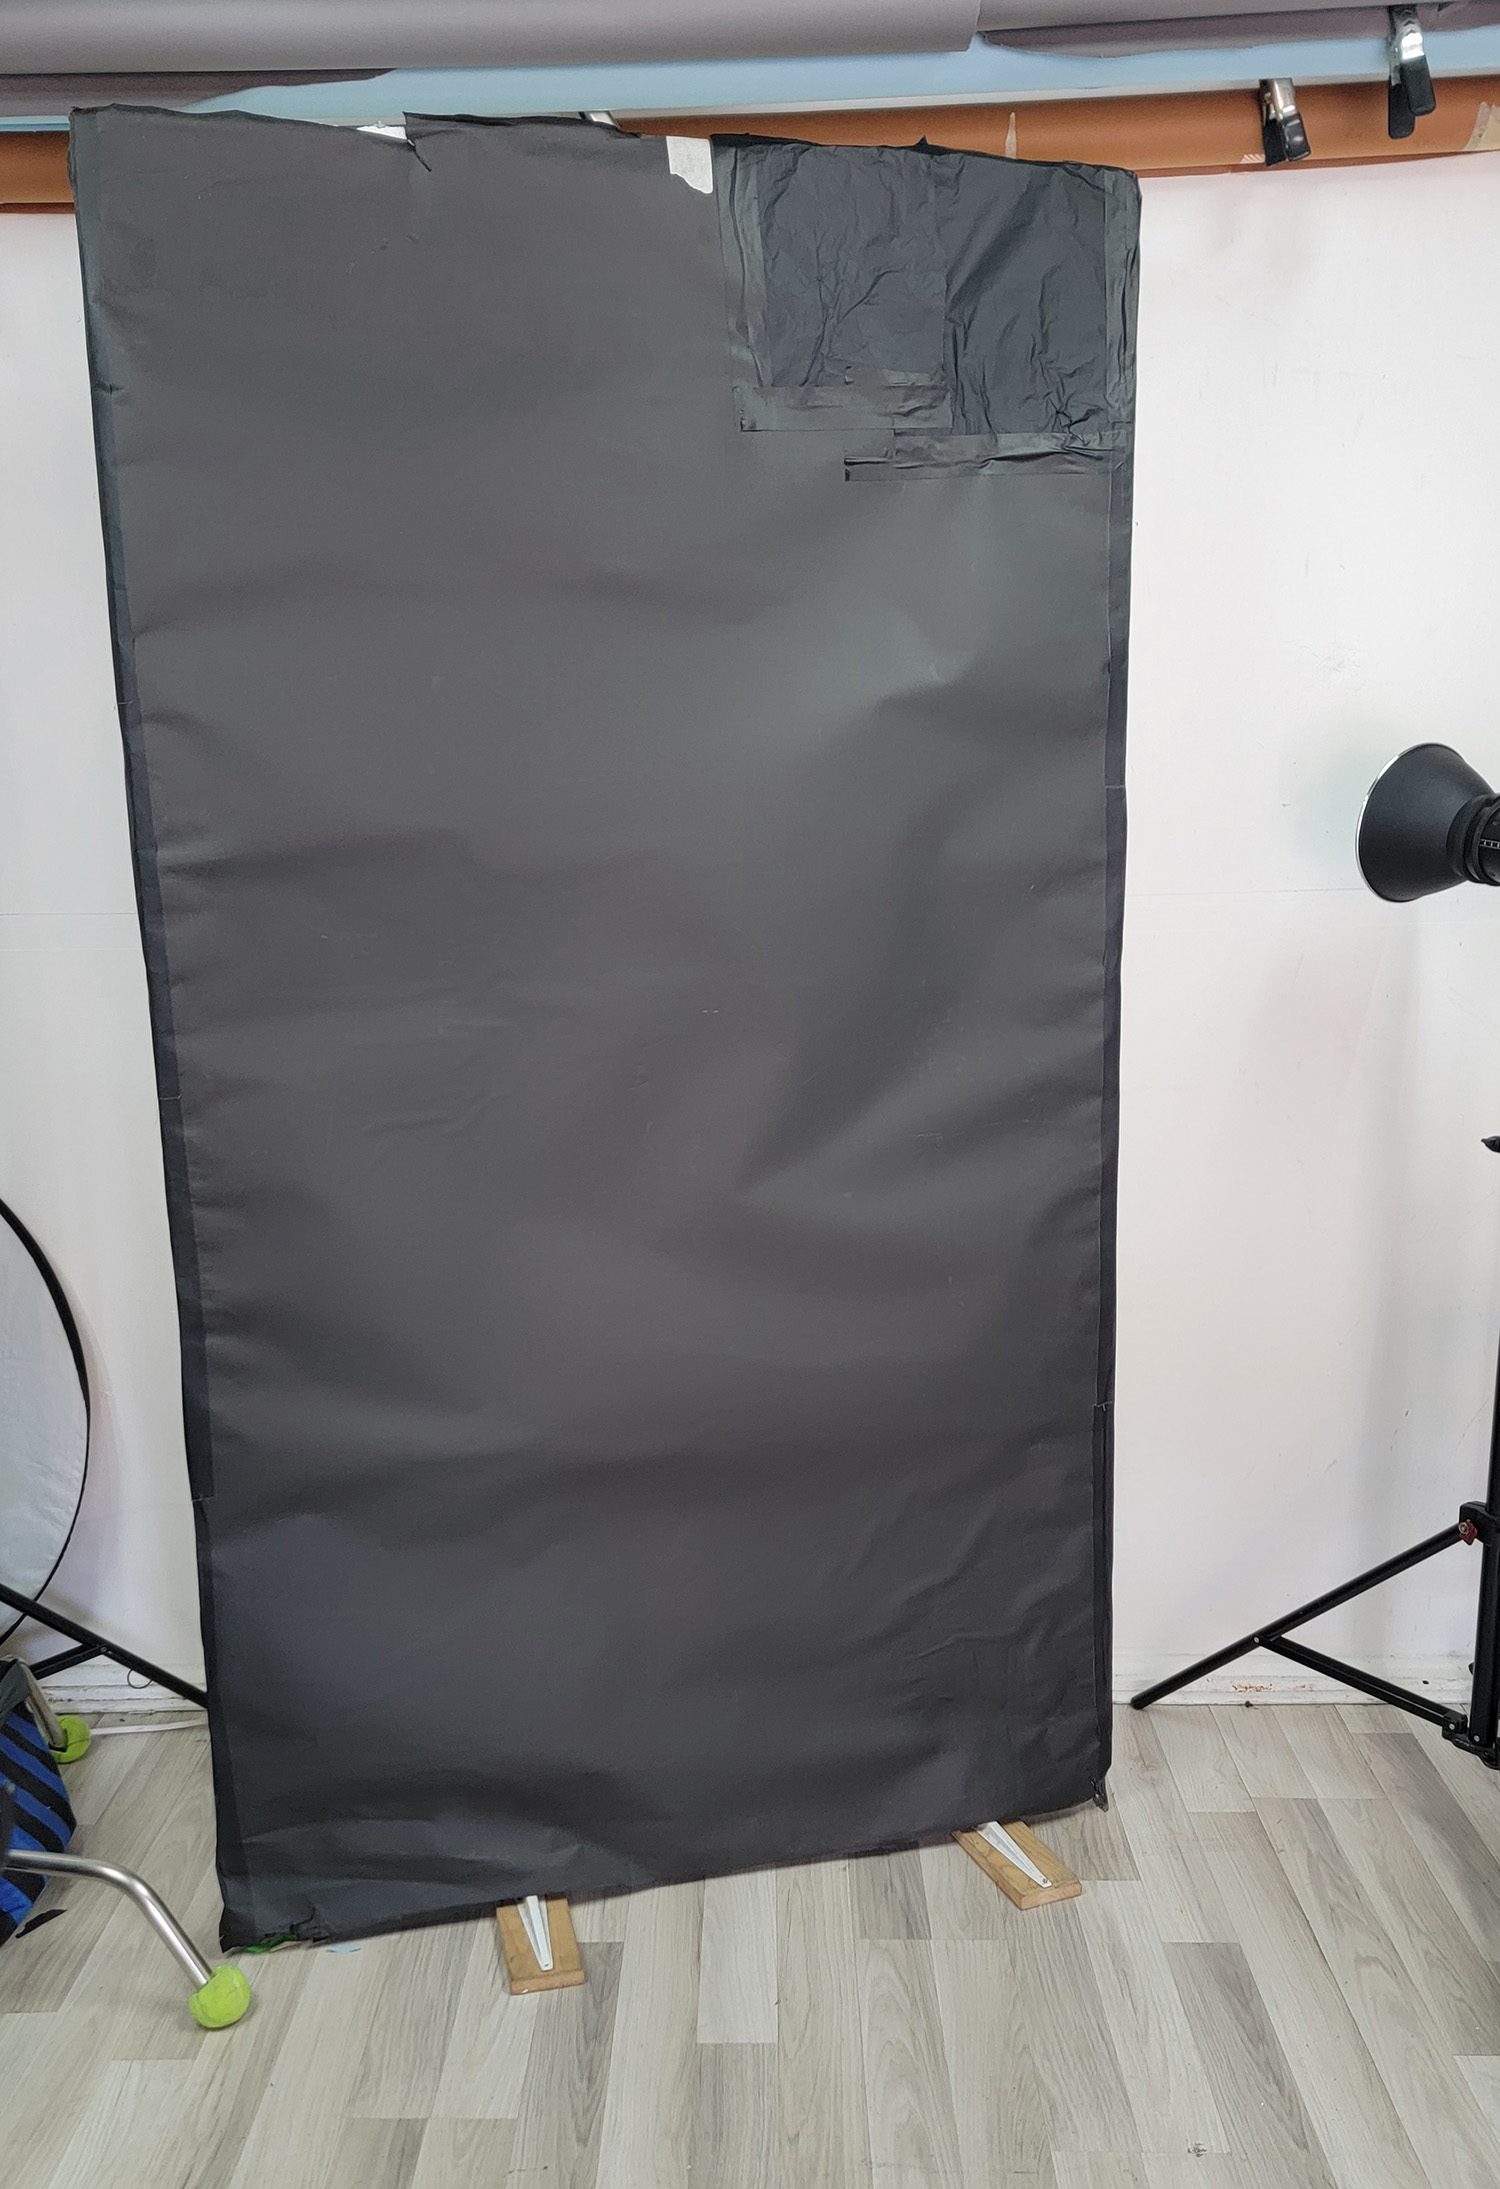
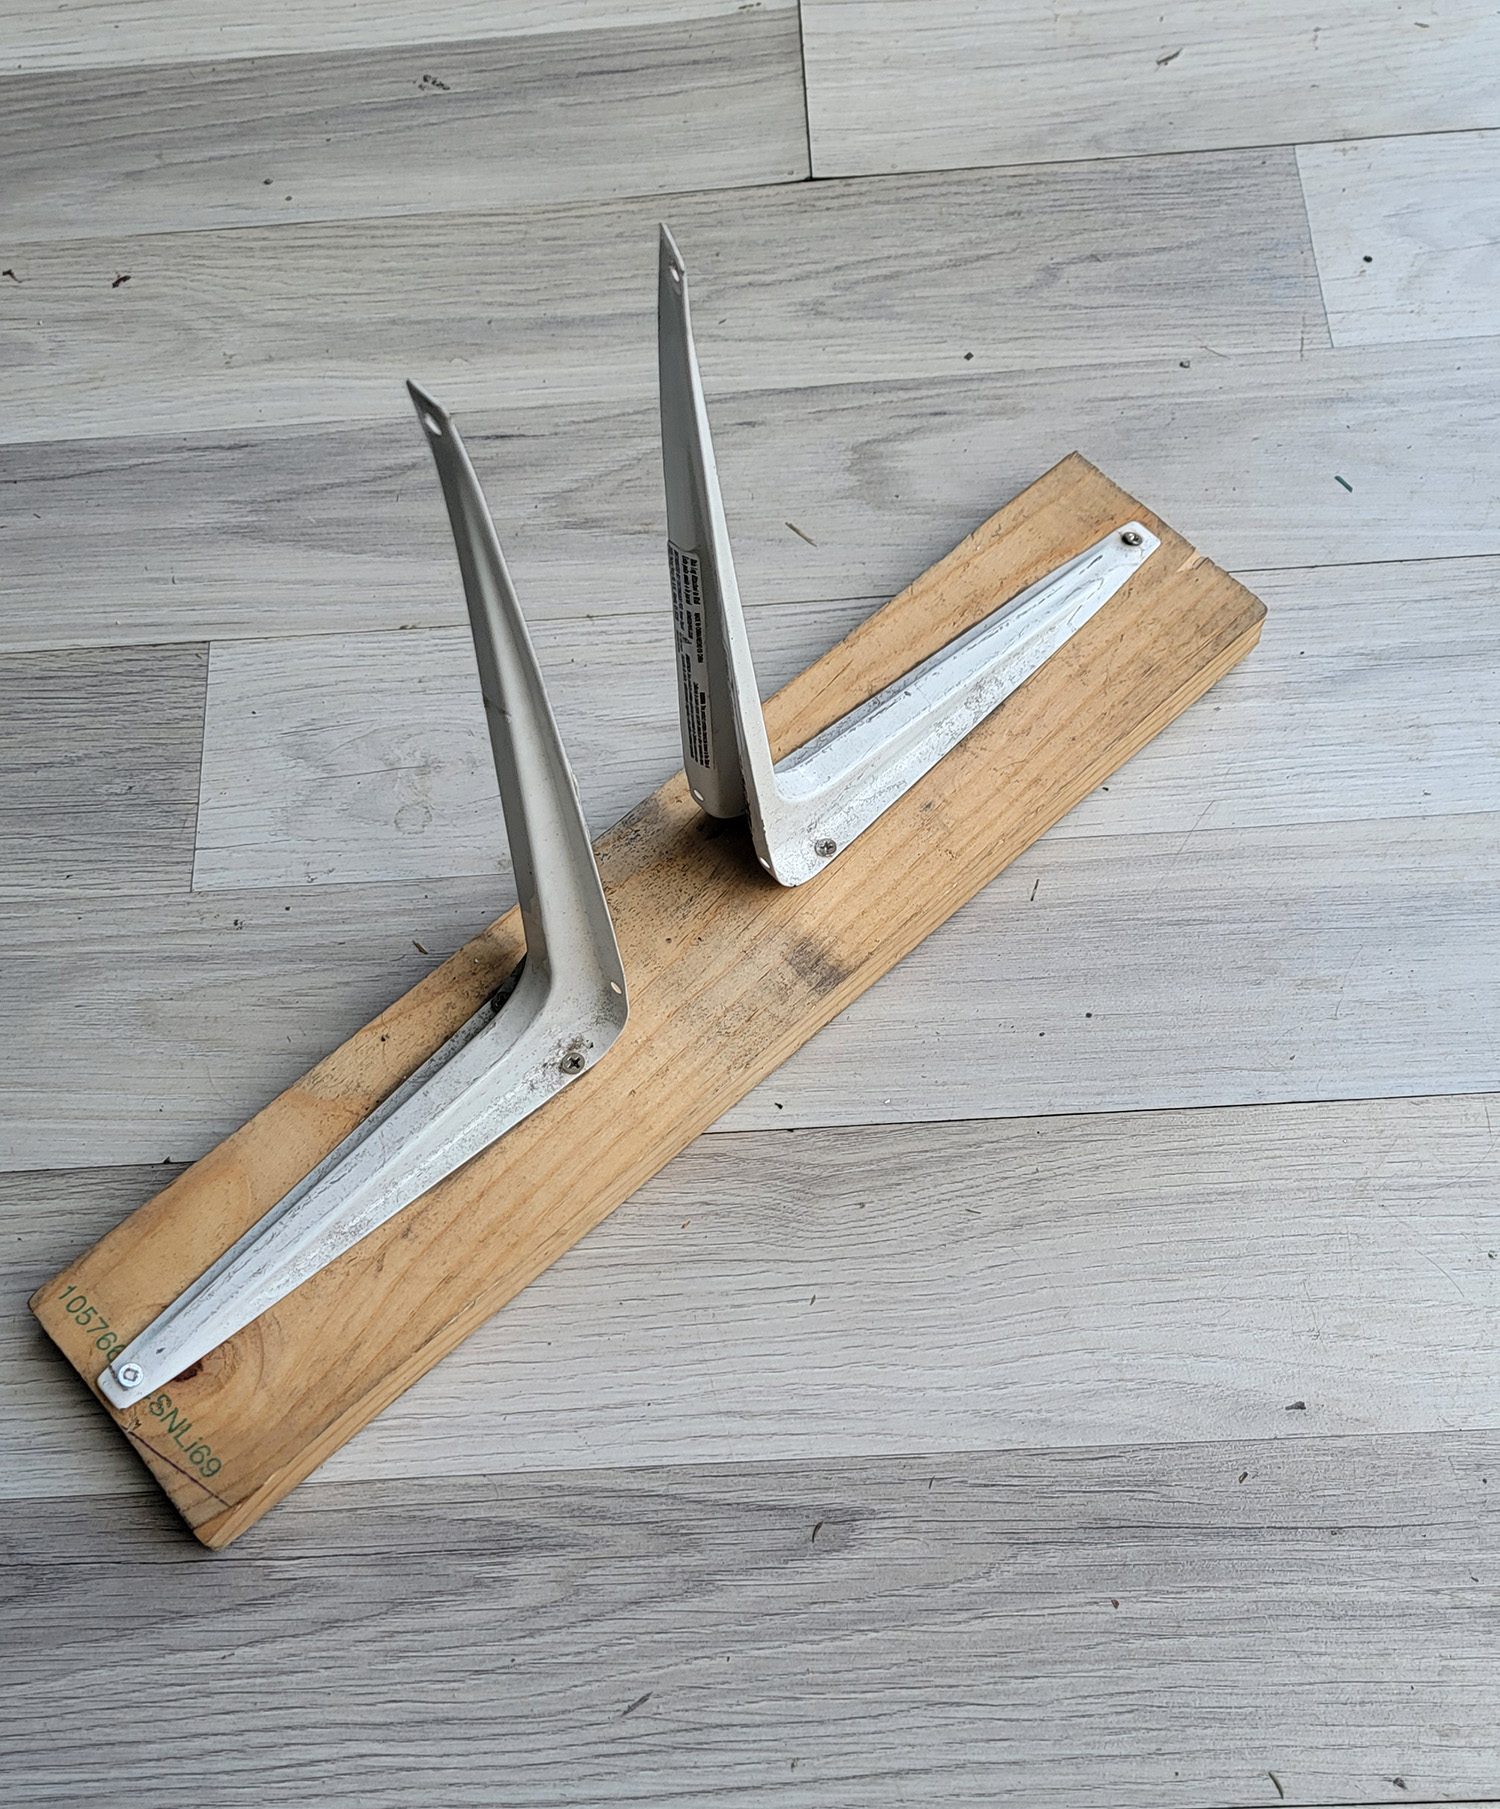
I’ve also developed other cheap solutions that help manage my space and get me tools that will better my space as a whole. Since a lot of my work requires some precise light, I often find myself needing flags and v-flats to help control light – tools especially important in smaller spaces, as you’ll get a lot of light bouncing about. I love the V-flats from V-flat World, as they fold down into a compact size, and are shorter than typical V-flats, which is needed for a place with limited ceiling height. But another cheap alternative I put together was a large black flag, made from rigid foam board insulation. For about $20, you can pick up a 4’x8′ piece of insulation from your local home improvement store, and with some glue, and some extra black seamless, you can create a great v-flat alternative (that doubles as some soundproofing if you’re shooting video). Additionally, with about $2 in brackets and a piece of scrap wood, you can make stands for this light-blocking board. While it’s not the most beautiful design in the world – I’ve rarely seen v-flats that didn’t look like they’ve been run over a time or two with a truck – so this is a great alternative for under $35 in supplies.
My final tip is for putting light modifiers on display, but this technique is exclusive to Profoto lighting gear. Since Profoto uses a rubber & clamp mounting system, I found that it was really easy to make a placeholder for my hard lighting modifiers. Getting a jigsaw and some pieces of 1″ wood, I was able to make little 100mm pucks that I have mounted to my walls. This allows me to take a zoom reflector, beauty dish, or anything else I might have, and mount them to the wall when not in use.
In whole, my studio buildout in my garage cost was a few thousand dollars (and years of redesigning and modifications), but it has made its cost back in returns several times over. With forever-rising real estate costs, now is probably the best time ever to utilize the spaces you have and turn them into outlets for creativity. Do you have any tips you’d like to share? Have a converted space you’d like to show off? Chime in in the comments below.

2 Comments
brokergmbh ·
I really enjoyed your post on building a photo or video studio on a budget and I have to say, I am thoroughly impressed. As someone who has always been interested in photography and videography, but has been held back by the high costs of equipment and studio space, your post was a breath of fresh air. Keep posting. Visit our site at https://broker-gmbh.de/veranstaltungstechnik/ today for a similar post.
Samson Stages ·
This insightful guide on building a photography studio on a budget is a game-changer for aspiring photographers. The tips on maximizing space and organizing equipment are invaluable, especially for those setting up a film studio. With practical solutions and cost-effective ideas, this blog inspires creativity and resourcefulness in studio setup.