How To's
Quick Fixes for Common Photography Mistakes
Getting started in photography in 2025 can be overwhelming. There is no shortage of information, but it’s easy to get overburdened when trying to solve simple problems a beginner might encounter. While the help is out there, we decided to give you a quick list of fixes for common mistakes someone just getting into the field might make. Hopefully, this guide serves you and helps you as you figure out your new gear and skillset. Let’s start with the common mistakes photographers might face when taking photos.
Common Photography Mistakes
Blurry Photos
Blurry photos can occur in various ways but ultimately result from a setting that is not suitable for the scenario. To prevent blurry images, the most critical camera setting to adjust is the shutter speed, especially when shooting handheld or with a moving subject. A faster shutter speed, generally set to at least the reciprocal of your lens’s focal length (1/100th of a second for a 100mm lens), will “freeze” motion and minimize camera shake. In tandem, consider using a wider aperture to let in more light, compensating for the faster shutter speed and maintaining proper exposure.
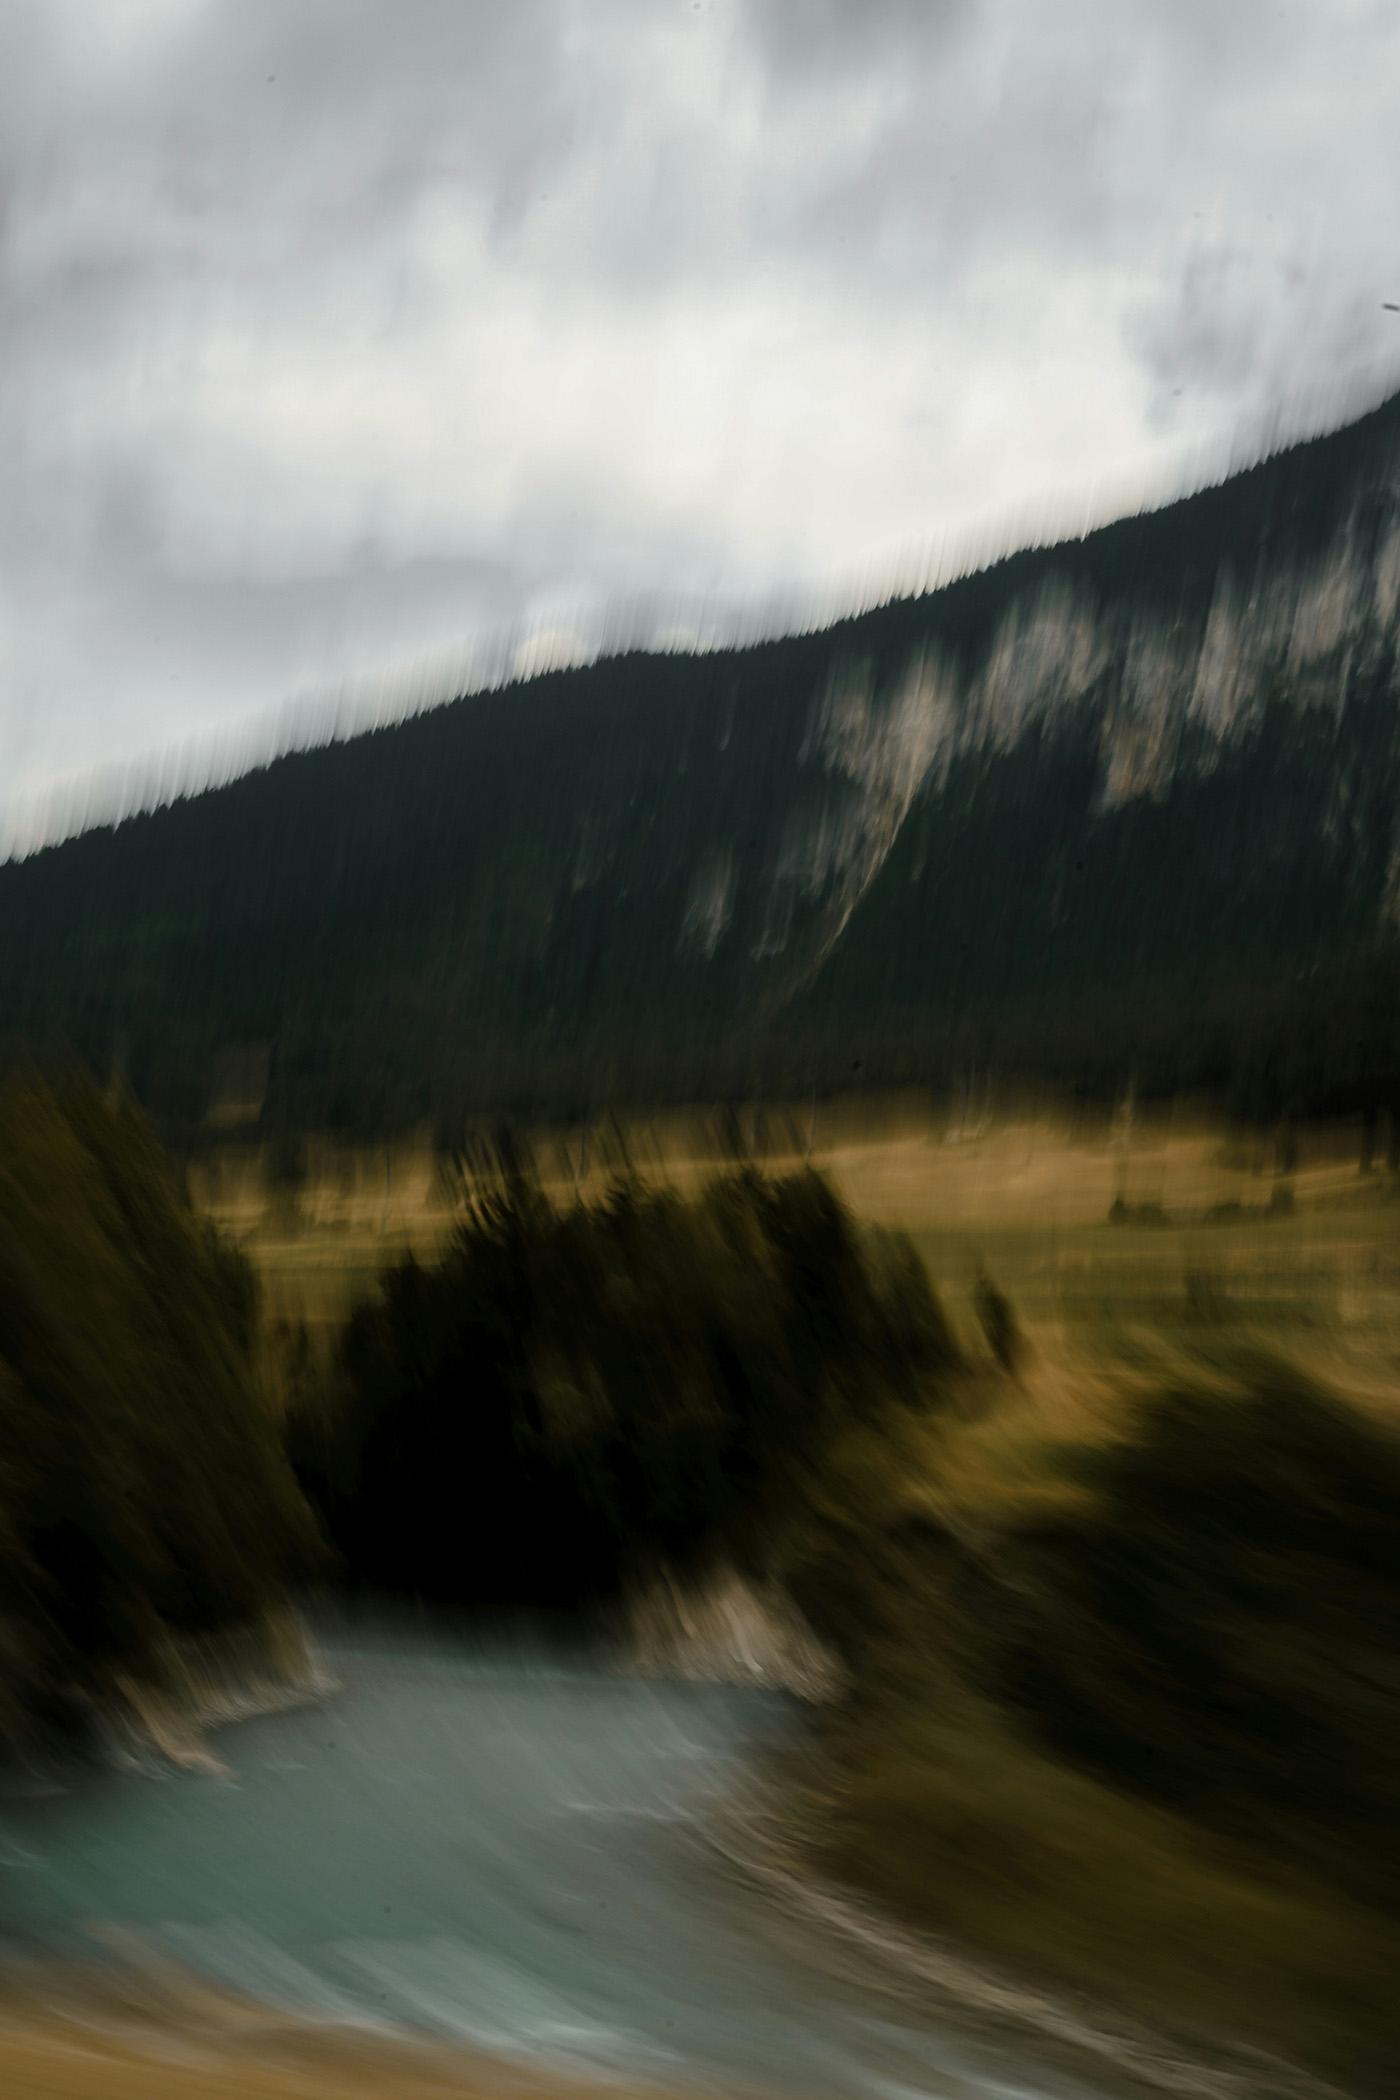
If you’re still getting blurry photos, it’s worth reviewing your approach and autofocus settings. Many modern lenses and cameras have multiple autofocus systems and settings, so double-check that yours is appropriately set to the style of work you’re shooting. Finally, check yourself. Are you positioning yourself so that the camera has minimal movement when pressing the shutter button? Consider switching your camera settings to back-button focus if you haven’t, as it can help minimize camera shake.

Finally, if you’re still having blurry photos, it might be because your lens needs servicing. Many manufacturers do this at a cost, and several tools in our inventory can help with this process if you choose to do it yourself. From focusing charts to lens calibration systems, we offer a wide range of tools, along with blog articles that walk through the process.
Dark or Overly Bright Images
If you find your images are consistently over- or underexposed, check your settings and how they may be affecting your pictures. When shooting in natural light, the easiest way to handle this problem is to keep an eye on the light meter built into most modern cameras. Usually indicated by a vertical or horizontal bar at the edge of your viewfinder or screen, the light meter processes the scene. It then makes an exposure measurement based on your current settings. For perfect exposure, you want the indicator to light up directly in the center, commonly marked with a ‘0’; however, most cameras can comfortably shoot one stop above or below exposure and be easily saved in post-processing. As a general rule of thumb, it’s easier to save underexposed images than it is to save overexposed images.
Noisy Images
If you’re dealing with overly noisy images, it’s generally a single-point issue: your ISO. In digital cameras, ISO refers to the sensitivity of the image sensor to light, though it works by amplifying the electrical signal rather than changing the sensor’s inherent physical properties. When you amplify the signal to the sensor (by increasing the ISO setting), you’re also amplifying the potential for noise to be introduced into your image. Each camera has its own ISO limits, and, generally speaking, the more modern your camera is, the better its high ISO and noise tolerance are. While many cameras offer ISO settings in the hundreds of thousands, most people will set their camera to a low ISO and figure out their usable limits before shooting in a dark environment. Generally, I’m comfortable up to about ISO 6400 on most cameras, but this depends on personal preferences and the age of your camera and sensor capabilities. If you’re frequently shooting in dark environments and need a high ISO, consider investing in lenses with a wider maximum aperture to capture more light. To better understand how aperture can alter your images, feel free to check out this blog post on the topic.
And those are just a few of the common mistakes a beginning photographer might run into, and how to fix them. Hopefully, this article has helped you diagnose some of the challenges you’ve encountered. If not, feel free to chime in in the comments below, and our community and staff will do their best to help resolve your issues. If you’re a videographer running into problems, be sure to check back here in a couple of days for this same topic discussed for videography.
