We cover a lot of things over here on the Lensrentals blog, and most of them teeter on the technically advanced edge of the scale. From measuring the flange distance on cameras down to the fraction of a millimeter to performing light tests to check the accuracy of color shift throughout power ranges, we’ve done a lot in technical studies on cameras, lenses, and lights. So we decided it was time to take a step back, and touch on something a bit more fundamental, and put together a three-part series explaining the exposure triangle, and how each setting alters your images. So today, let’s talk about the basics of aperture.
Exposure Triangle
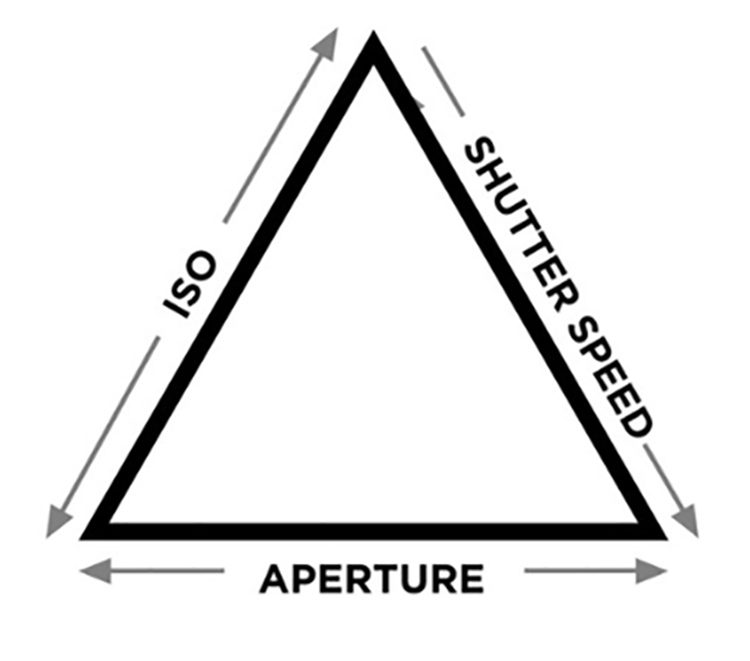
Properly exposing an image will always come down to three main settings – Shutter Speed, Aperture, and ISO. These three settings are known as the exposure triangle. To put it very simply, the exposure of an image will be the same if you adjust these settings in correlation with each other. For example, if you need to increase your shutter speed, you can adjust it by two 2/3 stops (so two clicks on your dial) to something faster, and open up your aperture by two clicks of the wheel to match the exposure from the previous shot. While each of these settings will alter the image’s exposure, they each have adverse effects on your image in other places. Today, we’ll be focusing on aperture, with shutter speed and ISO to come in future articles.
What Aperture Does
Aperture is the size of the opening that your lens creates, which allows light to pass through and enter the camera. The easiest way to describe aperture is to make a comparison to your eye’s pupil. When you enter into a darker environment, your pupil will enlarge, allowing for more light to pass through, as you go to brighter environments, your pupil will shrink, blocking some light from passing through.

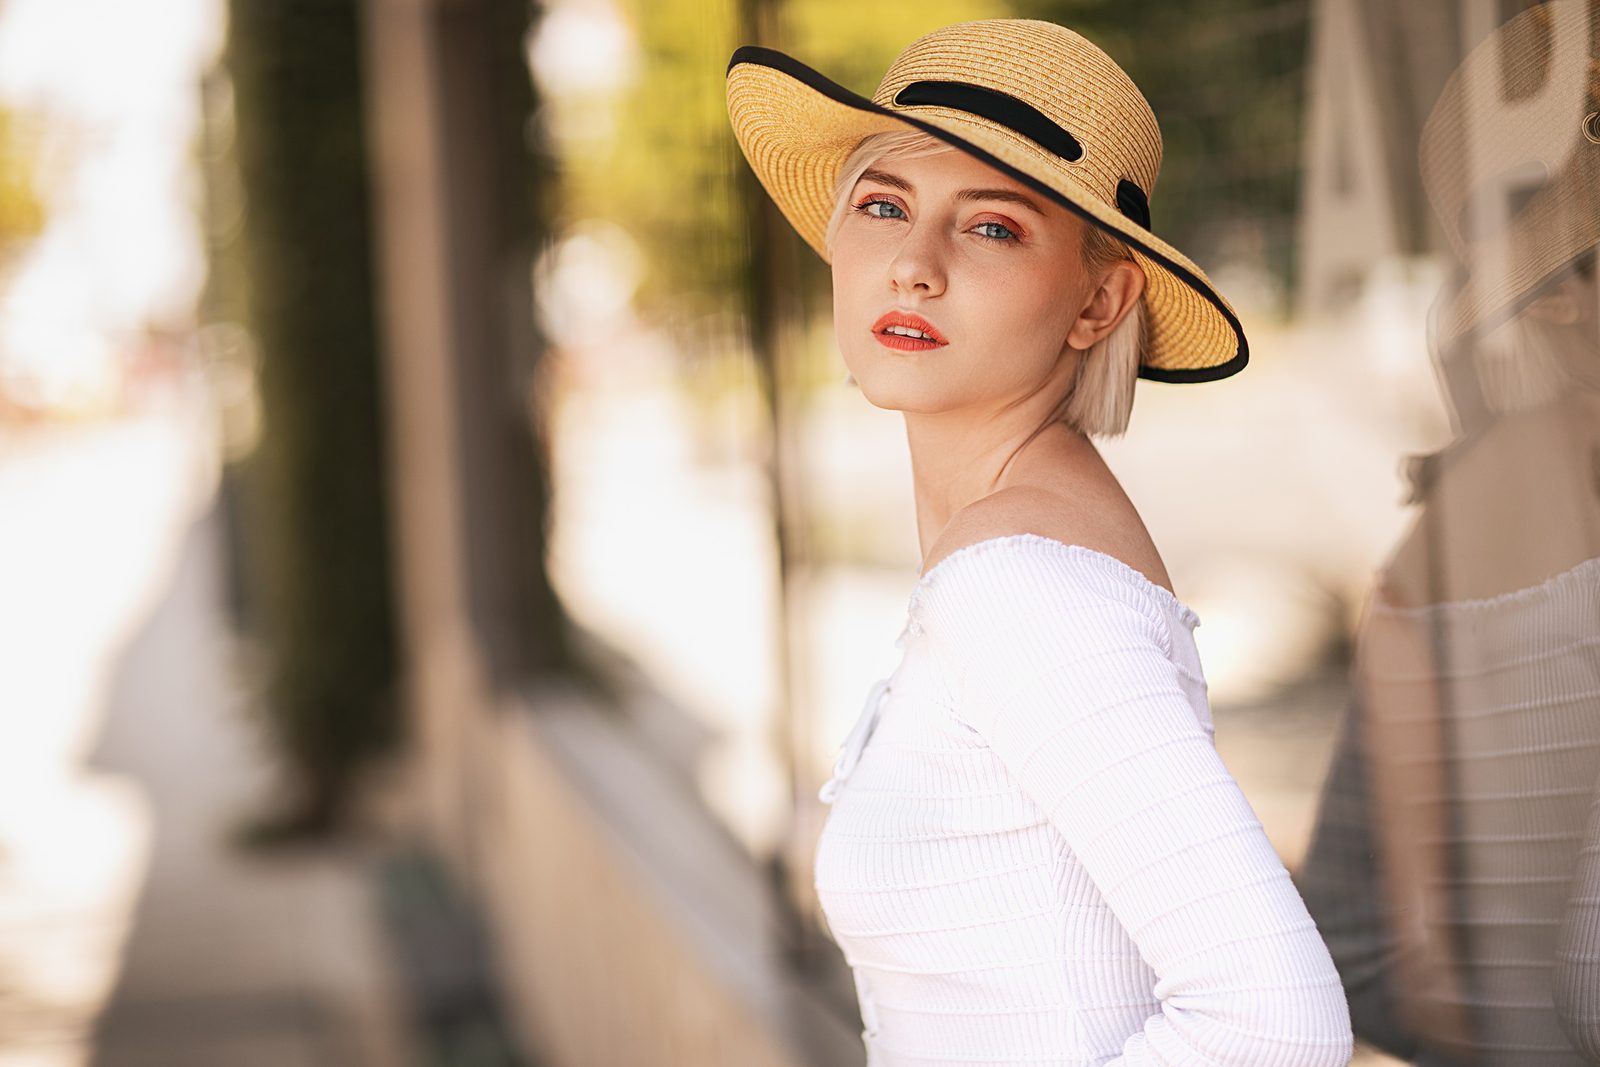
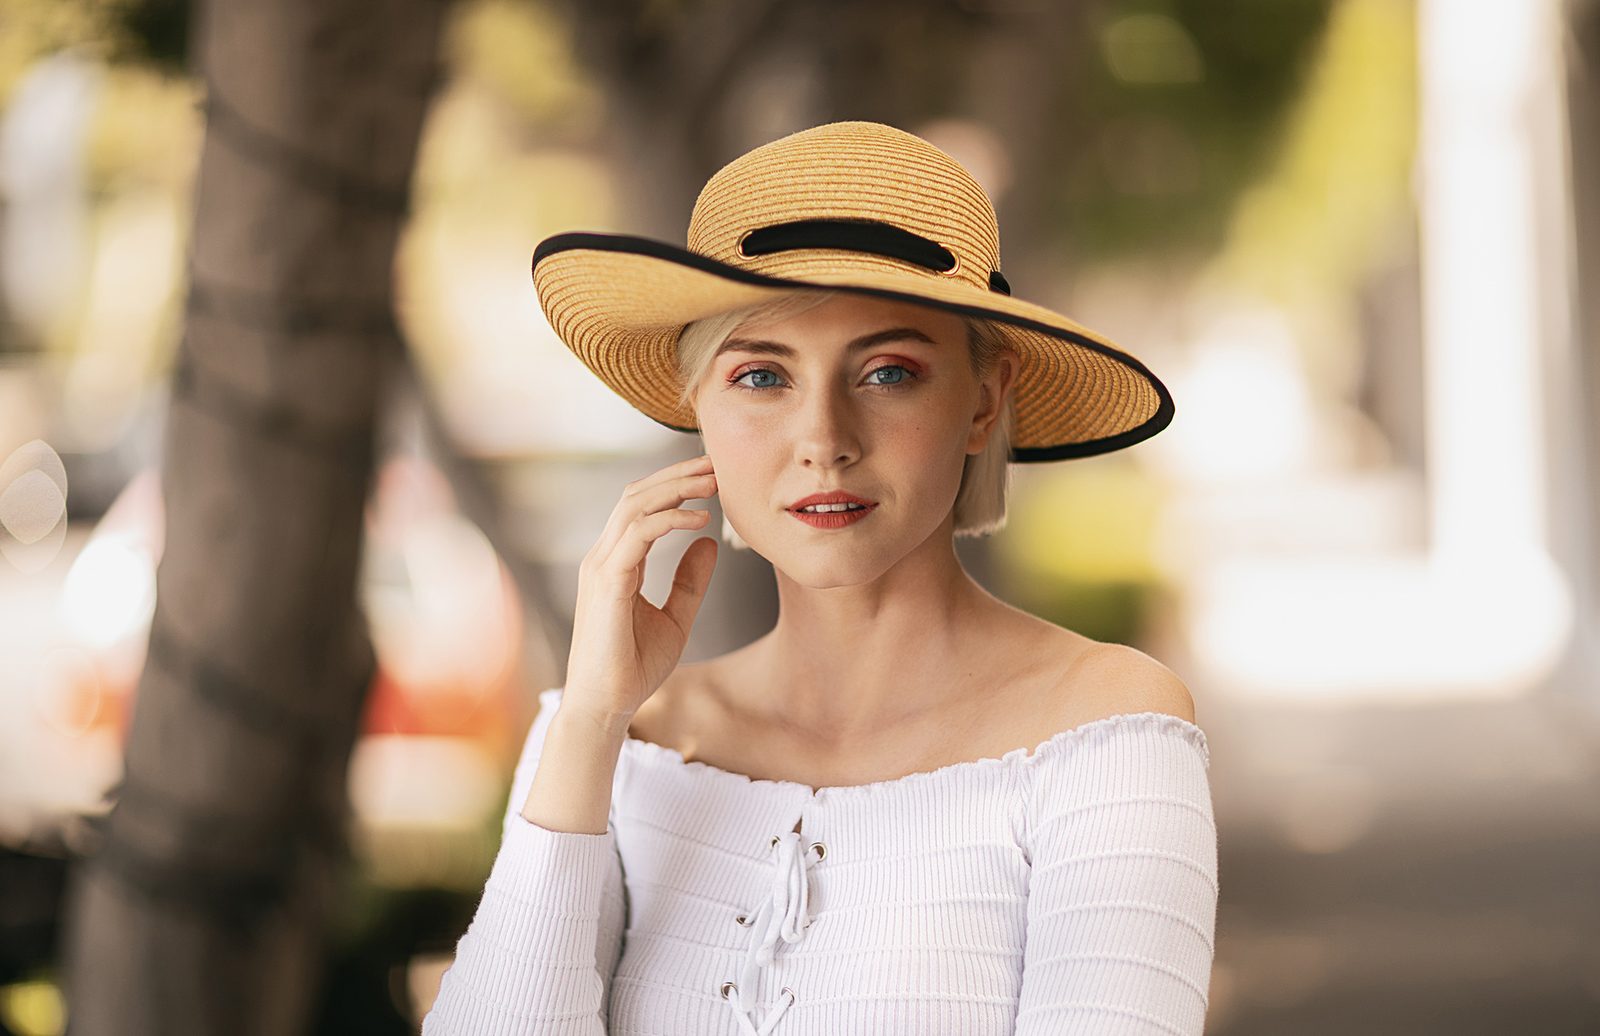
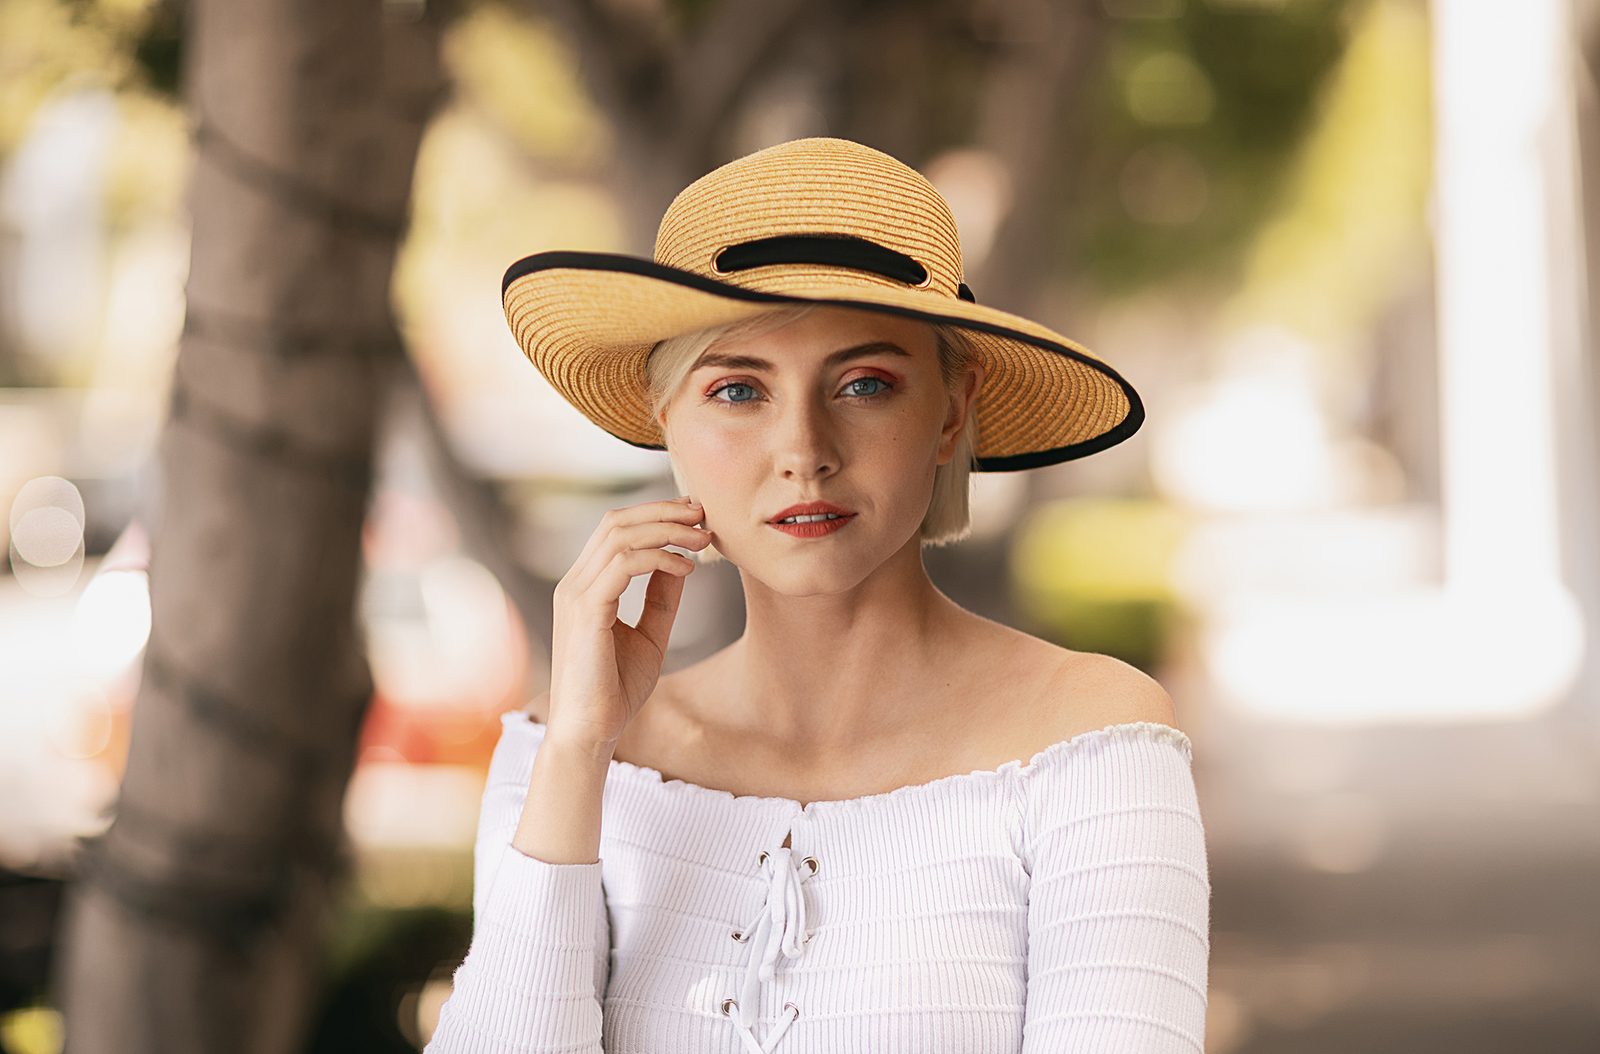
However, the aperture will also control your depth of field within images. The depth of field is a term to describe the amount of the plane that is in focus, from front to back. When the aperture is set, and you focus your camera, one critical place will be in focus, with some area in front and behind that point to be in focus as well, before the focus plane falls out. A shallow depth of field can be created by opening up your lens to a lower F-stop, such as f/1.4, f/2, and f/3.5. This will create a wider hole for light to pass through to your camera, and create a shallow depth of field. The same can be said to have a larger depth of field – apertures such as f/8, f/11, & f/14 will assure that a larger plane within the image is in focus.

Large Apertures vs. Small Apertures
The naming scheme for apertures can be fundamentally difficult to wrap your head around, as it’s considered opposite to how most people traditionally think. Large apertures are generally defined by the size of the opening in the lens and are named using smaller numbers. So, in short, larger apertures are apertures like f/1.4, f/2.5, and f/3.2, whereas smaller apertures are represented by larger numbers, such as f/14, f/18, and f/22.
Other terms will often come into play as well. The phrase shooting “wide open” means shooting at the largest aperture available for the lens. For example, if you were using the Canon 50mm f/1.2L lens, wide open is considered f/1.2, giving you an incredibly shallow depth of field.
Examples of Different Apertures
#gallery-2 { margin: auto; } #gallery-2 .gallery-item { float: left; margin-top: 10px; text-align: center; width: 33%; } #gallery-2 img { border: 2px solid #cfcfcf; } #gallery-2 .gallery-caption { margin-left: 0; } /* see gallery_shortcode() in wp-includes/media.php */
F/1.2
F/1.6
F/1.8
F/2
F/2.5
F/3.5
F/4
F/5.6
F/6.3
F/8
F/10
How Aperture Correlates with Cost
Where ISO and shutter speed are controlled exclusively by the camera body in a digital camera, the aperture is functioned entirely by the lens itself. Thus, the aperture capabilities are the number one determining factor of the cost when looking at lenses. What makes a lens like the Canon 85mm f/1.2L II or the Nikon 105mm f/1.4E ED so expensive isn’t because of the sharpness of the image quality, or autofocusing accuracy, it’s that they are capable of shooting at an incredibly large aperture, giving you a razor-thin depth of field.
How Depth of Field is Calculated
The calculation for the depth of field is dependent on a number of variables, which is why it’s pretty difficult to determine on the fly. The approximate depth of field can be determined by using the following formula —
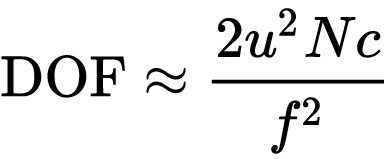
However, there is a much easier way to determine your depth of field within an image. Using a depth of field calculator, you’re able to see the approximate depth of field you can expect with a specific camera, lens, and setting. Playing around with this calculator, you’ll quickly see why very fast lenses cost so much – because they require precision to achieve some of the incredibly shallow depth of field when shot wide open.
Styles of Photography & What Apertures They Generally Use
This is purely a matter of opinion, as different photographers do things differently, but there are set apertures people will often use dependent on the work they perform.
f/1.0 – f/4 – Most commonly used for natural light portrait photography, low light photography, concert photography, and other types of photography where you want to use depth of field to bring attention to your subject.
f/4 – f/8 – Commonly used in landscape and architectural photography where you want the subject in focus, while still having some depth of field.
f/8 – f/16 – Most commonly used in landscape photography, architectural photography, macro photography, and studio photography where you want a large focal plane in focus.
And that is a basic overview of how aperture will affect your images. If you’d like to learn more about depth of field within images, Lensrentals.com founder Roger Cicala has written an in-depth piece in our archives. Join us in the next week, as we cover the other two aspects of the exposure triangle – shutter speed and ISO.

11 Comments
Sheldon ·
The aperture labels were just that (labels) for me until I stumbled over the “Ilford Manual of Photography” which explains the maths and source for the labels – it’s actually an indication of the proportion of light let through against the focal length – blame opticians apparently, the book claims they wrote it as f/d (focal length divided by stop diameter) and it stuck.
It does at least explain the maths as to why f/4 is not half the exposure time of f/8 but one quarter ( (4*4)/(8*8)=1/4 ) and why f/2 is double f/2.8 (2.8*2.8 is approximately double 2*2). Plus why, for the same exposure time on a large focal lens, you need a large diameter bit of glass (to keep the same ratio for f/d if you increase the ‘f’, you need to increase the ‘d’).
J.L. Williams ·
The f/d system stuck because it works ‘way better than previous 19th-century attempts such as the Uniform Stop system, which used arbitrary numbers. The big advantage of f/d is that it works with any lens: if your meter tells you to use f/4, then you can use f/4 whether you’re using a 25mm lens or a 200mm lens. It also doesn’t care whether about format size: whether your camera is a Minox or a Bolex or a Contax or a Hasselblad or a Linhof (spare me the “crop frame” nonsense) f/4 still gives about the same exposure level.
I’ve never understood why it confuses people. Even a child knows that 1/2 of a cake is more cake than 1/8 of a cake, so why is it hard that f/2 gives more exposure than f/8?
Frank Kolwicz ·
I suspect they have trouble with the concept because they don’t think of the available light as a “cake” that can only be divided, never multiplied. If you have two lights on and need more, you use 4 lights, or, maybe 8 lights. 4 and 8 are bigger = more.
And the arithmetic thing.
SpecialMan ·
The conceptual jump is difficult because of the way humans perceive light. If you have four lights on but need one more stop of illumination, intuition does not immediately suggest adding four more.
Frank Kolwicz ·
I think the bigger problem is understanding “stops”. We don’t normally count by doubling.
Yoan ·
There is the tale of a McDonald’s competitor who were offering a third-pounder burger that went out of business because customers thought the McDonald’s quarter-pounder had more meat 😉
SpecialMan ·
@Yoan you need to widen your experience of the world. Unless you work with numbers every day or your genes mutated in a way that gave you a predisposition for math, fractions are difficult for a big chunk of the non-carpenter population—f/stops even more so because the numbers are backward from how common sense says they should be arranged.
Yoan ·
No need to excuse ignorance. Over here in Europe fractions are common knowledge.
Yoan ·
The concept of the exposure triangle is totally wrong. ISO does not alter exposure.
Bruno ·
The triangle again! What does Roger think of the triangle 🙂 ?
Sensors have only 1 ISO. Increasing ISO adds amplification to the signal. It does not affect the signal, only the rendering.
For a given sensor, exposure is defined by aperture and shutter speed.
Ralph Hightower ·
Many years ago, I owned Hewlett-Packard calculators, both the HP-67 and the HP-41. I don't remember which I programmed for the Exposure Triangle; it could have been both. I found the formula in a photo metric book. I incorporated Ansel Adam's Zone System exposure into the program.
https://en.wikipedia.org/wi...