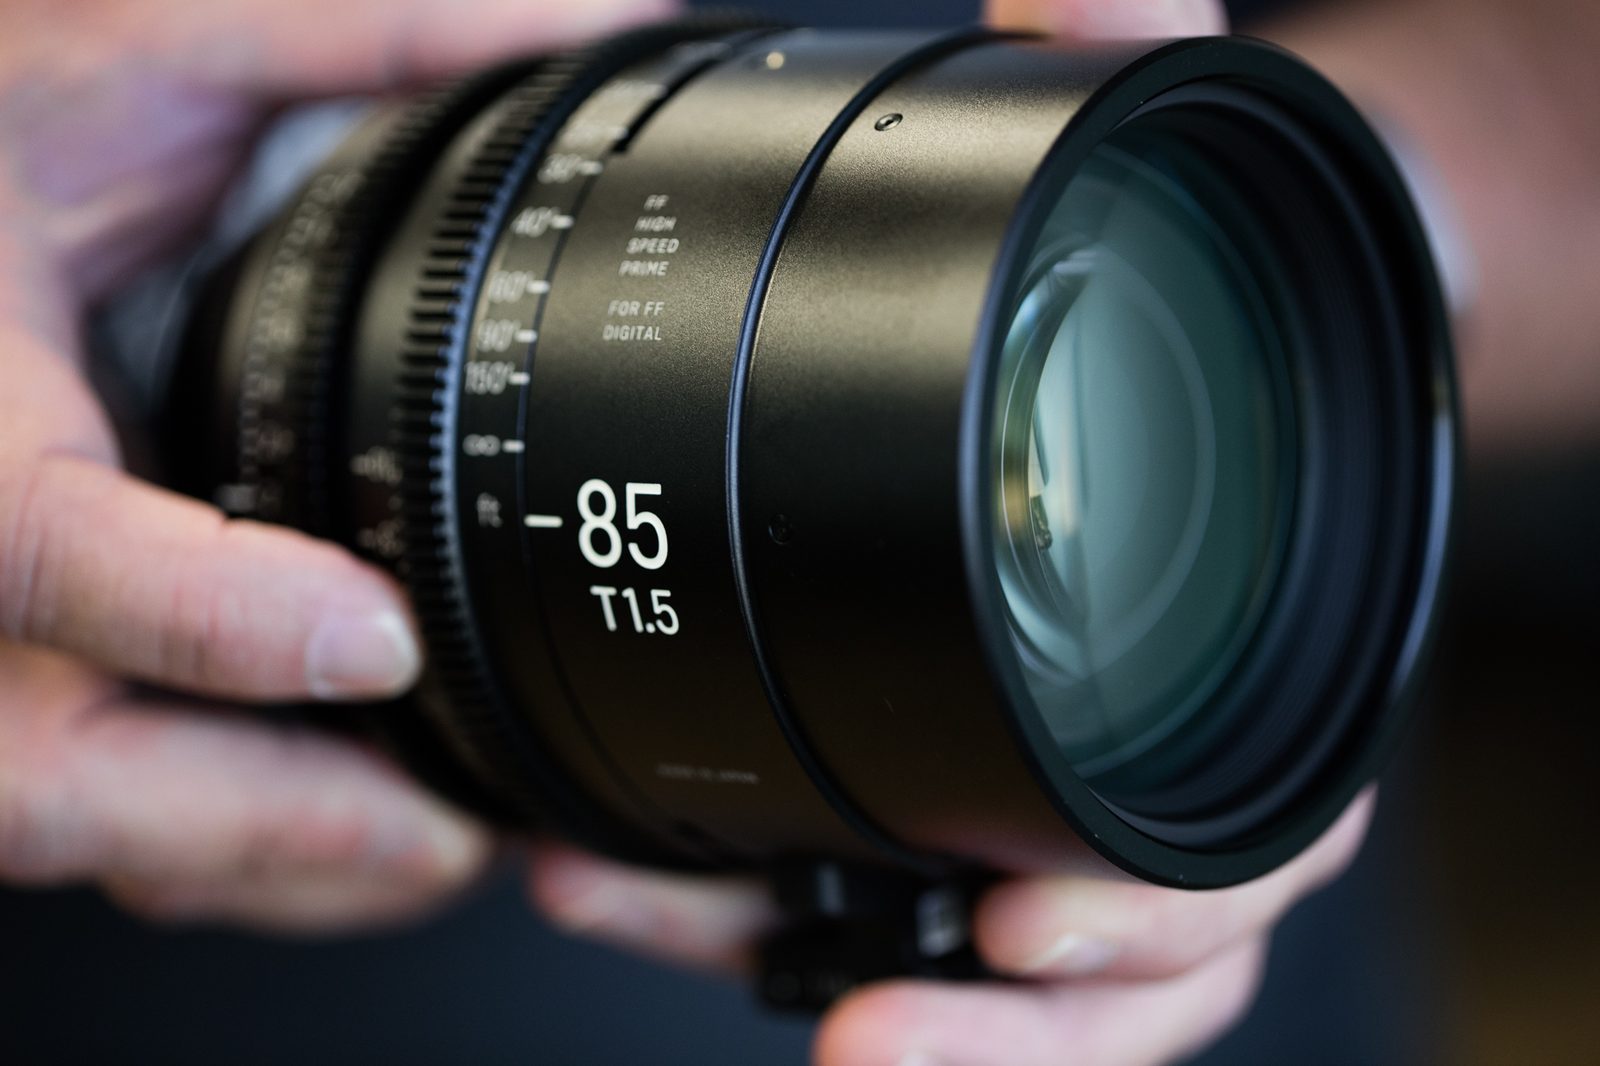
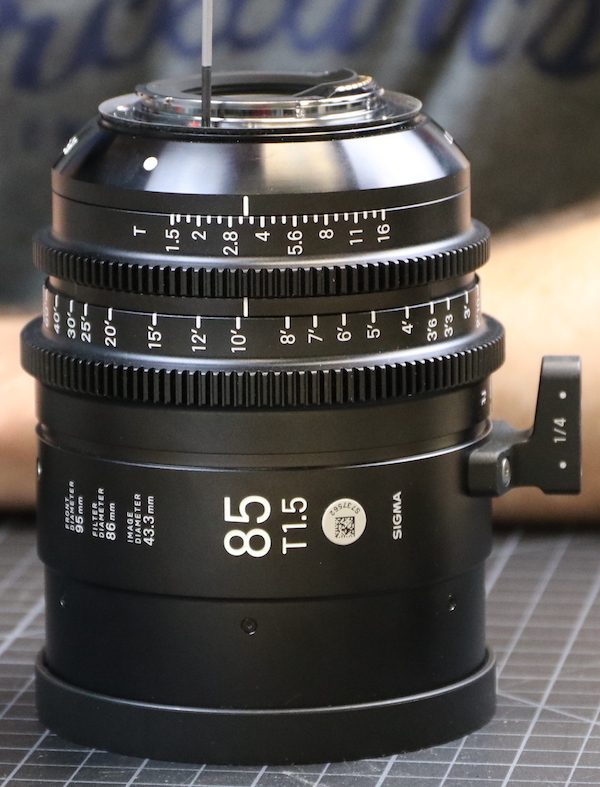
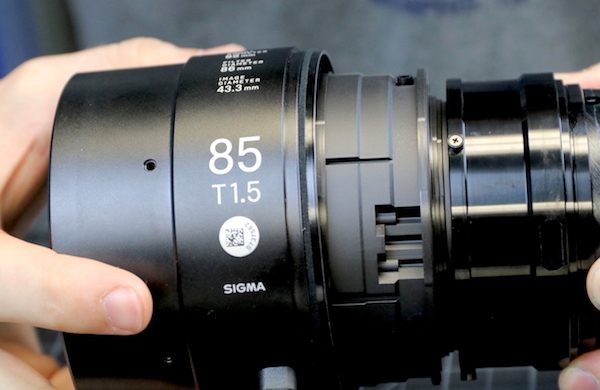
We’ve been impressed with the Sigma Cine lenses. We weren’t surprised that they’re generally sharper than classic Cine primes; that’s what we’ve come to expect from Sigma. We were pleasantly surprised by the smoothness of focusing and aperture and the apparent build quality. Since we’d previously done teardowns of the Zeiss 85mm T1.5 CP.2 and Rokinon Xeen 85mm T1.5 lenses, and recently done a teardown of the Zeiss 85mm T1.5 CP.3 lens, we thought taking apart the Sigma Cine 85mm T1.5 would provide a nice comparison.
Rear Disassembly
Removing the rear light baffle was the obvious first step.
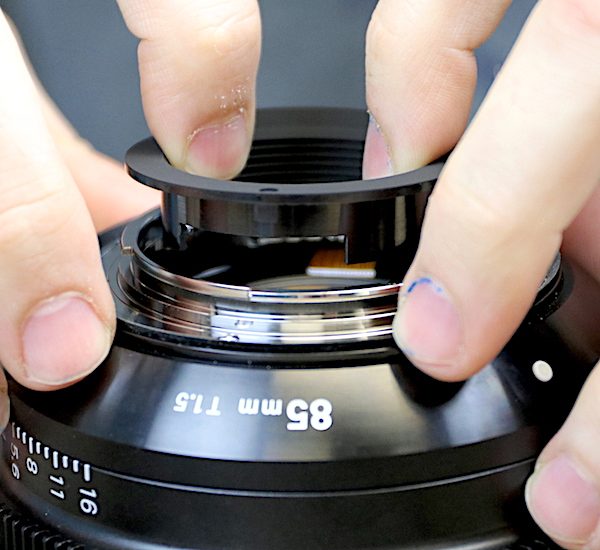
Then we took off the bayonet mount.
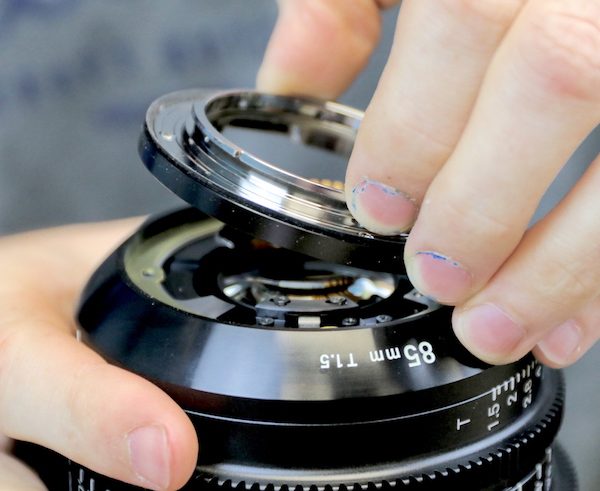
The bayonet is aluminum, but it’s very sturdy, molded piece that is quite solid.
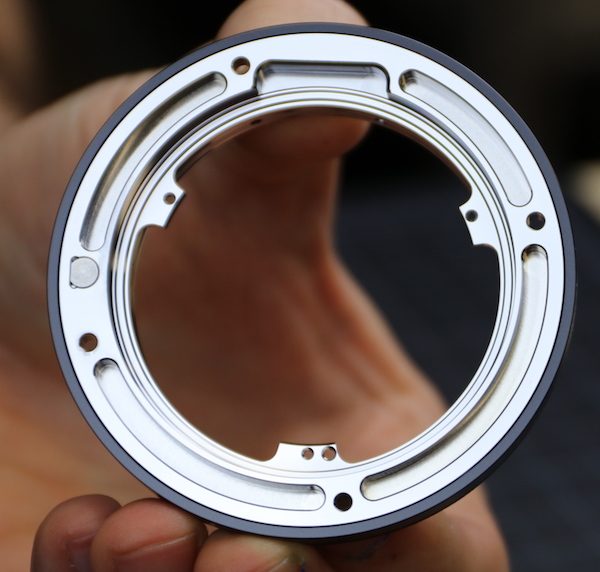
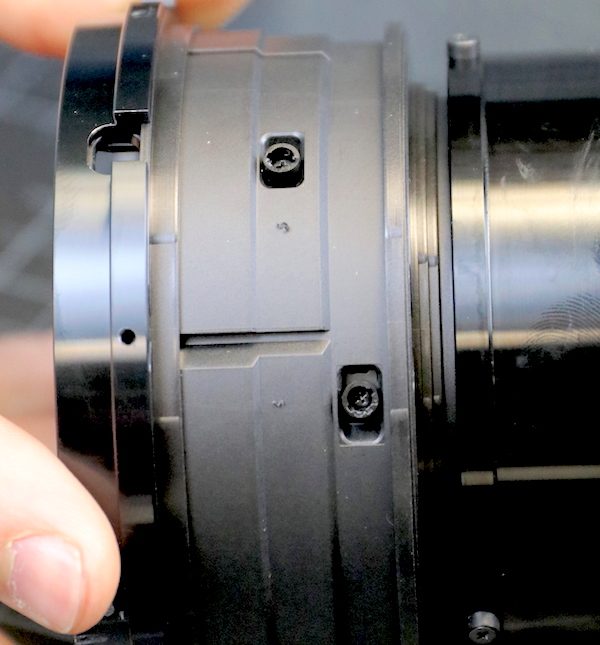
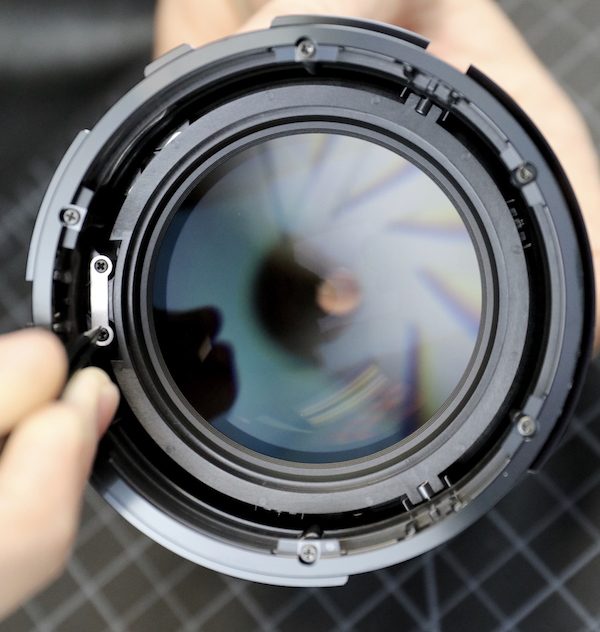
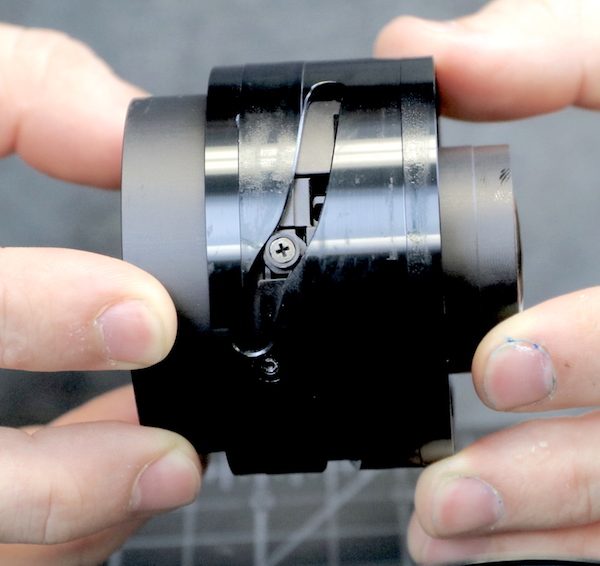
Looking into the rear of the lens now, we can see some of the workings including the electrical contacts, aperture return spring on the right, the aperture key held in by two screws at the bottom, and an aperture control lever just to the right of the electronics, at 1 o’clock. We’ll get into this aperture control system later; it’s more complicated than most Cine lenses, but quite nice.

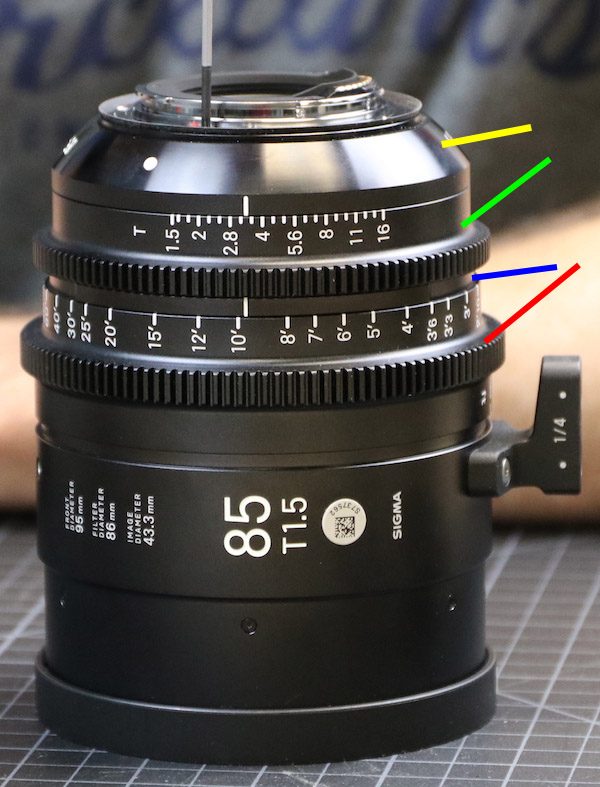
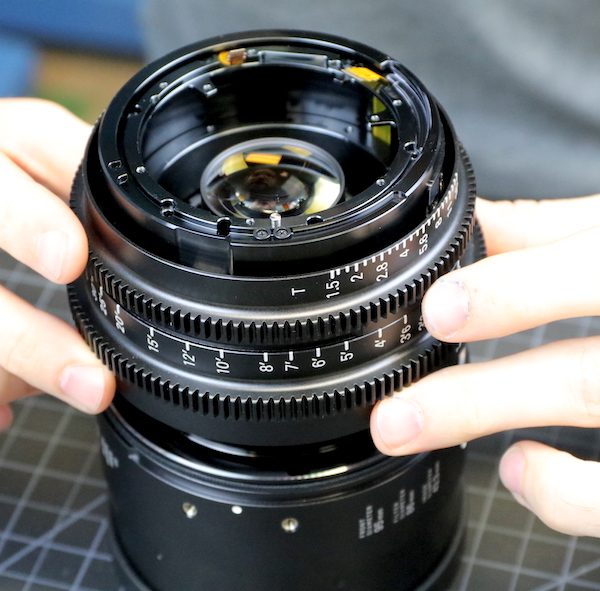
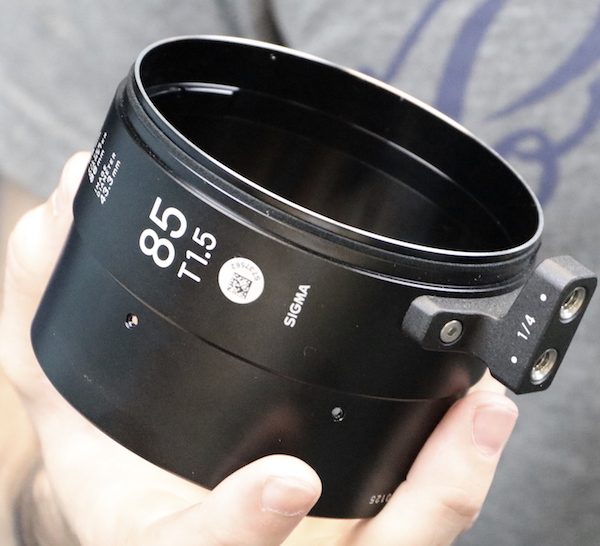
Before we get into the disassembly of the outer barrels, I’m going to show you the outside of the lens with the barrels marked, for orientation purposes. It will help you when we talk about how the aperture mechanism works, particularly. From top to bottom are the fixed rear barrel (yellow line), the aperture ring (green), the fixed mid barrel (blue), and the focusing ring (red).
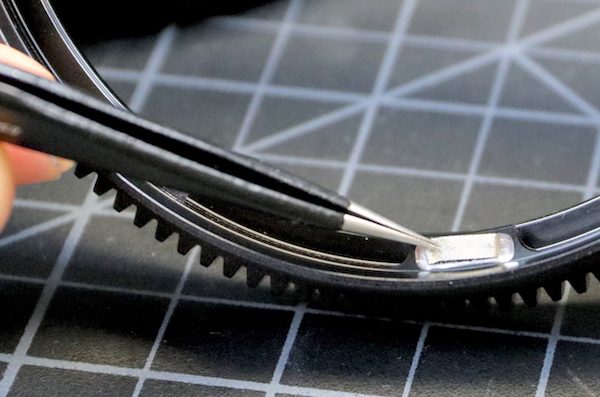
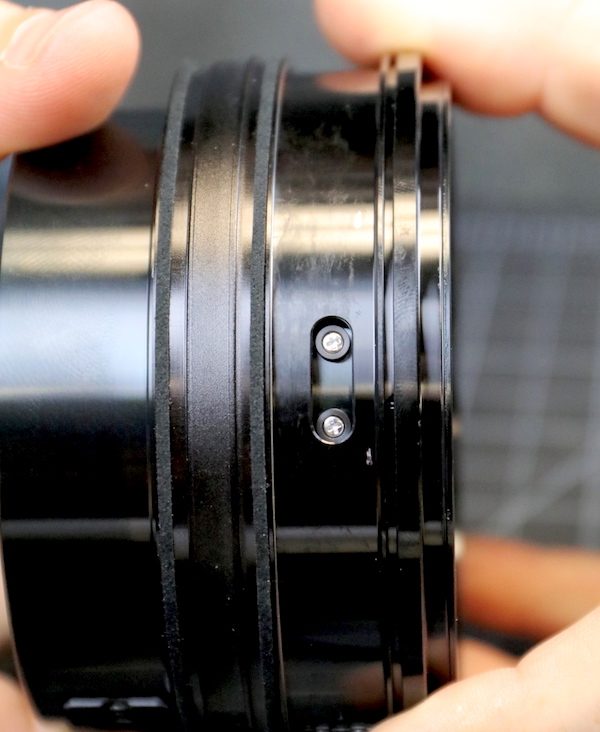
The fixed rear barrel slides right off after the appropriate screws are removed. The two screws closest to you, a bit raised up, are holding the aperture key in place.
We’re going to show several close ups, looking at the aperture control mechanism of the lens. You can barely make it out in this picture, but there is a small post and lever on the inside of the fixed barrel that inserts into a notch in the aperture ring (Aaron’s forceps are in the notch). On the far right side of the fixed barrel, you can see the aperture key pointing down. This key is what actually closes and opens the aperture.
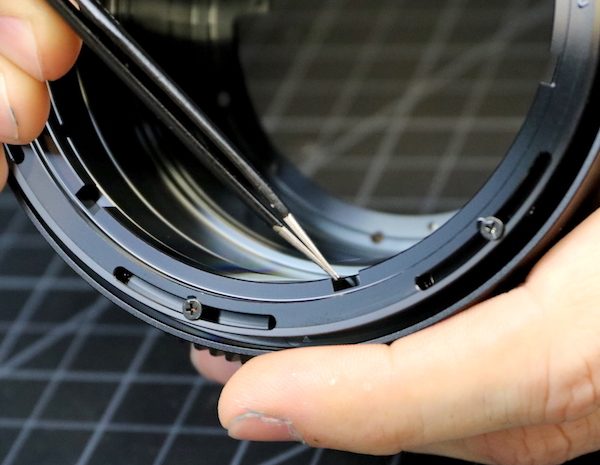
Remember, in the image above, the fixed barrel at the rear stays in place. The slot where Aaron’s forceps are moves when you turn the aperture ring, which moves that small triangular post-and-lever. Looking at the fixed barrel from above, we can see the lever arm that moves when the post moves (red line).
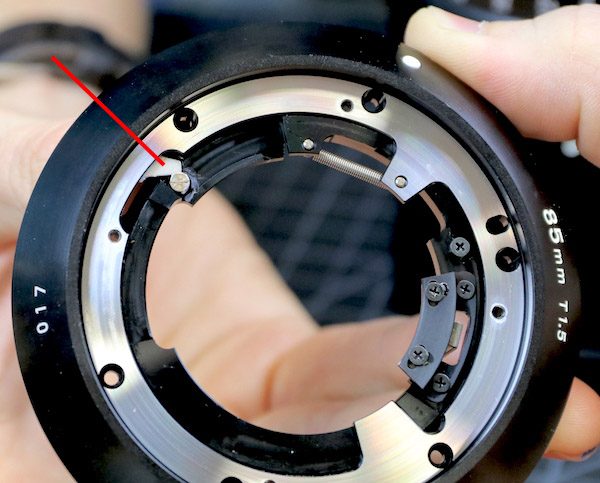
When the aperture ring is turned, the post and lever move. The lever pushes against the post which is attached to the ring with the aperture key, moving the key and opening the aperture. The spring provides constant counter tension, and there is a lower spring providing opposite tension, moving very smooth.
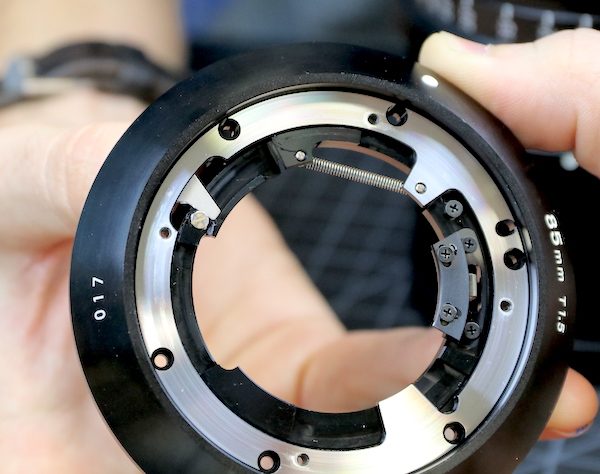
Looking down into the body of the lens (remember the rest of the lens?), you can see the slot that the aperture key fits into, which is the final control of the aperture assembly. It’s a rather complicated arrangement, but very similar to one Nikon has used in mechanical apertures since the dawn of time. It makes for smooth control and despite the apparent complexity is very reliable.
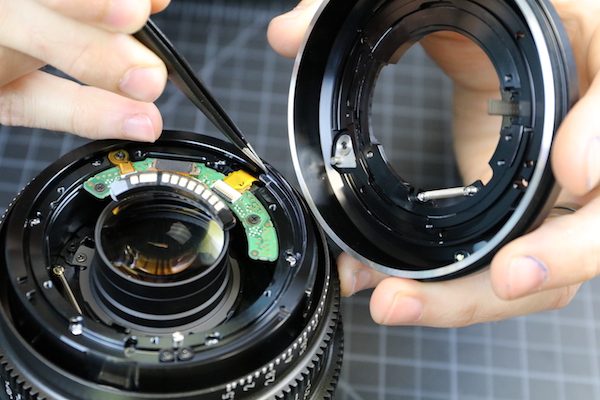
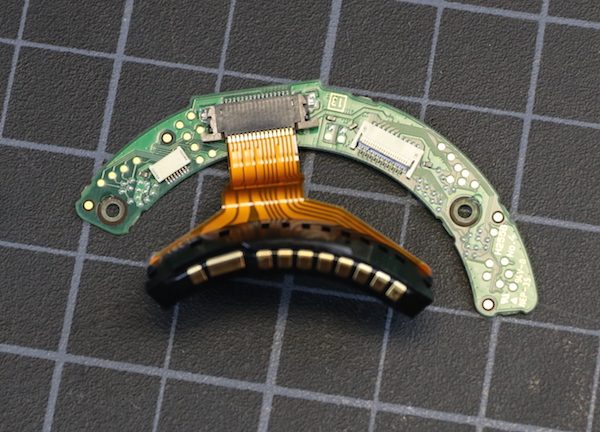
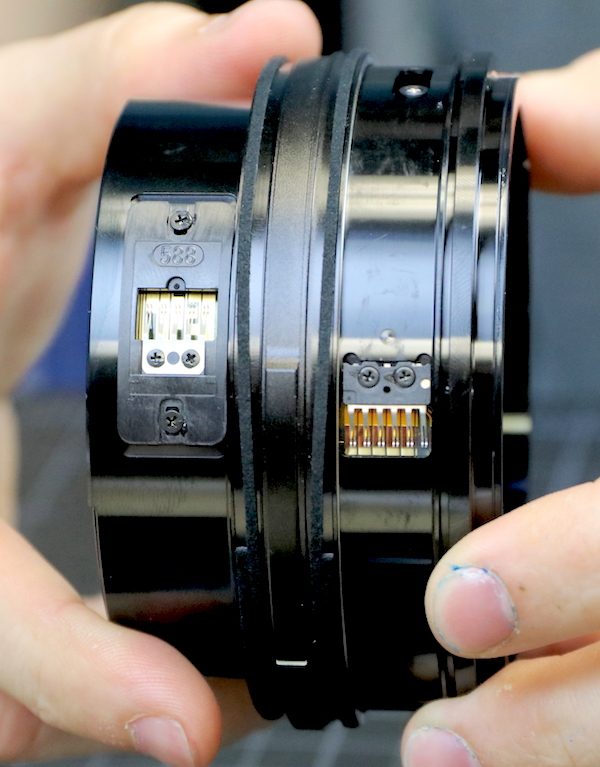
The PCB has to be removed next. There’s not a lot of circuitry here, which makes sense because it doesn’t have a lot of functions; basically, it just reports positions.
The Ring Assembly
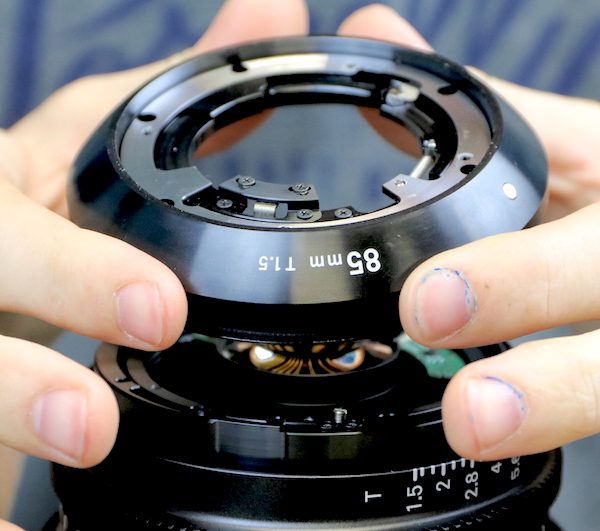
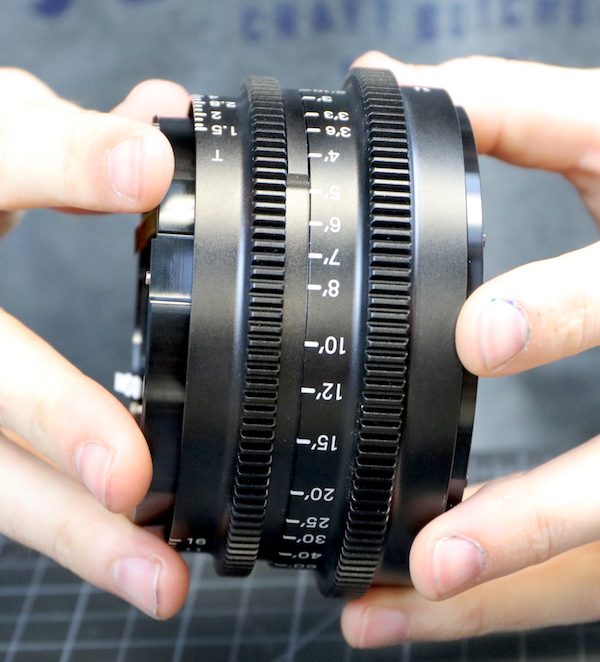
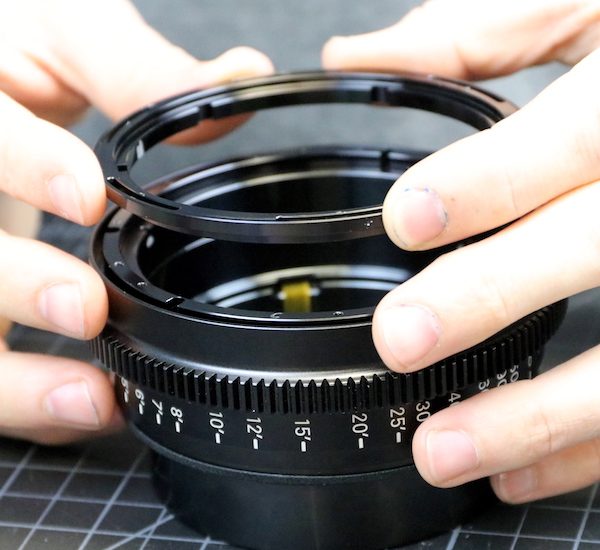
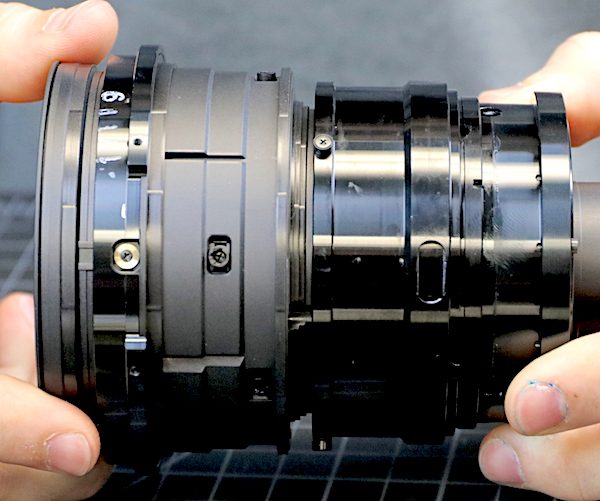
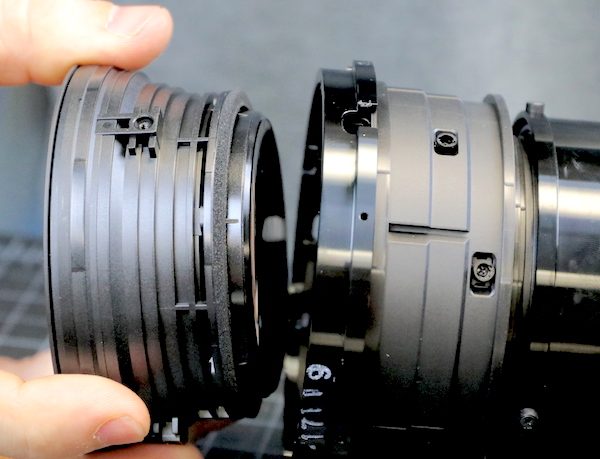
After that removing another set of screws allows us to slide off the ring assembly, which contains the aperture ring, mid fixed barrel, and focus ring.
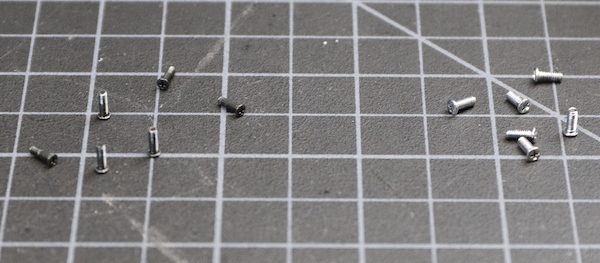
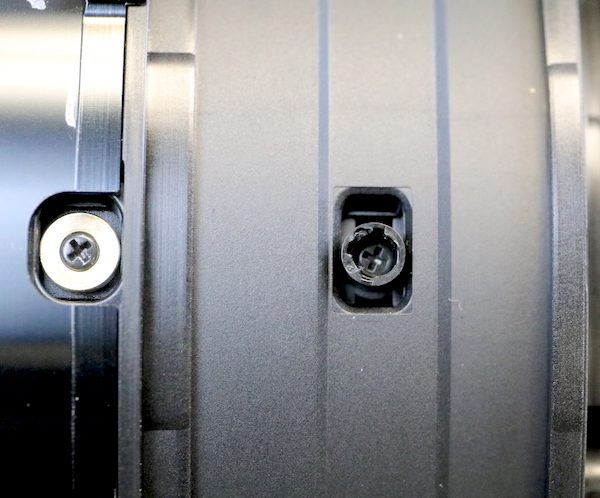
We’re geeks, so we like robust engineering, which means we post pictures of screws. All of the screws in the Sigma Cine are long sturdy things. It’s also a very nice touch that groups of screws are color-coordinated. Aluminum for barrel assemblies, black anodized for internal sub-assemblies. It makes it easier for the repair guy to stay organized.
While Canon is considered the master of modular design (which we love), the ring assembly in this Sigma lens is a superb example. From a repair and maintenance standpoint, it’s nice that all these moving parts are in one easy-to-reach assembly.
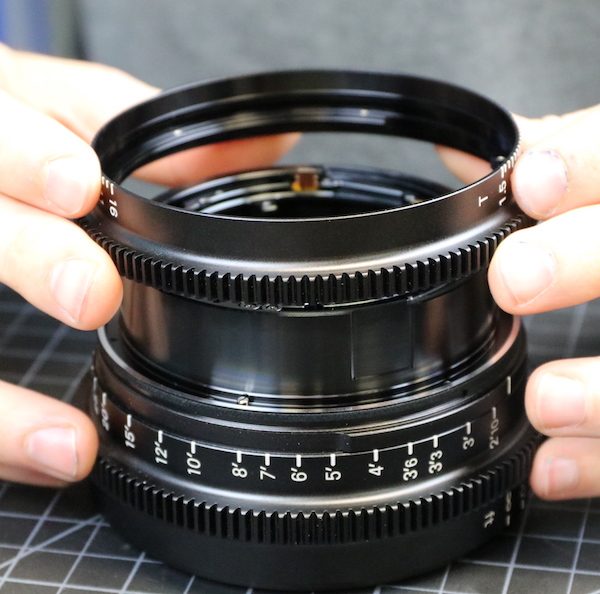
Further disassembly is nice and straightforward, too. Removing a few screws lets us take off the aperture ring.
Each ring has Teflon (I think) friction pads at several locations. We like this a lot because the pads allow the ring to turn smoothly without using globs of thick lubricant. If you’ve ever had to clean lubricant off of internal lens elements, you’d like it a lot too.
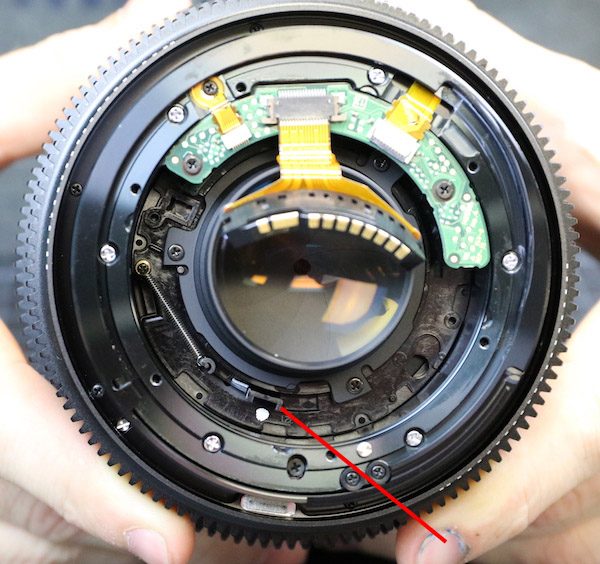
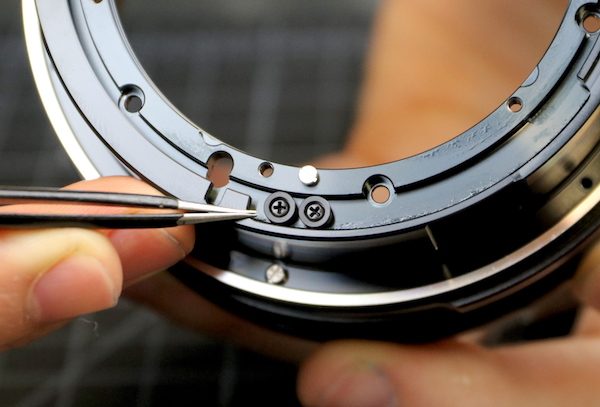
Underneath the aperture ring is the electronic position brush and, as you would expect in a high end-lens, a foam weather seal (red arrow) that probably also keeps moving the ring smooth and quiet.

Looking down at the front (focus ring) end of the ring assembly, we see the notches that connect the focus ring to multiple keys in the internal focusing barrel. The notched piece is a separate ring, and the screws-in-slots that you see spaced around the ring are how the distance scale on the outer ring is adjusted for accuracy.
They’re also what holds the adjustment ring in place, so we remove it next.
Which allowed us access to the screws holding the focusing ring in place. As it comes off, we can see it’s electronic position brush and another ring of sealing foam.

This leaves us the internal barrel of the ring assembly with its position sensors intact.
Here’s is the other side of the inner barrel, showing two rubber hard-stop bumpers for the focus mechanism. If you’ve used this lens, you may have noticed ‘slam focusing’ ends with a nice cushioned bump rather than a metal-on-metal thunk. This is why.
Looking at the bottom end of the barrel, you can see similar hard-stop bumpers for the aperture ring.
The Optics
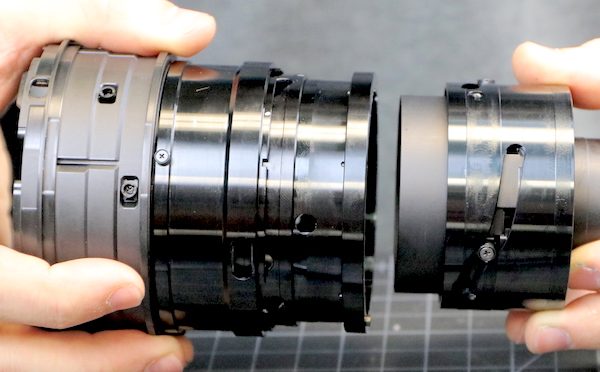
We’ve done a fair amount of disassembly, but haven’t even touched the optical assembly and inner barrels of the lens.
Towards the front of the barrel, you can see the posts that serve as focus keys. They inserted into the notches on the focusing ring we showed you earlier. Again, as you would expect, they are robust.
Removing a set of side screws lets us take off the hood barrel.
This didn’t require any of the previous disassemblies, so a damaged front barrel/filter ring will be simple to replace. Notice another foam seal between the hood barrel and the focusing ring.
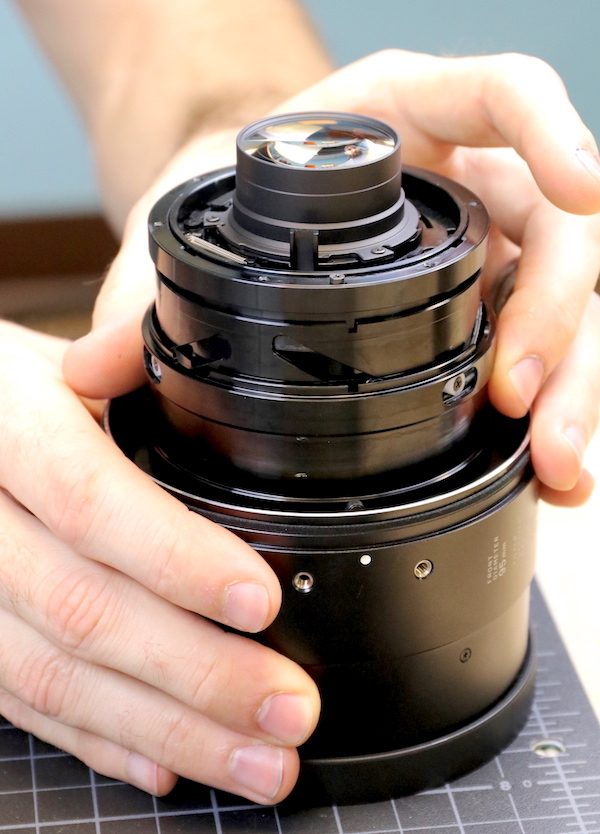
With the hood barrel off, we’re left with the inner optical barrel, which is, not surprisingly, similar in size to the Sigma 85mm f/1.4 photo lens.
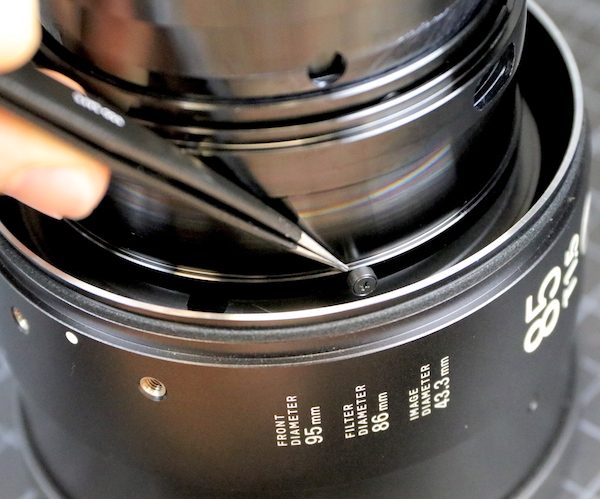
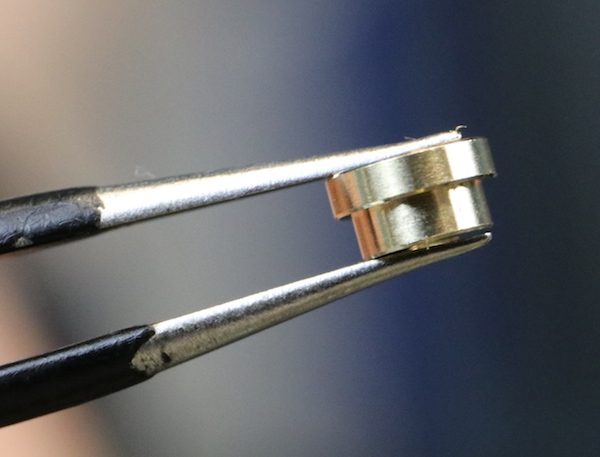
Looking closer you can see the heavy-duty brass-collared screws that hold the front group in place, and further back a set of eccentric optical adjustment collars.
Actually, there are two sets of eccentric collars, which adjust the second and third elements.
The front group of this lens is quite large, and those brass collars are, too, making them very appropriate for the job.
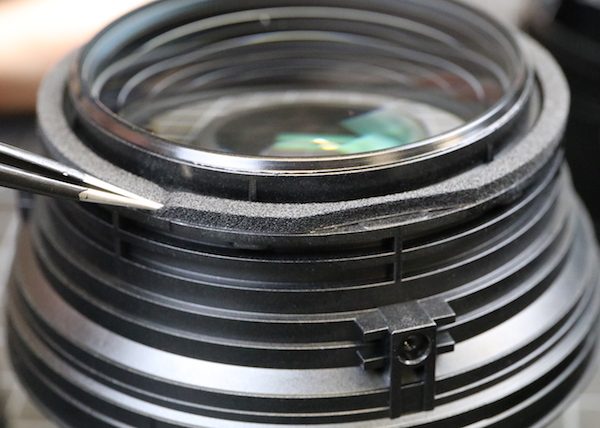
With those removed, the front group, which contains several elements in a molded case, slides right out.
There’s a very thick foam seal at the back of the front group where it seats into the lens barrel.
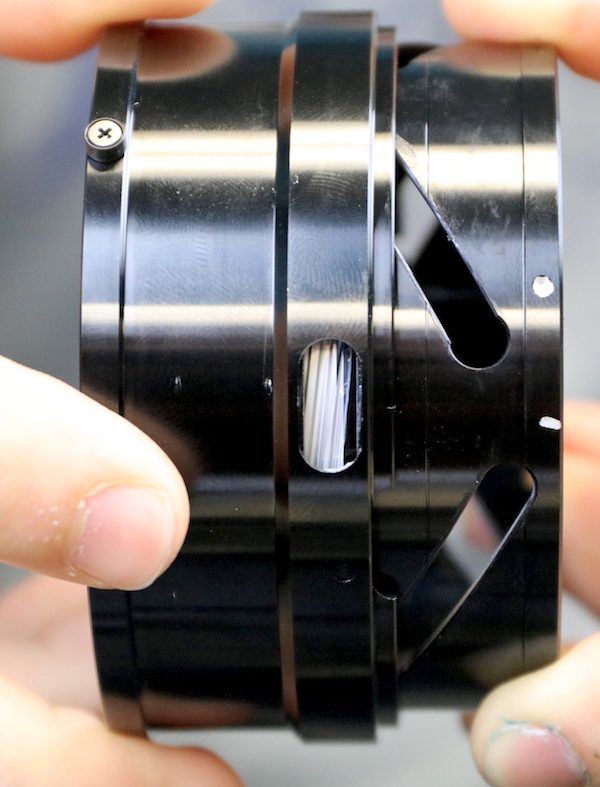
Looking down into the lens barrel with the front group removed we can see the adjustable optics. The two mounting areas at 1 and 5 o’clock attach to the adjustable eccentric collars we showed you earlier. At 9 o’clock you can see the third side is held down by a clamp that is over a bead. So the two collars adjust tilt with the third side being held in place.
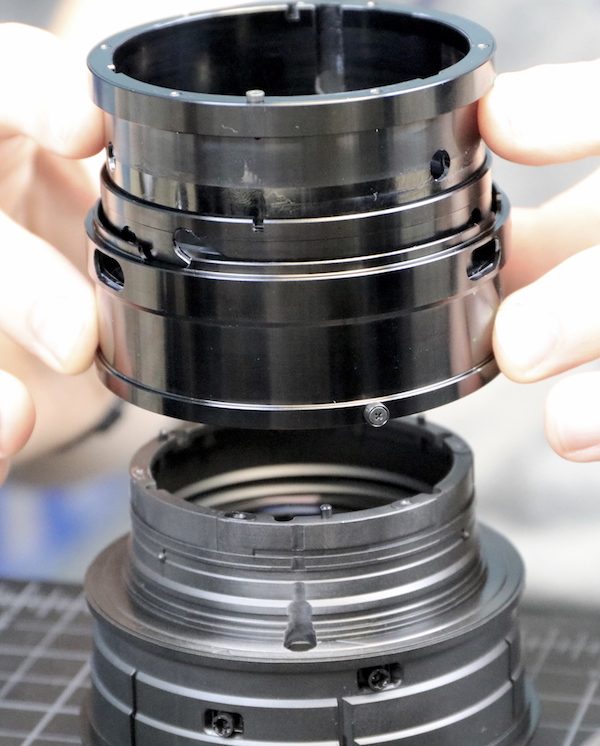
Removing three rollers lets us remove the rear optical barrel from the mid portion of the lens.
And removing some screws from the front allows us to separate the mid and front optical barrels. Notice Sigma has thoughtfully included posts in all barrel ends, so that correct lineup during reassembly is inevitable.
Finally, removing another set of rollers lets us separate the two portions of the mid-barrel.
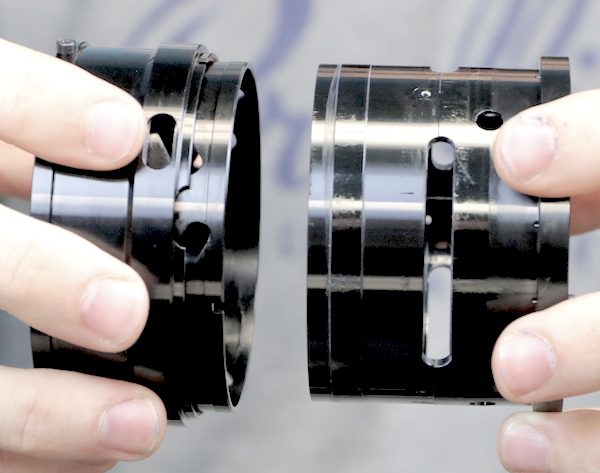
What does this accomplish? Not a whole lot except it lets us see a few things. For one, you can see the cam slot of the focusing barrel and notice that at mid-range there’s more focusing movement than at either extreme. We thought we felt just a tiny bit more focusing resistance in this range and now we understand why, not that it makes any difference. Except we like understanding why. That’s just how we’re wired.
We can also get a glimpse inside at the helicoid portion (covered in while lube) of the focus cam barrel.
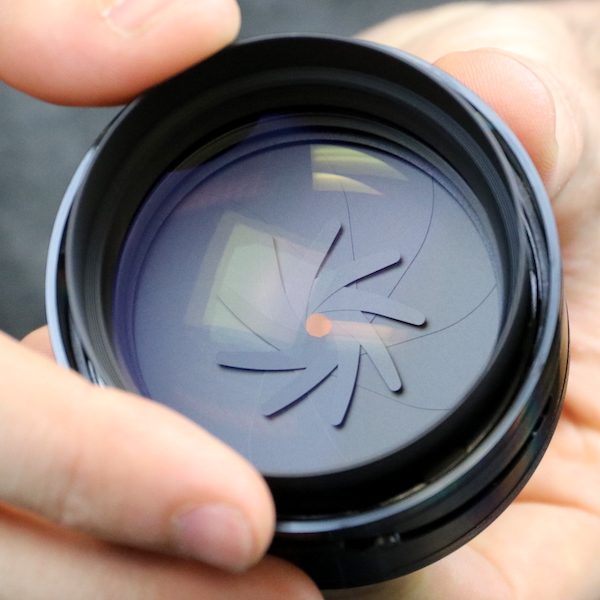
And a nice look at the aperture mechanism with only one piece of glass in front of it.
So What Did We Learn Today?
When a company does something they haven’t done before, one or two (or both) things usually happen. The first is they do it badly because they don’t know how to do it. That’s certainly not the case with Sigma’s first Cine lenses. These are extremely well made.
The second option is they take advantage of not doing it the same way everyone else does because they haven’t been doing it the same way for 30 years. There definitely is some of that in this lens. The aperture mechanism is rather Nikon-like in appearance, with some modifications. That’s a good thing. Nikon aperture mechanisms have been around forever and are quite reliable.
I also like the modularity of construction, which you don’t often see in Cine lenses. This lens was designed to be easy to repair and adjust, and that’s also a very good thing. There are lots of nice, careful touches. Weather sealing is superb, and a lot of care was taken to make operation smooth, something that’s more critical in a Cine lens than in the photo world.
With anything new, there’s always some question as to how it will hold up over time. We didn’t see anything in this lens that made us the least bit nervous about how it will hold up to heavy rental use. Build quality and engineering are at true Cinema standards. This isn’t just a photo lens with some larger focusing rings attached to it; it’s a true cinema housed lens of very high quality.
Roger Cicala and Aaron Closz
Lensrentals.com
September, 2017

11 Comments
l_d_allan ·
> This isn’t just a photo lens with some larger focusing rings attached to it; it’s a true cinema housed lens of very high quality.
I’m considering purchase of the Sigma 85mm non-cinema lens in Canon mount, to also adapt to Sony a7rIi.
I’d appreciate comments on the specifics of how the cine and non-cine Sigma 85mm lens differ …
My guesses:
* better “weather sealing”? (I’d guess non-cine is at least “good” and perhaps cine is better?)
* smoother operation? (also very good vs maybe even better?)
* build quality? (again speculating very similar?)
* IQ? (if anything, non-cine maybe a bit better?)
* similar if not apparently same optical formula between cine and non-cine?
* Less or no “focus pumping”? (I’d guess same?)
* parafocal … but not an issue with non-zoom lens?
* T-factor (transmissions … f/1.4 equiv to t/1.5?)
* other?
Roger Cicala ·
I think you covered it, although optically they are identical to the limits of our measuring capability.
Brandon Dube ·
I’d be giving sigma a round of applause at my desk if I hadn’t sliced open my finger this morning.
Which is possibly the highest praise I’ve ever given anything.
asad137 ·
Love the lens teardowns, as always.
One minor nitpick: The rear bayonet doesn’t look “molded” — it looks machined.
Roger Cicala ·
You are correct, it definitely is machined. I picked a bad word to indicate that it isn’t a solid piece, but rather put some air in it for lightness while maintaining thickness for structural strength 🙂
Kers ·
Thank you for the stripdown;
Sigma makes good stuff! Who would have said so only years ago.
i have two sigma art lenses and already they are built to last and now the latest have watersealing.
; but this one seems to be built like a tank.
Athanasius Kirchner ·
Roger, did you change your close focus setup? I have to say that the photos in this teardown look considerably better than those of earlier ones.
Sean Donnelly ·
If I understand correctly, manual-focus primes for still photography typically use helicoids to drive the focus motions, while modern cine primes use cams (to provide a more preferred relationship between ring rotation and optic motion). This lens contains both a helicoid and cams. Why both?
Stephen Reizes ·
I’m really glad to discover this blog, thank you for sharing. I had a couple of observations and questions to add:
I suspect the reason for the aperture control lever (it’s like a cam) is to give a linear T stop scale (also needed on old mechanically coupled Nikon stills lens to work the metering).
I was wondering about the “hard stop bumpers” you show, would you think they suffer from the same potential weakness as the screw head bumper stops in the ZEEN? I think the problem is less the potential wearing down of the soft metal screw heads on the ZEEN but the potential for shearing the screw. This can happen when a lens motor jumps off the gear and is re-engaged without re-calibration. To me only the Zeiss design considers this, their stops are basically indestructible.
Finally, I was interested in your opinion about the molded plastic lens cell used in the Sigma. I was under the impression that the lens housing was all new and all metal. Plastic seems to be a no-no in pro cine lenses is there any reason for concern here?
Joachim Heden ·
Hi,
There is no mention of removing the rear optics. It looks to be fairly straight forward… there seems to be a “housing” for the rear optics held by 3 screws… Did you remove it? Was there any complications?
Marco Boerner ·
I have a Sigma FF 20mm EF lens and during a shoot with an URSA Mini Pro the Aperture just stopped working. It was full open the whole time. I called around and tried to find this problem but no one seemed to have heard of it happening. The lens hasn’t been used for a couple of months before that, could that be an issue? Now today I was gonna send it in for repair and had in on my Canon 70d just for testing the focus also and out of the blue the aperture worked again. Any idea what could have been the cause? And what did “fix” the problem? Was it coincidence that I used it on my Canon or has it anything to do with that little nipple at the mount? Is there something that could lock an aperture? Or should I still send it in?