Photographic Techniques
Lighting Styles to Try on Your Next Studio Photoshoot
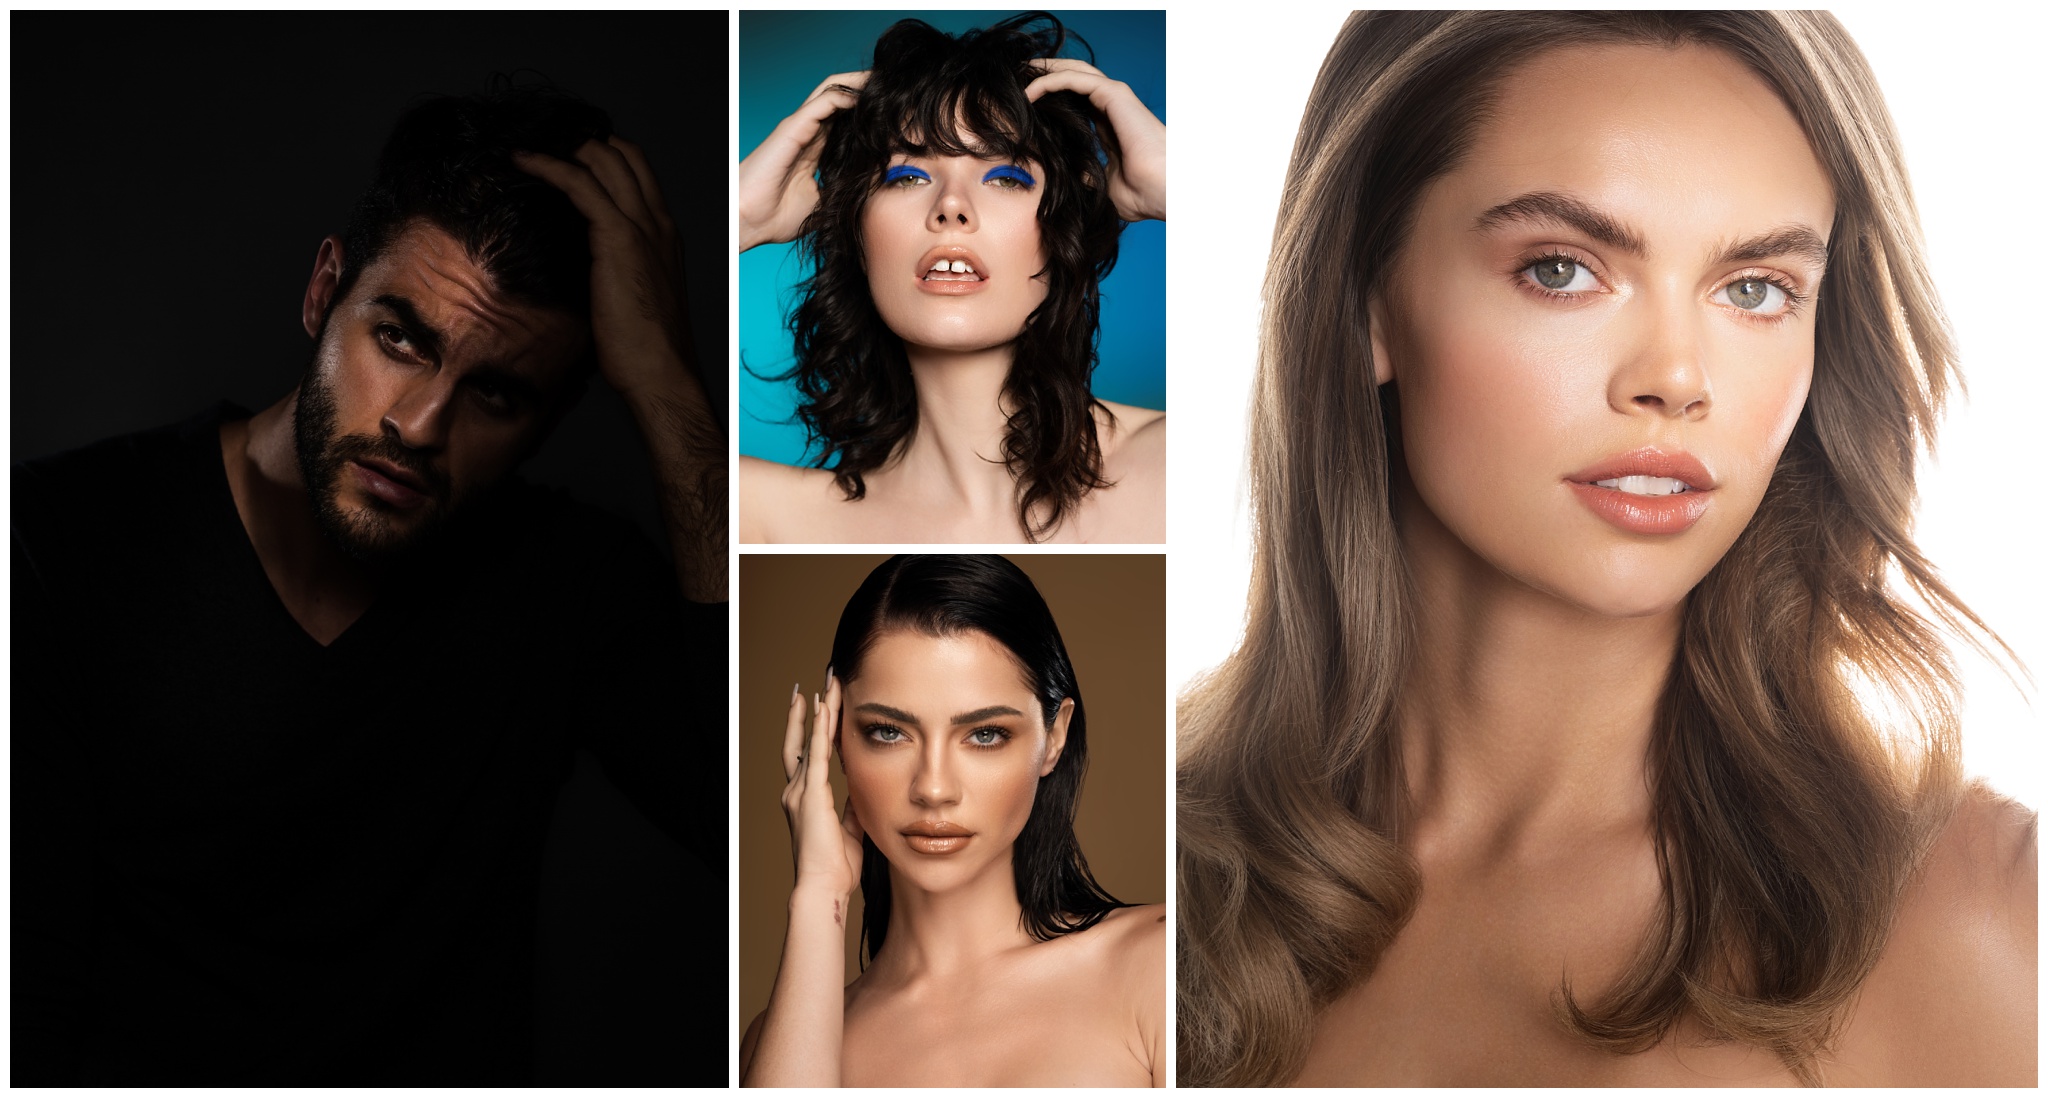
When it comes to photography, my love for it is built around my passion for shaping light in new and creative ways. So every now and then, when I come up with some interesting ways to light things, I like to share that process with you on this blog. If you’re a long-time reader, you know I’ve done this a few times before, so it doesn’t need much additional explanation. So without further ado, here are four lighting setups that you should try for your next photography shoot.
Mixing Gels on the Background
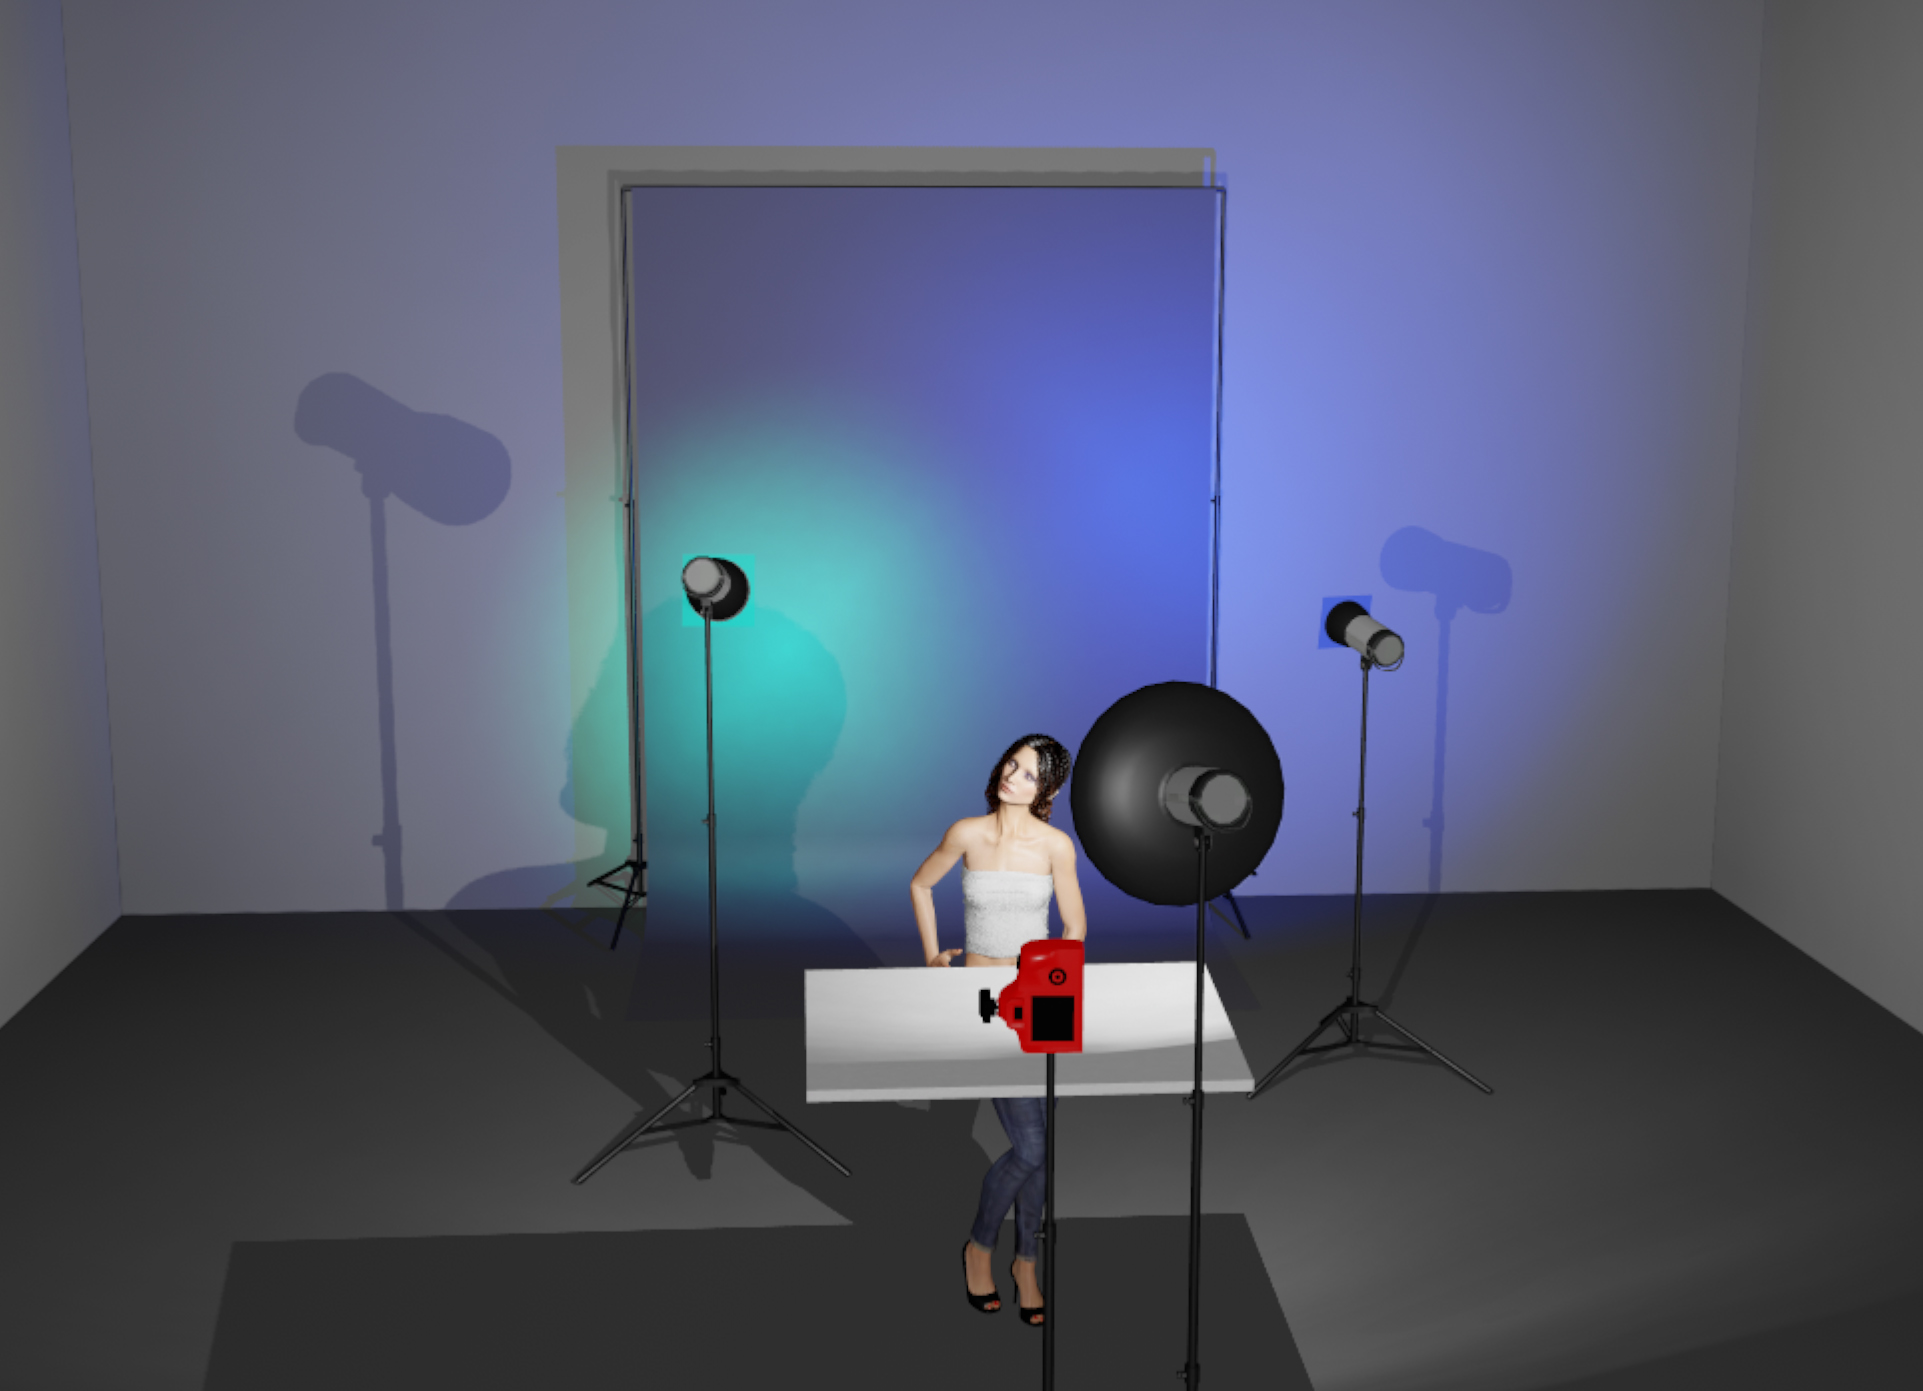
I’ve discussed this series of photos before, in my article regarding color theory and how to implement color theory in your studio photography. That said, I felt that it deserved more attention because I love the effect that it creates. Using a medium gray background, I could add gelled lighting to the background to create a great color gradient that compliments the makeup used very well. While the lighting on the model is very standard for beauty photography, I love the effect that gels can put onto a background over using a specific color of seamless paper. In this photo set particularly, I used a medium blue gel on the right side of the subject, and a teal gel on the left side. It resulted in getting a nice color gradient from one to the other on the background, whereas I photographed her separately using more traditional lighting tools.
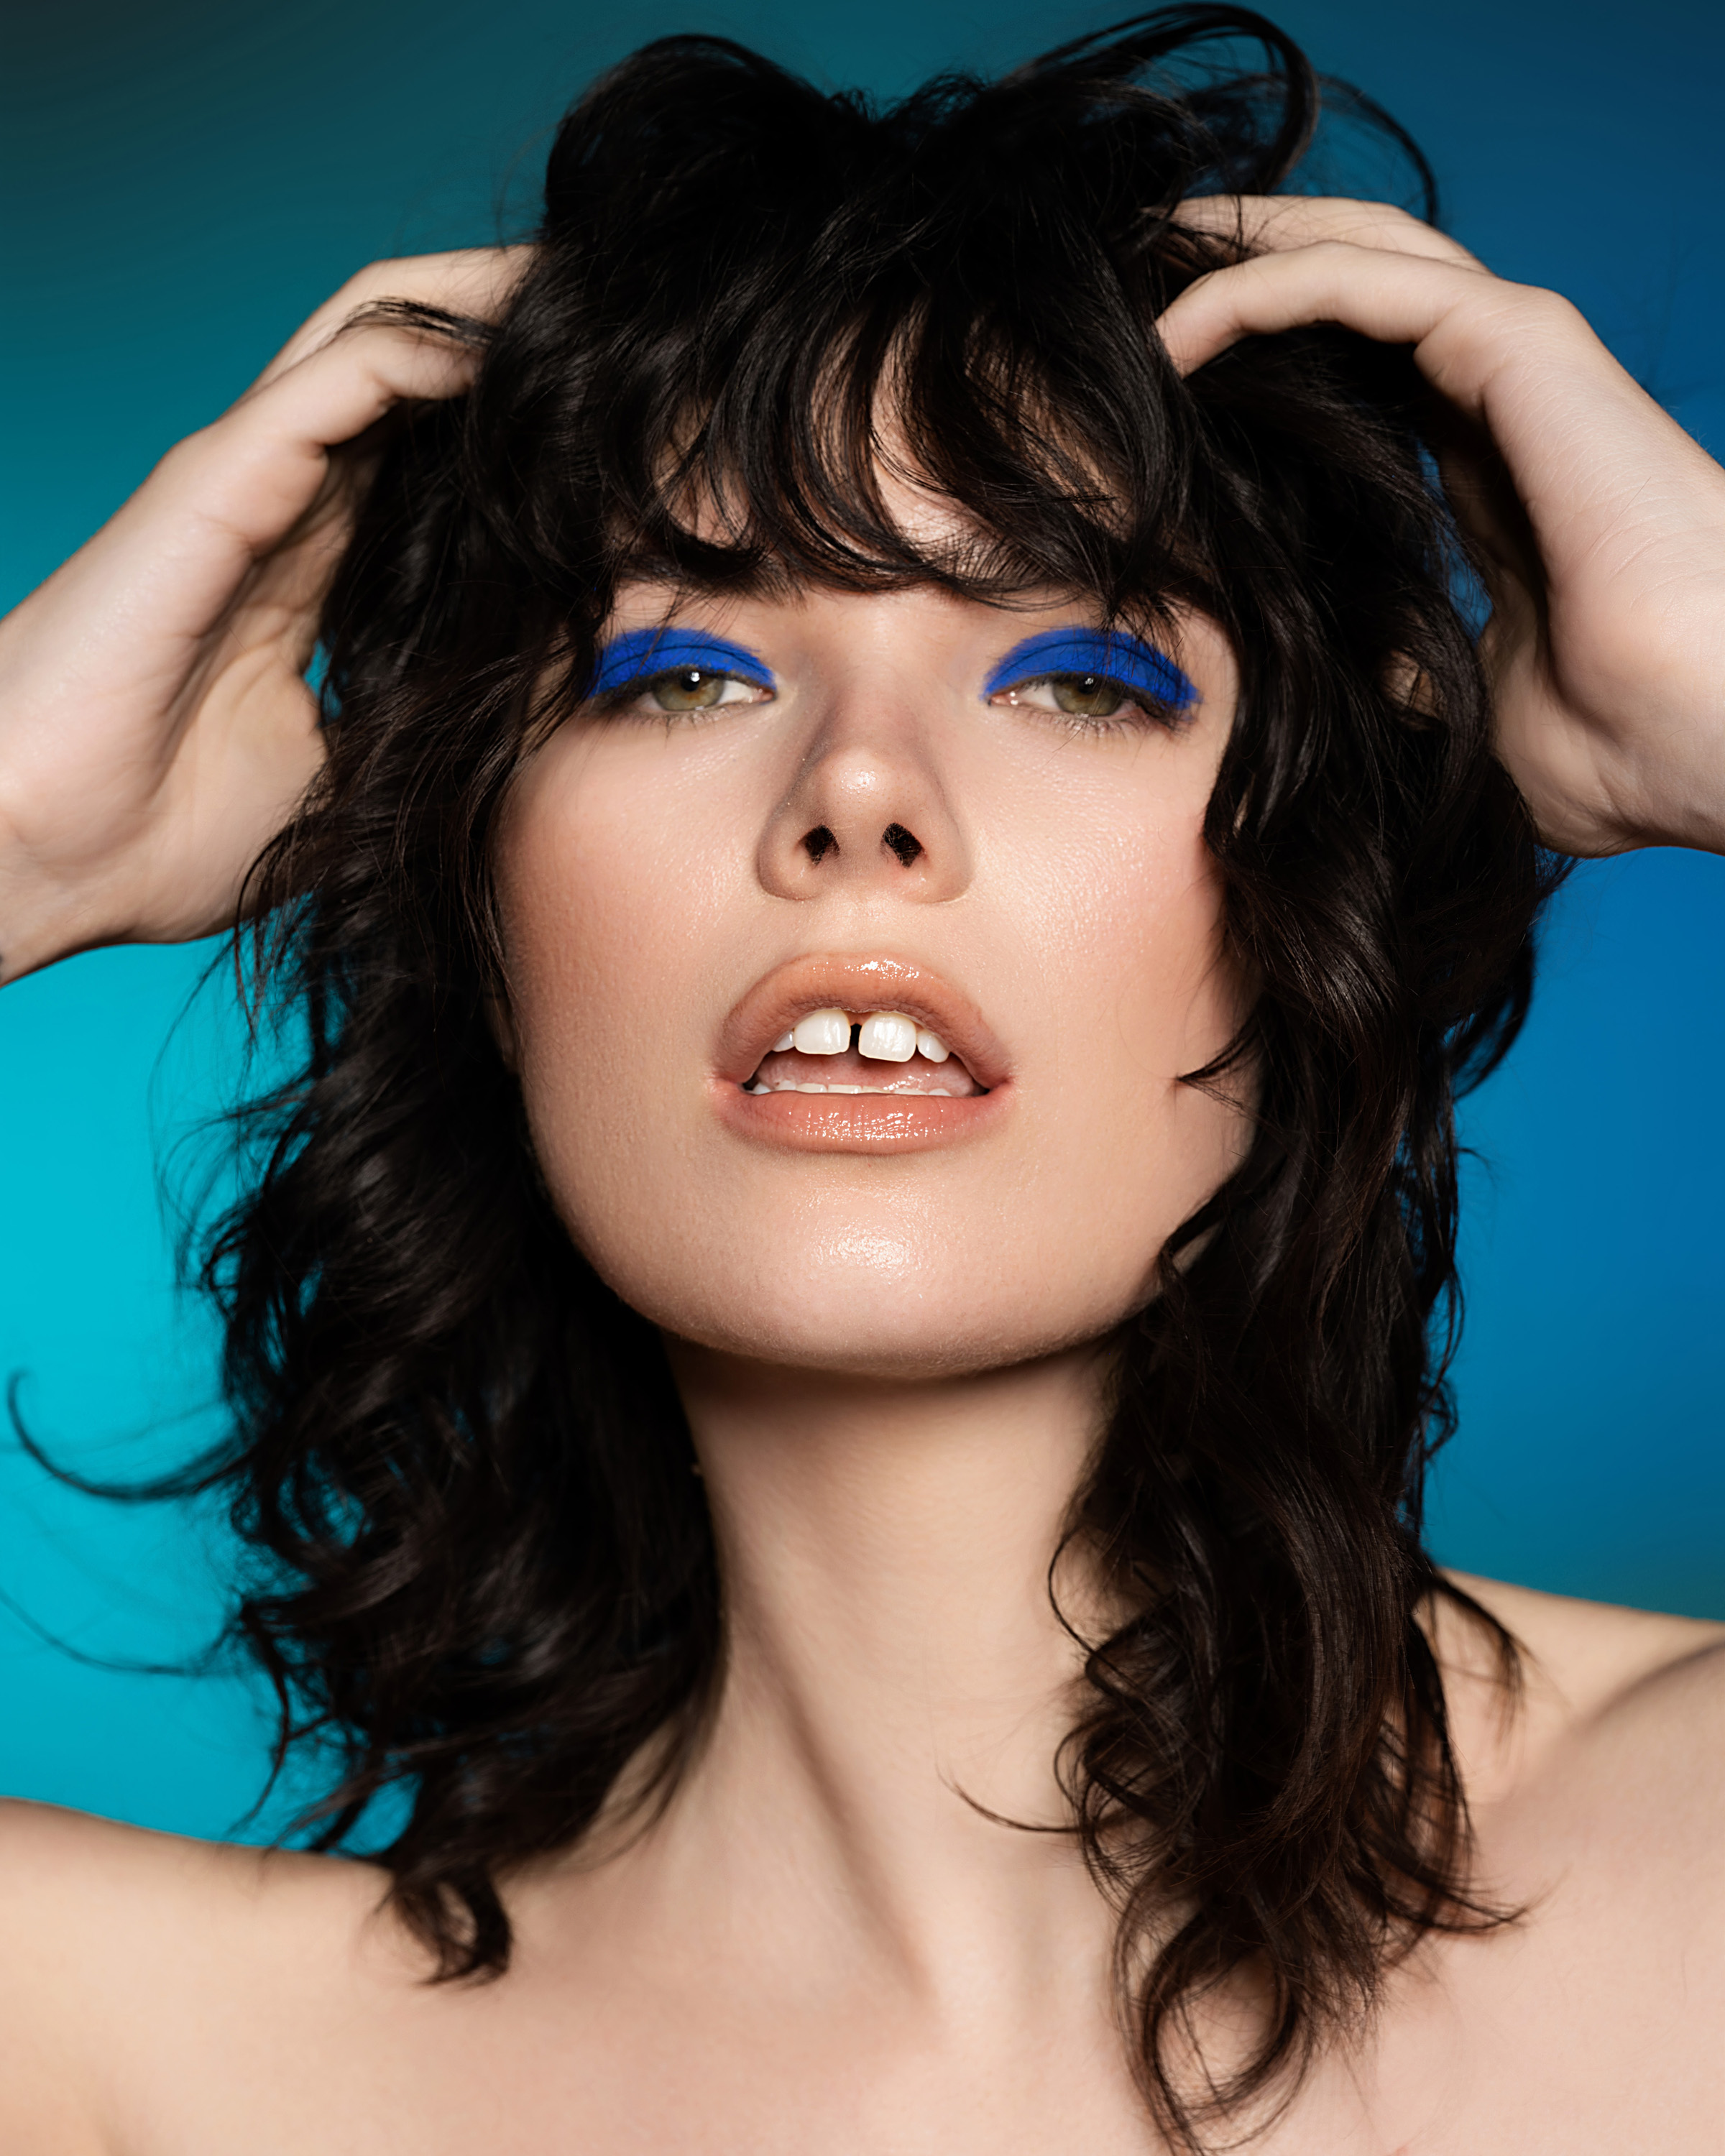
This photo was shot using two Profoto B10 plus‘ on the background with Profoto gels. The subject was lit with a beauty dish above, and a white reflector below to help minimize shadows under the chin and nose. A detailed lighting diagram is below.
Dewy Brown Tones
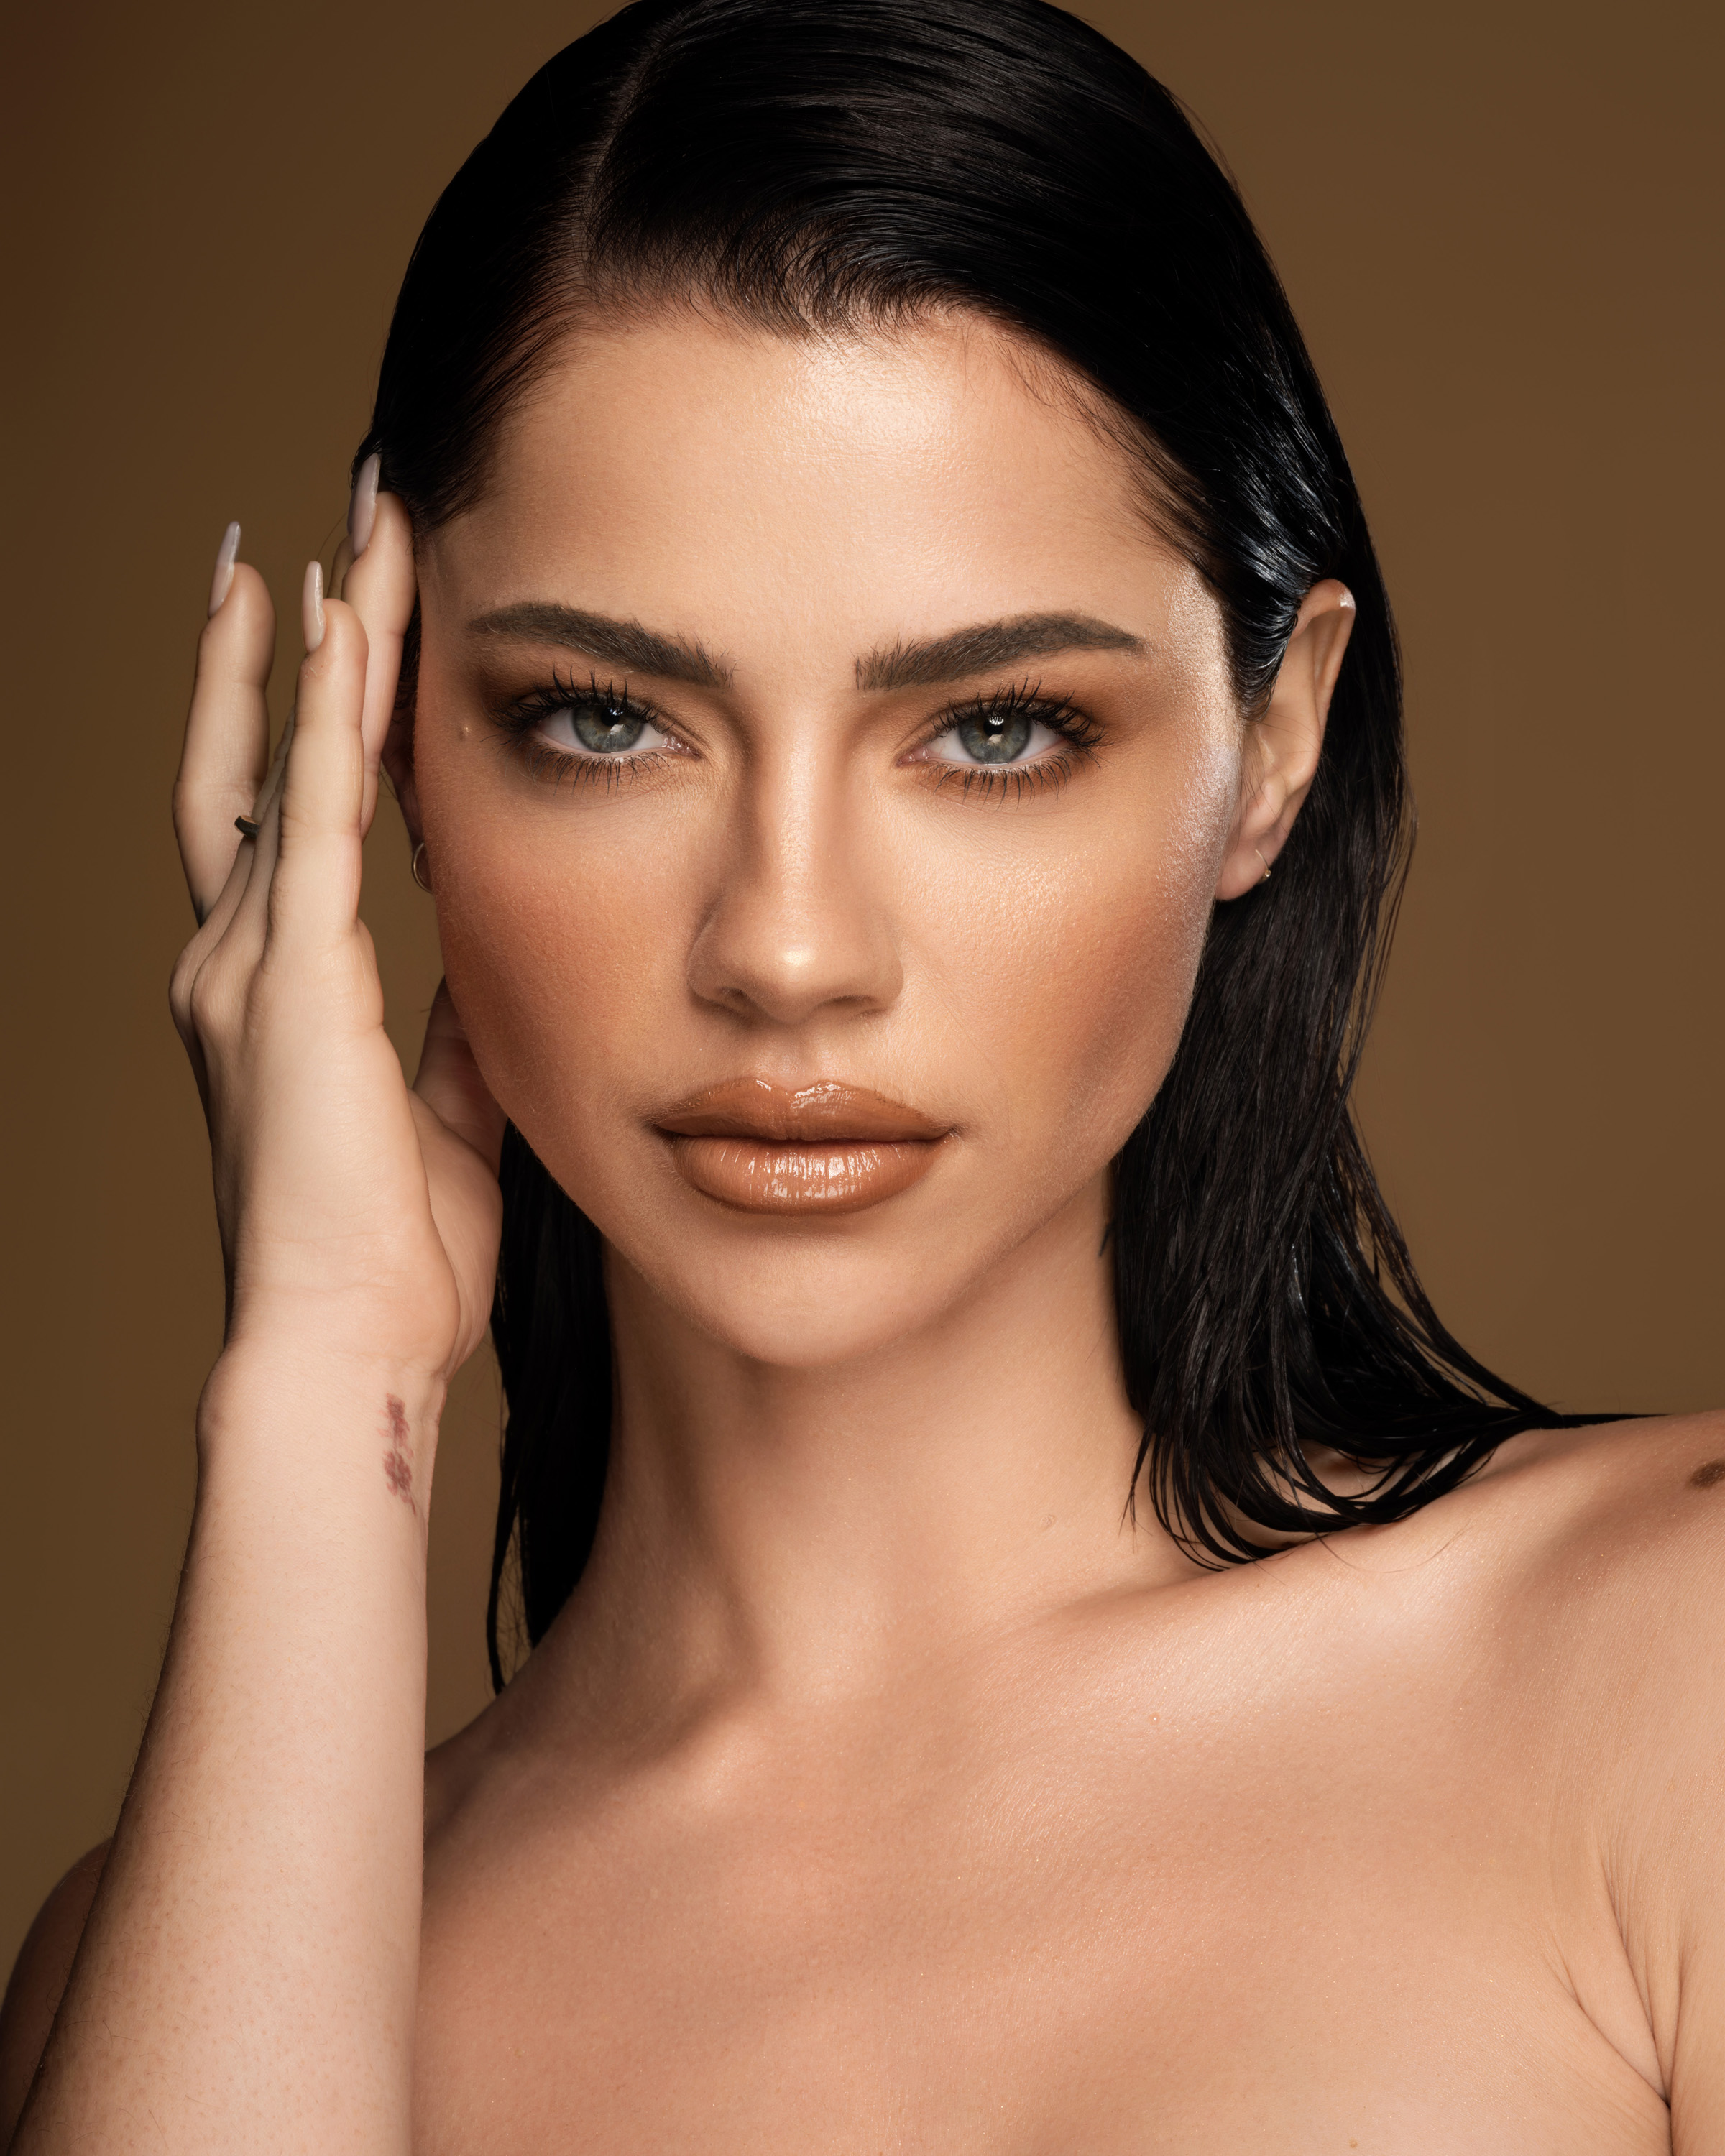
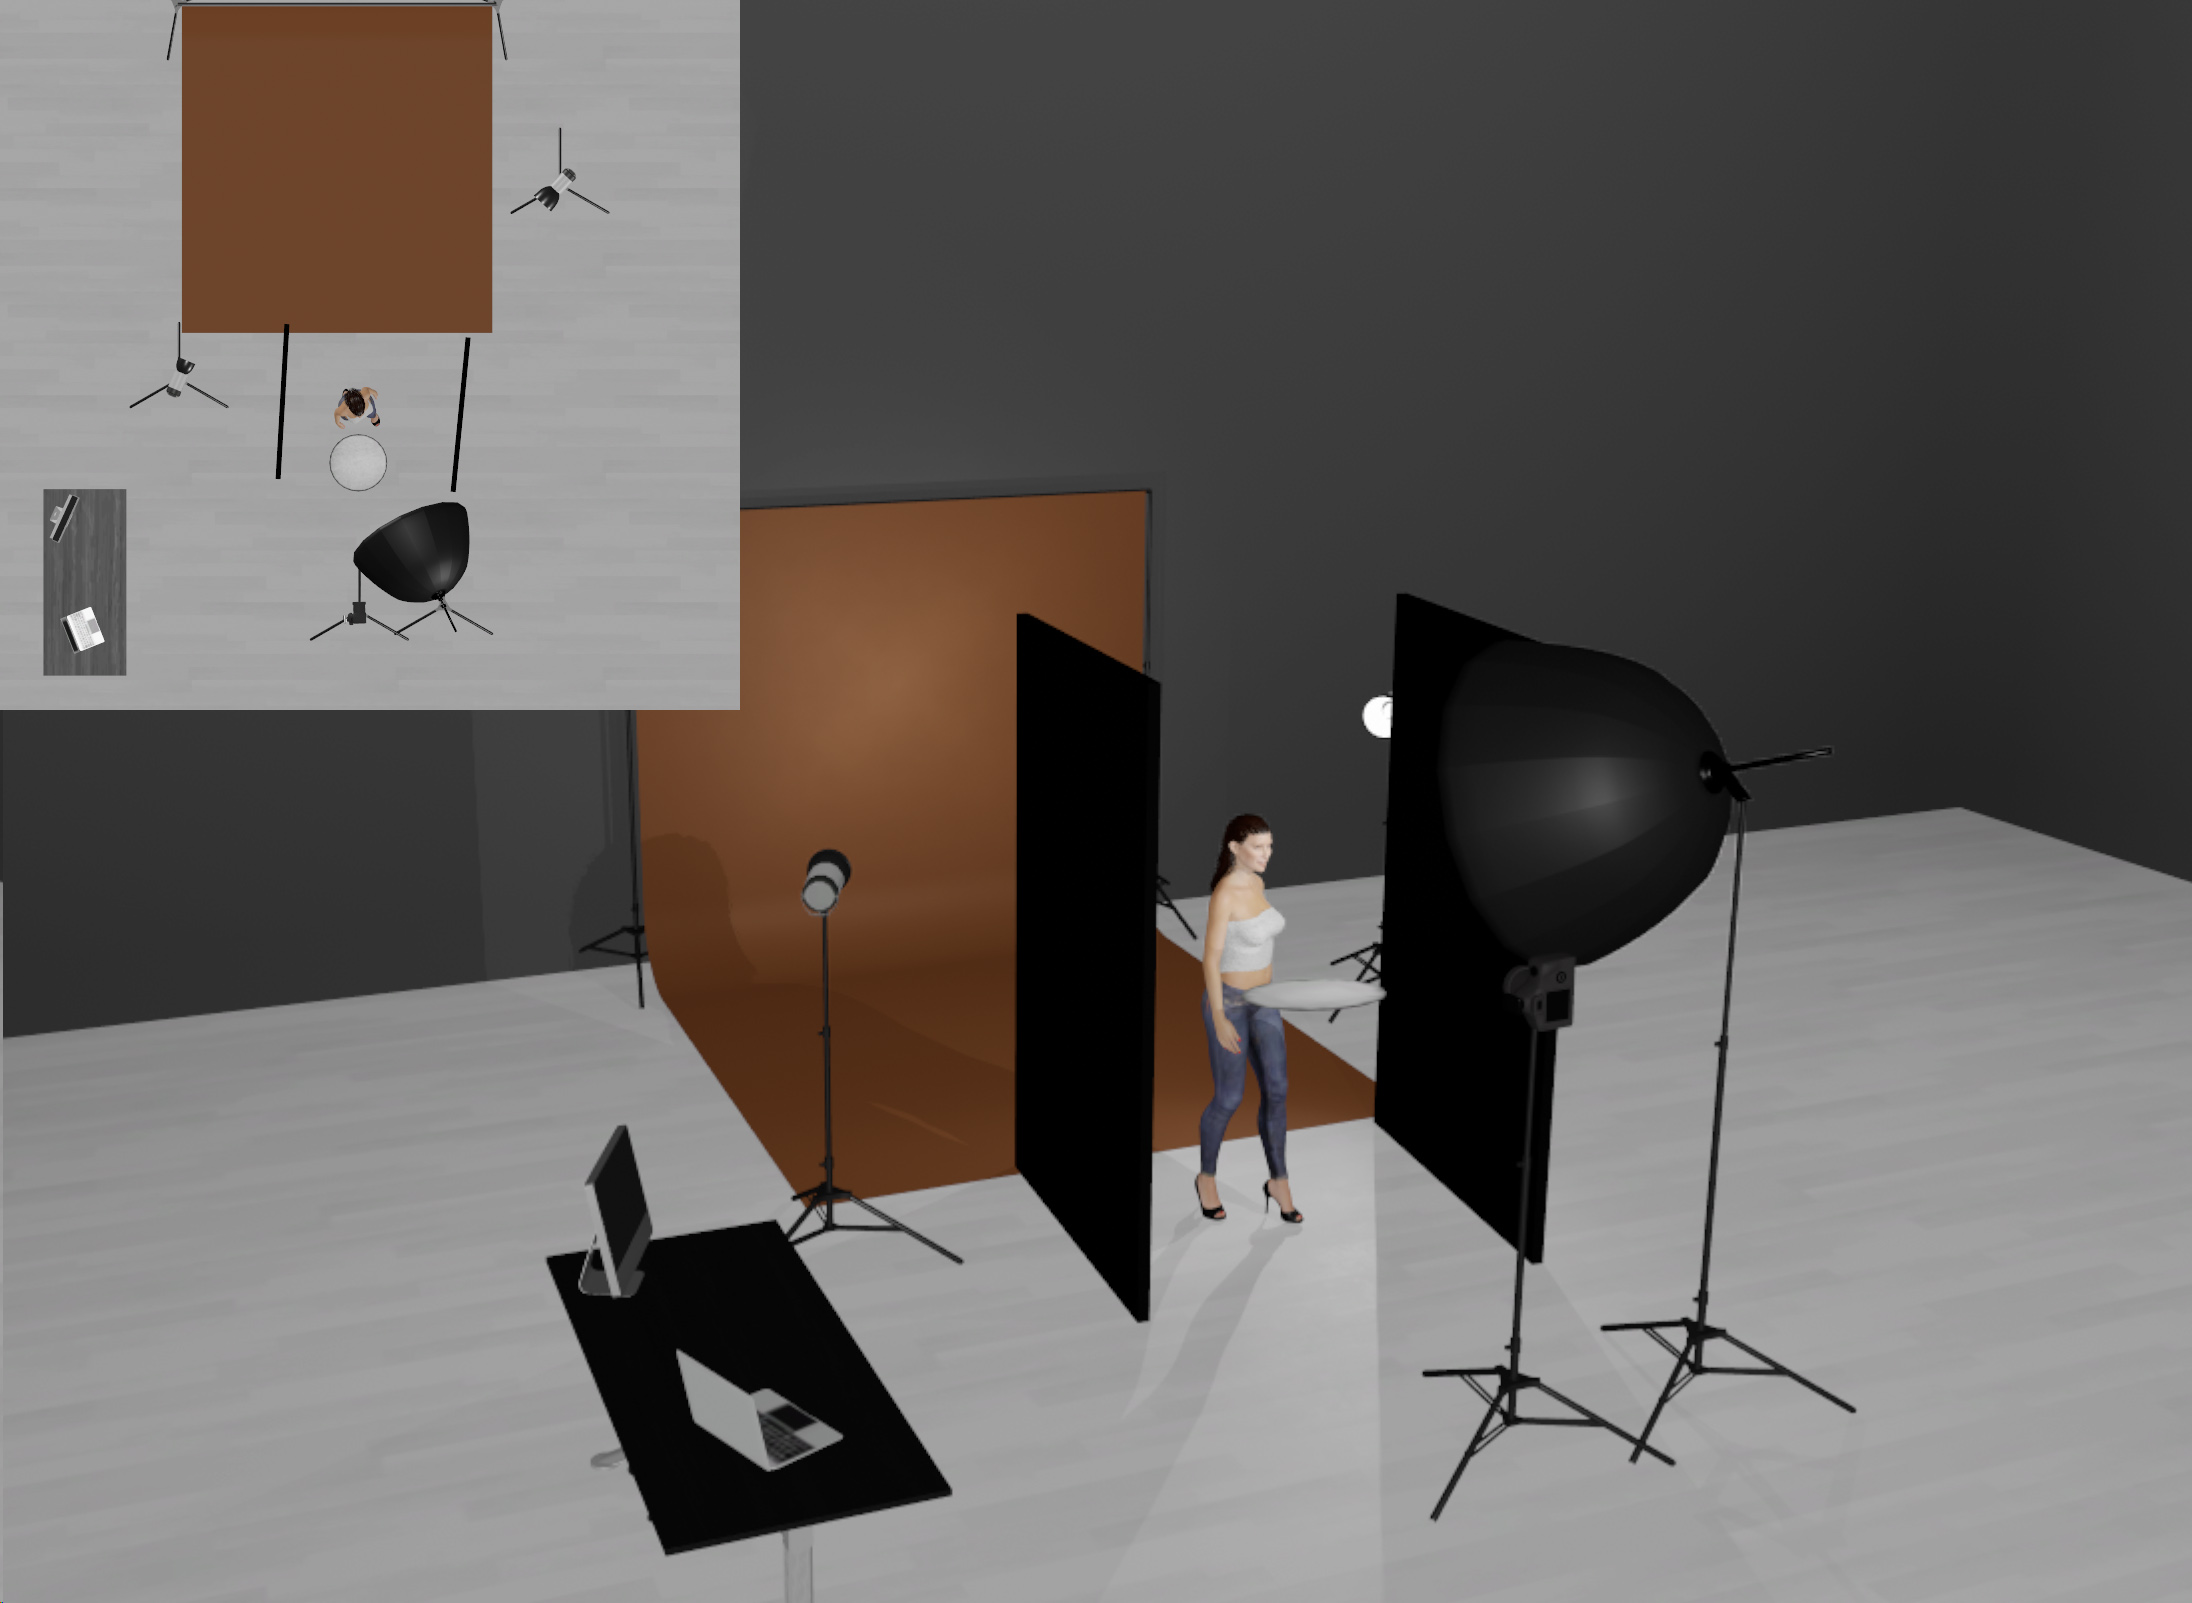
While the last example was shot using gels on the background, this shot was done by using a mocha colored seamless. Overall, the lighting was very simple on this shot, but because we were using a lot of different brown tones that complemented her skin, I decided that using a rim light would add quite a bit of dimensionality to the photo. So in addition to using my main light, which was a Profoto Pro Head in a 45-in parabolic reflector along with a silver bounce card from below, I also added a Profoto B1 from behind to add a nice rim light to the right side of her face. To compensate for only having a single background light, I pulled the light on the left further back so that it’s beam was wider, and up to the power and additional two stops. Pairing this lighting with the brown tones was able to give us this really great color palette that complemented the series well. Again, there is a lighting diagram below.
Spotlighting The Face
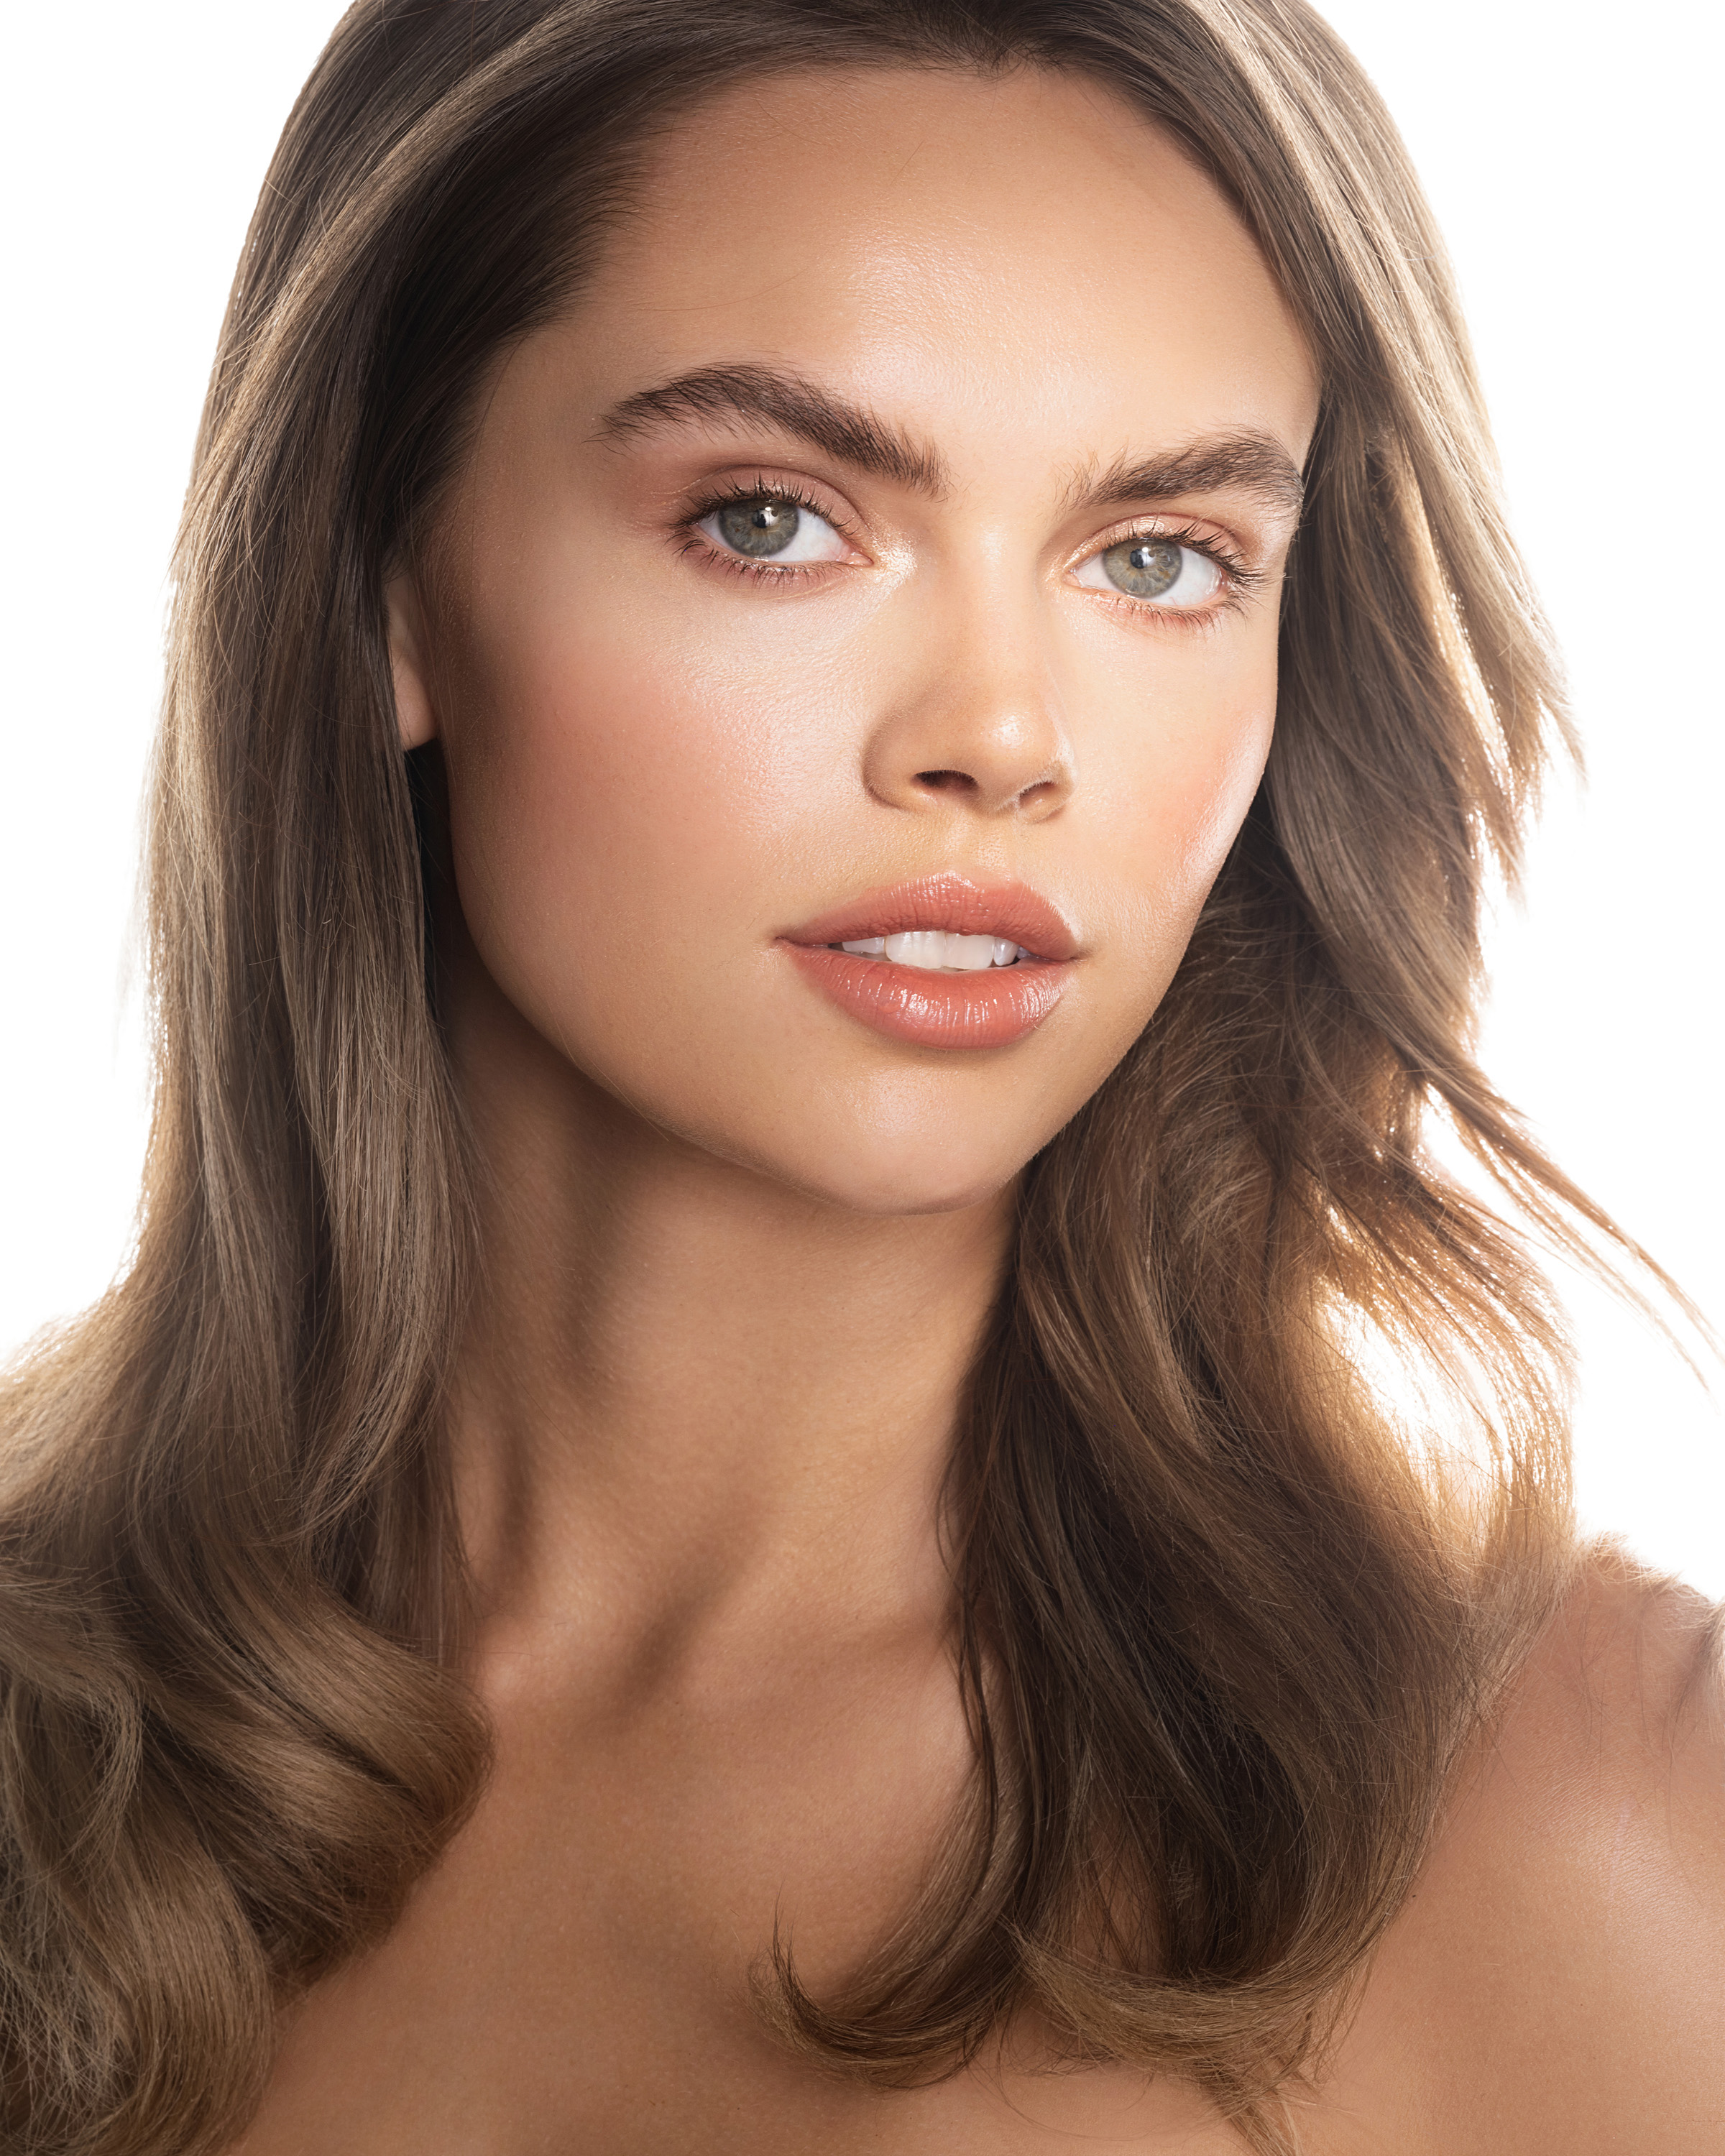
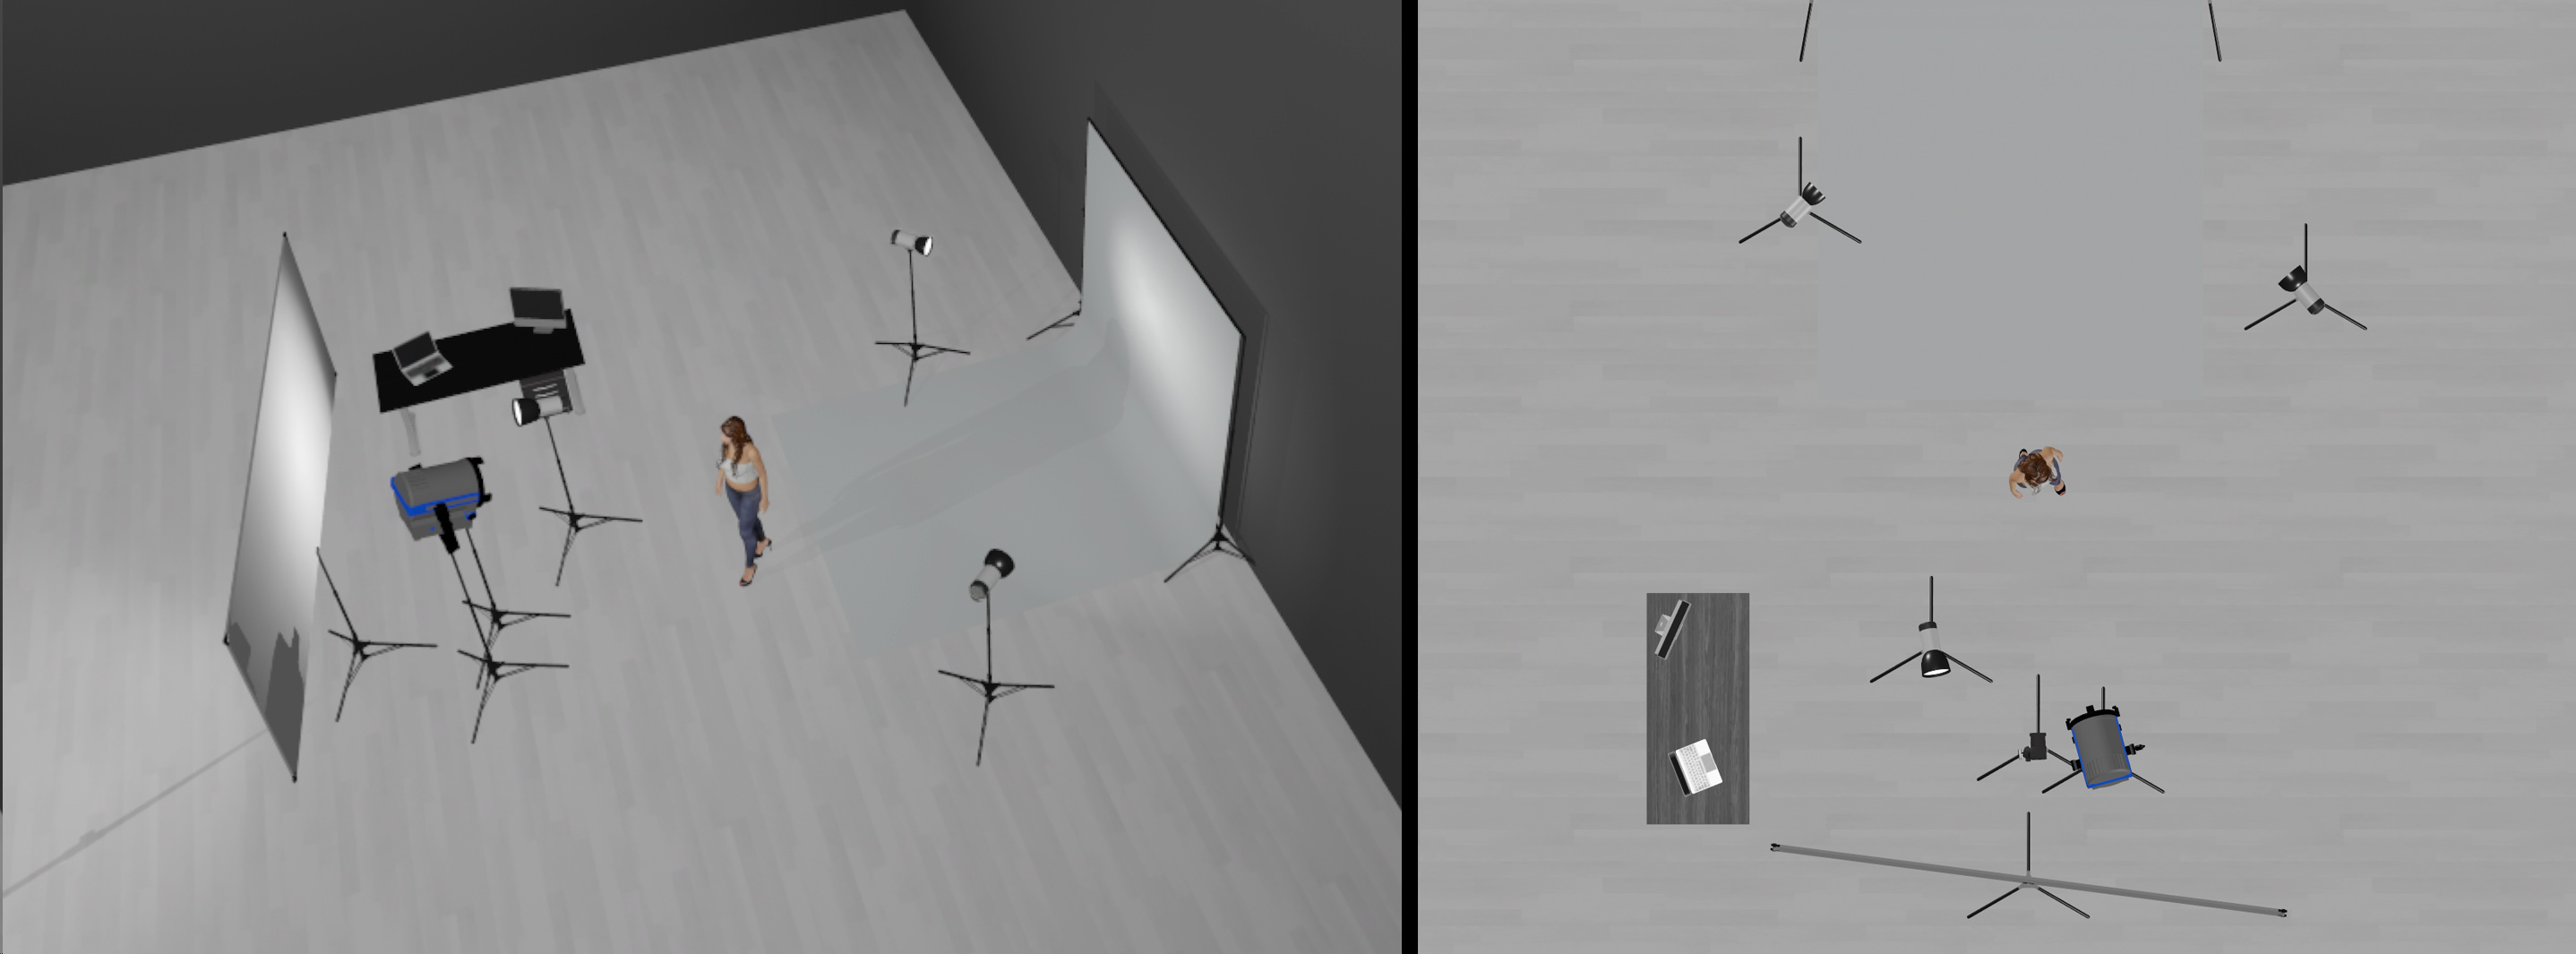
In general, the first two lighting diagrams are pretty basic and design and what you would commonly find in studio photography. This photo however is quite a bit more creative with its lighting. I wanted to create a very angelic light with a lot of rim light bouncing back into the camera, but I wanted to do something more than what I’ve previously called angelic lighting that in one of these types of articles. So to compensate for that, I chose to use my Profoto Fresnel attachment on a Profoto Pro head. As I mentioned in my last article, a fresnel does a great job of creating parallel light beams that mimic the Sun. However, if I only use the fresnel, I would get a strong spotlighting effect on the subject, and since I want the effect to be fairly minimal in design, I chose to use a second light as a fill light on the subject. I took another Pro Head, and aimed it at a white fabric that was hanging from my garage door. As you may know, a lot of the work that I produce is in a small garage that I have converted into a photography studio, so I’m very often working with minimal space. With some nice metering, I was able to get that angelic light that I’ve previously talked about, and added a spotlighting effect on the subject’s face adding to a bit more interest to the photo overall. The lighting diagram is below.
Dramatic Light Cuts
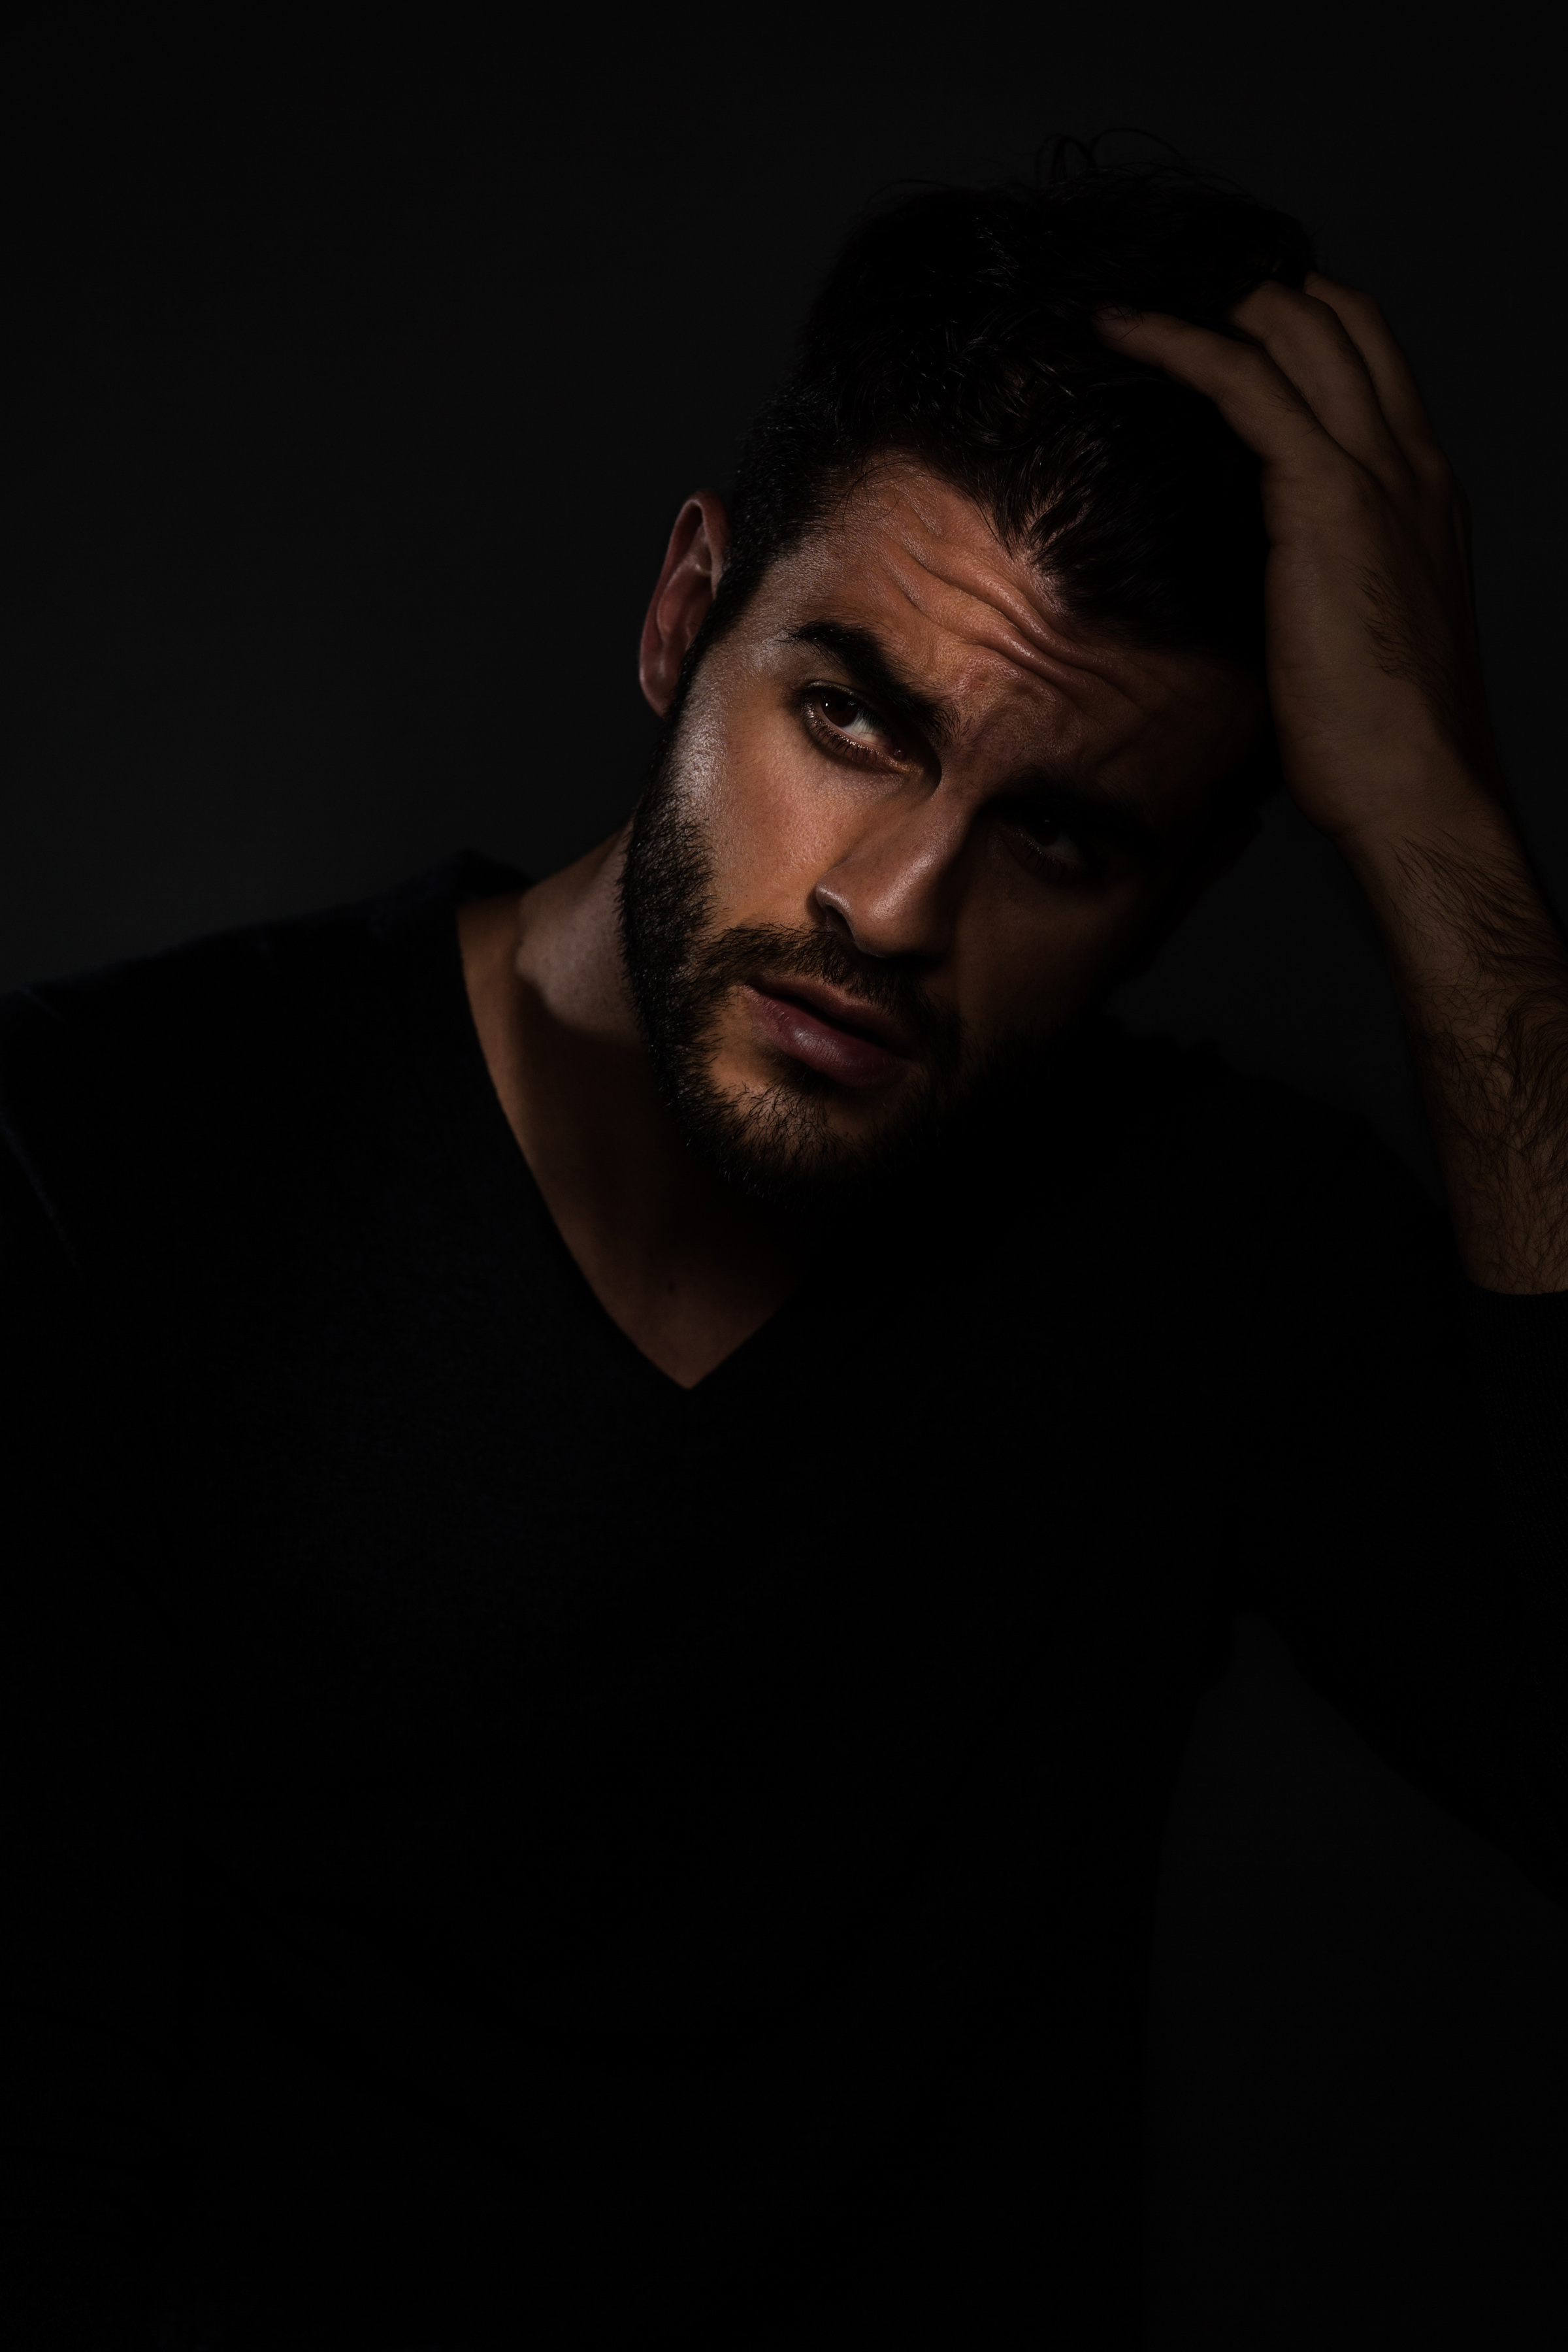
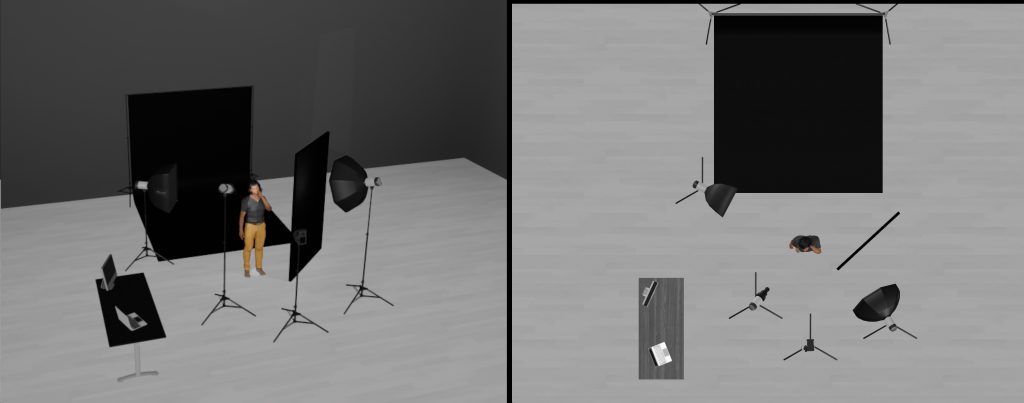
The final look I wanted to discuss is a dramatic lighting look. As I mentioned in the article from last week, I will often use flags and Vflats as a way to cut light. Pair that with grids, and you’re able to get a lot of control over lights while maintaining a softer light quality. I did just that in this photo. The goal of this look was to give a dramatic look that might look like a screen capture of a tense scene in an action movie. To create it, I used a projector lens with a gobo in it to get the slit of light. For rim light, I used a medium softbox with a grid on it to bring focus to his jawline, and then used a gridded octobox to add some fill to the image, but used a black flag to cut the light a bit. The end results are something I am extremely happy with, and the lighting diagram is below.
And those are a few lighting styles and techniques to try on your next studio photoshoot. Do you have an interesting lighting setup that you want to share? Feel free to chime in using the comments section below.
