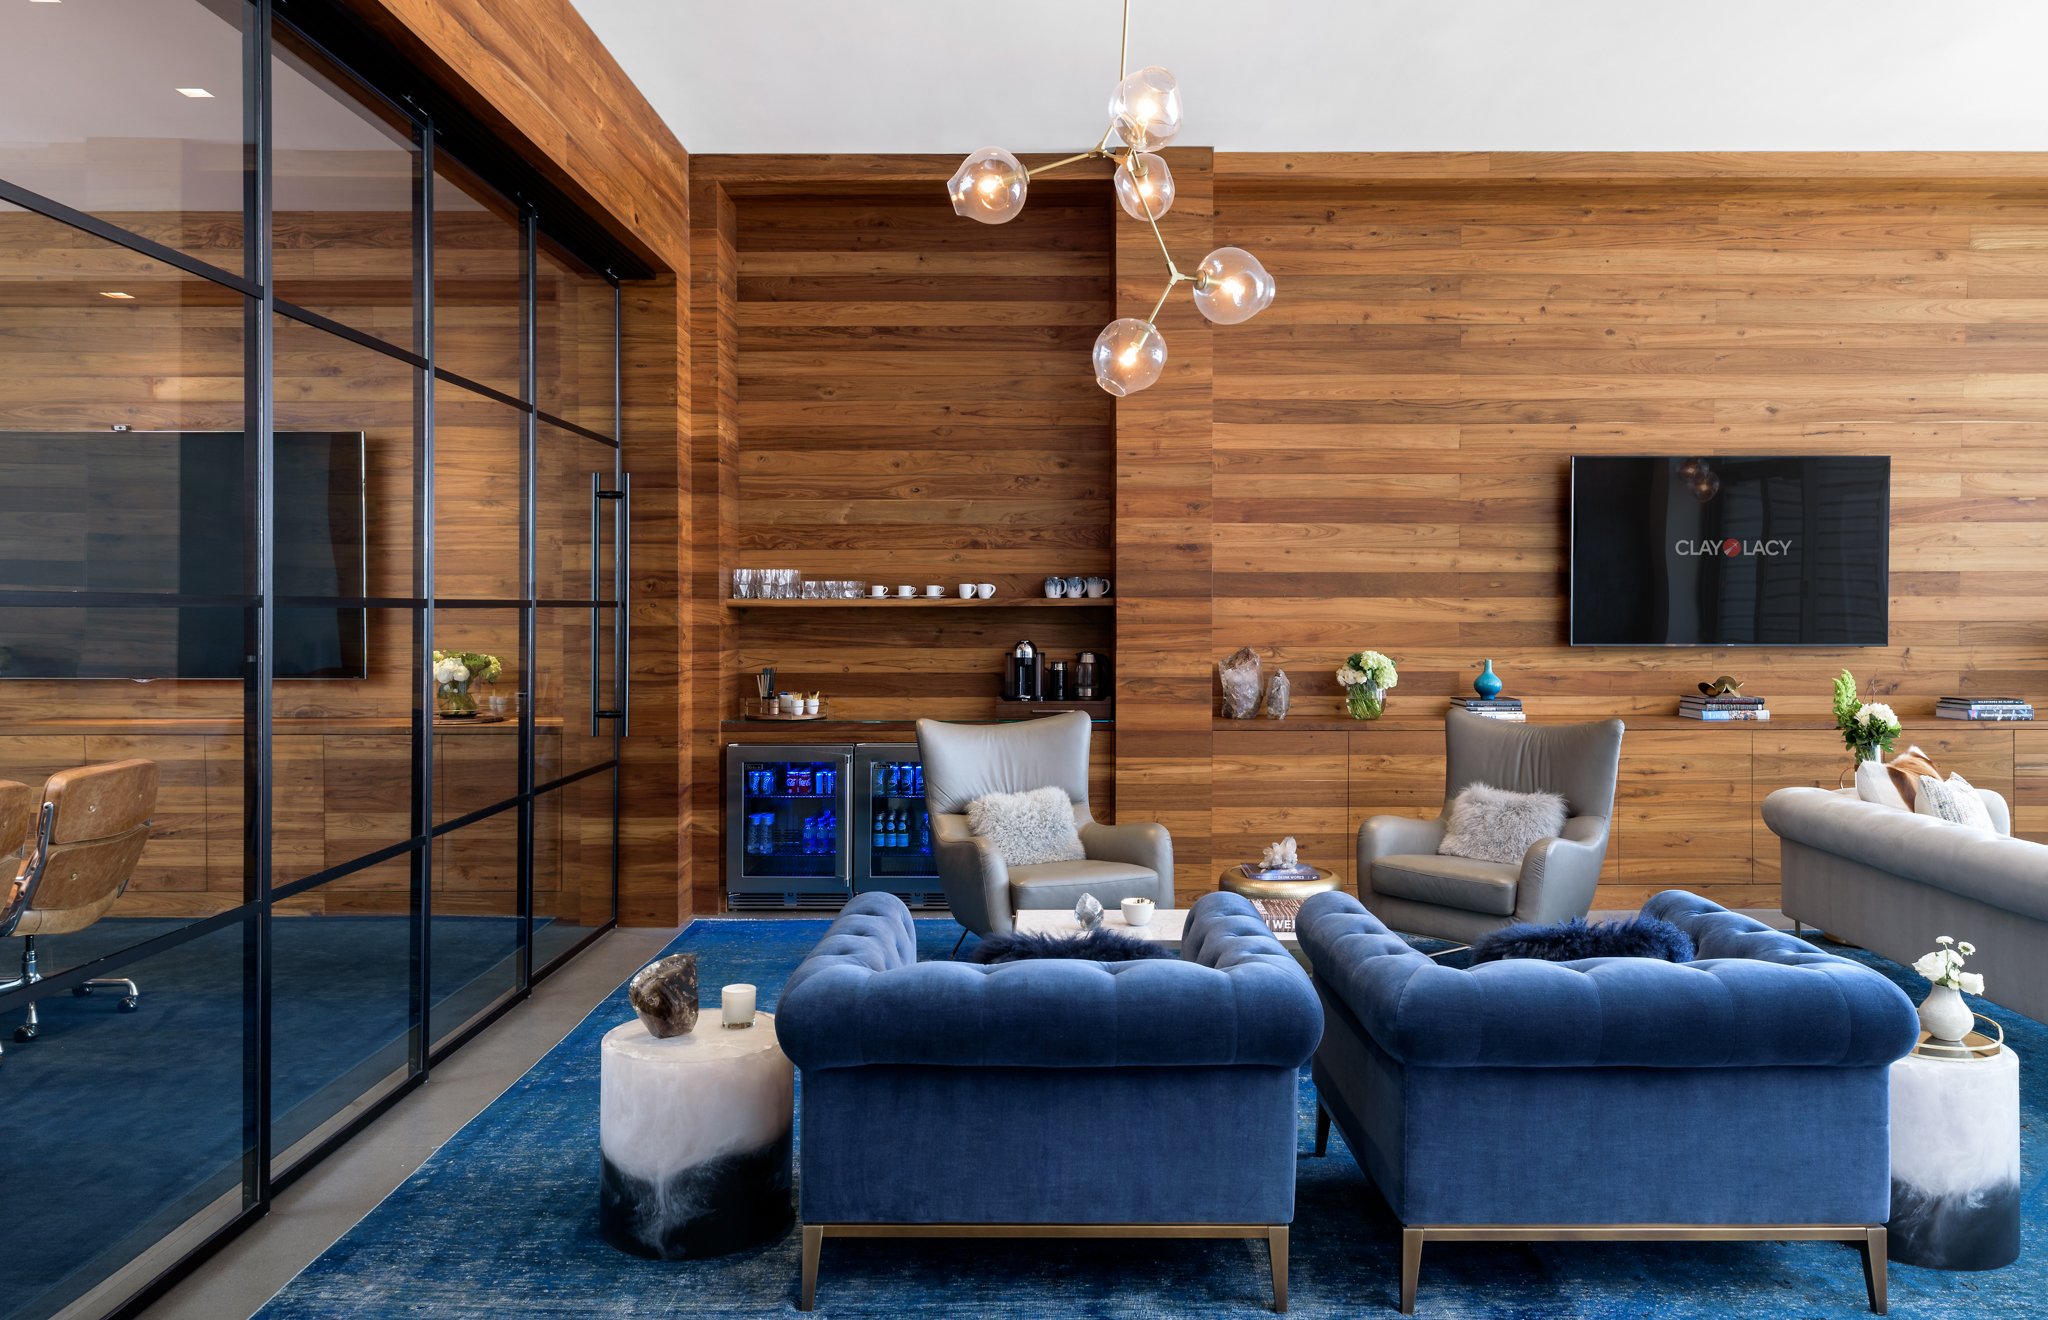
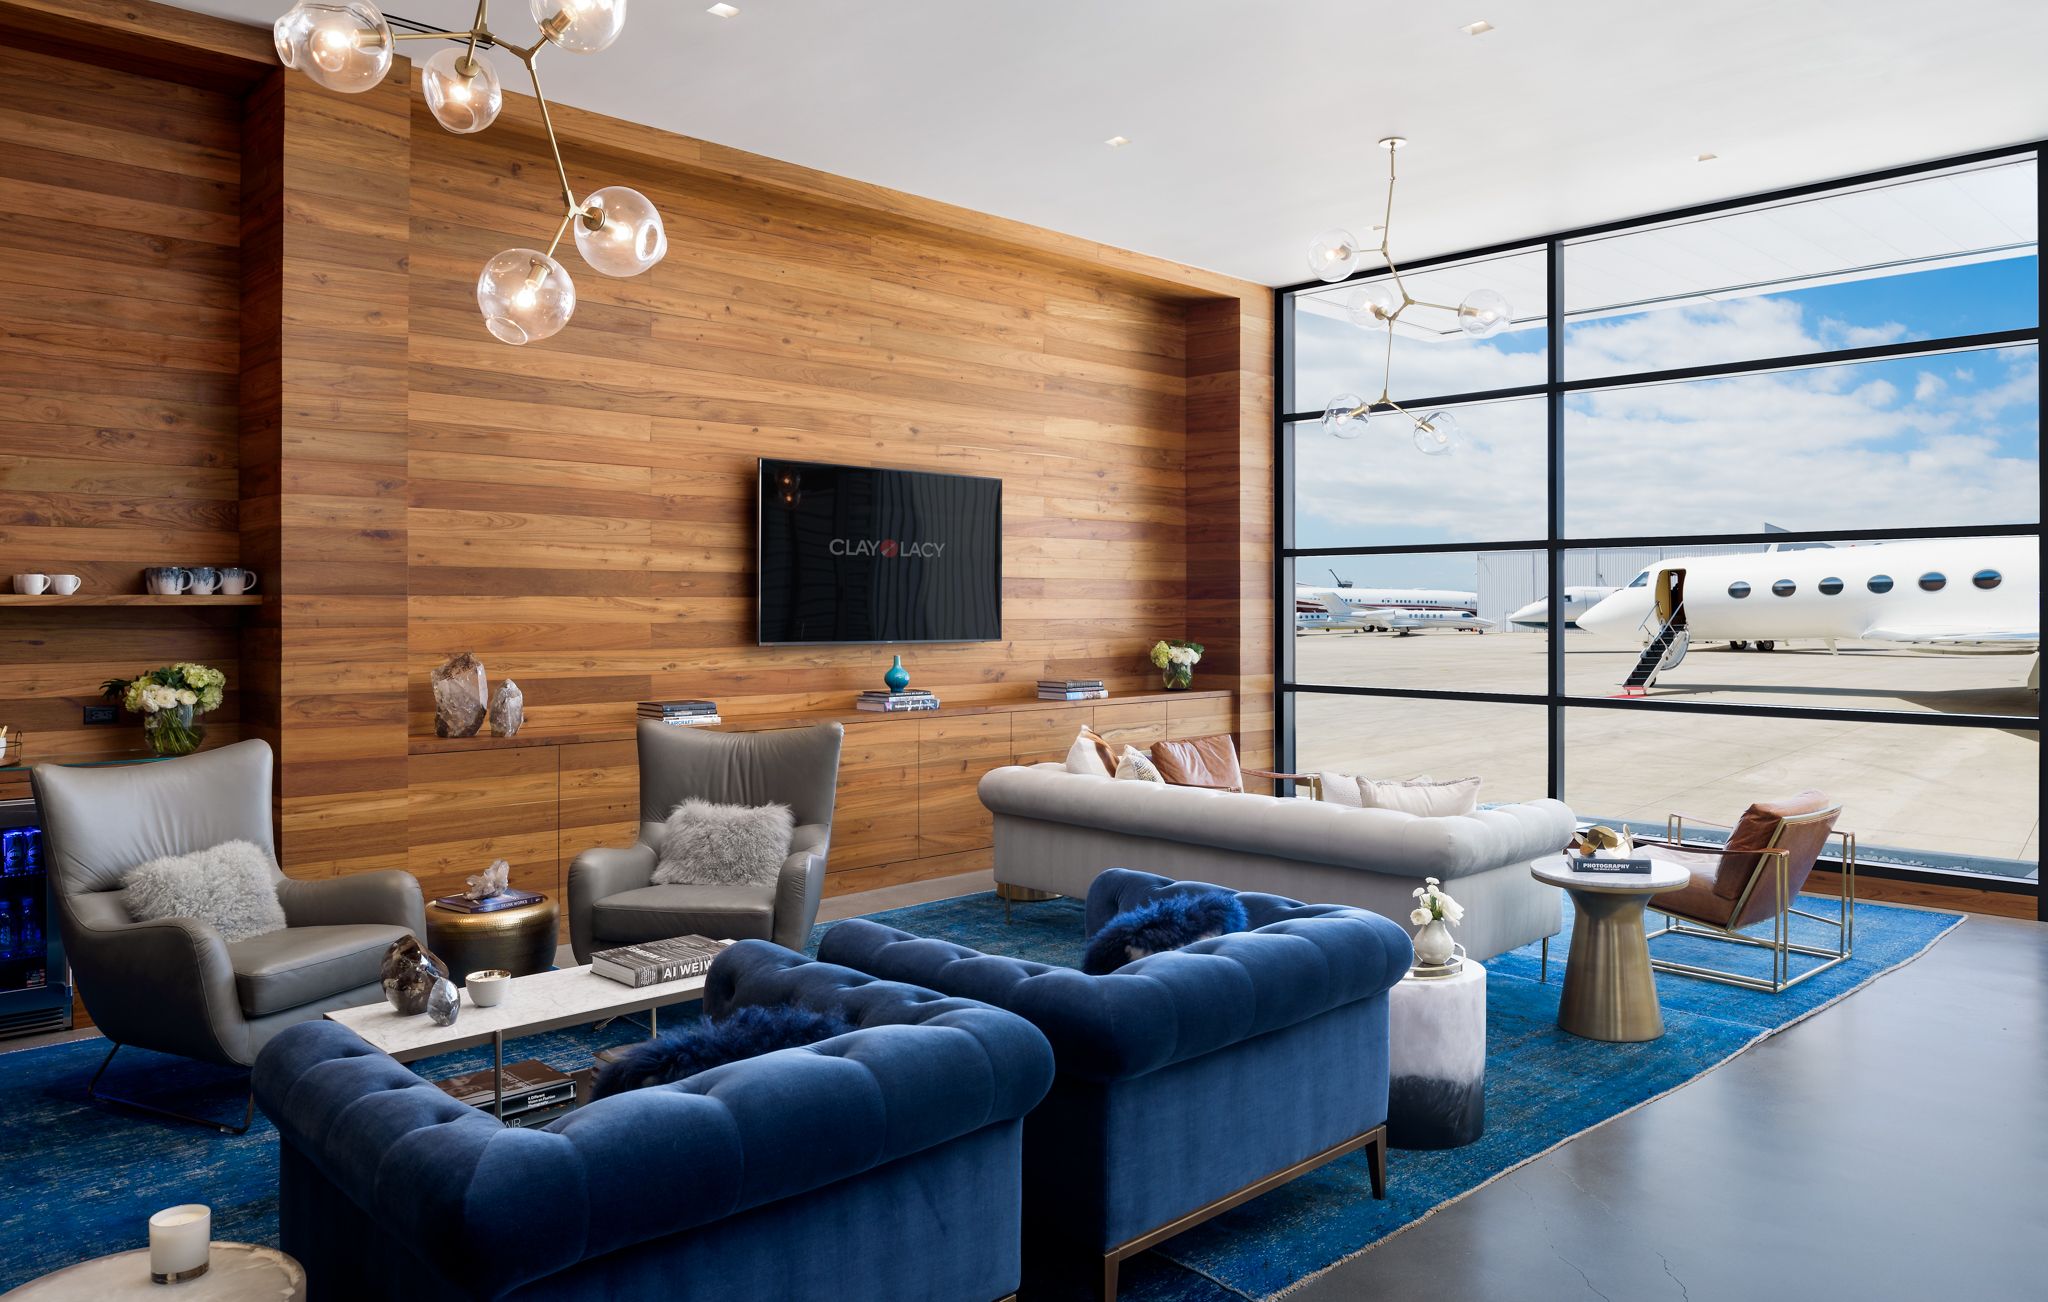
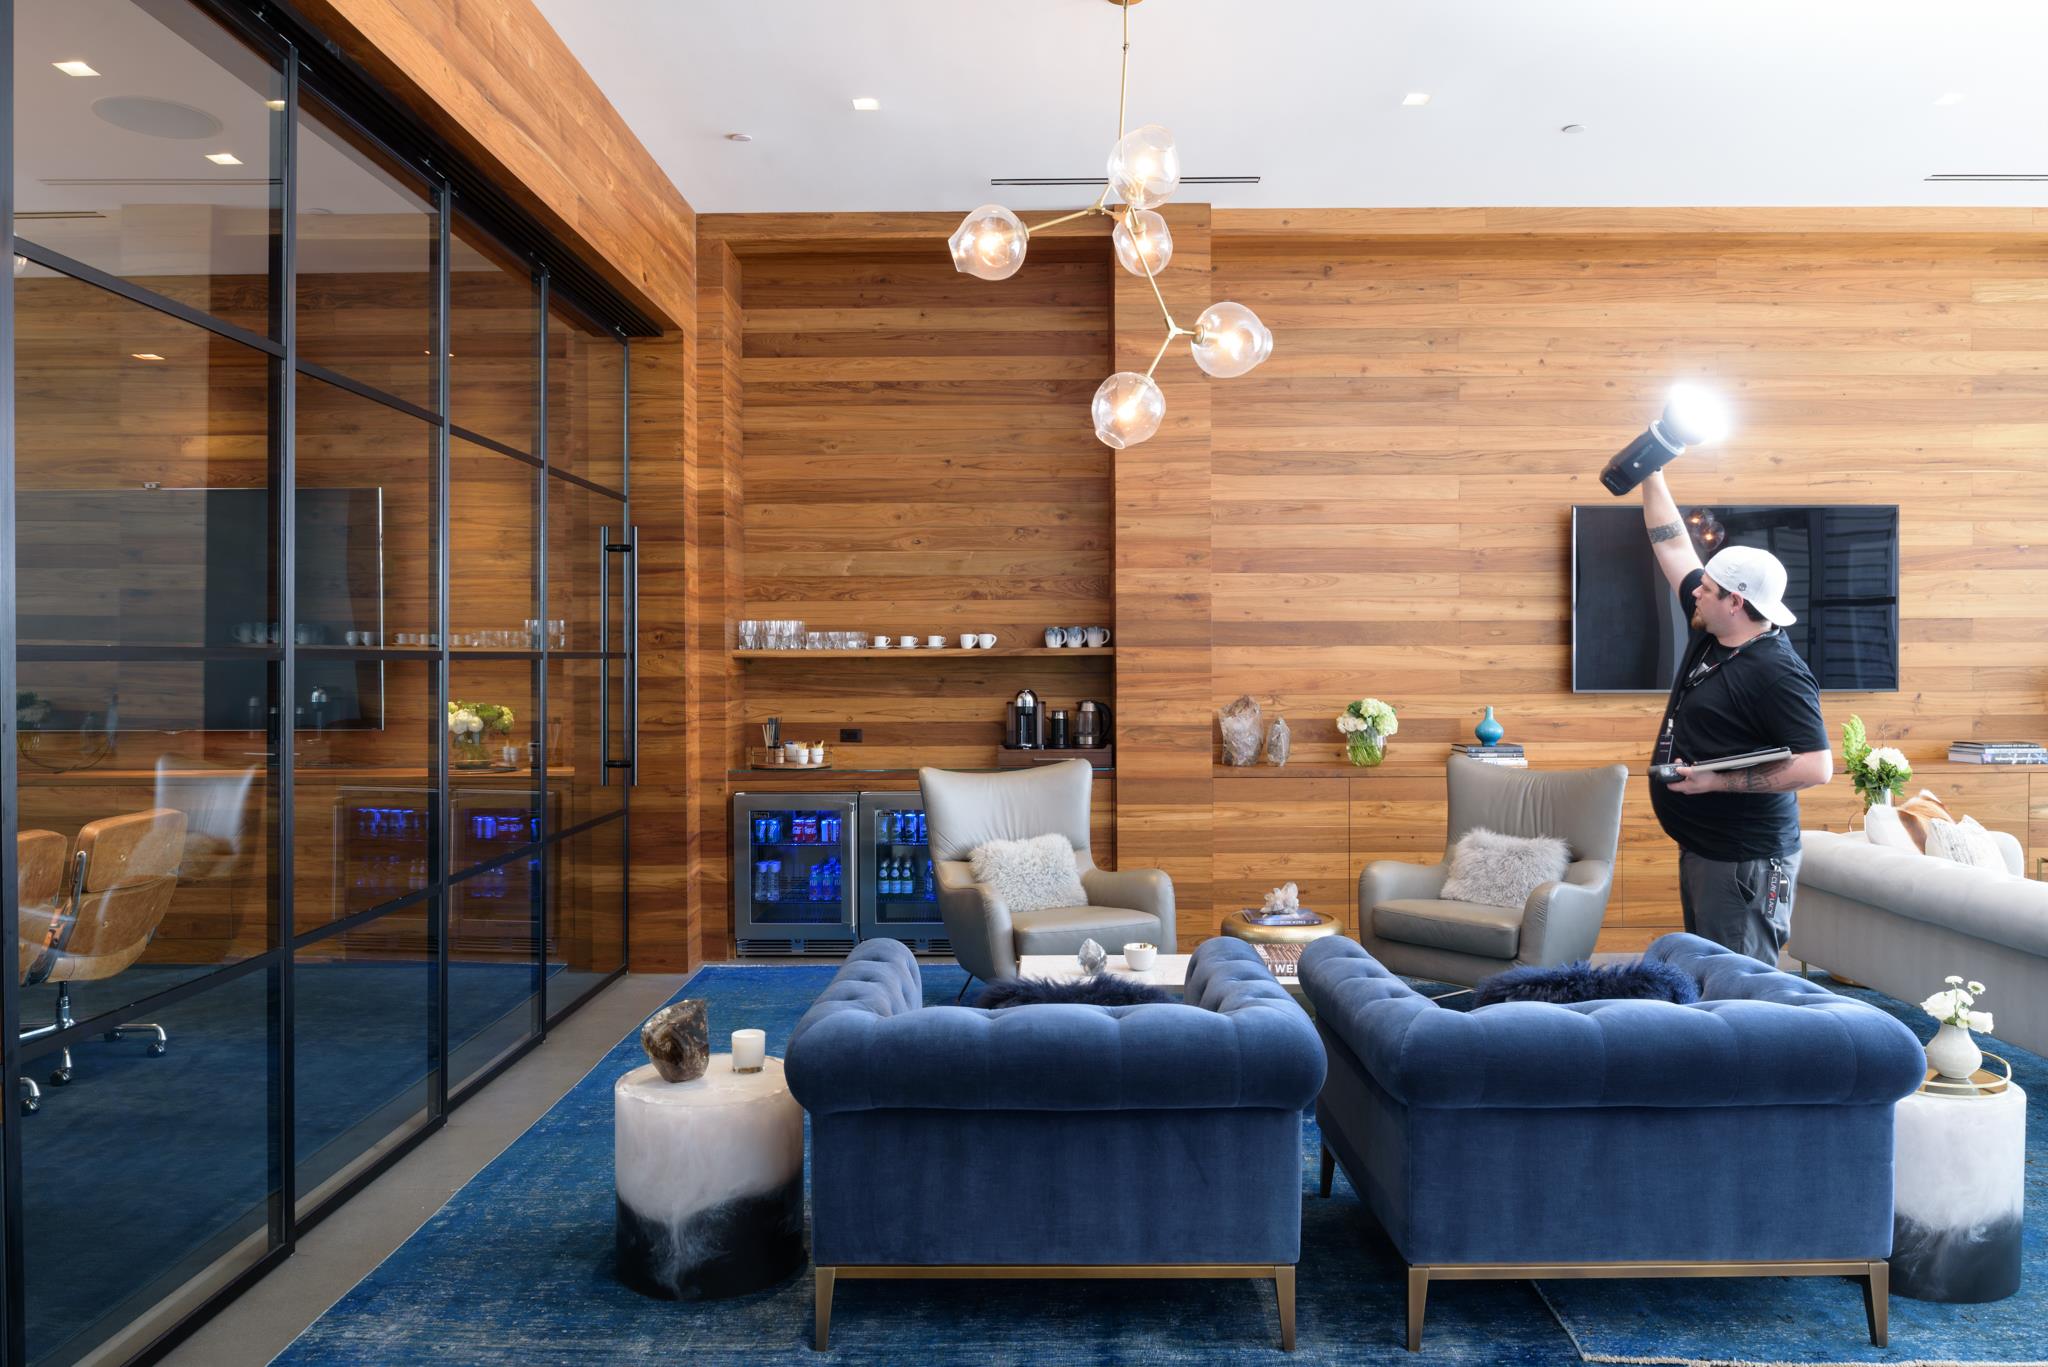
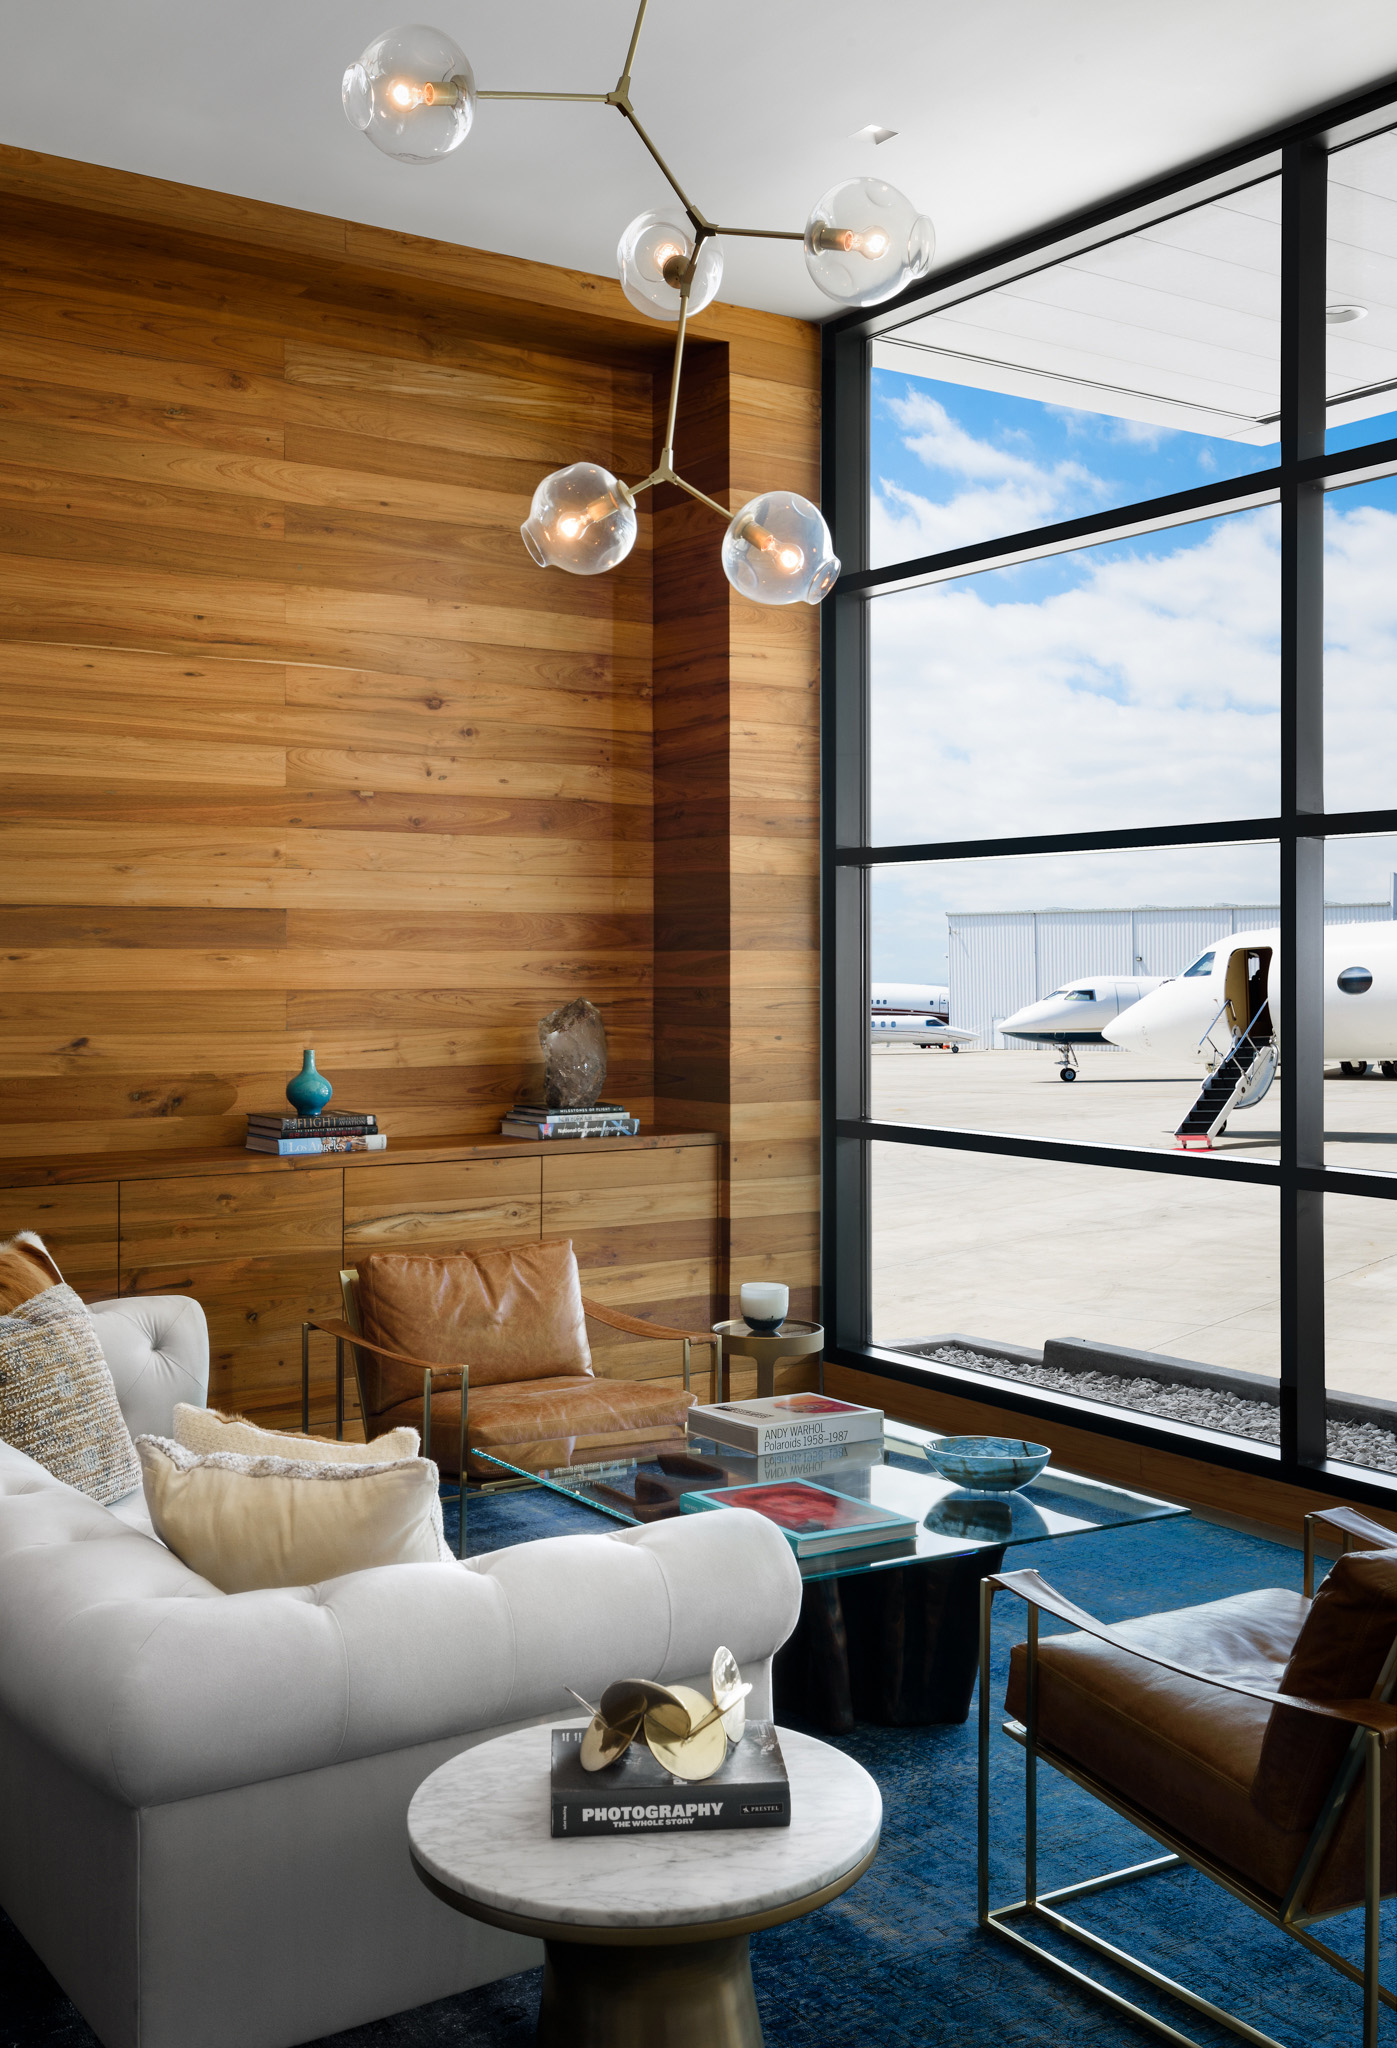
While I’m most known for my Cinematic Headshots, many don’t know that a large majority of my work is architectural and lifestyle oriented for a wide range of commercial clients. Most of what I shoot is for hotels but recently I’ve had the opportunity to dive into the world of aviation photography, and it’s been a blast incorporating everything from lifestyle work and headshots to architectural photography into a world that fascinates me and makes me feel like a kid again.
My good friend and Lensrental.com’s editor Zach Sutton recently helped me on a commercial exterior shoot for Clay Lacy Aviation based here at Van Nuys Airport in Southern California. After the shoot, he asked if I could write something up about light painting and architectural photography, so here we go!
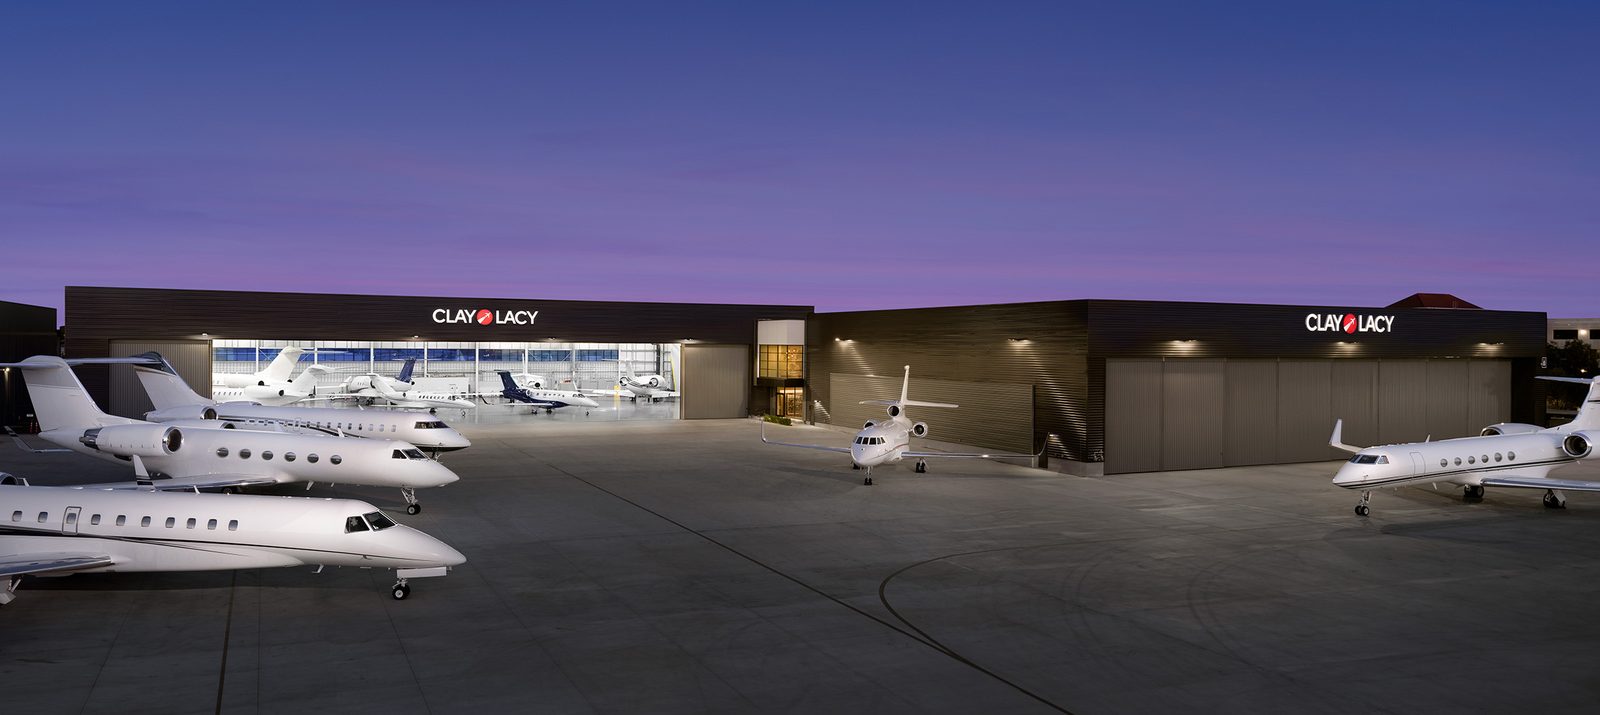
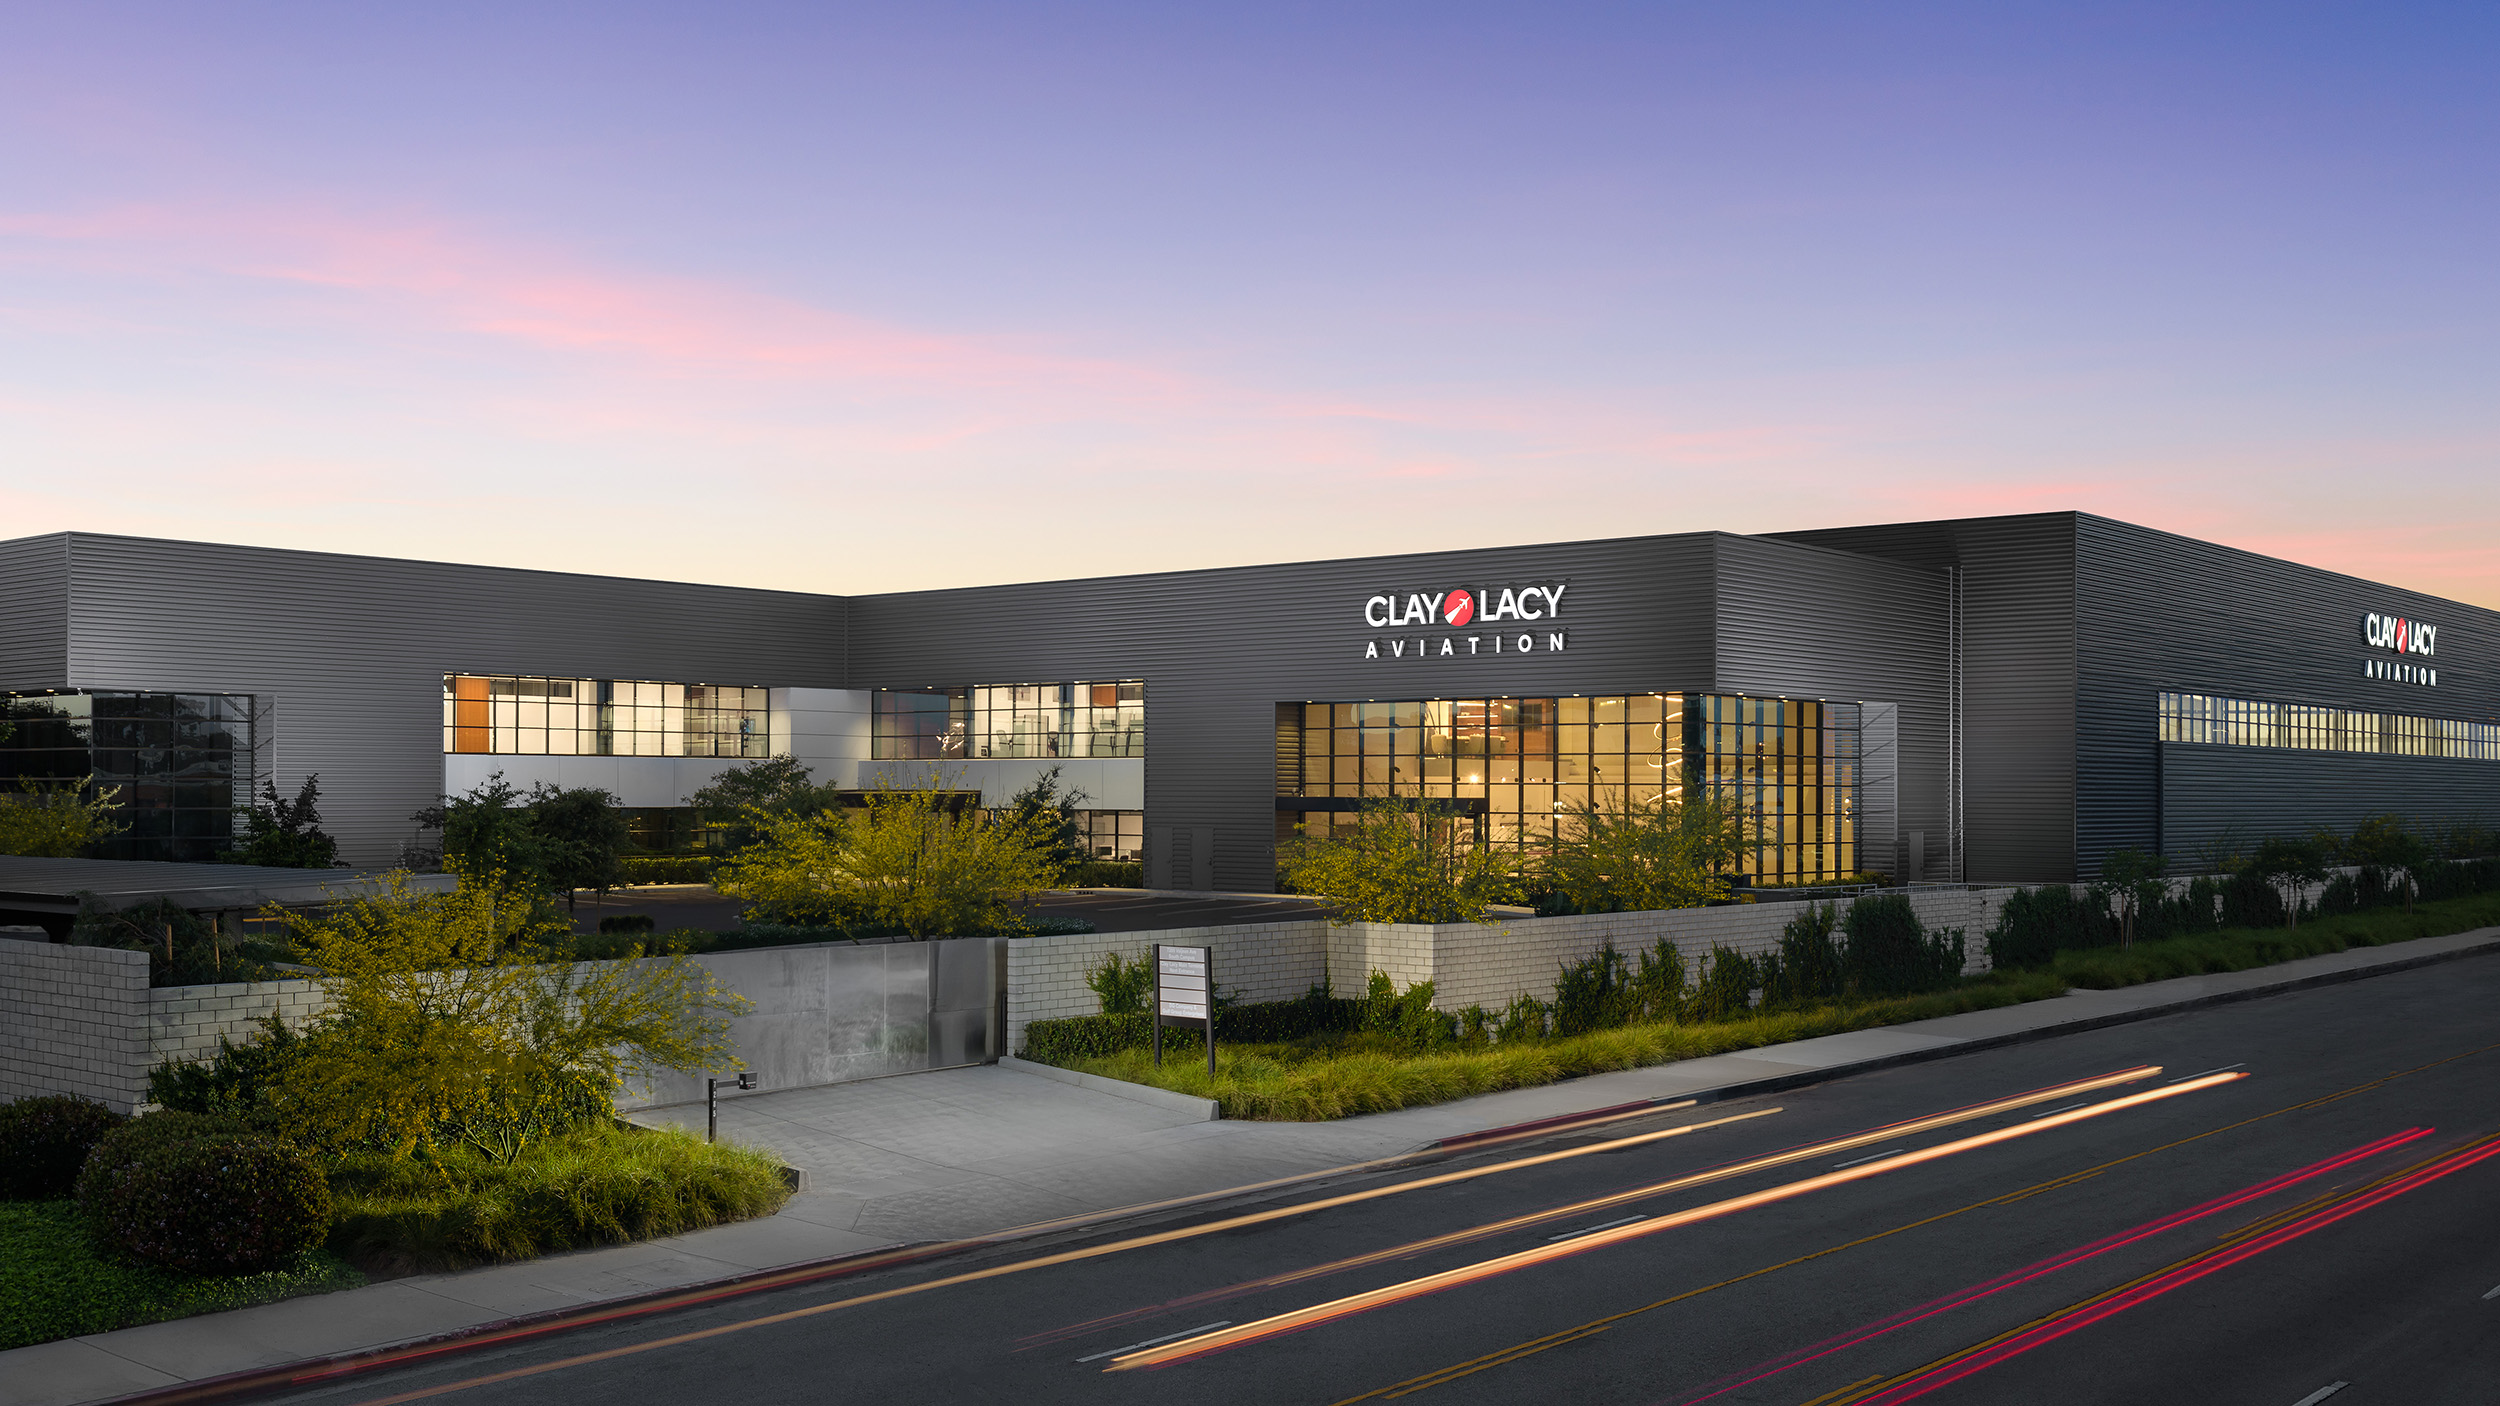
Much of my work has been for hotels around the country, so I’m no stranger to shooting large buildings, but this job had some unique challenges. In addition to a full day of shooting the interiors of the new building, I also shot hero exteriors, one from the street side of the building, assisted by another good friend Sam, and one from the ramp side on a separate day. The “ramp” referred to is the tarmac side of the building that butts directly up to the taxiways and runway. Clay Lacy’s services are unique in that it is an airport where a client can drive out onto the ramp right up to their jet and depart. They recently built out a whole new facility, and the primary goal from the ramp side shot was to get both hangers and show the expanse of the property.
To accomplish this, I came out for a scouting day, and we decided from where the image would be shot which then it, in turn, gave us the needed locations to stage all the aircraft (which took most of an afternoon all by itself). Airports are very sensitive areas especially when it comes to using flash, and cameras, the duration, people involved, number of aircraft, flash direction, camera direction, and use of lifts all had to be approved by the airport authorities before the shoot date. The shoot required two-man lifts, one for me and one for Zach so he could use a flash to light each plane from maybe 10ft higher than the nose of each aircraft.
Everything from this project was shot on my Nikon D750, and for both exteriors shown, I used a Sigma 1.4x Teleconverter and a Nikkor 24mm f/3.5 PC-E lens, which gave me an equivalent focal length of about 33mm. The reason for this is pretty simple. I wanted the ability to be able to shift the lens as needed, but 24mm felt too wide, and the buildings felt too far away. For the ramp side shot, I also did what is commonly called a horizontal shift panorama to capture the whole expanse of the property. The technique simply involves leveling the camera and shooting and lighting one side of the image, and then moving a knob on the tilt-shift lens and shifting it horizontally to the right (or left) to shoot and light the other half; all images are then combined into a final panorama.
Complications for this shoot were high as were the risks. Clearly, I’m shooting at dusk, and I’m using a high aperture to photograph brackets of the base image, and I’m doing it from about 30ft up, so everything is moving just a little bit, I settled on base exposures that were at 1/10 sec, f/8 and raised the ISO to 400 to maintain a clean, sharp base image. For every shot that involves using flash, it is very important to get a base exposure with no flash and some ambient light brackets. In a situation like this I also wanted a base exposure that is slightly underexposed, so the flash pops more in the finished image. Also, remember each bracket and base image must be shot for the left and right, typically when doing the light painting you want the camera locked off with as little movement as possible, and I usually use a CamRanger system, so I don’t even need to touch the camera.
After the base brackets were taken, it was time to start lighting the planes. Earlier in the day, I told Zach I wanted probably two flashes per aircraft, one aiming just past the nose on the camera side, and one aiming farther down around midplane near the wing.
This is where newer technologies show their advantages. In the past, I’d use Speedlight systems like the Nikon SB-900. But while they’re powerful for their size, they don’t compete with studio strobes. So I’d need my light closer, and higher power, and losing time to recycle refreshes as the sun was quickly setting. With the use of battery-powered systems, such as the Profoto B1X or Flashpoint Xplor 600, I’m able to light the entire side of a plane with one quick burst and move on quickly to still catch the sunset in the background.
Much of light painting with stuff like this is a bit of guesswork on what the light is going to do and through experience learning how the light hits an object to sculpt it and not just look like a bright flat pop of light. This is entirely learned from trial and error and at this point, I have a decent idea how light reacts and shapes objects that the guesses I make are hitting the mark more than in my earlier years. Much like with people I find I want the light to sort of “skim” and “skip off” things, I want the light to create shadow and depth to showcase an objects dimension. I find lighting from the side generally to be the most visually pleasing on both the object and it’s shadows.
Via radio Zach and the lift operator headed to the first plane and we went around counterclockwise with the lighting. I got Zach into position, and we fired off a flash, and surprisingly the first one hit the mark, and we didn’t even need a second attempt. The next three planes we repeated the process and added a second flash farther down the aircraft for each which just helped carry the light down the fuselage better. After those were done, I shifted the lens to pick up the right hanger and plane and repeated the process of flashing that one plane and then it was all over. I did play with the idea of lighting some of the tarmacs, but I didn’t like the results and quickly decided an ambient frame would do better. You can see a bit of the process in the timelapse below.
https://www.lensrentals.com/blog/media/2018/06/ClayLacy-Timelapse-Video-2.mp4

For the front exterior, there was no shifting required, but many more flash pops used. Again, I was up on a lift for these at about 25ft, though it was a little more stable with less wind than the ramp, and was guiding my assistant Sam through the lighting process, going from left side of the building to the right. As the building is backlit by the setting sun, I took this approach as it has a lot of wow factor and I knew it would be used considerably in Clay Lacy’s marketing. They cater to high-end clients, and I wanted the shots to reflect that and have a high-quality polish. Base image settings were 1/6th sec f/5.6 ISO 200.
https://www.lensrentals.com/blog/media/2018/06/ClayLacy-Timelapse-Video-1.mp4
The editing of these is extensive with lots of selective color correction, object removal, and many other nuances that would make this article unbearably long. Each flash lighting layer is lassoed in Photoshop, then set to “reveal selection.” From there the layer blend mode is set to “lighten” which allows only the lighter elements (i.e. Flash pop) to come through. From there they have curves adjustments, and I routinely use frequency separation to help smooth out the lighting when needed, and always in very small amounts. I find the more I do this, the more I scale back layer adjustments. Overall the client is thrilled with the results and so am I, they will soon go up on my aviation website to show a range of capabilities to a prospective client.
In closing, I’d just like to say thanks to Zach for the help and allowing me to write a little something about my process. To really dive into these techniques my good friend Mike Kelley has his Where Art Meets Architecture series on Fstoppers that goes in depth into the mindset of lighting for architecture and the post-production concepts that bring these elements to life. Remember the more you know how to do and do very well, the more marketable you are. This doesn’t mean you can be average at any of it, but it means to pick a few things that really speak to you and master them, and you might find yourself making money in photography in more than one genre, while continually challenging your skillset to become better. You are growing a tree not a weed, be patient, stay the course; it just takes time.
Guest Contributor

8 Comments
Mark ·
Excellent work. I hope you were handsomely compensated for a shoot of that scale and effort! Architectural work and interiors are hard enough without multiple planes needing the treatment also. Interesting to hear your use of frequency separation to smooth lighting, I’d never thought of that.
Dylan Patrick ·
Thanks Mark! I was indeed. Yeah, I’ve been using frequency separation on hotel and architectural images for about 4 or 5 years now, its great for evening out all kinds of surfaces, great for dirty concrete too, creating blank layer in-between the FS layers also allows you to paint solid colors to even things out as well. Like anything just don’t over due because it gets obvious pretty quick. Thanks for reading my friend!
Munchma Quchi ·
Very good work and write up. This is art!
Dylan Patrick ·
Thank you so much!
Kers ·
Very nice work!
and a lot of work too, but then you have something.
Thank you for this excellent inspiring article!
Pieter Kers
Dylan Patrick ·
Thank you very much! So glad you found the article useful!
Clayton Taylor ·
Outstanding effort and explanation – thanks! After thinking about this article and another recent one about making the Gigipixel image of the British Royalty, and having seen presentations about focus stacking for macro images, it occurred to me that we are now striving to make our photographs look like classic artwork. Consider: the smooth lighting of the building exteriors and interiors, the almost eerily-glowing airplanes, perfect perspective of the architecture, and a depth of focus that encompasses the entire scene – these are what we would expect in a fine painting hung on a museum wall. Landscape photographers have of course been doing this for a while, but now we are applying this to closer, more intimate objects, too. I am not saying that it is a bad thing, but to me it is a remarkable direction for photography to take.
Dylan Patrick ·
thats a really fascinating point I never thought of before, really well said, and I would agree, I think there is a strive for perfection, or perhaps accuracy is a better word and technology has a lot to do with making that more possible than ever before. Thanks for the kind words!