
All photography industries ebb and flow, going from incredibly busy and fruitful, to slow and stressful over a couple of months at a time. This seems to hold whether you’re photographing weddings, family portrait sessions, or commercial photography – but one industry holds to be the exception – headshot photography.
From actor headshots if you’re in a larger city, to corporate headshots, to people who just want a nice photo for their attempts on a dating app, headshots are a great market to break into regardless of what your main focus in photography might be. While I can’t necessarily give you advice on how to market to this industry, I can provide a few different lighting styles and tips that have held strong within headshot photography – despite what the photos might be used for. So let’s dig into three different headshot styles that you should try for your next headshot session.
Moody But Clean
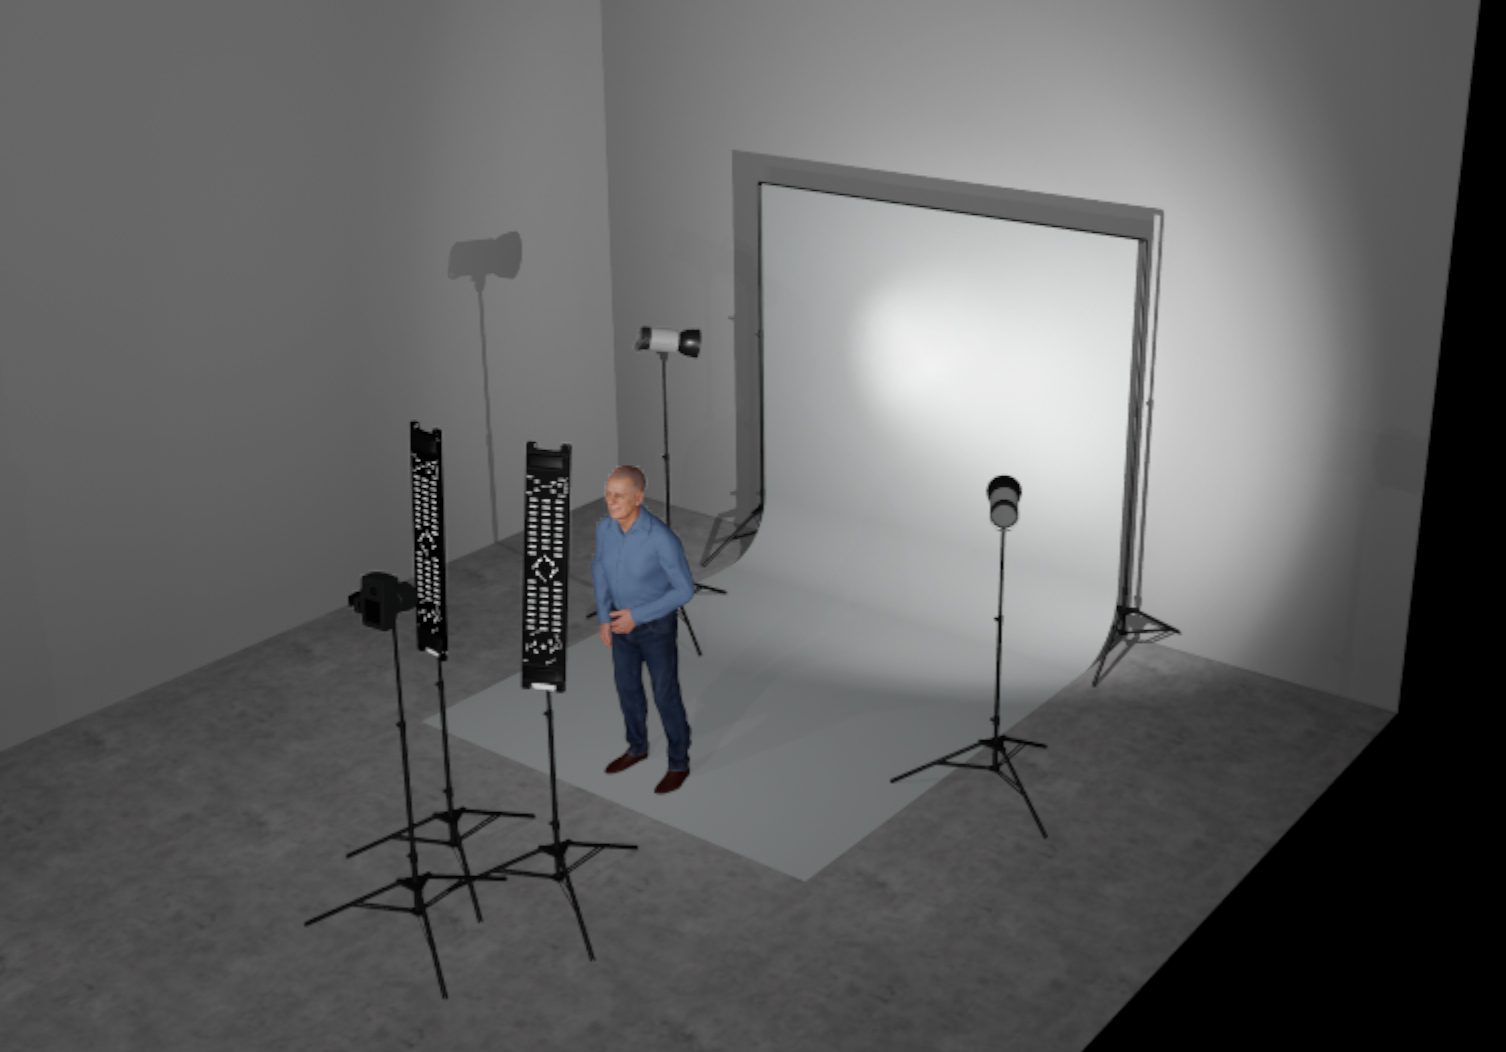
More often than not, headshots are taken on a white or near-white background, giving a fresh and clean look to the work. However, I’ve always felt like the solid white background in photography gets way too much use, and instead, I prefer to work with greys and other neutral colors that provide a different style, without becoming too distracting. A few years ago, I started working for a local financial firm that liked that approach as well, so I started taking headshots in their office that highlighted their staff while being more compelling than a standard static headshot on a white background. Perhaps the best part of all with these photos is that I was able to set it up in their office with minimal equipment quickly and offer them a headshot that was a bit more stylized than might be common in the corporate headshot world.
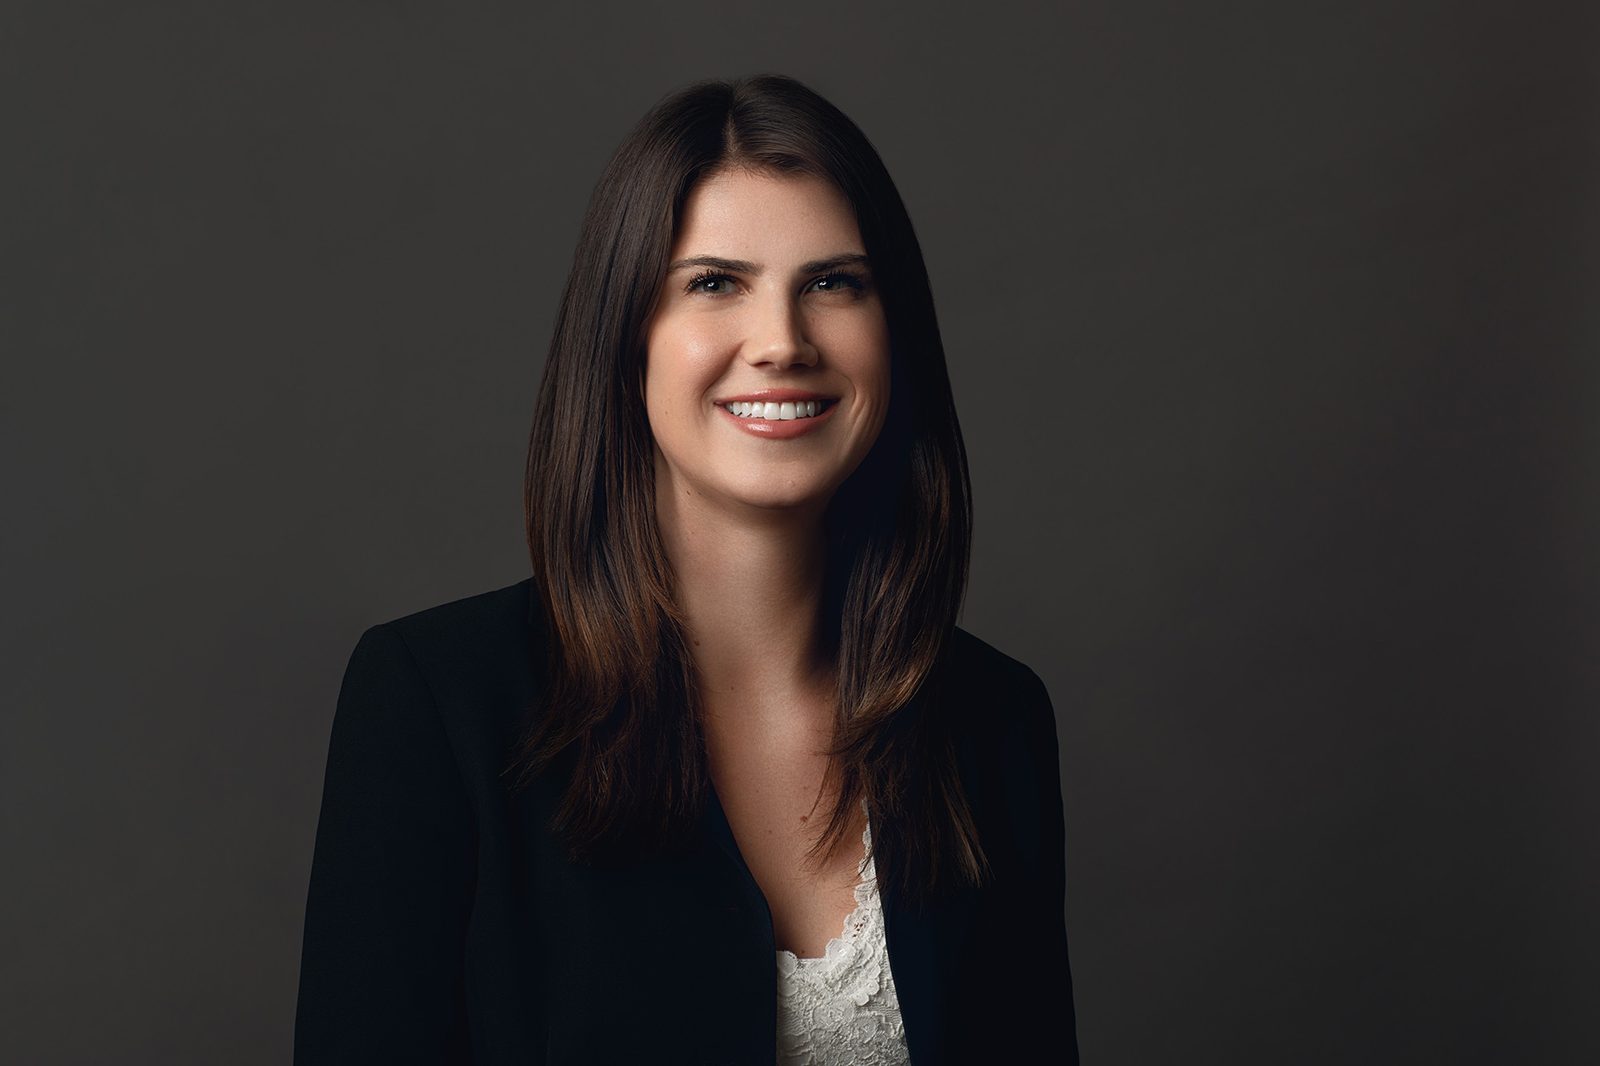
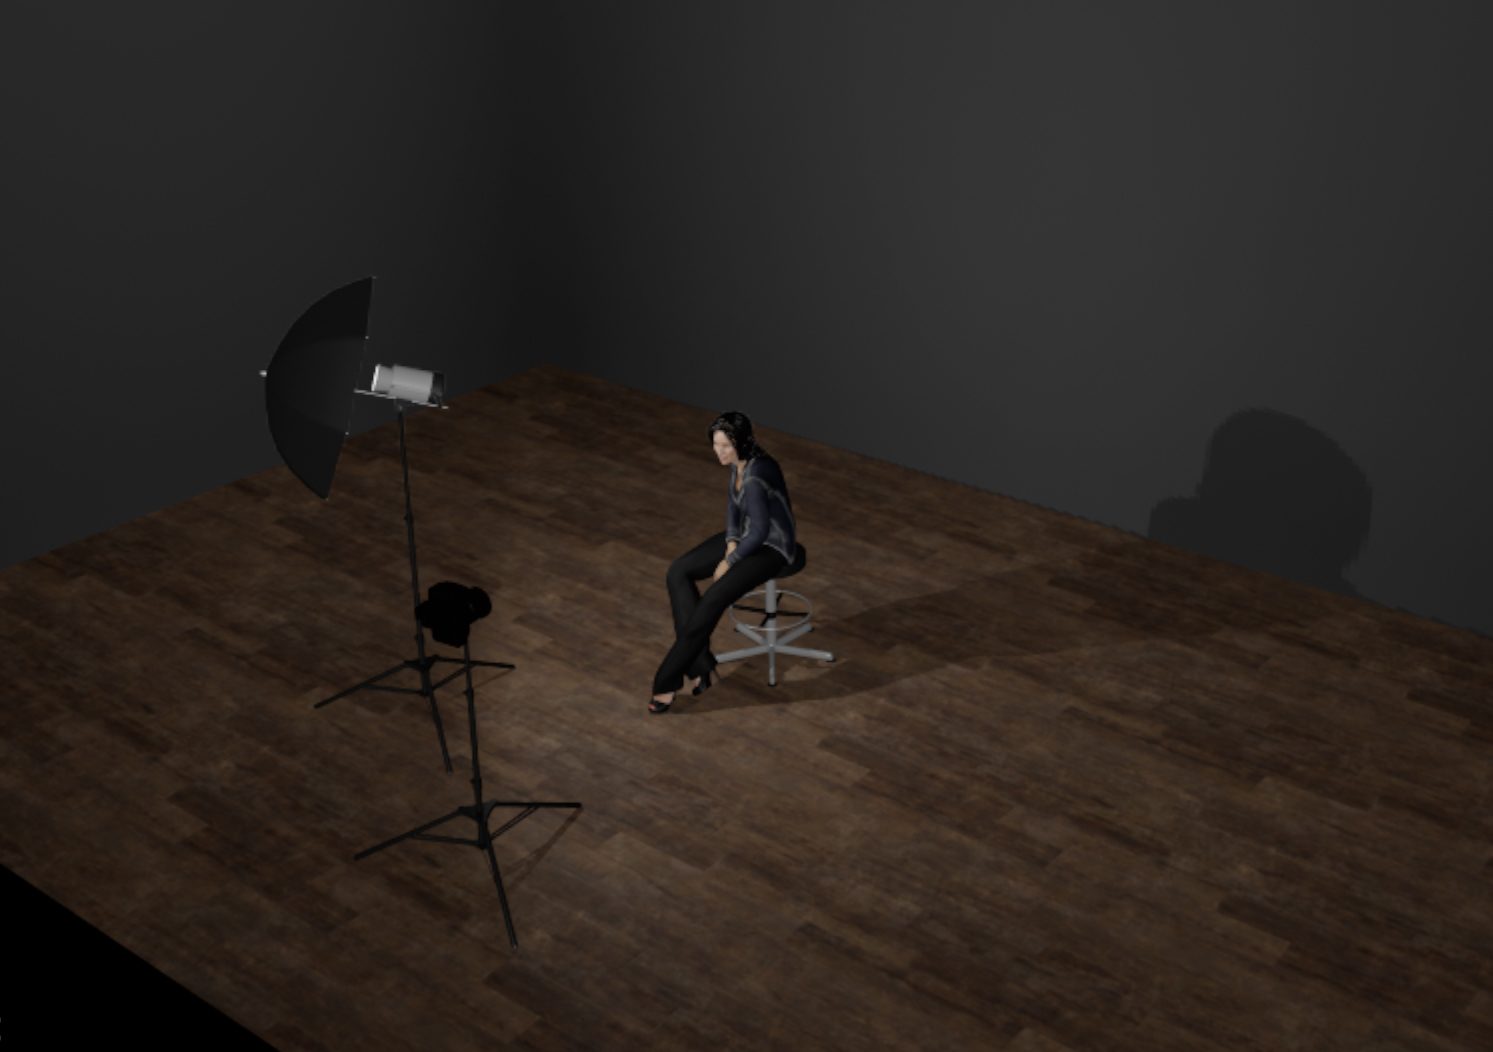
These photos were taken in their boardroom, in a roughly 5 ft x 15 ft space, using minimal equipment. In fact, all of these photos were shot with a Canon 5d Mark IV, a Canon 85mm f/1.2L, a Profoto B1X and medium umbrella, and a popup backdrop from Savage Universal. The key to this look comes in the light placement. By moving the light off-axis, about 60 degrees and above from the subject and camera, I can have great falloff of light, without losing them too much in the shadows. But to better explain that, I have a lighting diagram below.
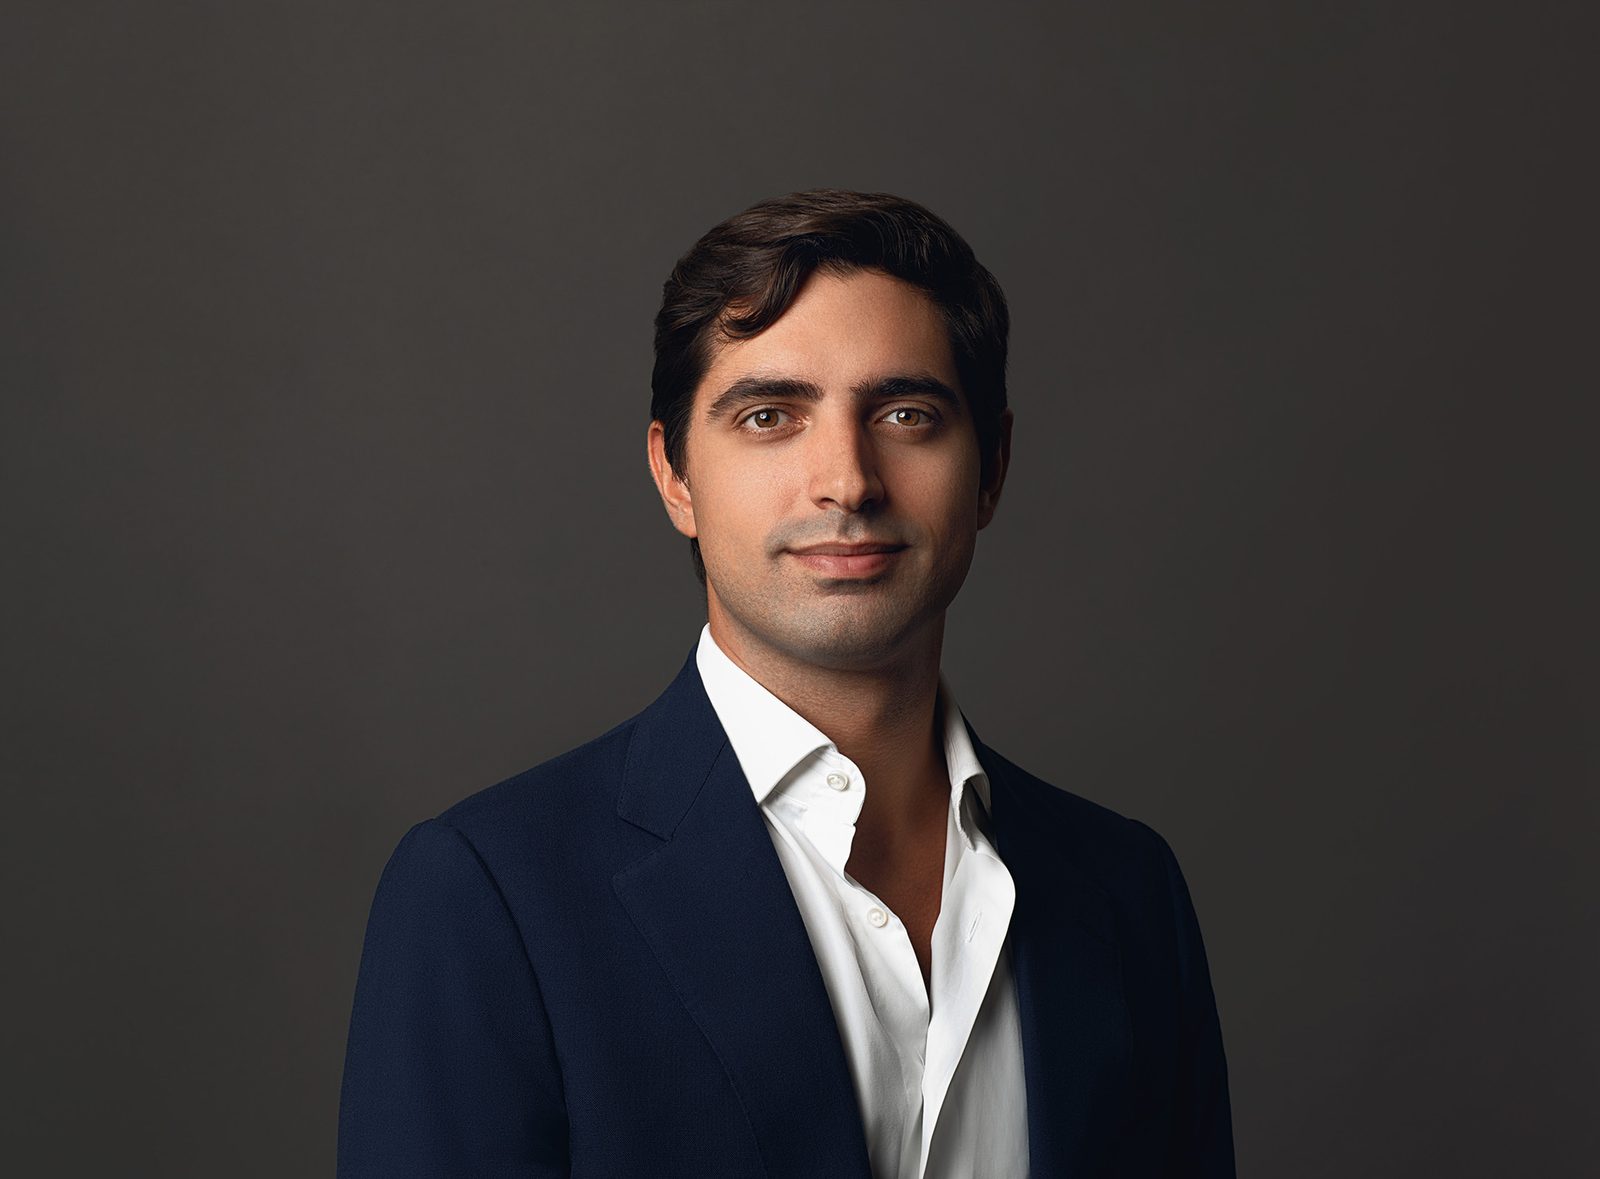
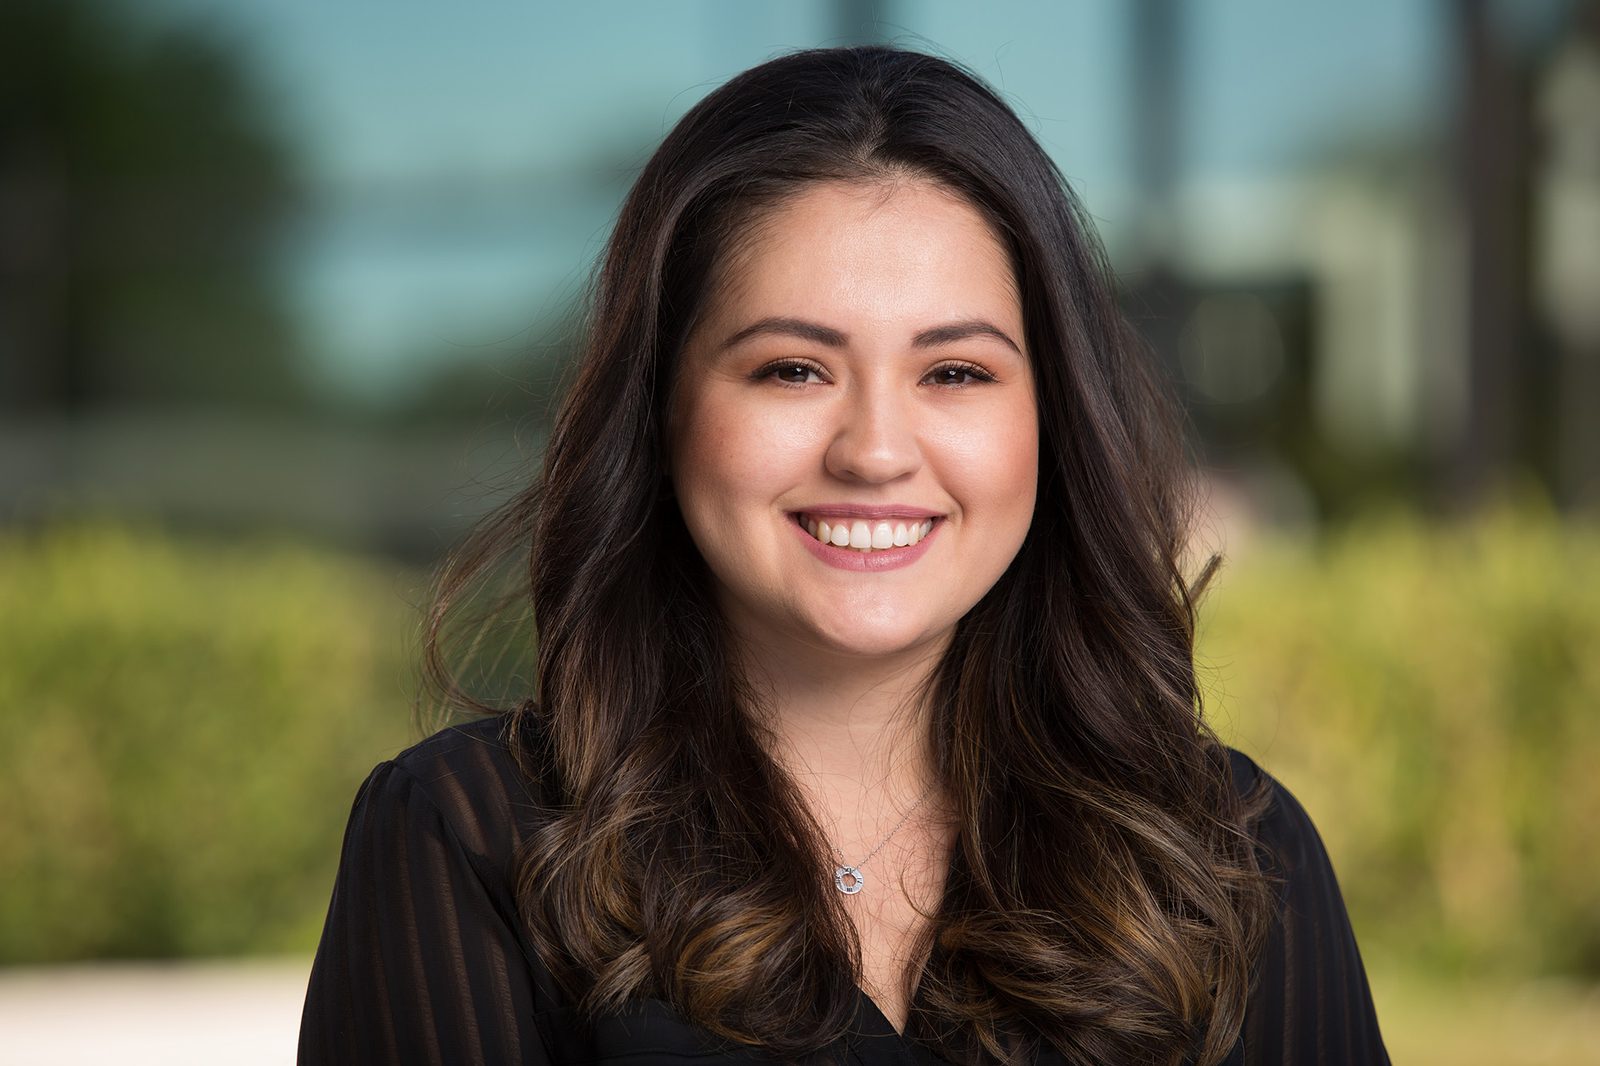
The High Key Martin Schoeller/Peter Hurley Look
First popularized by one of my favorite photographers, Martin Schoeller, and then marketed by one of my favorite people and photographers, Peter Hurley, the high-key headshot has only become more and more popular over the last decade. So let’s dive into how it’s done.
This popular look gets its signature look through two different elements – the big catchlights in the eyes, and the shallow depth-of-field. The former is typically done by large strip lights placed close to the subject, both on the left side and the right side of the subject, with equal power settings. Martin Schoeller often accomplished this using Kinoflo 4Banks, whereas Peter Hurley has his own signature lights with the Westcott Flex Lights. But there are also plenty of alternatives that could be used, such as Litepanel Gemini, or Nanlite Pavo tubes.

The second element of this look is the shallow depth of field. When I’ve shot headshots in this style, I’ve used a Canon 85mm f/1.2L at f/2-f/2.2 and some Kinoflo 4Banks (which can be found for really cheap on the used market). To achieve this shallow depth-of-field, constant lighting is preferred, as it’s not nearly as bright as studio strobes, and won’t be nearly as distracting as a light firing again and again just a foot or so from your subject. While we’re only talking about the lighting style here, you can get a full breakdown of this style and client interaction with Peter Hurley’s Fstoppers tutorials. Below is a breakdown of the lighting for a shoot in this style.
The Cinematic Headshot
The final style of headshot photography is a style developed by my good friend and astounding photographer, Dylan Patrick. Taking the studio strobes outdoors to take advantage of the bright colors and shallow depth of field, the ‘cinematic headshot’ is a style that became popular after Dylan put together a tutorial series on the topic, and showed the full package – from marketing to client interaction, to lighting, to retouching. The cinematic headshot is interesting as it puts out the clean look of studio lighting, while also implementing beautiful bokeh and colors from shooting on location. Through the help of high-speed sync, and clever lighting principles, this style shows a mastery of light metering and gives people a flattering light.
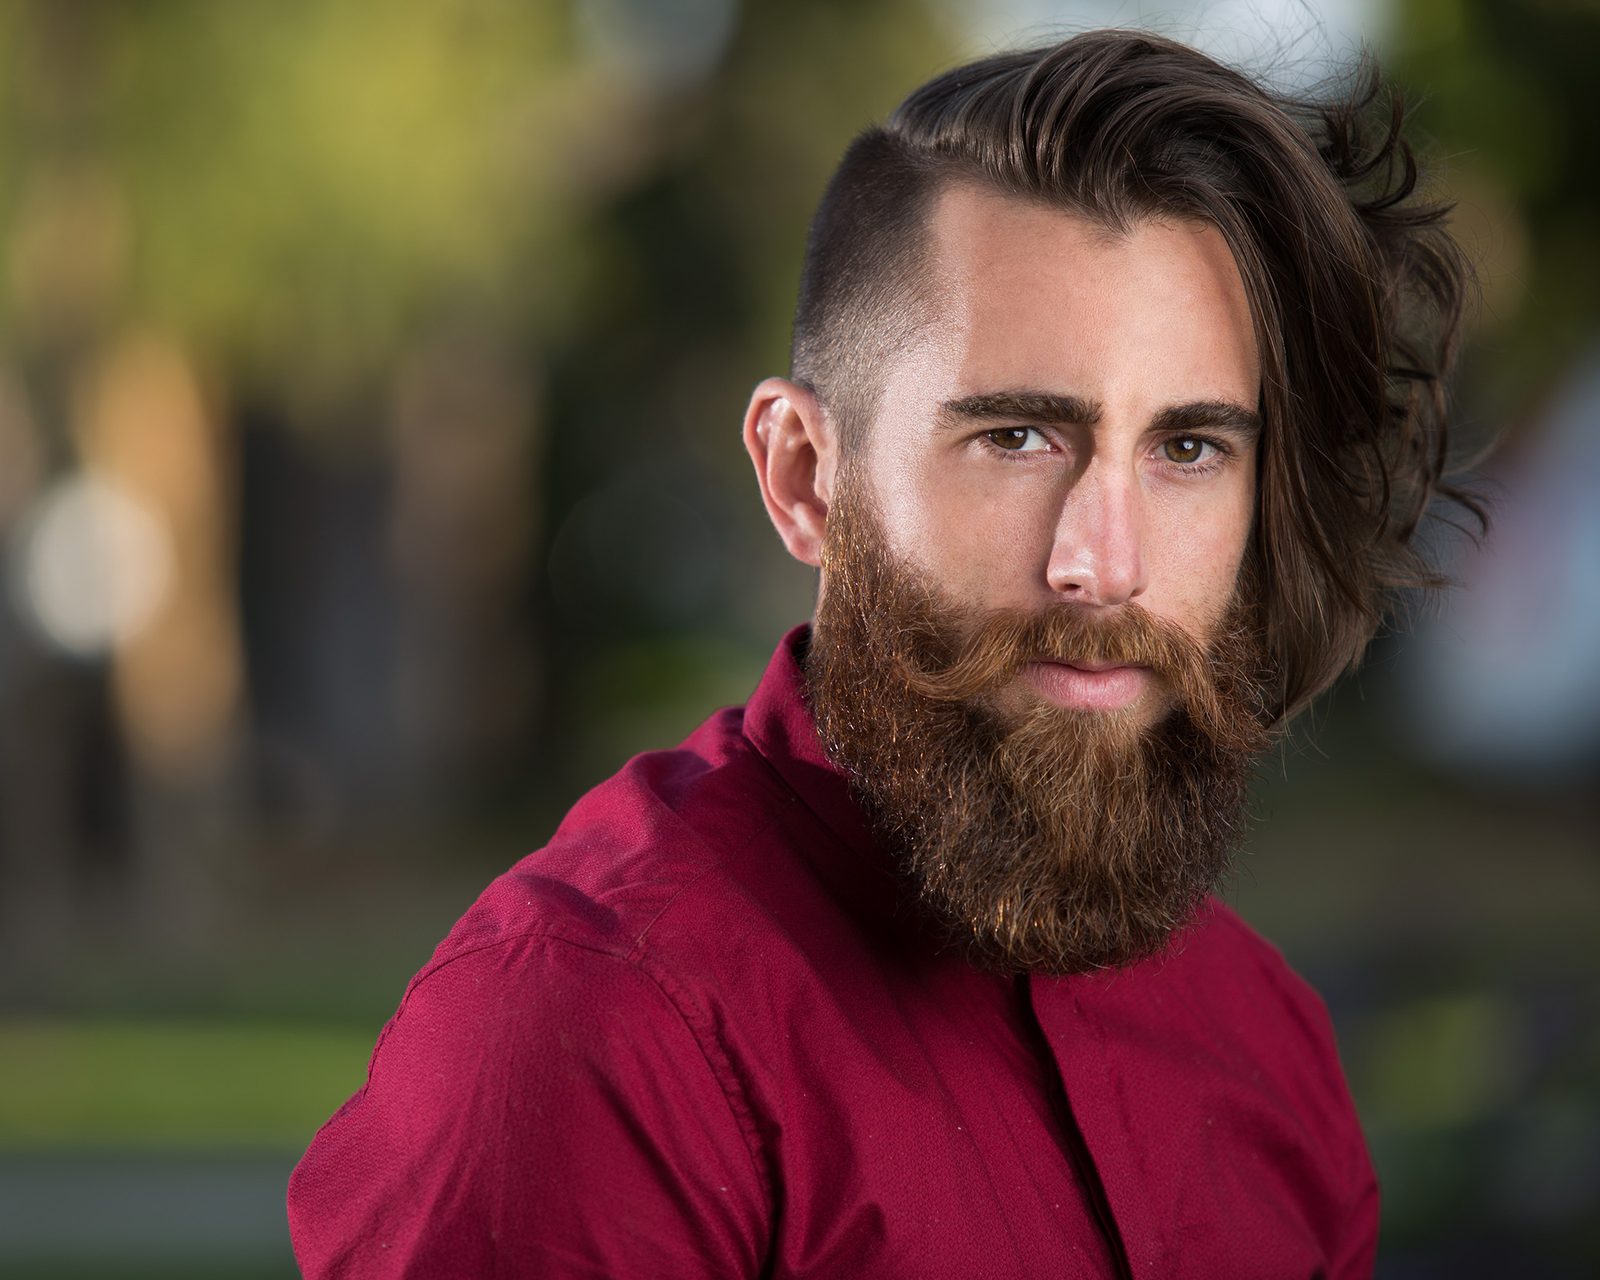
It can be achieved with the help of a couple of modern strobes, a bounce card, and a telephoto lens. I recommend the Profoto B1X for its battery-powered capabilities, with a couple of medium softboxes and a bounce. With the help of a 200mm lens, like a 70-200mm f/2.8, you can get the shallow depth-of-field and beautiful, soft bokeh. A lighting diagram for this style of photography is below.
And there are three different lighting styles that produce great results for headshot photography. Is there a particular style that you like to use in your headshot photography? Feel free to share your examples in the comments below.
